Well hot diggity dog I forgot I never posted anything about wheel pants on here. I didn't take very many pics as I was in mega work mode; once the plane is flying taking it down for maintenance is brutal! The wheel pants are an absolutely insane amount of work and the ole gal was down for about 1.5 weeks while I worked 8 hours a day installing them.
First, when it comes to the wheelpants I have been asked by other builders "should I wait to install them until after flying?" to which my answer has changed over time. I flew without them for the first 80ish hours (if memory serves) and the advantages are:
1. easy inspection of the brakes/wheels
2. easy to air tires
3. you know if you have any built in trim issues
I also hear others say the perceived advantage of having more drag for break-in. I have heard countless people say this. After having flown with and without the pants installed I can confirm that this is one of the stupidest reasons that ever did cross my ears.

After having flown awhile I wish I would have just installed them during the build and flown with them from the start. It would have saved me downtime from flying and to be honest the increased airspeed would have been nice on those hotter days during climb. In fact, flying without them on a hot day while breaking in an engine would definitely put the CHTs above where I would personally want them while climbing. I wasn't worried about it as I was doing my break-in with 30-40 degree OATs.
So, long story short, on my next build (-10) I will be installing them before flight and I will just deal with removing screws to inspect the brakes and tires. Virtually everything else favors having them on for flight.
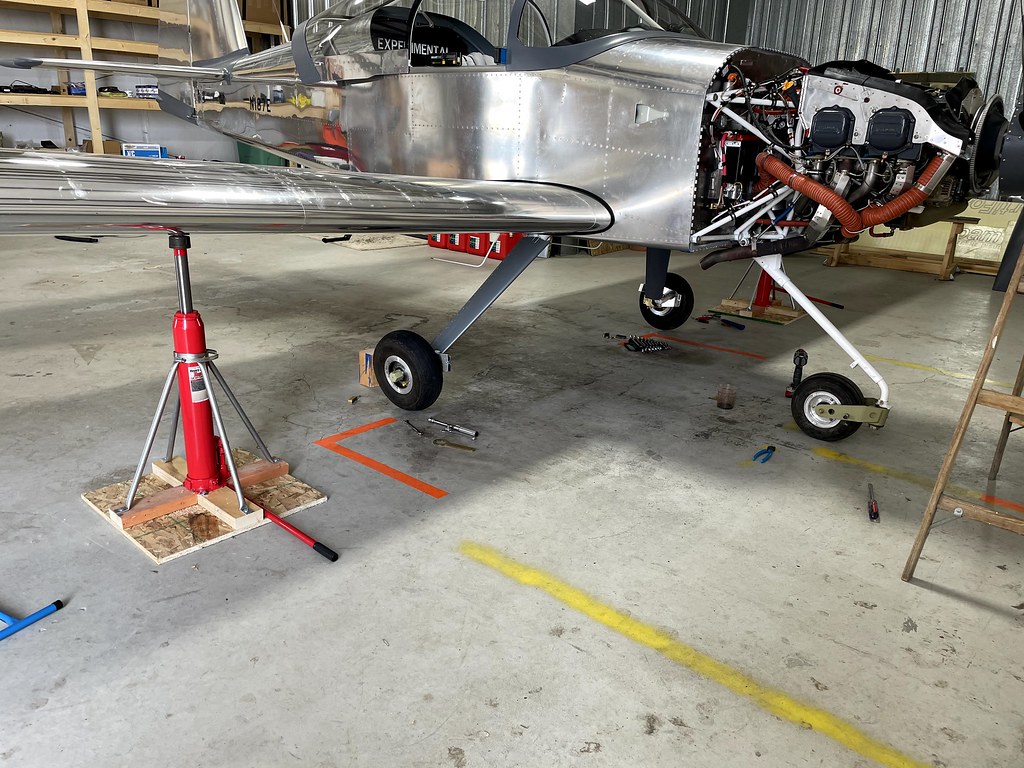
Anyways, back to installation. First I made up some wing jacks that closely match what other builders have done. Only cost in making these was the two bottle jacks as everything else was scrap I had. For the jack points I welded on a bolt onto the top of a gas line cap, this worked beautifully.
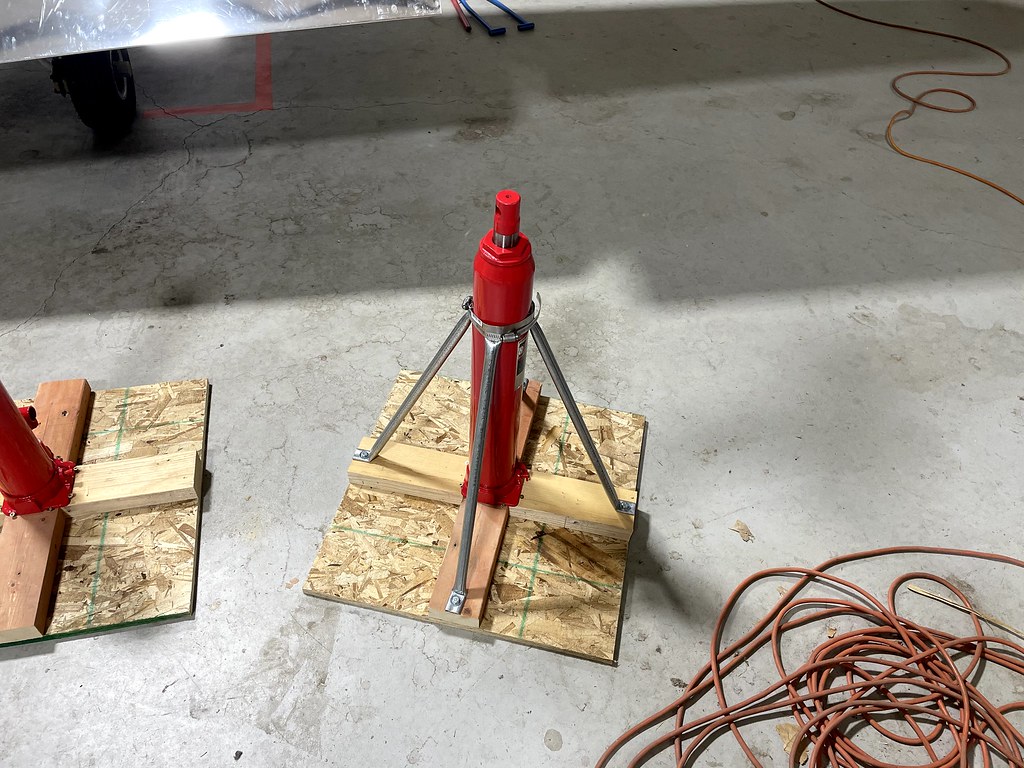 IMG_1238
 by
Jereme Carne, on Flickr
I also spent many a time making sure the plane was level in both directions. This is important for alignment. I also didn't have the balls to leave the plane on the jacks overnight (even though no one else is in my hangar) so I had to do this process every morning.
 IMG_1240
 by
Jereme Carne, on Flickr
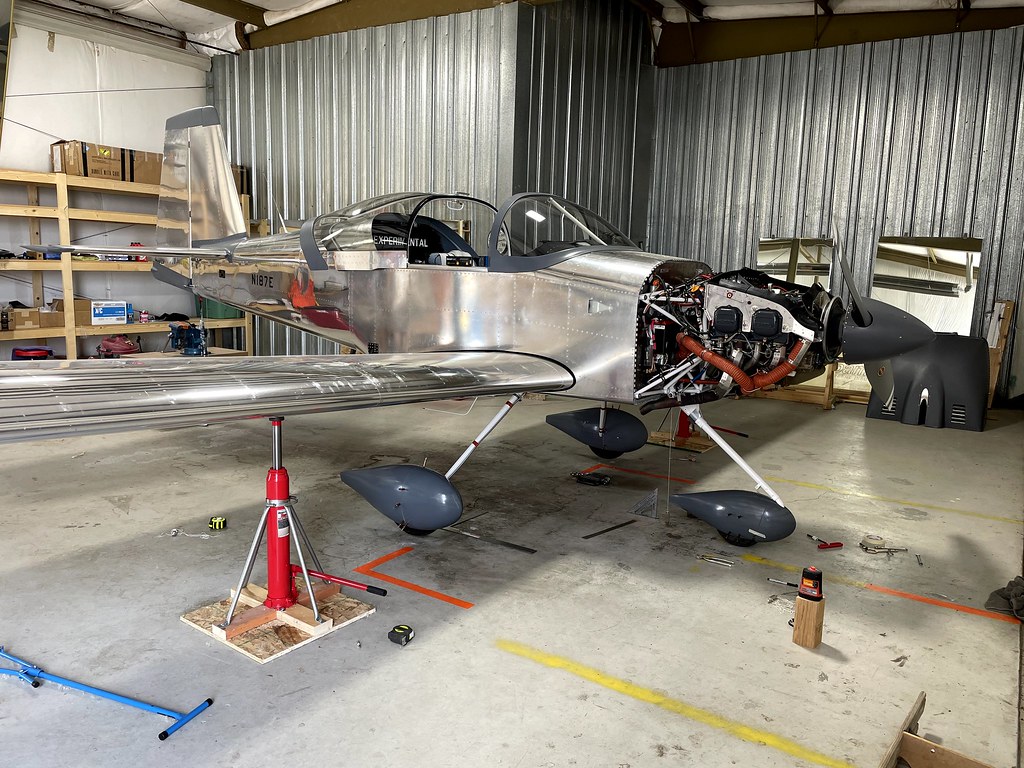
First up was the brackets and gear leg fairings. These are where most of the speed gains come from (more on that later).
 IMG_1241
 by
Jereme Carne, on Flickr
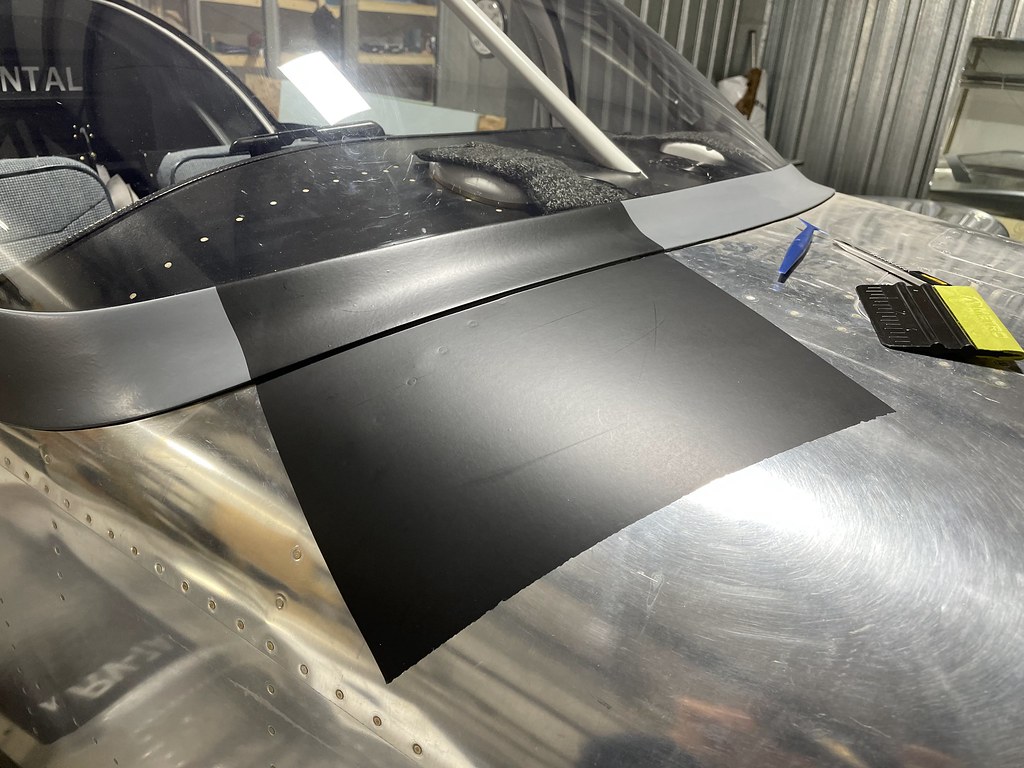
For the next part you will need to get yourself sufficiently covered in fiberglass dust from mass quantities of tiny trimming amounts. Shortly after you will need to get yourself tangled in a mess of string to make sure things are aligned properly.
")
Seriously, these steps are massively time consuming.
 IMG_1242
 by
Jereme Carne, on Flickr
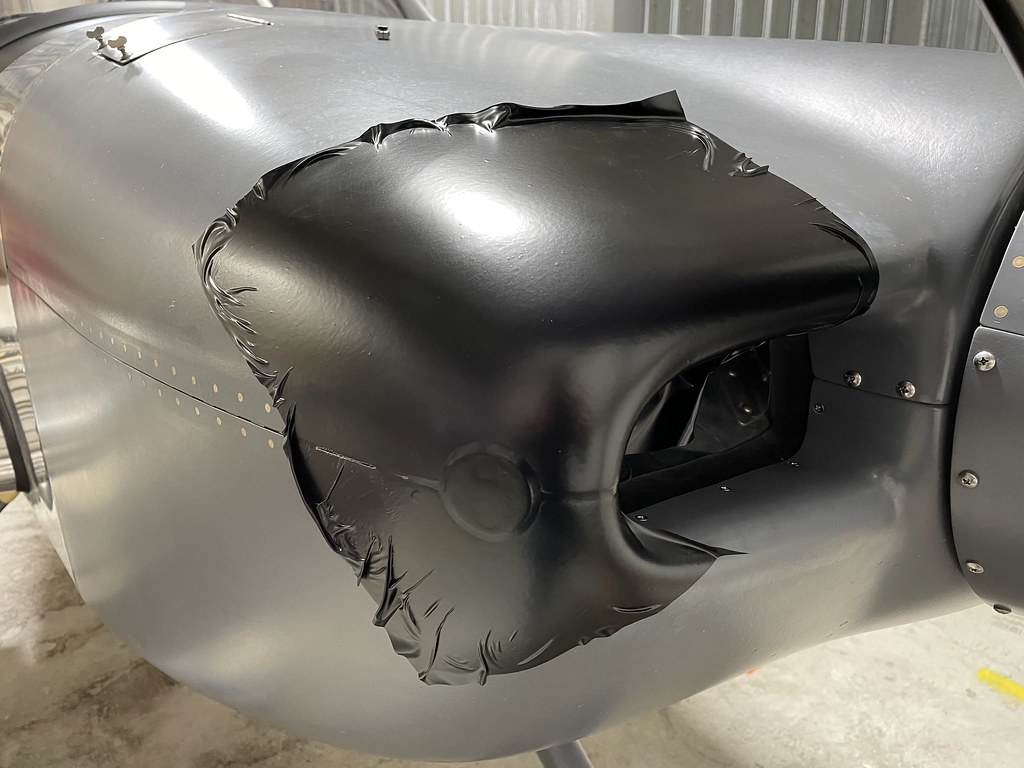
Just when you think you are done go ahead and slap yourself in the face and say "not even freakin close" there is still finishing to do. Time to go back to the glory days, grab your most hated metal can and glass jars and apply some micro, sand sand sand, and well, you know the rest.
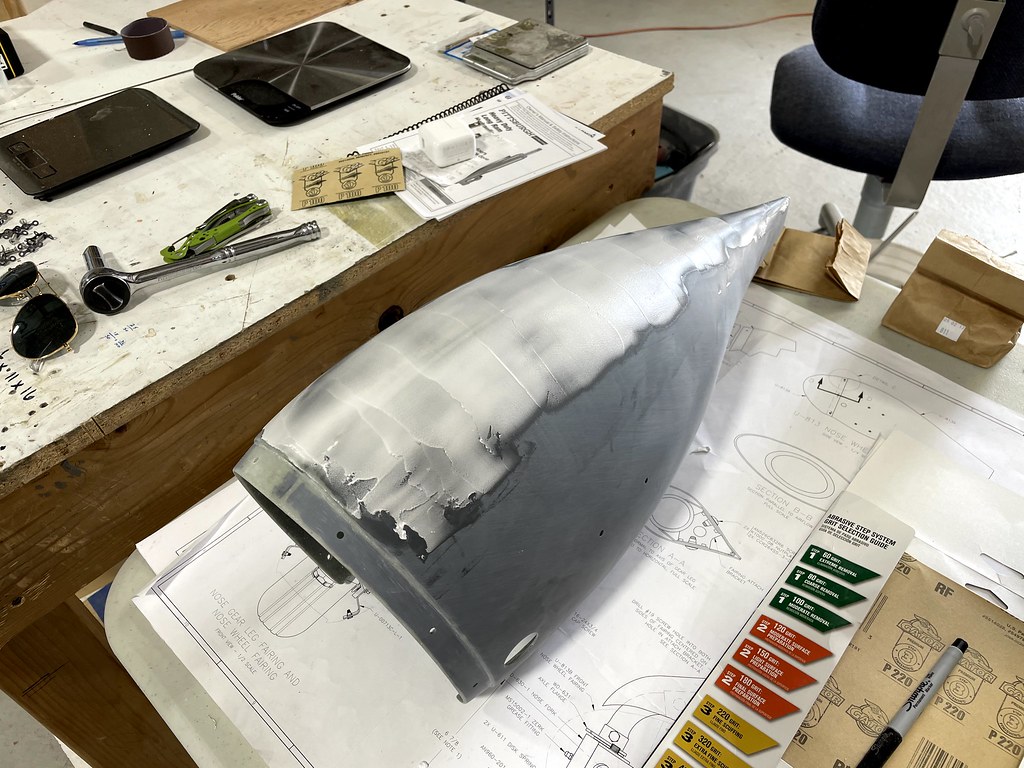 IMG_1245
 by
Jereme Carne, on Flickr
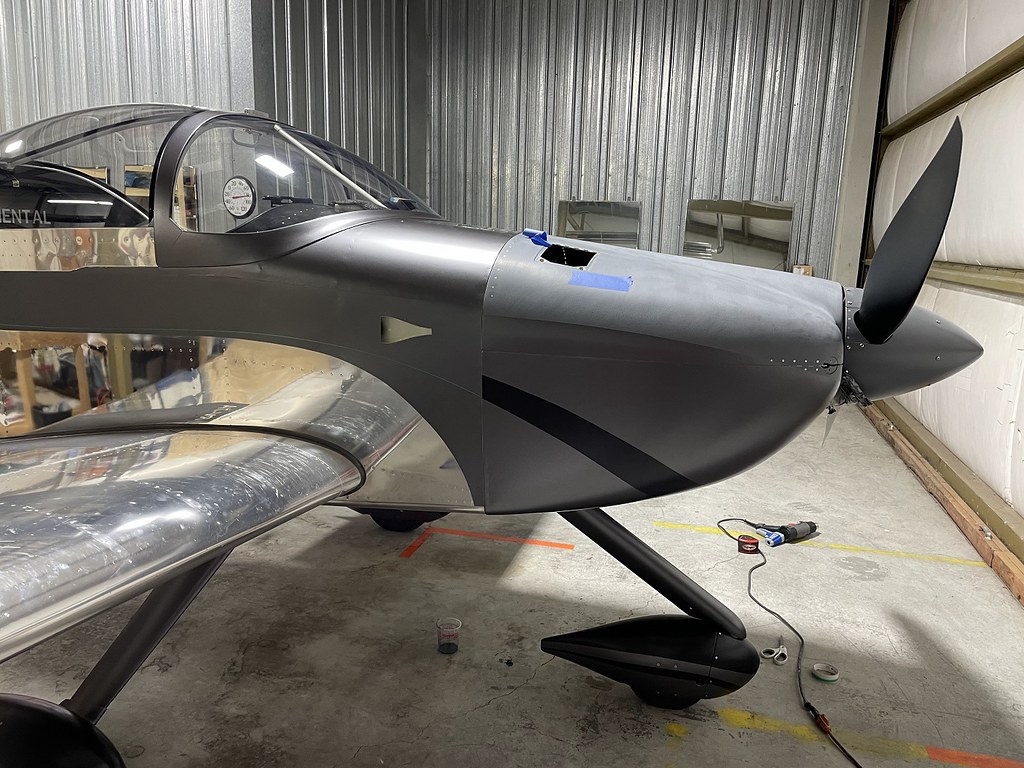
After completely finishing and priming all of the nose gear parts it is time to say "good nuff" and go do some flying.
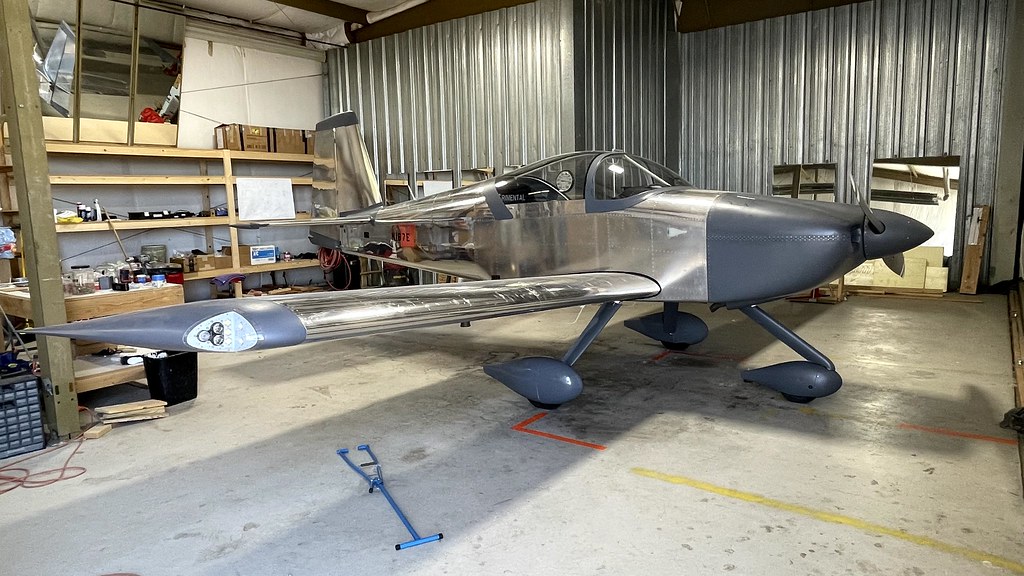 IMG_1251
 by
Jereme Carne, on Flickr
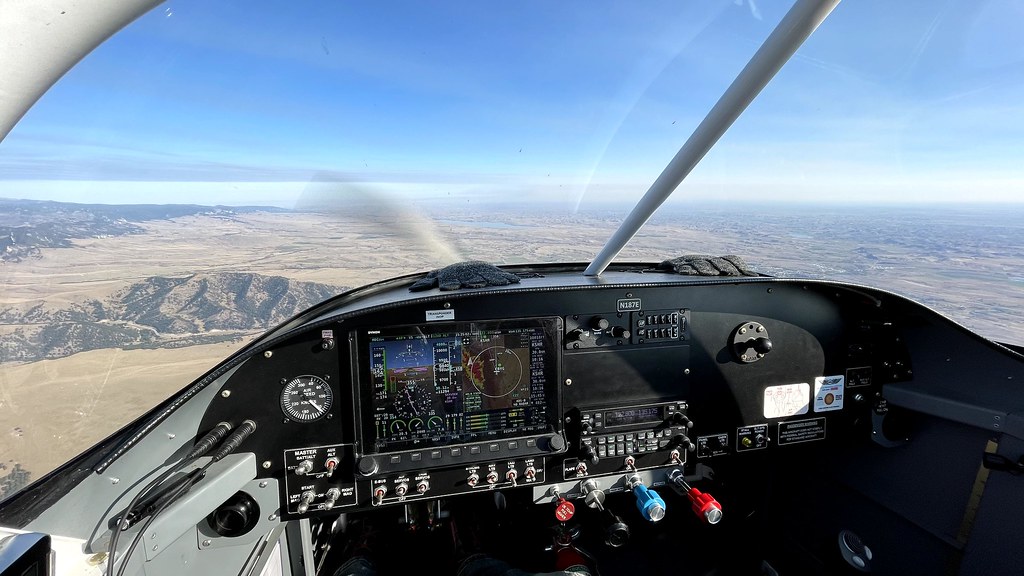
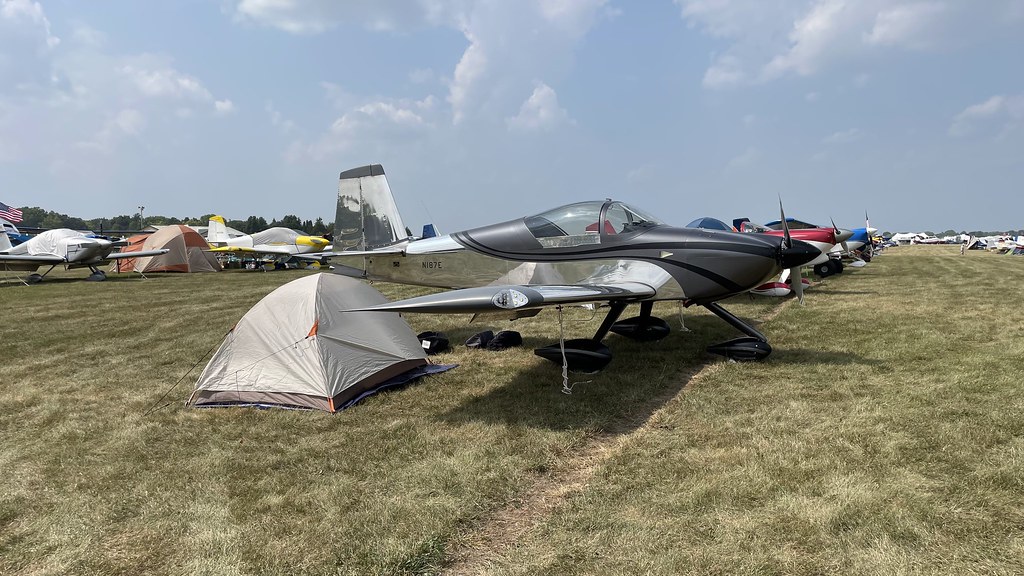
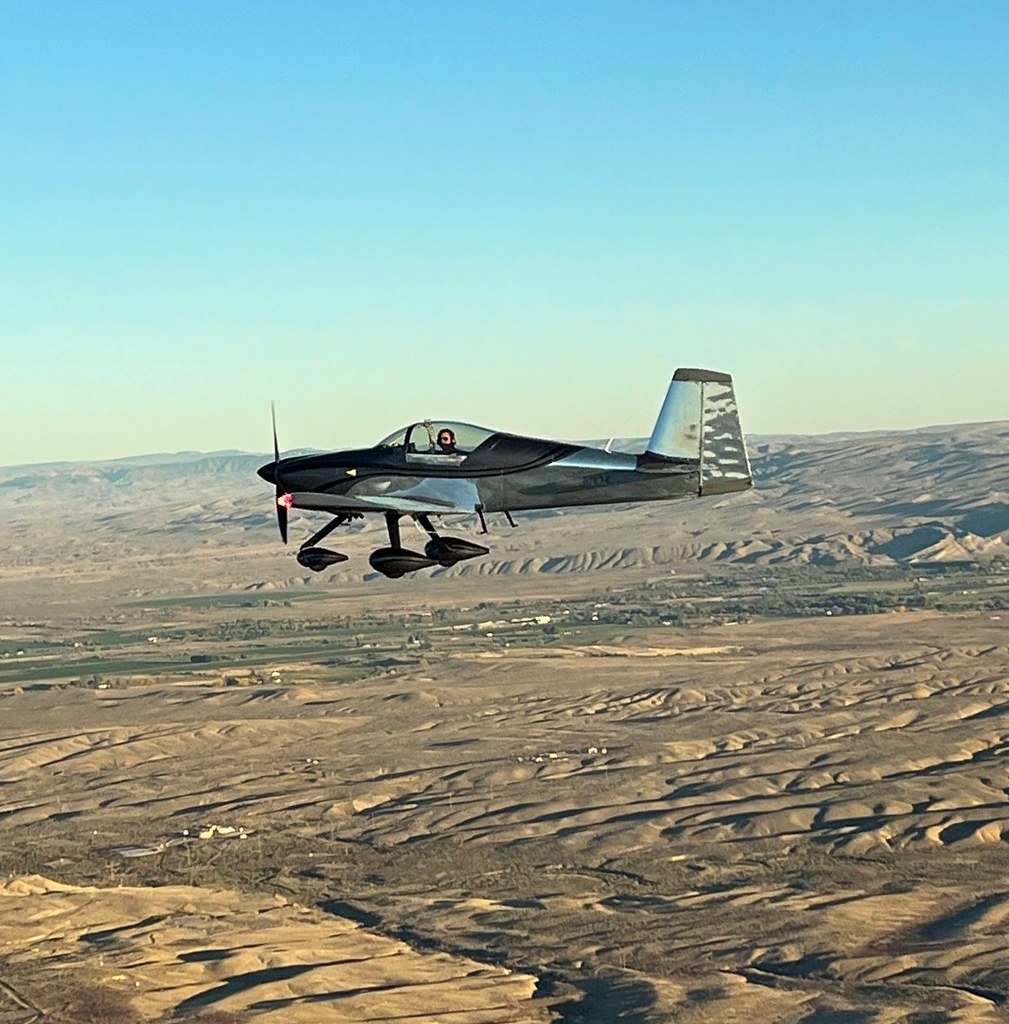
I was very pleased when I saw my ball still centered and even more pleased after seeing the speed increase. Those people that say you will pick up around 15 kts of airspeed were not lying. Those numbers are pretty much spot on what I found as well. The plane climbs better/faster and certainly gets you from A to B quicker. The engine stays noticeably cooler in climbs and the plane also looks like an RV, amazing how much the look changes.
Now that you think you are done with wheel pants slap yourself in the face one more time and get to gettin on the intersection fairings. If you want to be like me go out, buy 30 bucks worth of modeling clay, slap it in there and then after 30 minutes of working it around say "F this" and go bust out the credit card. I elected to purchase some fairing from RVbits.com and boy oh boy them bad boys are worth the money! Very nice quality and they fit pretty dang well. It still takes a considerable amount of time to install them though. They won't be a perfection fit but they are pretty dang good. Not to mention when someone at Oshkosh is looking down at your wheel pants to find tiny gaps just remind them "my eyes are up here".


 IMG_0600 by Jereme Carne, on Flickr
 IMG_0601 by Jereme Carne, on Flickr
")