I've noticed quite a few RV builders are a unsure about fabricating glass components. I thought it might be useful if they could see a part fabricated from scratch. Those who are already comfortable working with glass should probably click elsewhere now.
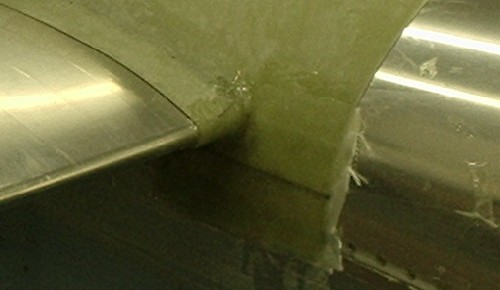
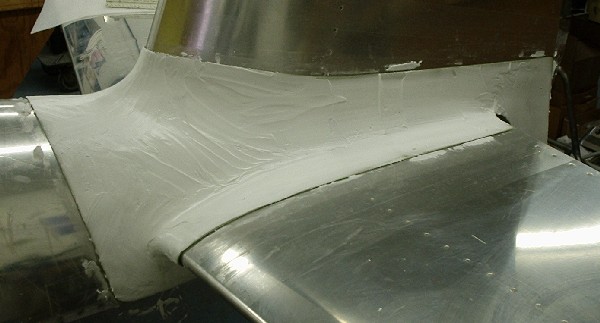
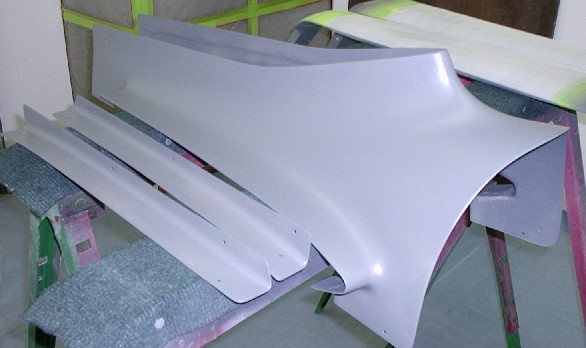
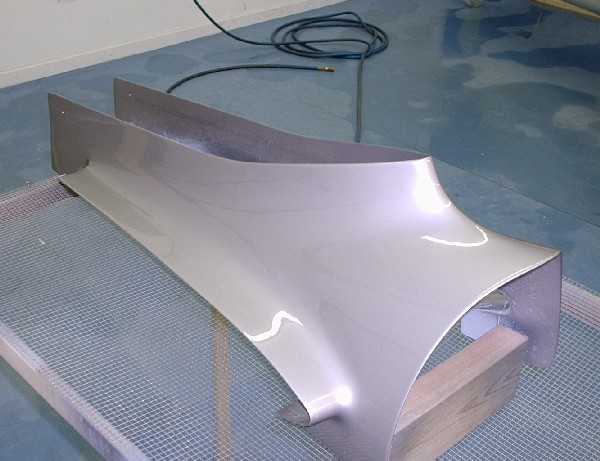
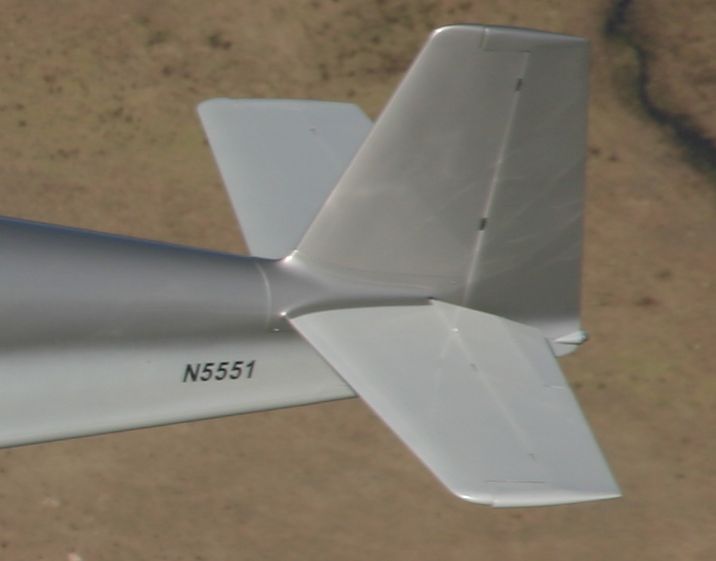
My RV-8 is a fastback; the raised turtledeck requires a new intersection fairing for the tail surfaces. No way the Van's fairing will fit.
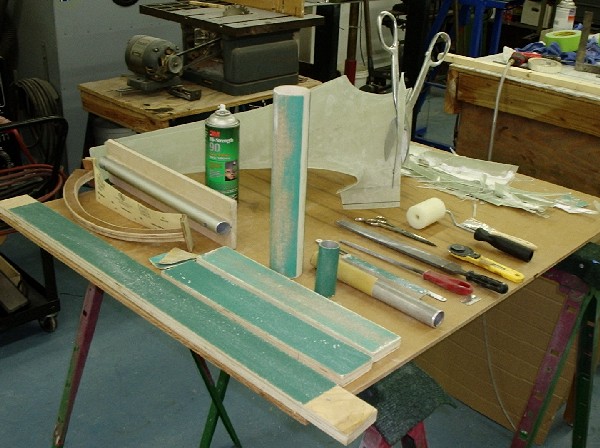
First step is to develop a shape. You can use whatever works. Clay is popular. I used pour-in-place foam this time, and a few cut back chunks of an old Van's fairing. Tape off the aluminum to protect it and shape your medium as required. The Golden Rule of all composite fabrication is "Time spent getting the shape right early in the process pays large dividends in time and weight later". Do whatever it takes to get your form as perfect as possible.
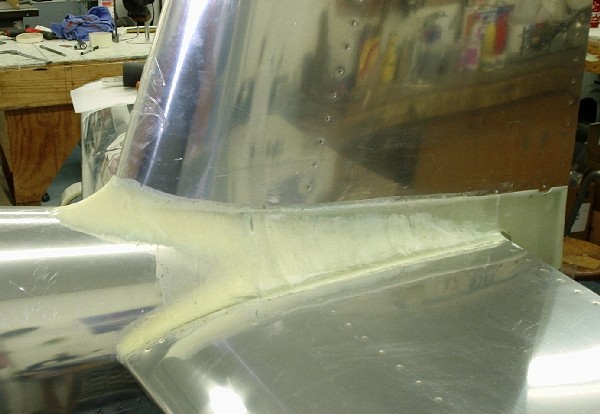
Next cover the shape with plastic tape. Put a coat of wax on the tape.

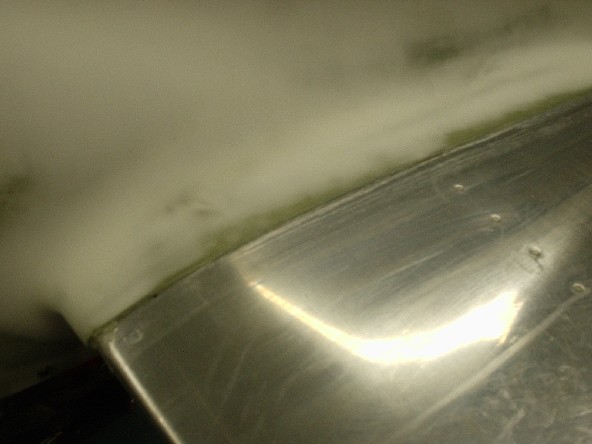
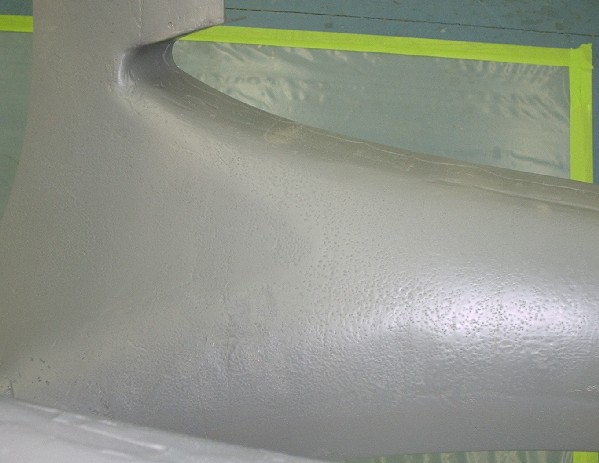
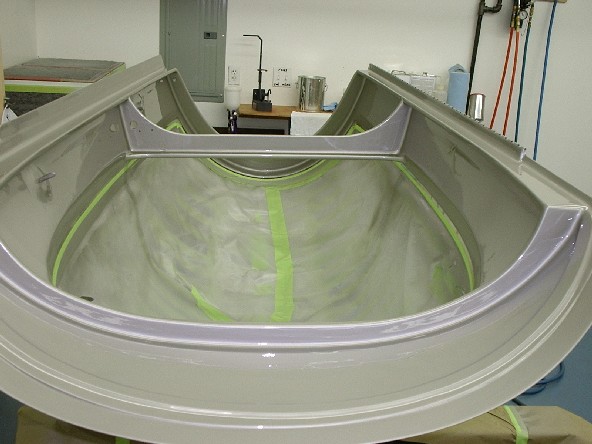
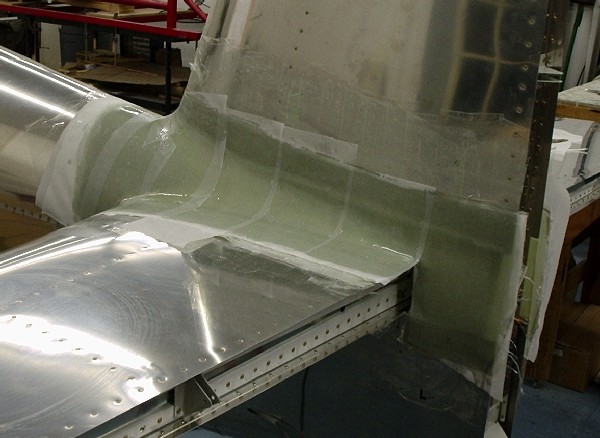
Now proceed with layup. This is four plies of 9 oz crowfoot. You want crowfoot (not plain weave) or similar for this kind of shape because it forms nicely on concave or convex shapes. Get it well saturated, alternate overlaps between sides (like at the front of this part), work out air bubbles before applying the next layer. Stippling with a brush will work; I have a composite roller that I love for compacting plies and removing bubbles. In this photo I've covered the layup with saturated peel ply; it is ordinary polyester aircraft fabric left over from other projects.
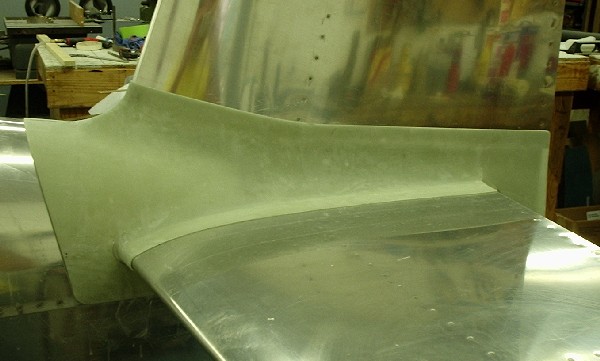
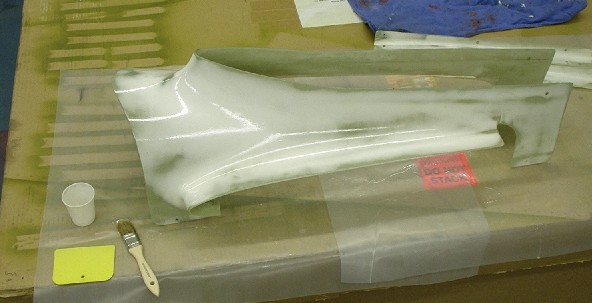
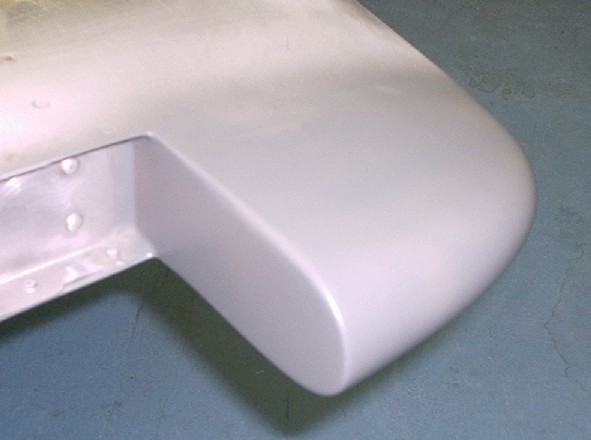
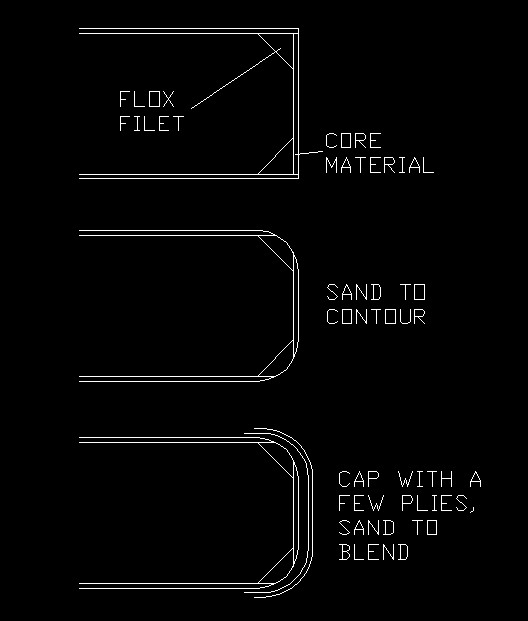
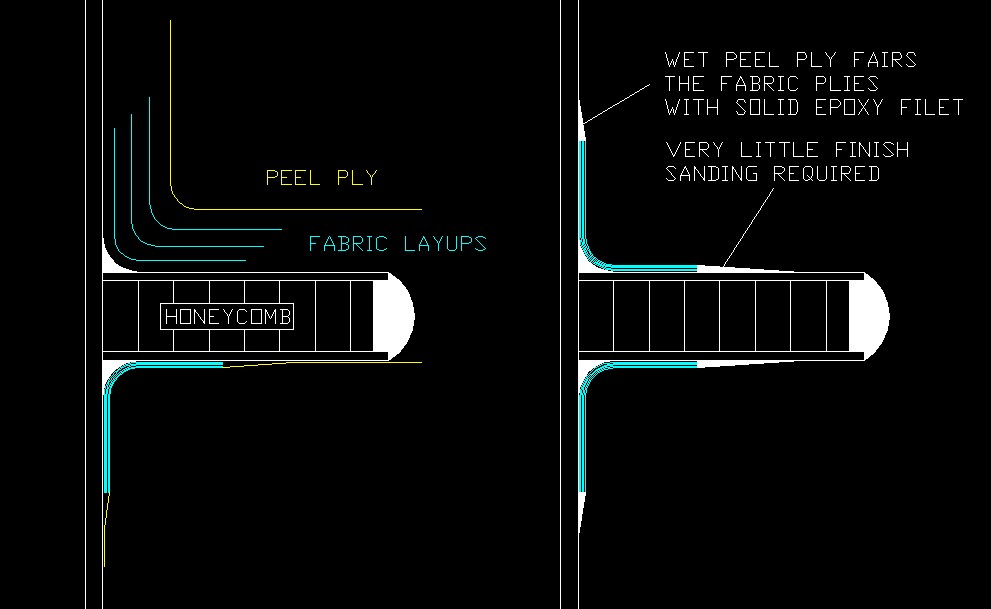
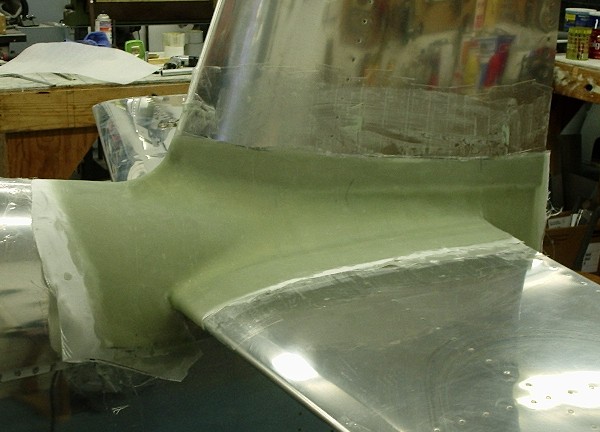
Here's the cured, raw glass part, after ripping off the peel ply fabric. Because I used peel ply, the glass surface requires no sanding prior to bonding additional sections or coating with micro. Just knock off any high spots with a vixen file or coarse paper and move on to the next step.
If ya'll like this stuff I'll post further steps as I proceed.
My RV-8 is a fastback; the raised turtledeck requires a new intersection fairing for the tail surfaces. No way the Van's fairing will fit.
First step is to develop a shape. You can use whatever works. Clay is popular. I used pour-in-place foam this time, and a few cut back chunks of an old Van's fairing. Tape off the aluminum to protect it and shape your medium as required. The Golden Rule of all composite fabrication is "Time spent getting the shape right early in the process pays large dividends in time and weight later". Do whatever it takes to get your form as perfect as possible.
Next cover the shape with plastic tape. Put a coat of wax on the tape.
Now proceed with layup. This is four plies of 9 oz crowfoot. You want crowfoot (not plain weave) or similar for this kind of shape because it forms nicely on concave or convex shapes. Get it well saturated, alternate overlaps between sides (like at the front of this part), work out air bubbles before applying the next layer. Stippling with a brush will work; I have a composite roller that I love for compacting plies and removing bubbles. In this photo I've covered the layup with saturated peel ply; it is ordinary polyester aircraft fabric left over from other projects.
Here's the cured, raw glass part, after ripping off the peel ply fabric. Because I used peel ply, the glass surface requires no sanding prior to bonding additional sections or coating with micro. Just knock off any high spots with a vixen file or coarse paper and move on to the next step.
If ya'll like this stuff I'll post further steps as I proceed.
Last edited:

")