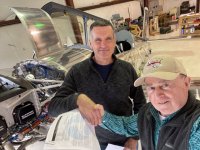
Back at it after taking some time off for other priorities. Spent six weeks cramming for my A&P tests, then two weeks at Baker (nailed it). Then sick, then skiing vacation in CO, then wife sick, then skiing again.
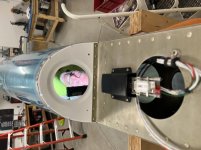
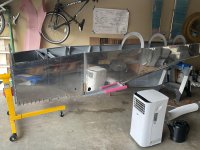
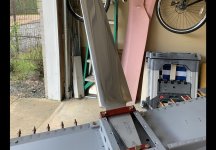
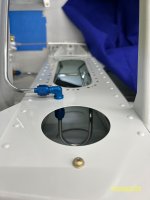
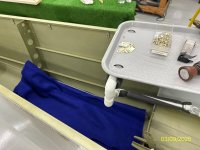
Anyhoo, fuel and brake plumbing. Changed up the brake lines a bit to break up the lines that go in the towers. More connections, but those long lines are always pretty "built in place" looking. And of course you HAVE to polish the lines!
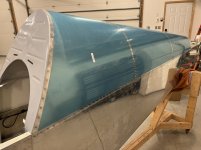
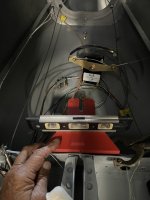
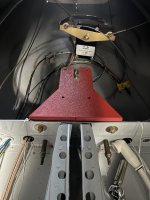
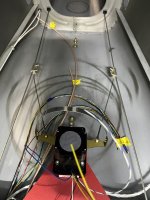
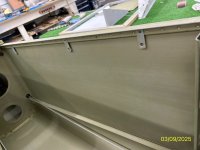
Then installing my patented (not really) conduit and tubing hangers on the longeron "keeper" rivet locations in prep for starting on the top-rear skin.


 Of course the CG will move rearward with fuel and people. Nevermind
 ")