

Well, I've started building an RV-7A
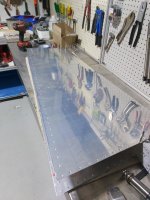
I'm the third owner of this Kit and if you haven't read Vans warnings about buying older kits, particulary the bit about unboxed, original packaging you should.

When I unboxed the kit for the first time in its 14 year life, this is the result of storing aluminum in carboard for 14 years
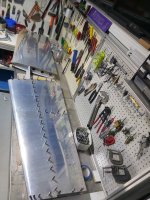
Both HS-609PP pieces have corrosion like this
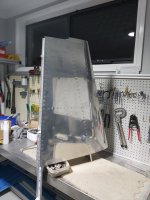
So, 2 new HS-609PP's are on order, and I moved on to the Vertical Stabiliser


I'm the third owner of this Kit and if you haven't read Vans warnings about buying older kits, particulary the bit about unboxed, original packaging you should.
When I unboxed the kit for the first time in its 14 year life, this is the result of storing aluminum in carboard for 14 years
Both HS-609PP pieces have corrosion like this
So, 2 new HS-609PP's are on order, and I moved on to the Vertical Stabiliser
Last edited:

 .
.
") !
!


") .
.


 .
.


