Dad's RV-10
Well Known Member
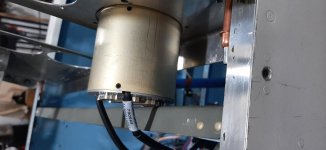
Image rotated:


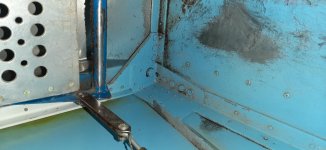
 (and into my hand, missing my backing block), the rest went well and with no more bandaids. I now need to put some supports in for the cover panels, cut the pass for the trim lever, etc but after thinking about this one little job for months, glad it is relocated. Proof I cannot build a kit from scratch! Not enough hours in a lifetime at the rate I work!
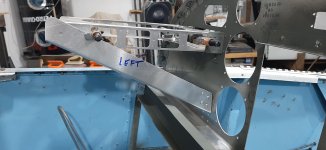
 The first bend went well but in attempting the second bend, the lever snapped. I guess aluminum does not bend like steel, my usual material to work with. Oops. This morning, I went to the drawings to see what the lever is made of. It is 2024 x 0.125 which I don't have, but I should be able to find some, or weld it back together. I am aware of the concern for min bend radius for aluminum and don't think I was anywhere near exceeding that (but it appears I was wrong), but alas...live and learn.

Thanks for the positive input and encouragement Luke!
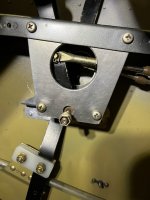
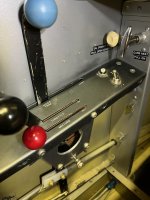
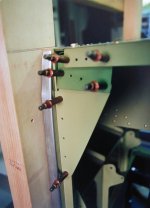
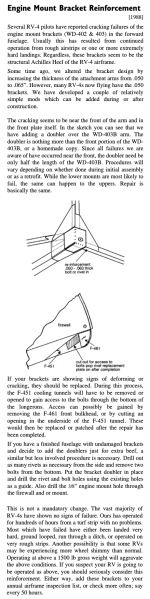
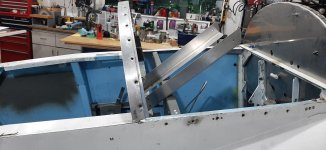
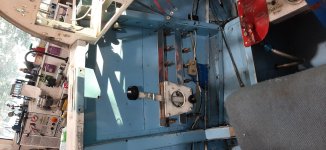
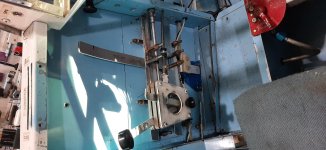
I made some more progress on the quadrant relocate. I positioned and connected the throttle and mixture cables to check out alignment. Looks like it will work out nicely.
I have to admit, I am enjoying the project more and more, now that I am learning a bit. Not ready to order a kit yet though...
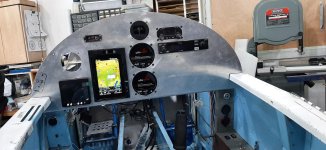
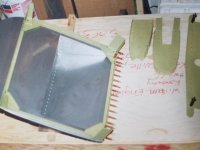
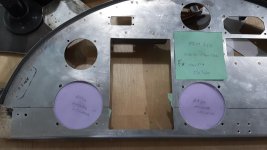
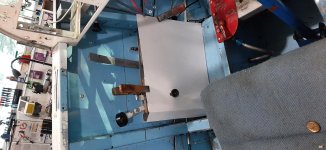
I picked up some poster board to use to lay out panels here and there. It looks like it will work well. It holds a crease. So the white panel shown is my first look at how to finish that panel off.
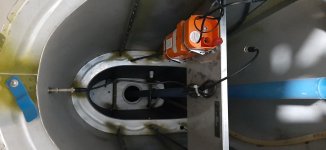
I figured the fuel valve was a little task that needed to be addressed so got it out today and took a look at it. It was very hard to turn, like, really hard. (previously posted about) After disassembling it, and scooping out the crud!!, , I decided to just replace it. So that makes that task easier.
I was placing an order with Aircraft Spruce last night and ordered this valve
Would the one from Van's be different? They look the same. I still have time to cancel the valve if there is a difference.
Thanks for the input on the ground. That sounds familiar now that you mention it.
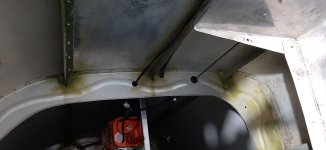
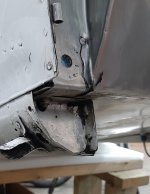
Some holes do not have grommets so I will want to pull the cable out, enlarge the hole slightly and install a grommet. One in particular though is particularly close to the skin. That one might make more sense to either make a new hole, or use a clamp and go beside the bulkhead. I know not the norm, but save another hole in a bulkhead that already has a poorly located holes. 


Images rotated.
It has been quite a while since I updated. Progress has been slower than expected, which seems the norm.
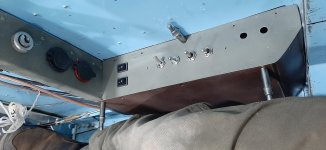
I did up the switch panel and covers on the right side. I went with 2 rockers for Master and Alternator....
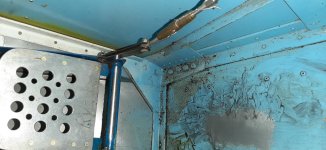
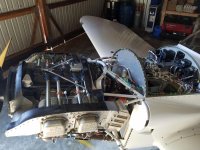
I need to reposition the trim cable to allow for the rear rudder pedals install. I bogged down on this. The trim cable was replaced by the seller. Not sure what the builder had in there. I see the routing is anything but straight and some bulkhead holes are in less than ideal locations.
You MIGHT consider making a cover of some sort for those cute little rocker switches as, if something hits them, you will lose power and wonder why. Just a thought....
But yes, a cover or bar in front is an option and one I like. Well, that cable routing is less than ideal. Since you are going to remove it anyway, I'd put it where it belongs. New holes with snap gromets would be an improvement. If you don't like the old holes, cover them up...
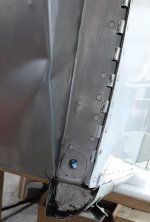
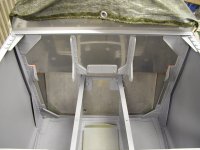
That looks like an extended baggage shelf which may not be the best idea in the world. That may be just a shelf for the ELT but pretty thick material there.
)Unfortunately, it might be longer than I had hoped. Sigh....
And worse is to come as once you'll be done and flying that rejuvenated -4, you might realise now addicted to building or overhauling airplanes Hahaha, we warned you Shawn
Good job you're doing, she'll really be yours, and you'll be enjoying her immensely knowing that everything has been done properly.
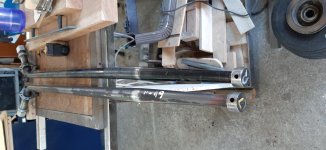
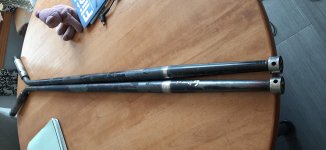
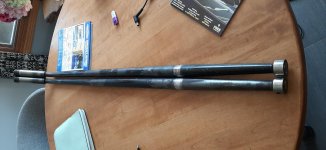
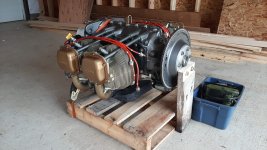
Easy for me to say... I'm not the one who is in there doing it. I have only ever used sand, Black diamond sand blast abrasive. Any suggestions for something else? The gear legs cleaned up nice with just sandpaper yesterday so will not be blasting those.

![IMG-20230128-WA0001[1].jpg](/data/attachments/22/22500-38ee0b858dbd9c5d92cd4ea97a66fef0.jpg)