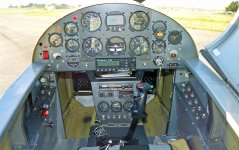
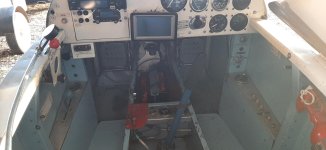
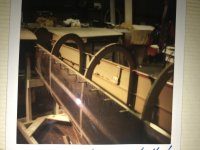
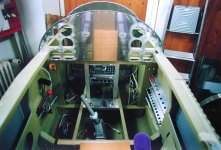
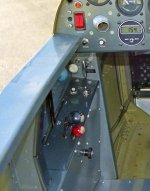
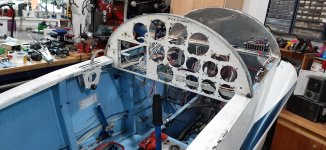
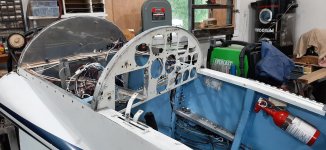
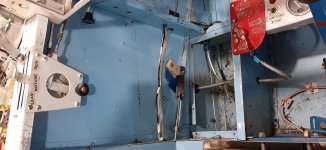
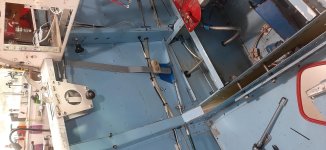
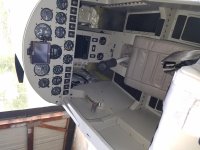
I have been gradually diving deeper into the re-build. I did put the seat back in and floor pans, etc so that I could sit in it and think....consider changes to be made, as we have been discussing.Not much new to report here. No revelations, although the trim cable location seems to interfere a bit with where the rear rudder pedals will connect to the rudder cables. That prompted me to explore electric trim again. Jury is still out. A tech at Van's gave me some good input on modifying an old -4 for electric trim but part of it was the suggestion to build a new elevator to accommodate the servo better than the original -4 elevator. Since a new elevator was previously discussed due to cracking, it might make sense to wait till that happens to install electric trim. Another option, mentioned here by a member as well, was to connect to the existing cable somewhere. Will see what happens.The trim cable needs to be moved slightly outboard anyways to put the throttle quadrant in that area so I can probably figure something out for the rudder cable connection.
I included the response below for those that might be looking into a similar conversion. I know there are a lot of threads and posts about this topic.
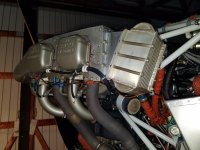
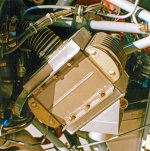
I then started looking at the engine. First thing I did was I dialed the crank to insure it was within specs and also did a compression test. Runout was good, as the seller told me. The compression test was a cold one and my intentions at the time was to do some engine work anyways, so, it was kind of irrelevant. Just an experience opportunity for me and I was curious. One intake valve a little leaky but otherwise, as expected for a well past TBO engine. I decided to send it for a rebuild/thorough inspection by an engine guy. I feel good about that so once it is there, I can focus on the other stuff.
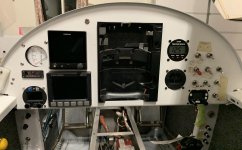
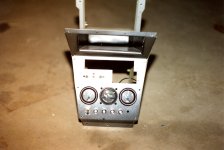
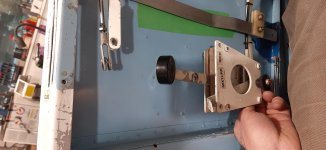
Next will be just stripping everything out of the interior, then the relocation of controls and switches, making new switch panels as needed.
Couple of questions.
This plane has no oil cooler. Seller said one was never installed and he never needed one. Common?
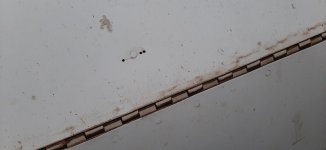
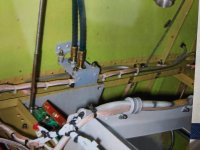
The brake lines are all the plastic stuff. Good or bad?
Fuel valve is very stiff to turn! I will replace it. Any valves to avoid? I see quite the range in costs.
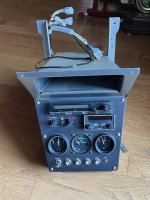
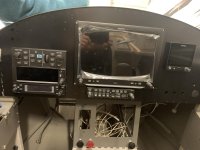
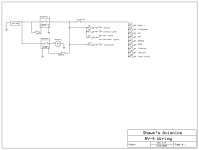
This plane has a Flightcom 403 intercom. It also has an Icom A210 radio, which has an intercom built into it. Does anyone have any experience with the use of the intercom built into the Icom radio? It is common, from what I have seen, that most planes have intercoms but I wonder why the extra equipment when the radio has that function.
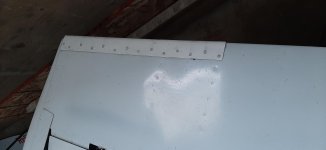
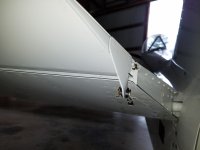
Totally jumping of topic and out of the fuselage, what tools would you use to cut the light bay into the leading edge of the wing? Is a nibbler worth the investment? I would think tin snips would make a messy job of it (maybe that is just me). I have an oscillating saw. I am wary of distorting the front of the wing. Small zip wheel? Again, one of those things that once I get going, I will be fine but getting set in the right direction is always good. And as builders, who does not want to talk tools? ")
That's it for now. Thanks all for the great input!
Cheers,
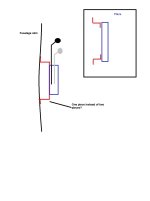
(Input from Van's regarding the mod of an old RV4 for electric trim)
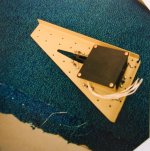
The kit shown below is what would be used if a RV-4 builder wanted to install elevator trim servo into the elevator. The RV-4 however is not well suited for this kit as it does not have the E-615 reinforcing plate utilized by all other RVs to allow the servo installation in the elevator. Below is a snap shot showing the differences between RV-6,7,8 and the RV-4 elevator. It would likely be simpler to build a new elevator and alter it during the build than to convert an old existing RV-4 to allow this style trim servo install.
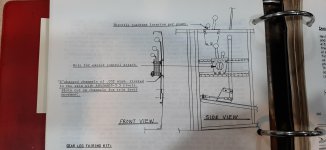
I have a RV-4 myself and If I were planning to convert from manual to electric I would instead modify the RV-10 installation detailed in the attached plans section 11 starting on page 8. This utilizes a short cable and then mounts the servo in the tail cone of the fuselage. You might take some time to study this installation and see if that is something you feel up to attempting.