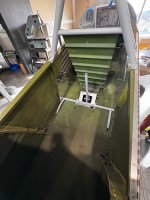
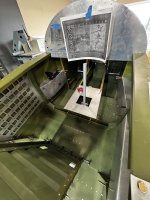
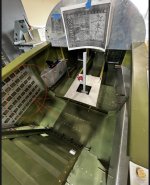
I’m about ready to start painting the interior. Previous builder primed the parts as he built back in the 1990s but I don’t know what he used.
Can I degrease and scuff the existing primed surfaces and paint over it or does it need a fresh coat of primer? Planning on using SW Jetflex.
Can I degrease and scuff the existing primed surfaces and paint over it or does it need a fresh coat of primer? Planning on using SW Jetflex.