TheBoatLife
Member
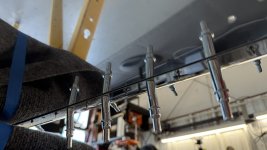
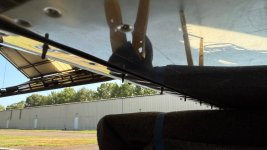
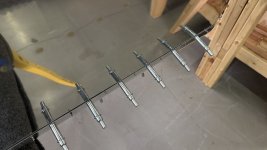
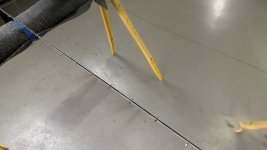
I'm on page 10-14 and have the side skins cleco'd on. I used a roller tool several steps back and did a slight break on the edge of the skins before I dimpled them. Now that it's together the edge of the skin doesn't sit flush with the bottom skin. It's much more than a simple break would need to be.
Im guessing I need to take the skin off and roll the edge more, but how would you roll such a large piece? Or am I missing something altogether with this?
Im guessing I need to take the skin off and roll the edge more, but how would you roll such a large piece? Or am I missing something altogether with this?