Karee Brinlee
Active Member
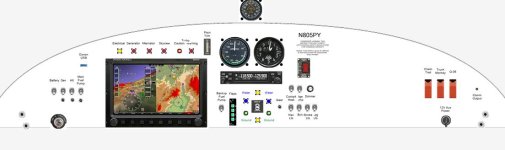
Hey guys,
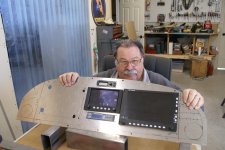
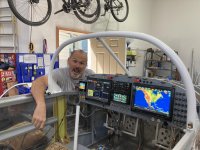
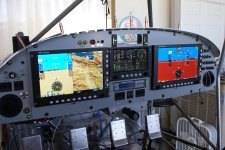
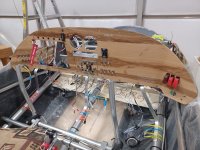
It is time to start on the panel.
What are most doing to cut the panel? I have two cuts I need done now then as I add more instruments over the winter will have more cuts made. I am not installing the panel at this time.
It would be nice to go with a carbon fiber panel but have not looked into that yet. Sure would save on the weight..
Also, as far as color for the panel I was told to go grey because it is a good color for lighting and glare issues.
Thoughts?
Karee
RV-7 flying within a year...