Is this a normal fit of the canopy frame to the roll bar?
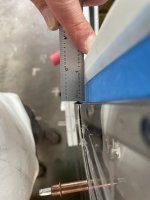
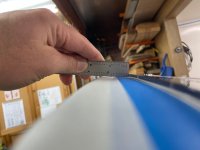
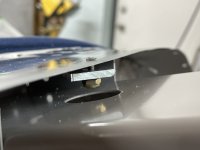
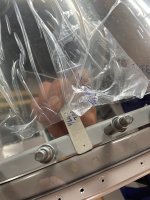
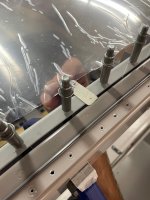
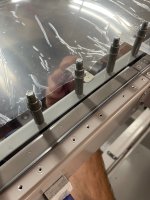
In the attached photos, the canopy frame is the white tape and the roll bar is the blue tape. On the sides the canopy frame is a fair bit wider than the roll bar, but at the top the canopy frame is shorter than the roll bar.
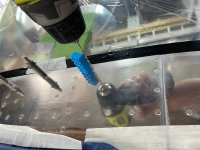
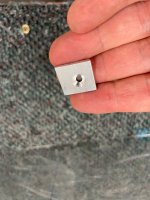
To the point that I think I would want some shims / washers under the screws up the top - for fear when I do up the screws and the canopy pulls down to the canopy frame it may crack - as it will be drilled sitting on the roll bar (with a gap between the canopy frame and the canopy itself).
Anyone else see this?
In the attached photos, the canopy frame is the white tape and the roll bar is the blue tape. On the sides the canopy frame is a fair bit wider than the roll bar, but at the top the canopy frame is shorter than the roll bar.
To the point that I think I would want some shims / washers under the screws up the top - for fear when I do up the screws and the canopy pulls down to the canopy frame it may crack - as it will be drilled sitting on the roll bar (with a gap between the canopy frame and the canopy itself).
Anyone else see this?