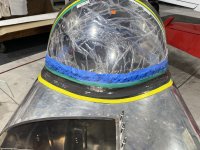
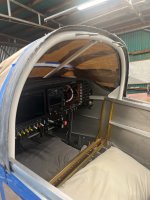
Anyone who has laid up a fiberglass windshield frame knows what I am talking about. At least with an -8, you have forward baggage door access if the worst thing happens (and you have a limber tiny five-year old to feed in through the opening…..)! 
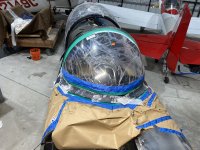
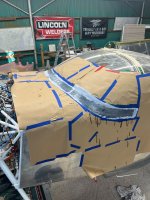
Now that the scary part is done, I can get down to finishing layups (at least one Carbon layer), filling, sanding, etc…..

Now that the scary part is done, I can get down to finishing layups (at least one Carbon layer), filling, sanding, etc…..

 .
.")