

Van's Air Force

The definitive Van's Aircraft support community! Buying, building or flying an RV? Join our exclusive family of mentors and enthusiasts!

Engine ground

Low Tailwheel rider

Member
Patron
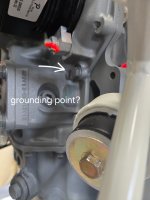
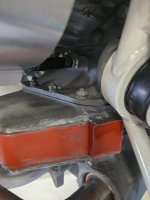
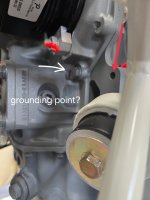
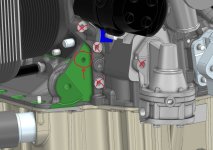
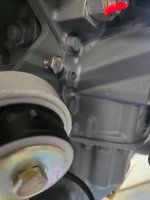
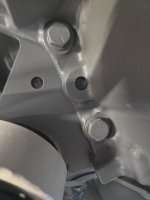
Trying to decide where to attach engine ground cable on engine. This is on a Lycoming IO-360, forward governor and horizontal induction. Here are a few pics of various places I'm considering.
(1) Unused threaded holes vicinity the starter
(2) Various studs holding on the manifold/sump
(3) Various studs holding on accessory case

I am reluctant to use any of the various studs, esp with threaded holes available. Should I be...why or why not? Any particular preferred stud?
Far forward threaded holes complicates routing back to my firewall grounding point on the fuselage.
Appreciate all thought and insight, pics are always good!

Thanks so much - Dave
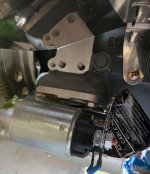
engine case threads near starter.jpgEngine ground.jpgengine manifold to sump bolts.jpg
 
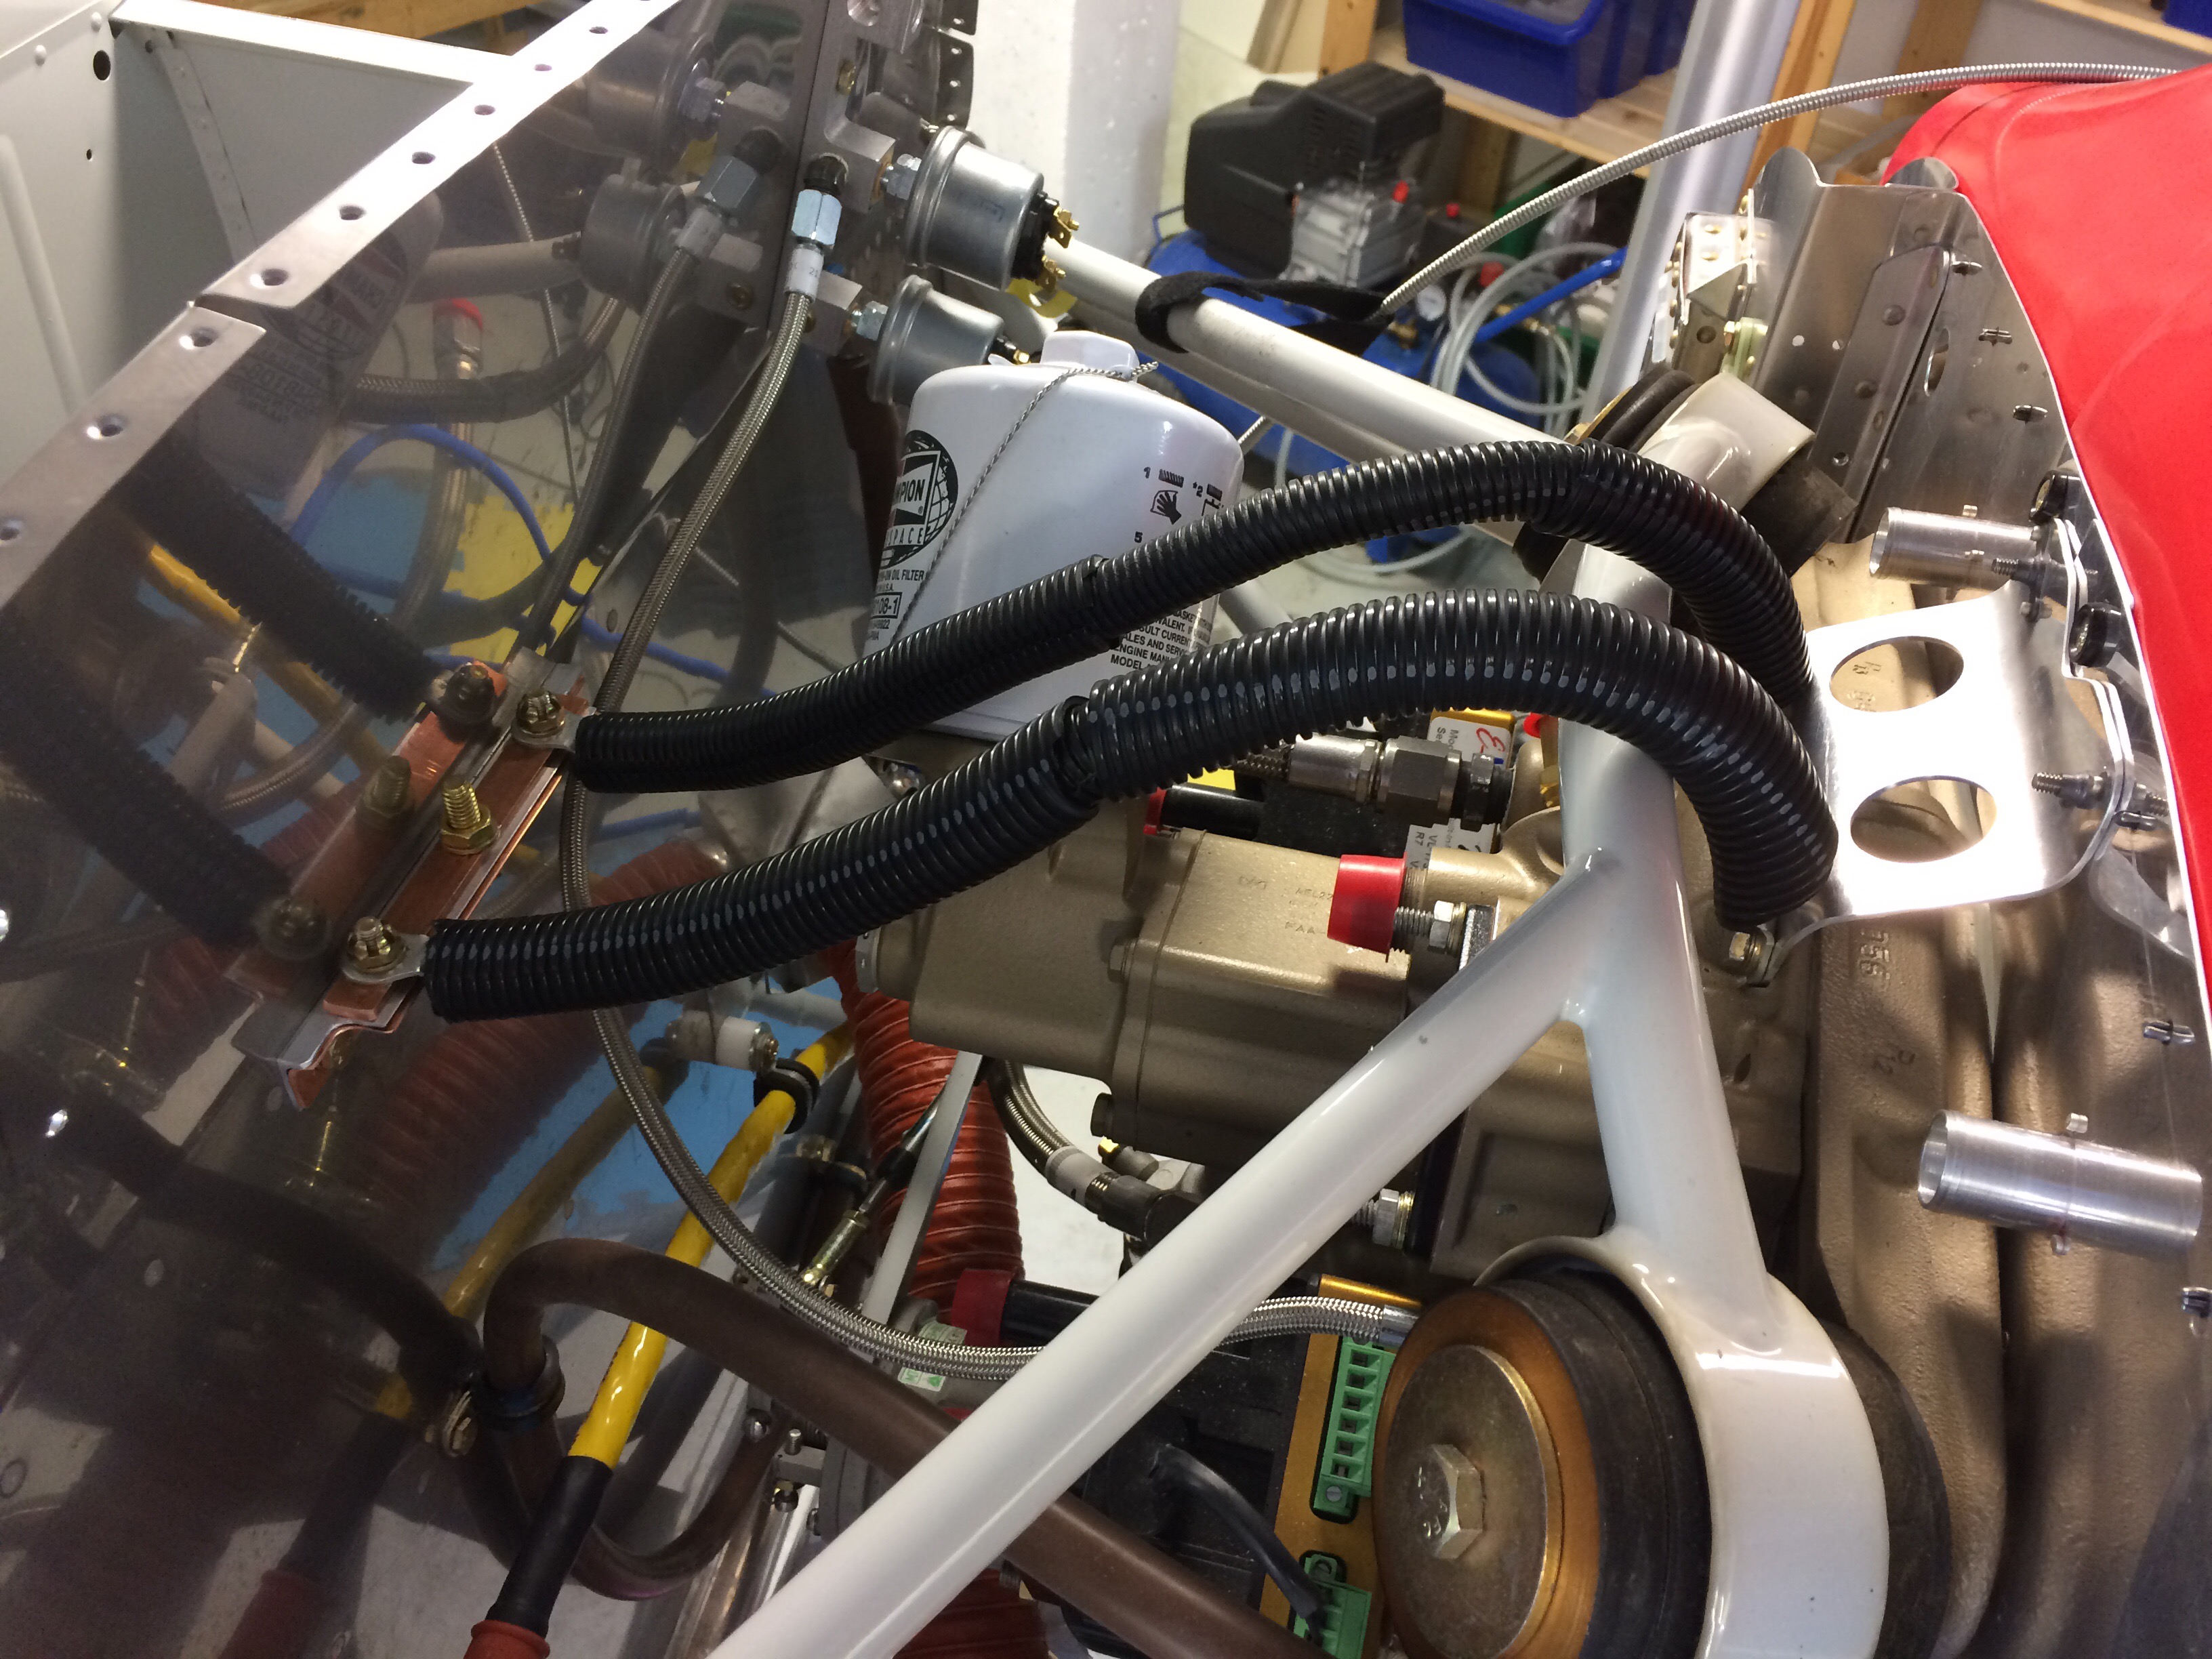
Here is how I did it - working fine - 500 hrs.

img_9430.jpg


Just checking, is grounding pmags to the engine not firewall for a case where the engine ground strap breaks? I'm still doing fwf, and I think I routed both of my pmags to the firewall lug, but I have to double check.
 
Just checking, is grounding pmags to the engine not firewall for a case where the engine ground strap breaks? I'm still doing fwf, and I think I routed both of my pmags to the firewall lug, but I have to double check.
Yes. Manual mentions it.
Mine is IO-360-M1B rear gov.
I also grounded to the hole Rod (Little Wing) noted with a red arrow above. Easy to insert a 1/4" bolt. I did add a copper tab for smaller grounds like the P-mags. I wanted the big ground nice and tight. Clean the paint off the area to insure a good ground. Your starter will pull a lot of amps.
 
Do not attach the ground cable to a bolt which compresses a gasket, as it will get loose with time. So that means don't use any of the bolts which hold the rear accessory housing. Also, the desire is to have the cable as short as possible to minimize voltage drop, so that means the back of the engine, specifically to the crankcase. Below is a good point to attach to, but scrape the paint off from both sides first, and use star washers to "dig in" to the aluminum casting for maximum electrical contact.

1783355543218.jpeg
 
Gotta love VAF forums...thanks to all who posted! Went to the workshop after lunch and discovered that there were two similar untapped holes (one each side) as depicted by Little Wing and hgerhardt. Was just the right size drilled for an M8 tap. 10 minutes later and I have a good ground point once I brush the paint around the bolt hole. Life is good, confidence is high!!

Dave

Case ground tapped with M8 x 1.25.jpgCase ground untapped.jpg
 
I grounded at the red arrow on both sides.

....which is the "official" ground point.

And yes, do yourself a favor; use a nice soft braided ground strap. IIRC, Steinair has them in custom lengths.

Second best, a welding cable, as they are pretty flexible.

Aircraft cable is too stiff.
 
Gotta love VAF forums...thanks to all who posted! Went to the workshop after lunch and discovered that there were two similar untapped holes (one each side) as depicted by Little Wing and hgerhardt. Was just the right size drilled for an M8 tap. 10 minutes later and I have a good ground point once I brush the paint around the bolt hole. Life is good, confidence is high!!

Dave
M8? Why? Lyco is all SAE. It's yours. Just curious.
 
"M8? Why? Lyco is all SAE. It's yours. Just curious."
@wirejock Didn't have the particular tap on hand, hole was right size for M8 tap which I had and I have a lot of left over s/s hardware on hand from doing old Toyota Land Cruiser renovations/restorations (where I did keep everything JIS metric as best I could.) Not having to drill out the hole for the correct SAE tap size was probably the deciding factor which saved me having to go out to get the drill bit, tap and SAE hardware. That's my story and...lot more questions to come to the forum as I make progress on electrical stuff soon. :)
 
@wirejock Didn't have the particular tap on hand, hole was right size for M8 tap which I had and I have a lot of left over s/s hardware on hand from doing old Toyota Land Cruiser renovations/restorations (where I did keep everything JIS metric as best I could.) Not having to drill out the hole for the correct SAE tap size was probably the deciding factor which saved me having to go out to get the drill bit, tap and SAE hardware. That's my story and...lot more questions to come to the forum as I make progress on electrical stuff soon. :)
It was likely a 1/4” hole designed for a 1/4” bolt. The hole size for an m8 tap is around .270” and with aluminum you can go a bit smaller and still get away with it. So lyc designed it as an unthreaded hole for a 1/4” bolt, but by coincidence supports an m8 tap. Nothing wrong with using a bolt nut arrangement for a ground strap.
 
It was likely a 1/4” hole designed for a 1/4” bolt. The hole size for an m8 tap is around .270” and with aluminum you can go a bit smaller and still get away with it. So lyc designed it as an unthreaded hole for a 1/4” bolt, but by coincidence supports an m8 tap. Nothing wrong with using a bolt nut arrangement for a ground strap.
Ha!...actually would have been the easiest solution! Never crossed my mind to just bolt up...in my clue bag now.
 
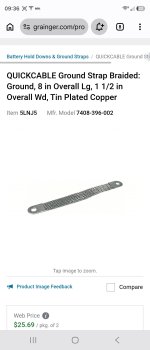
Here's what I used:


View attachment 122427
Same. I have a 16 ton crimper made short work of those terminals.
One of the few places Bob Nuckolls recommends solder.
http://www.aeroelectric.com/articles/big_term.pdf
 
Gotta love VAF forums...thanks to all who posted! Went to the workshop after lunch and discovered that there were two similar untapped holes (one each side) as depicted by Little Wing and hgerhardt. Was just the right size drilled for an M8 tap. 10 minutes later and I have a good ground point once I brush the paint around the bolt hole. Life is good, confidence is high!!

Dave
If it was mentioned, I didn't see it. If you stick with this approach, the fastener has to bed safetied (wire, lockwasher, etc.) A nut on the backside eliminates this need.
 
Back
Top