chris1seto
Active Member
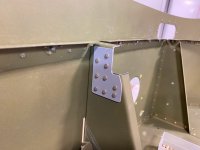
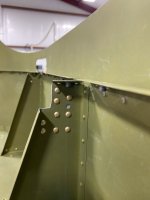
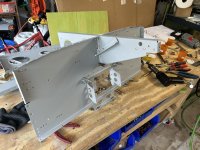
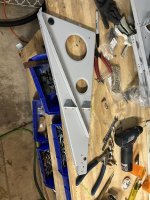
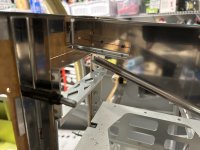
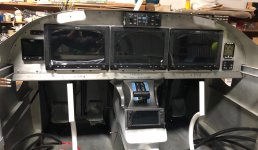
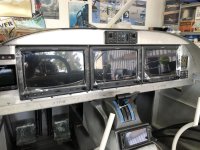
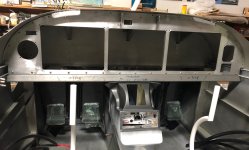
I've seen a few flat (CNC cut sheet metal) panels with the Garmin AP head in the center of the panel. I really want to do this on my plane, but it's complicated by the rib right behind the center of the panel.
I've seen this done on a few RVs, I'm wondering if there is anyone lurking here who has done this who might be able to share a few details on how exactly they pulled it off?
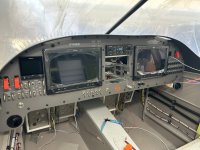
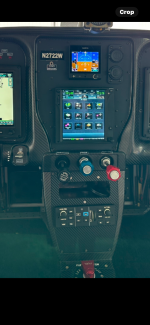
Probably the finest example I've seen of this is Joe Walz's RV10 ( @Traash ?). here: https://vansairforce.net/threads/show-us-your-rv-10-panel.18921/page-10#post-1554477
I have a feeling that in 4JN's install above, the top eyebrow is probably just a bit over an inch raised from the panel surface and the offending front rib is probably completely unmodified and there is solid panel right behind the center of the autopilot head. I can't find a build log for this project, but I did DM Joe on FB to see if he'd be kind enough to share some details.
Has anyone seen anything like this or have reference material?
Thanks!
I've seen this done on a few RVs, I'm wondering if there is anyone lurking here who has done this who might be able to share a few details on how exactly they pulled it off?
Probably the finest example I've seen of this is Joe Walz's RV10 ( @Traash ?). here: https://vansairforce.net/threads/show-us-your-rv-10-panel.18921/page-10#post-1554477
I have a feeling that in 4JN's install above, the top eyebrow is probably just a bit over an inch raised from the panel surface and the offending front rib is probably completely unmodified and there is solid panel right behind the center of the autopilot head. I can't find a build log for this project, but I did DM Joe on FB to see if he'd be kind enough to share some details.
Has anyone seen anything like this or have reference material?
Thanks!