Progress has been slow the past few days on account of -15 degree temps.
Well, look at the bright side. At that temp the pretty blue film on the parts is color coordinated with your bobolones. So you'll have that goin for ya.


Progress has been slow the past few days on account of -15 degree temps.
Well, look at the bright side. At that temp the pretty blue film on the parts is color coordinated with your bobolones. So you'll have that goin for ya.
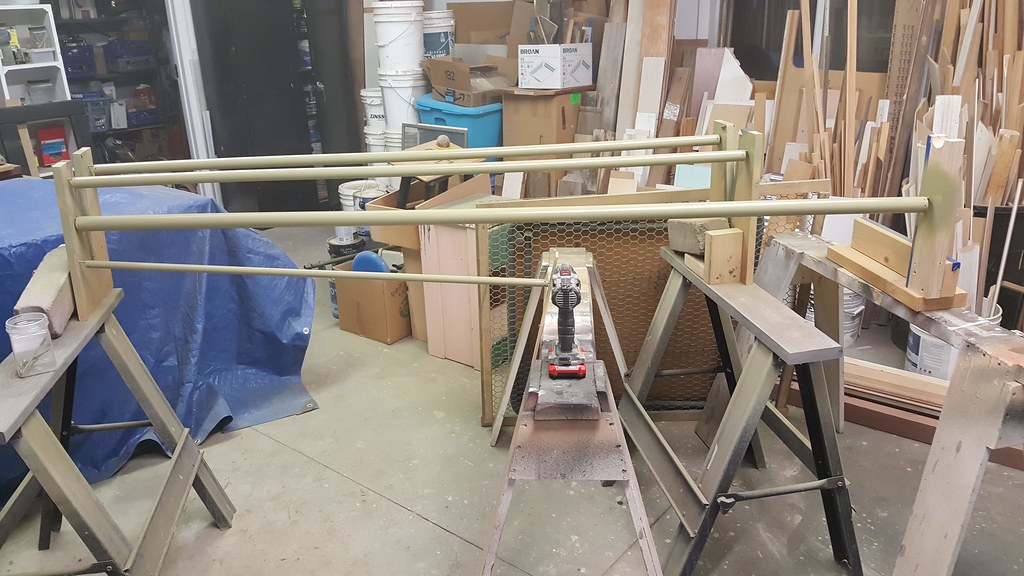
Your work is looking really tidy! I just riveted my ailerons today, those spar rivets were good fun solo.
 20190105_164145 by Jereme Carne, on Flickr
 20190106_150921 by Jereme Carne, on Flickr
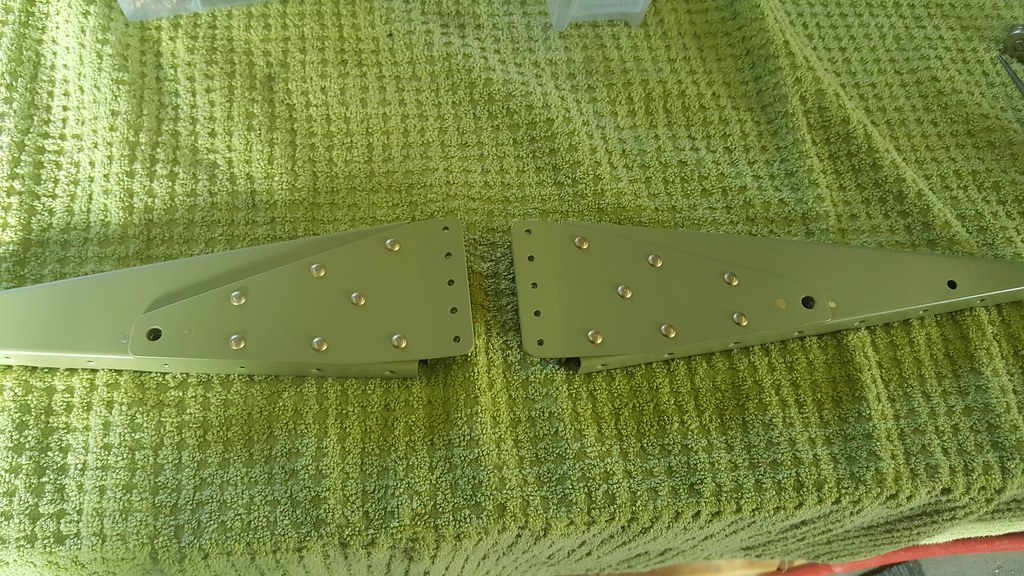
Nice work. What kind of primer? Self etching?
 20190113_130718 by Jereme Carne, on Flickr
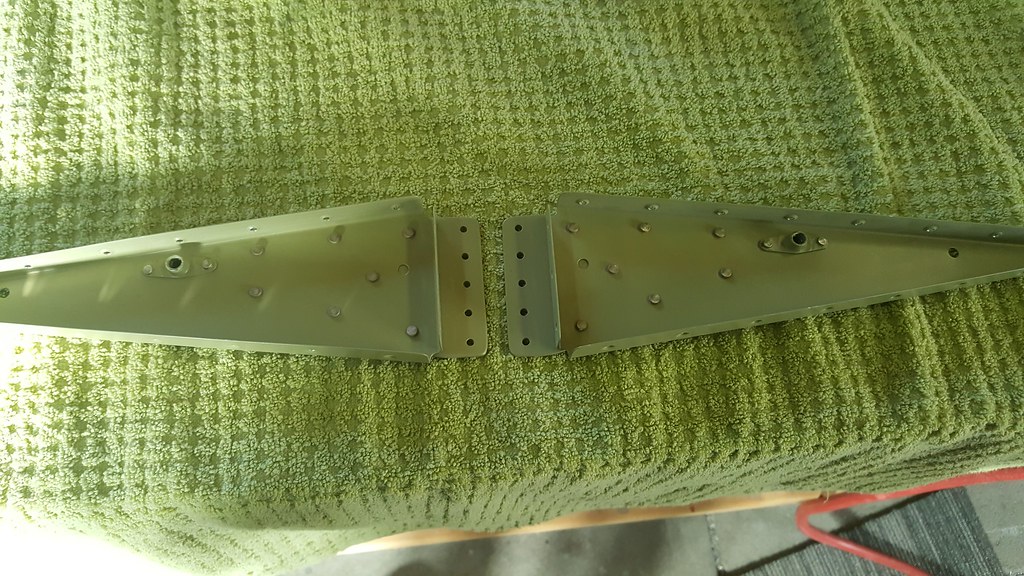 20190113_130730 by Jereme Carne, on Flickr
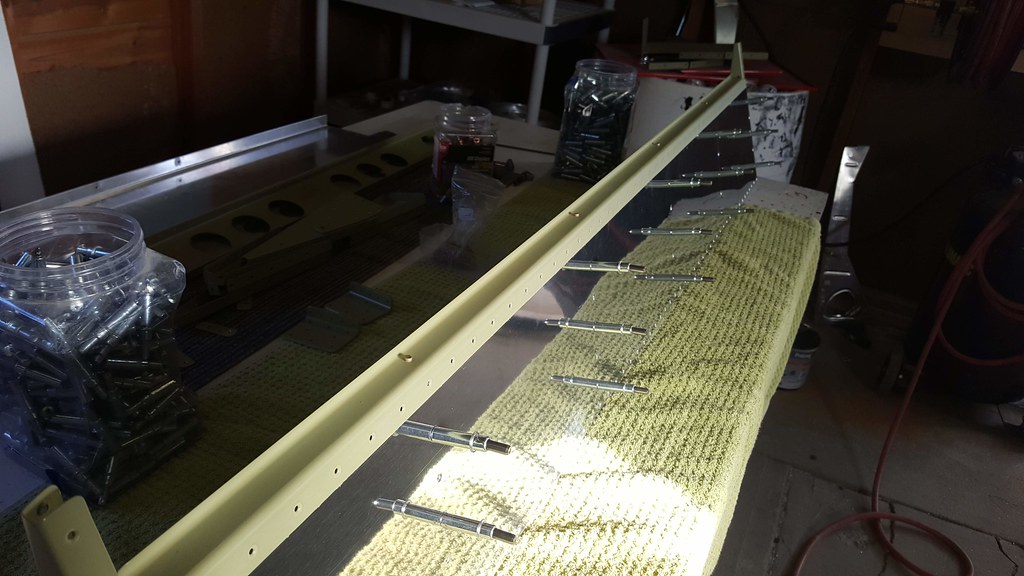 20190113_132011 by Jereme Carne, on Flickr
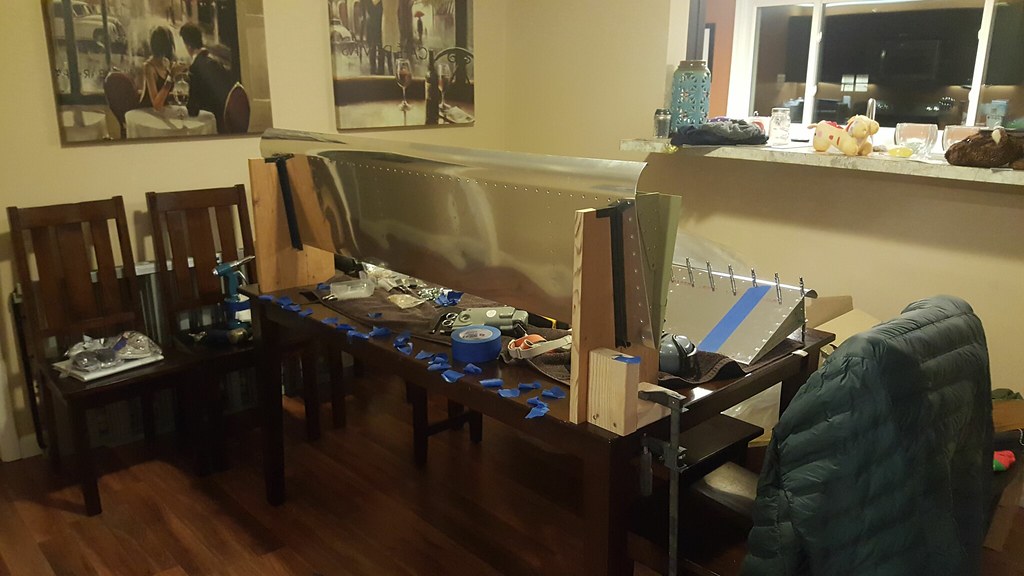 20190117_185454 by Jereme Carne, on Flickr
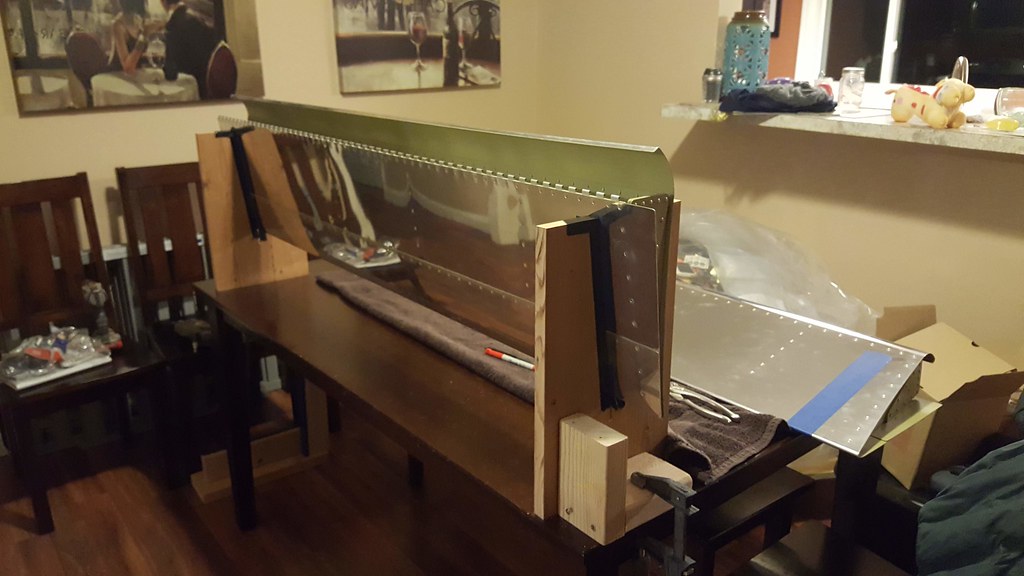 20190118_213306 by Jereme Carne, on Flickr
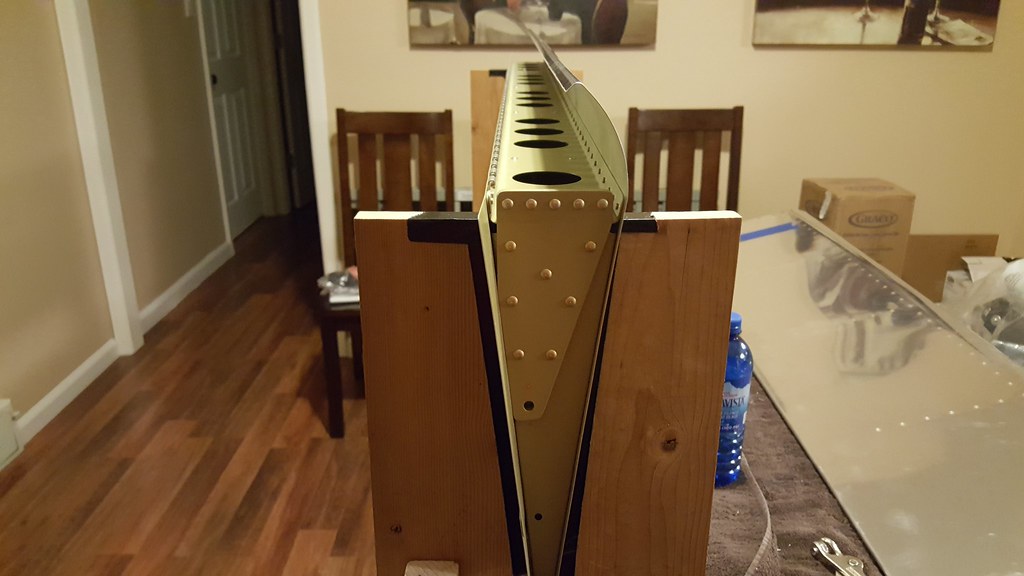 20190118_213312 by Jereme Carne, on Flickr
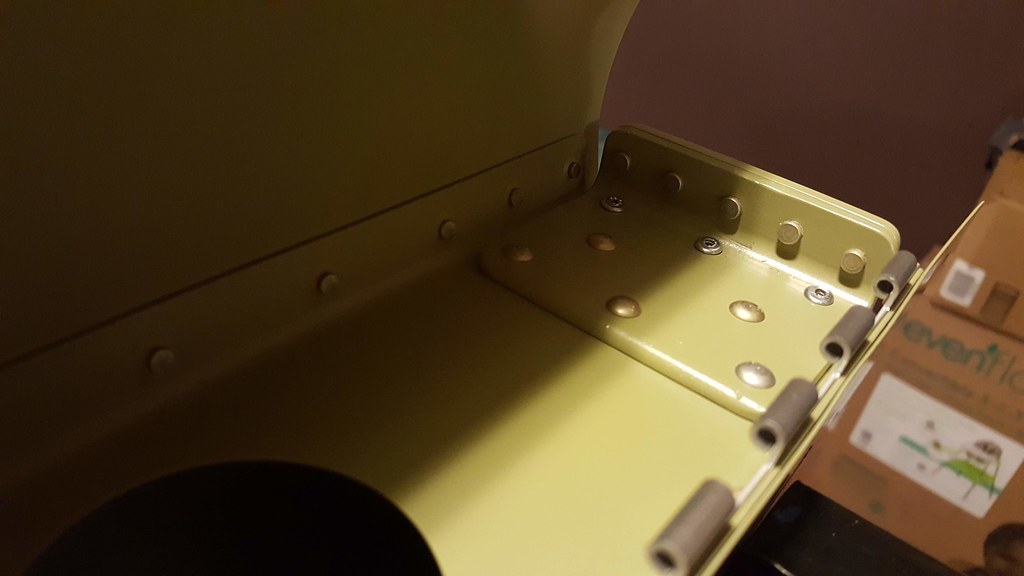 20190118_213319 by Jereme Carne, on Flickr
 20190123_151619 by Jereme Carne, on Flickr
 20190120_155358 by Jereme Carne, on Flickr
 20190202_161019 by Jereme Carne, on Flickr
 20190202_171740 by Jereme Carne, on Flickr
 20190202_223441 by Jereme Carne, on Flickr
Again, congratulations Jereme!
Work still chugging along for the machine! Awesome.
 20190206_183109 by Jereme Carne, on Flickr
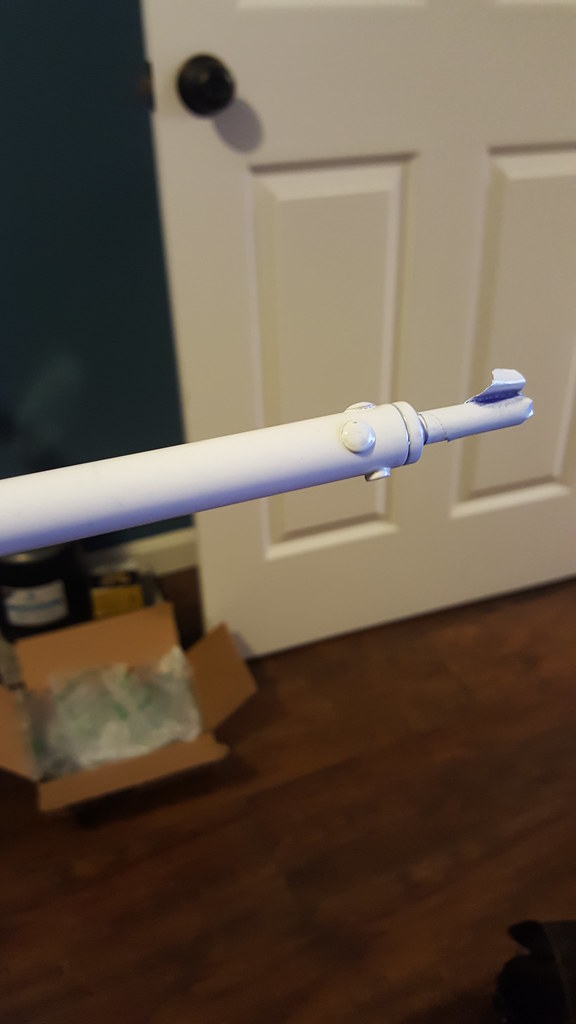 20190217_070442 by Jereme Carne, on Flickr
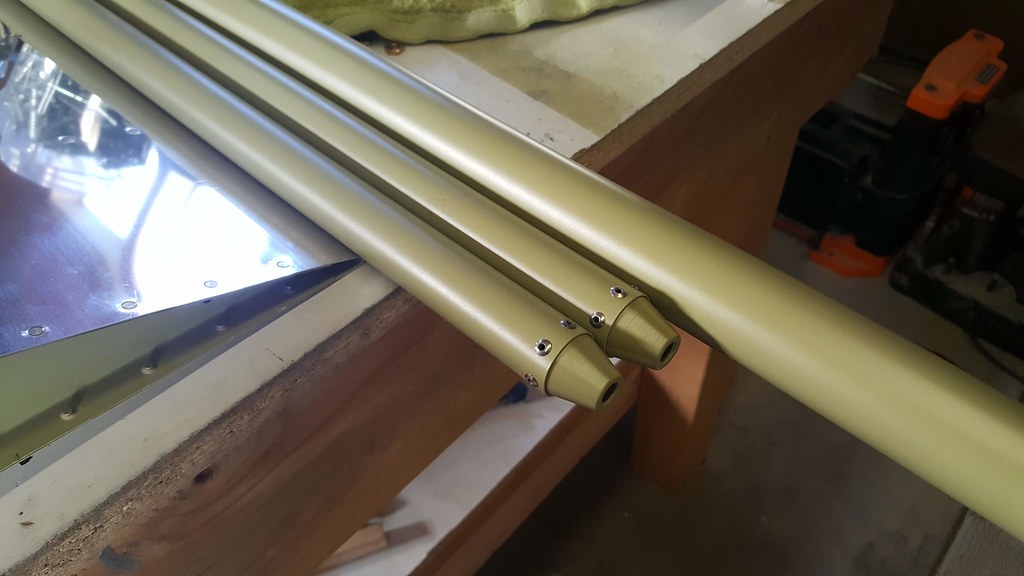 20190215_161806 by Jereme Carne, on Flickr
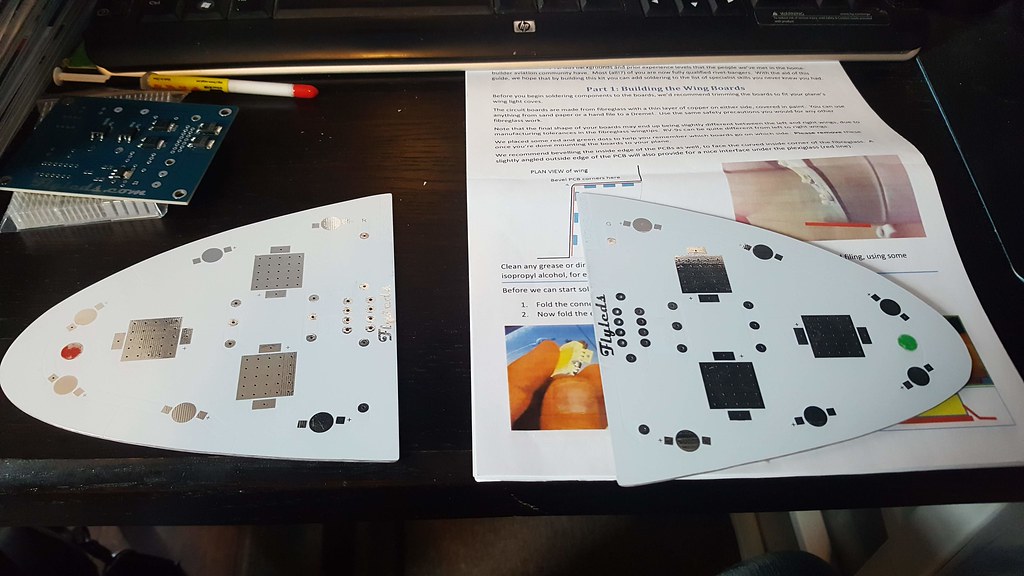 20190217_160648 by Jereme Carne, on Flickr
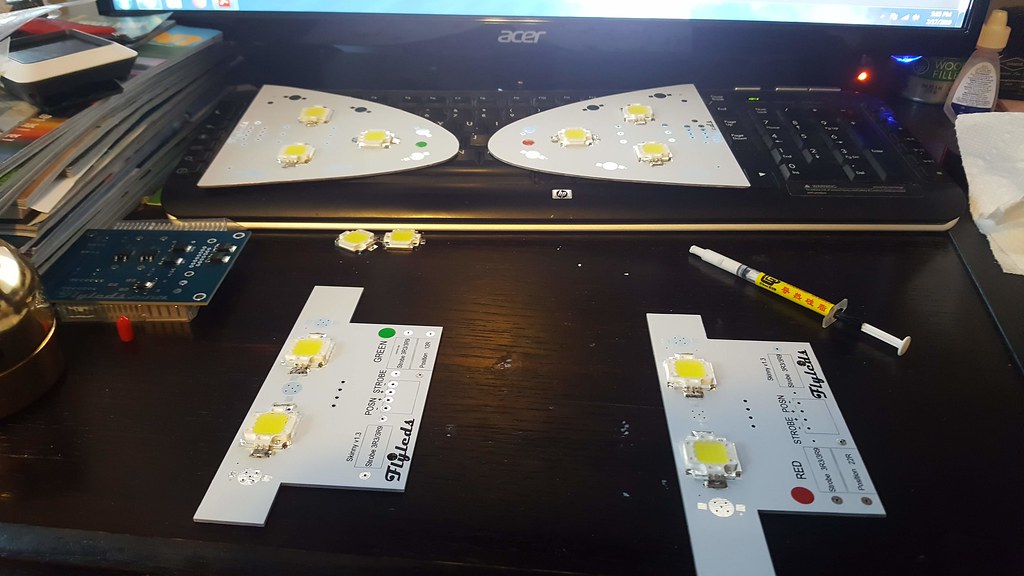 20190217_170547 by Jereme Carne, on Flickr
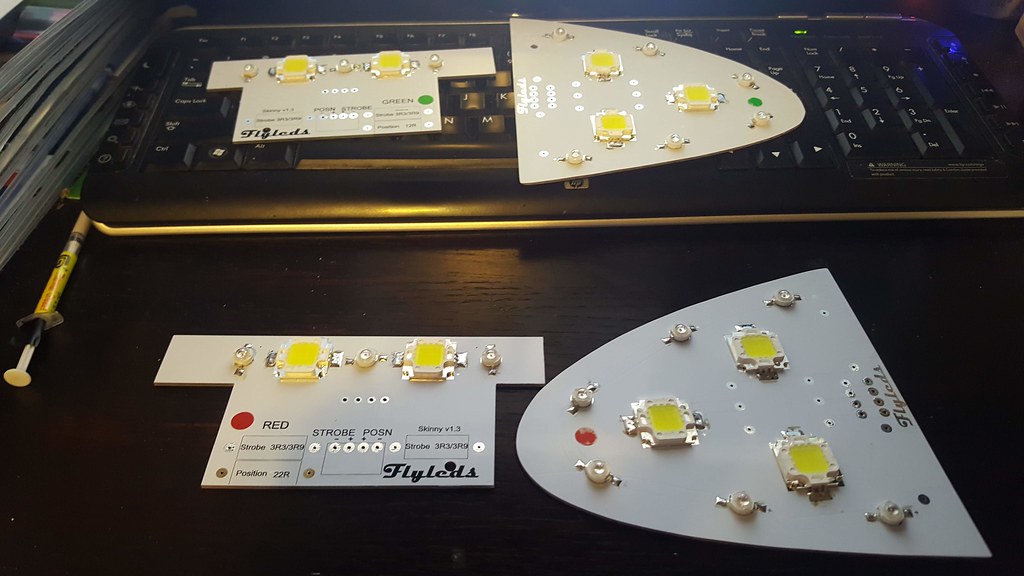 20190217_174527 by Jereme Carne, on Flickr
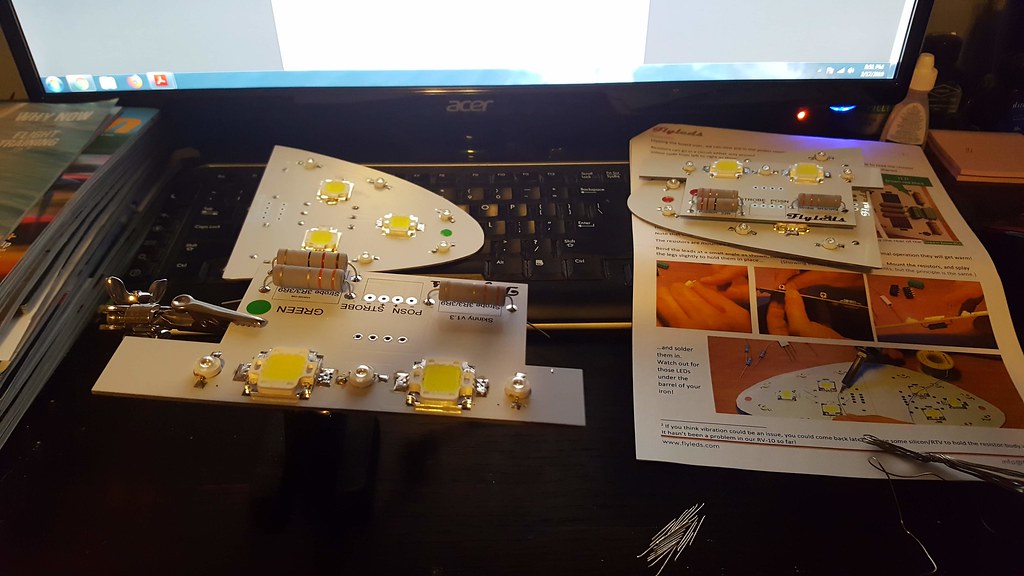 20190217_205115 by Jereme Carne, on Flickr
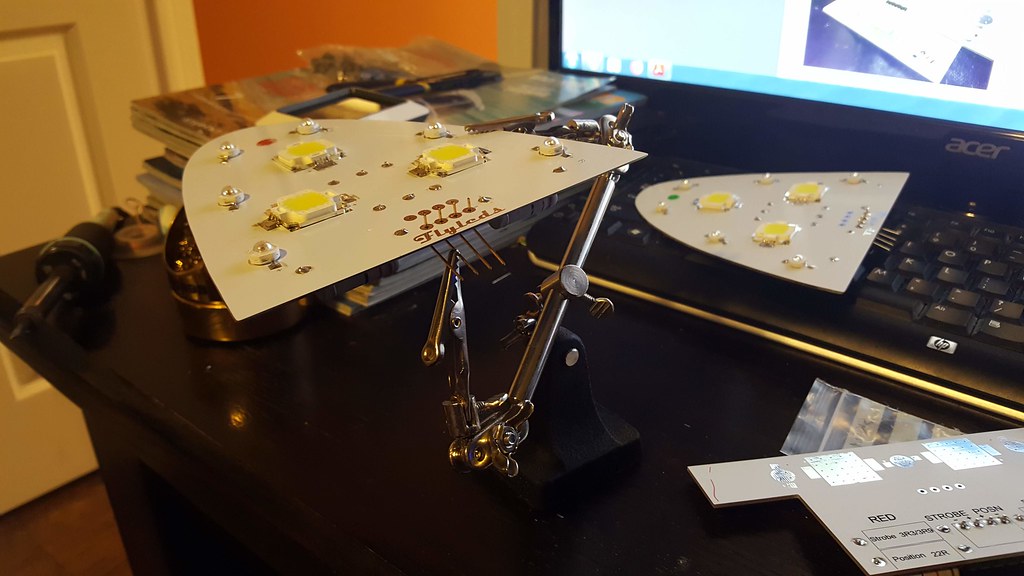 20190217_211046 by Jereme Carne, on Flickr
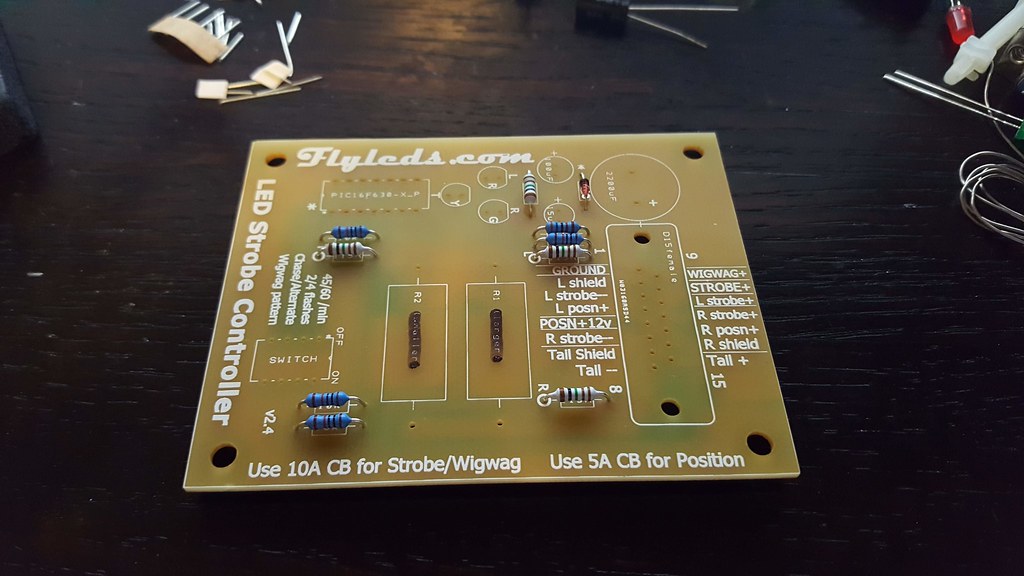 20190218_184532 by Jereme Carne, on Flickr
 20190218_190230 by Jereme Carne, on Flickr
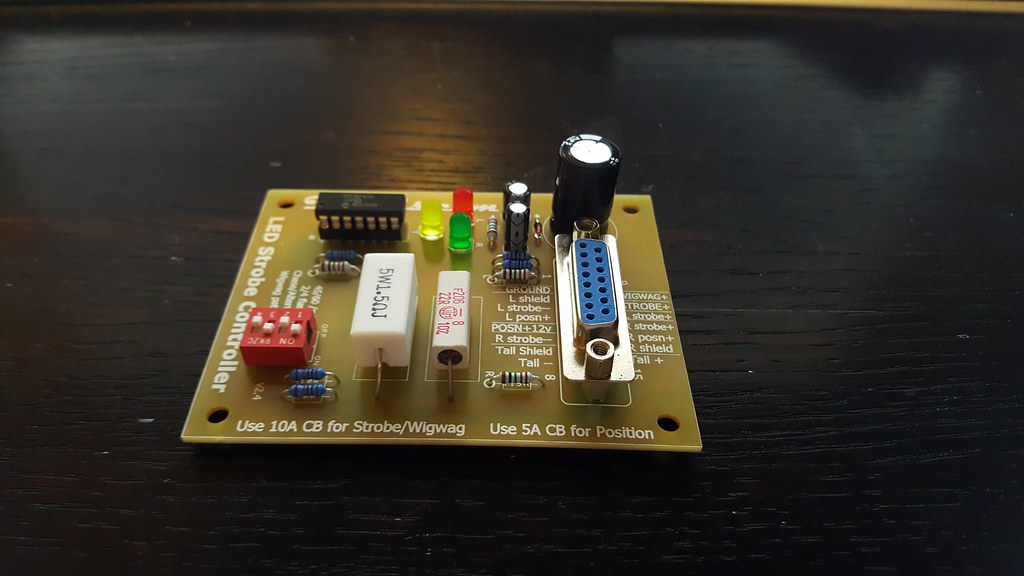 20190218_212811 by Jereme Carne, on Flickr
I drilled my mounting holes too close to the internal circuit board and shorted out several LED?s. Paul at Flyleds responded almost immediately to my email and helped me troubleshoot the issue. He sent me two new LED?s and a few spares. Customer service is top notch.
Jereme,
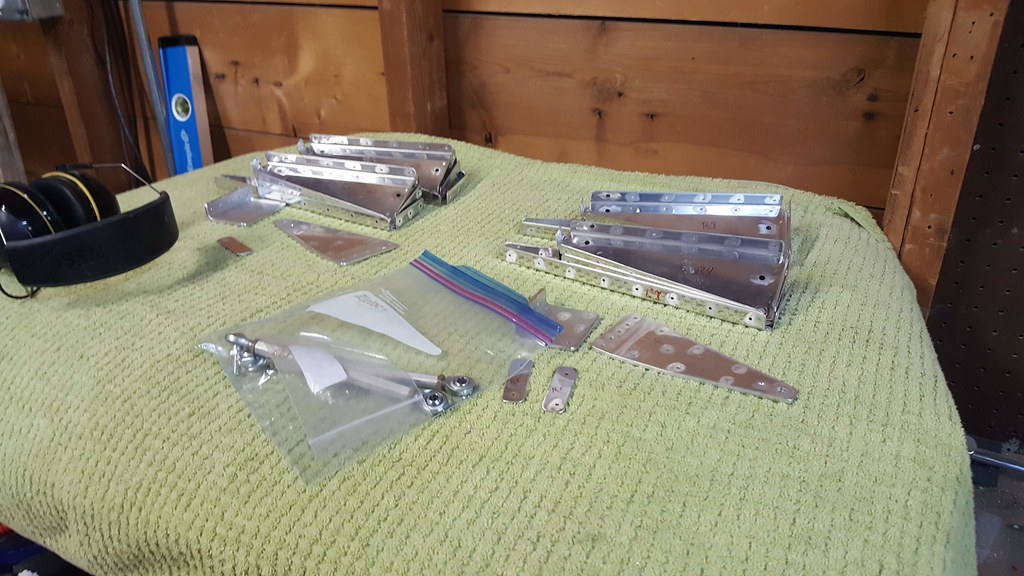
Are you installing landing lights in the wing tips? Are those short boards for landing light clearance? That reminds me of assembler days at an engineering firm I worked at in Calabasas CA. Watching the crew do surface mount work, tiny tiny.
Great work!
Thanks for posting, so many people have good experiences with Paul that it was a no brainer where I decided to spend my money.
Yes I'm installing some Squadron Pro lights in the wingtips which is exactly what the short boards are for. FlyLEDs now makes one with the landing light option built in but I had already purchased the lights I have so no biggy.
 20190310_130421 by Jereme Carne, on Flickr
 20190310_153150 by Jereme Carne, on Flickr
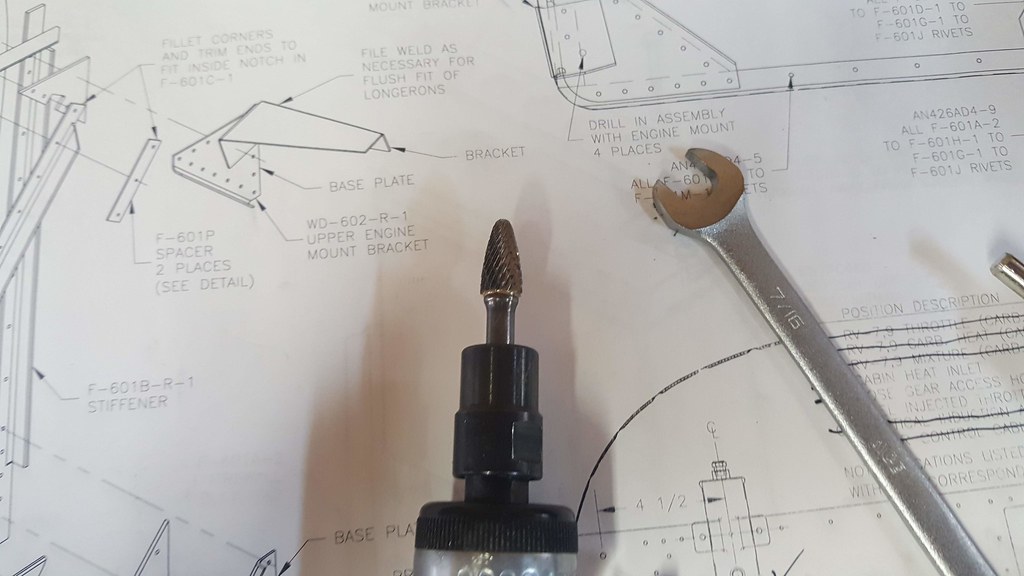 20181103_143607 by Jereme Carne, on Flickr
 20190310_160209 by Jereme Carne, on Flickr
 20190310_173907 by Jereme Carne, on Flickr(not sure which one is appropriate for the last comment haha)
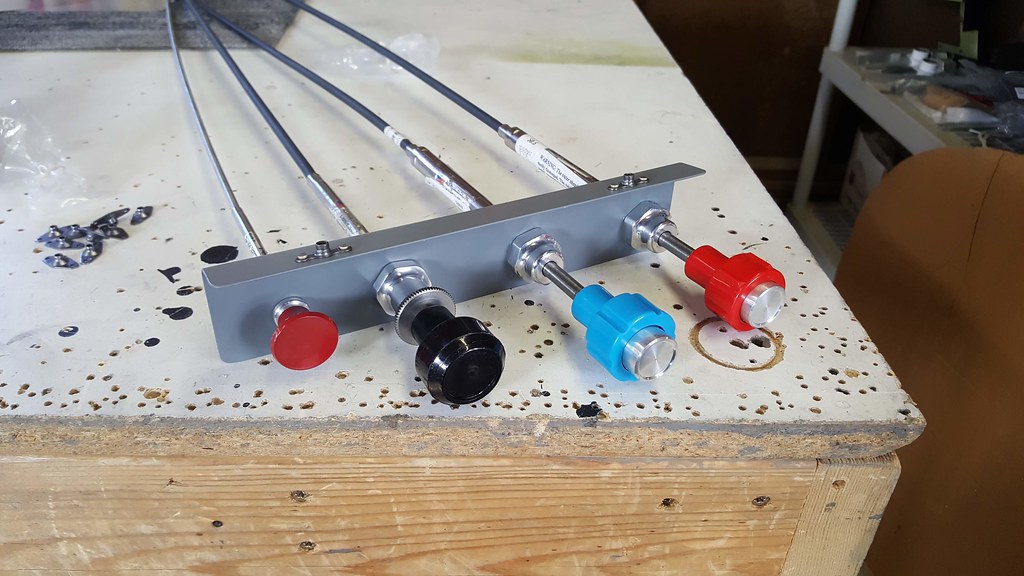 20190318_143824 by Jereme Carne, on Flickr
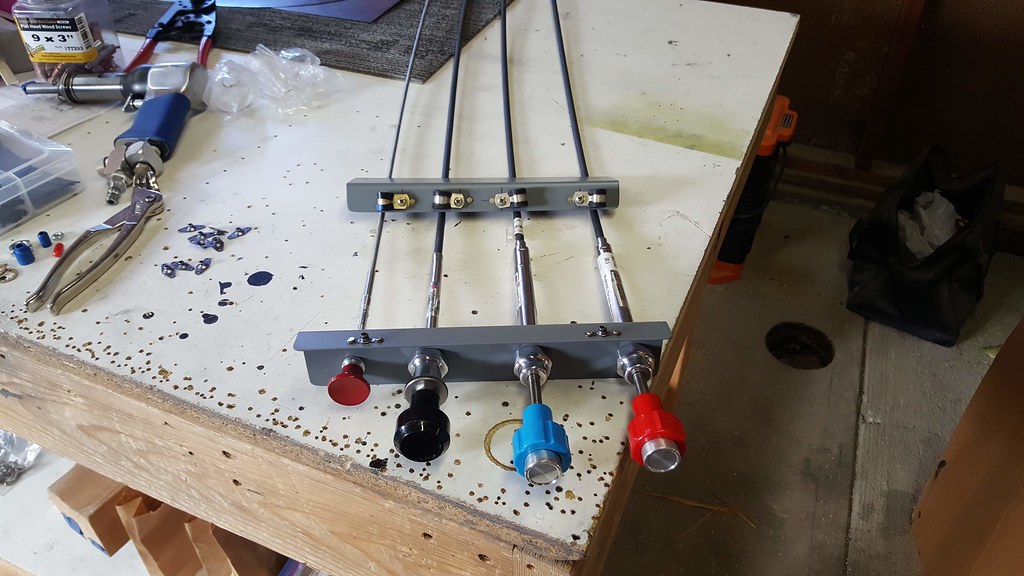 20190318_153702 by Jereme Carne, on Flickr
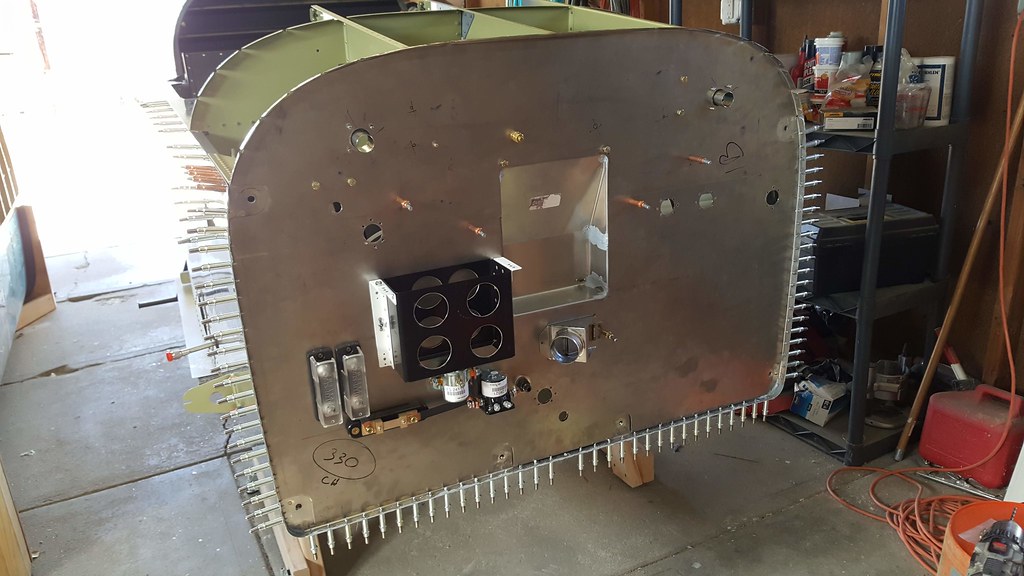 20190319_134036 by Jereme Carne, on Flickr
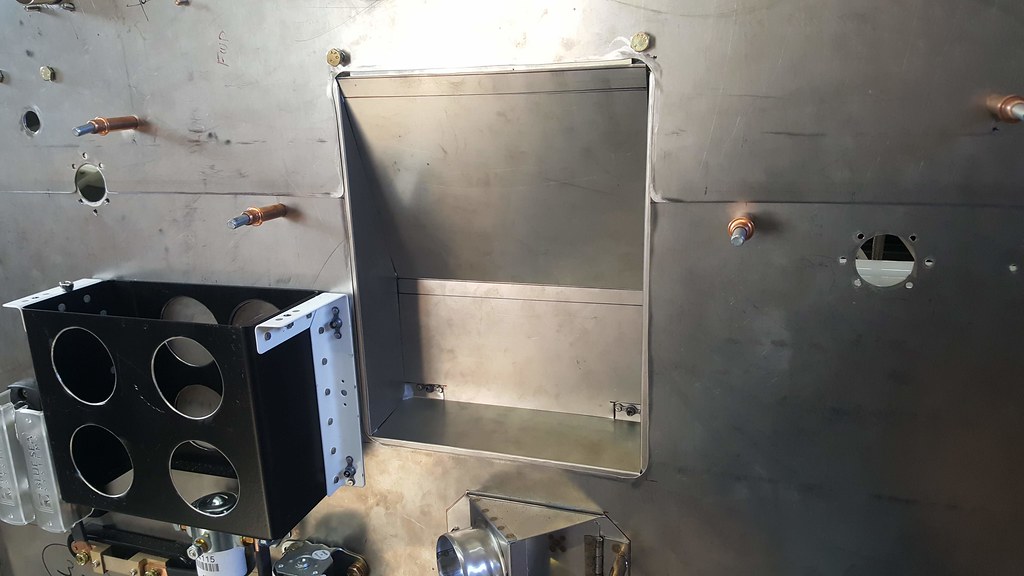 20190319_145233 by Jereme Carne, on Flickr
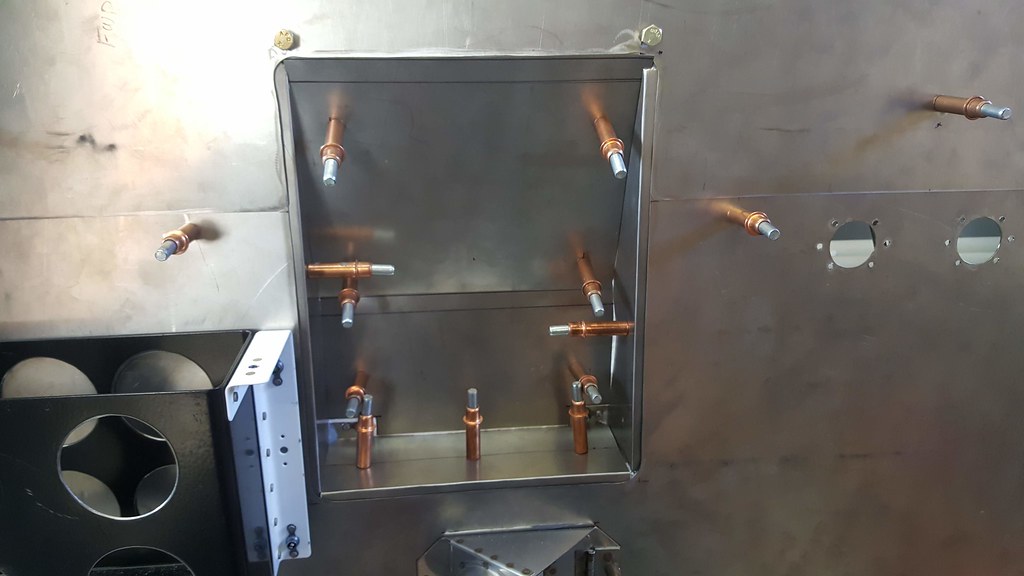 20190319_153401 by Jereme Carne, on Flickr
Humming along! Where is the fiberfrax? Is it beneath the Ti? Not sure I am on the same page as you regarding the Ti!
Is the stainless firewall with fiberfrax insufficient? What is your line of thought here Jereme.
Looking great all the same.
Very shiny! Looking at this is an inspiration to keep working Jereme! Thanks for the kick in the rear-end!
 20190405_194853 by Jereme Carne, on Flickr Good thing I just got a tetanus shot.
 20190405_204619 by Jereme Carne, on Flickr
Jereme, How did that canopy frame go?
Looking really good! What do all those articulated eyeballs to the left do? And to the left upper? I don't have an idea about my setup yet as I am not there yet.
Awesome!
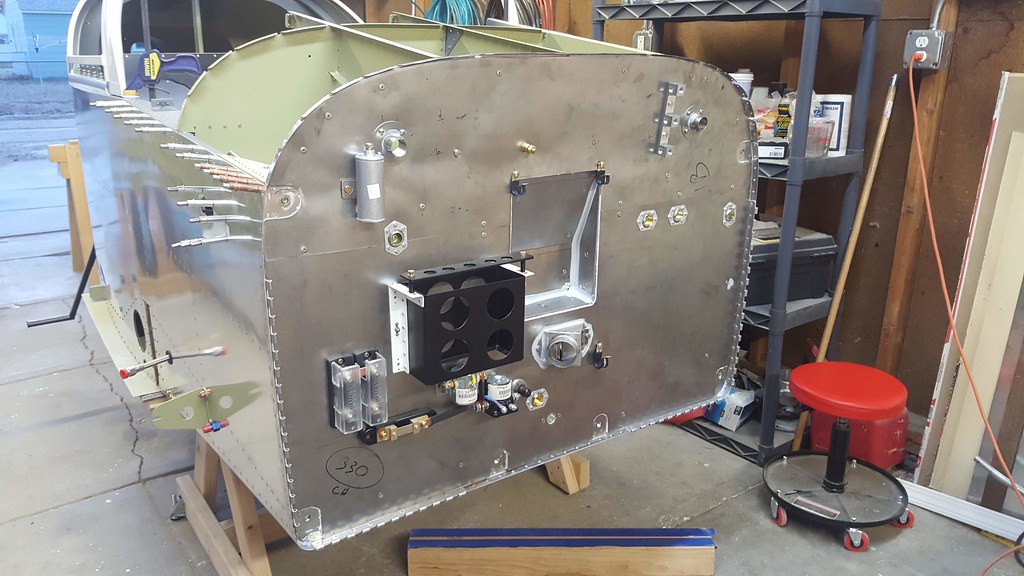
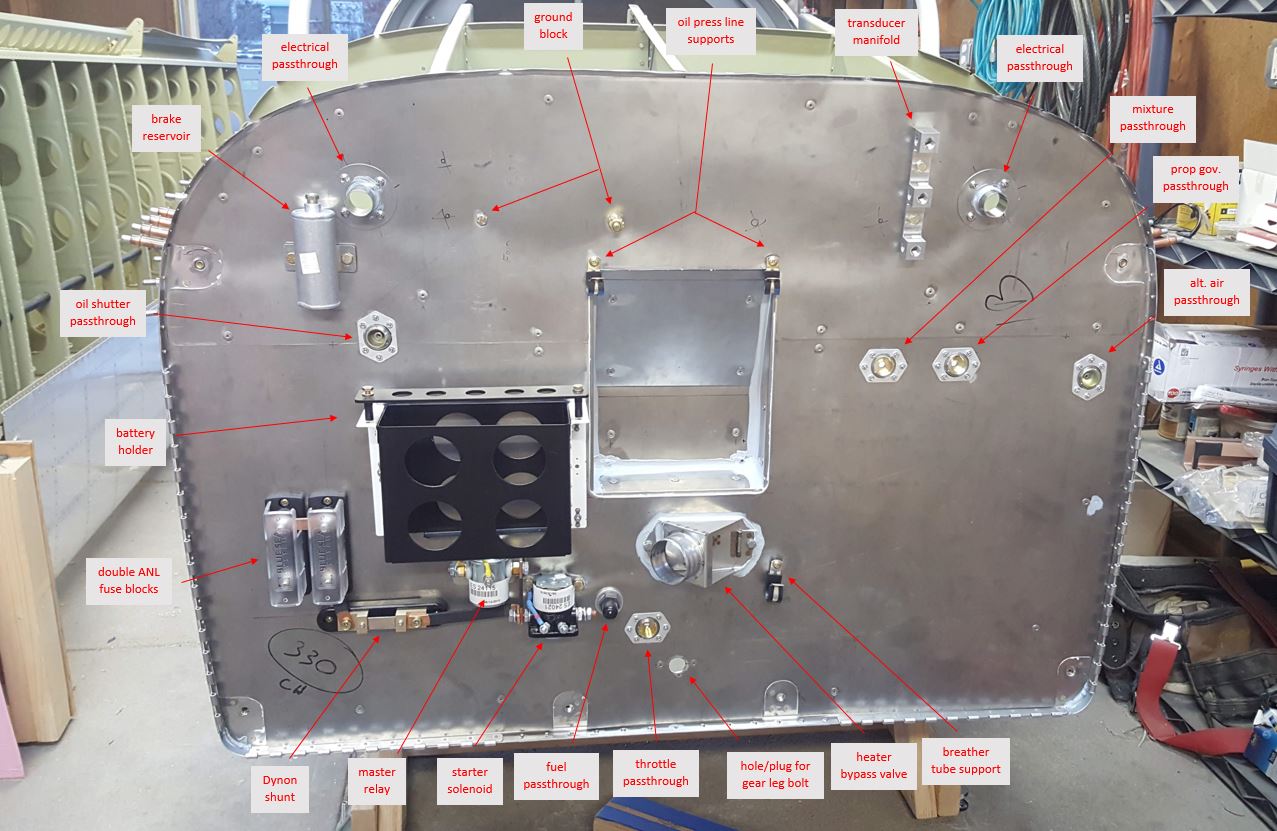 firewall by Jereme Carne, on Flickr
So I am good I don't use any of the three on the right in the picture, save for maybe alt air. What does that do? Outside of the obvious..
Or the oil shutter, never too hot never too cold in Oregon.
 20190406_155103 by Jereme Carne, on Flickr
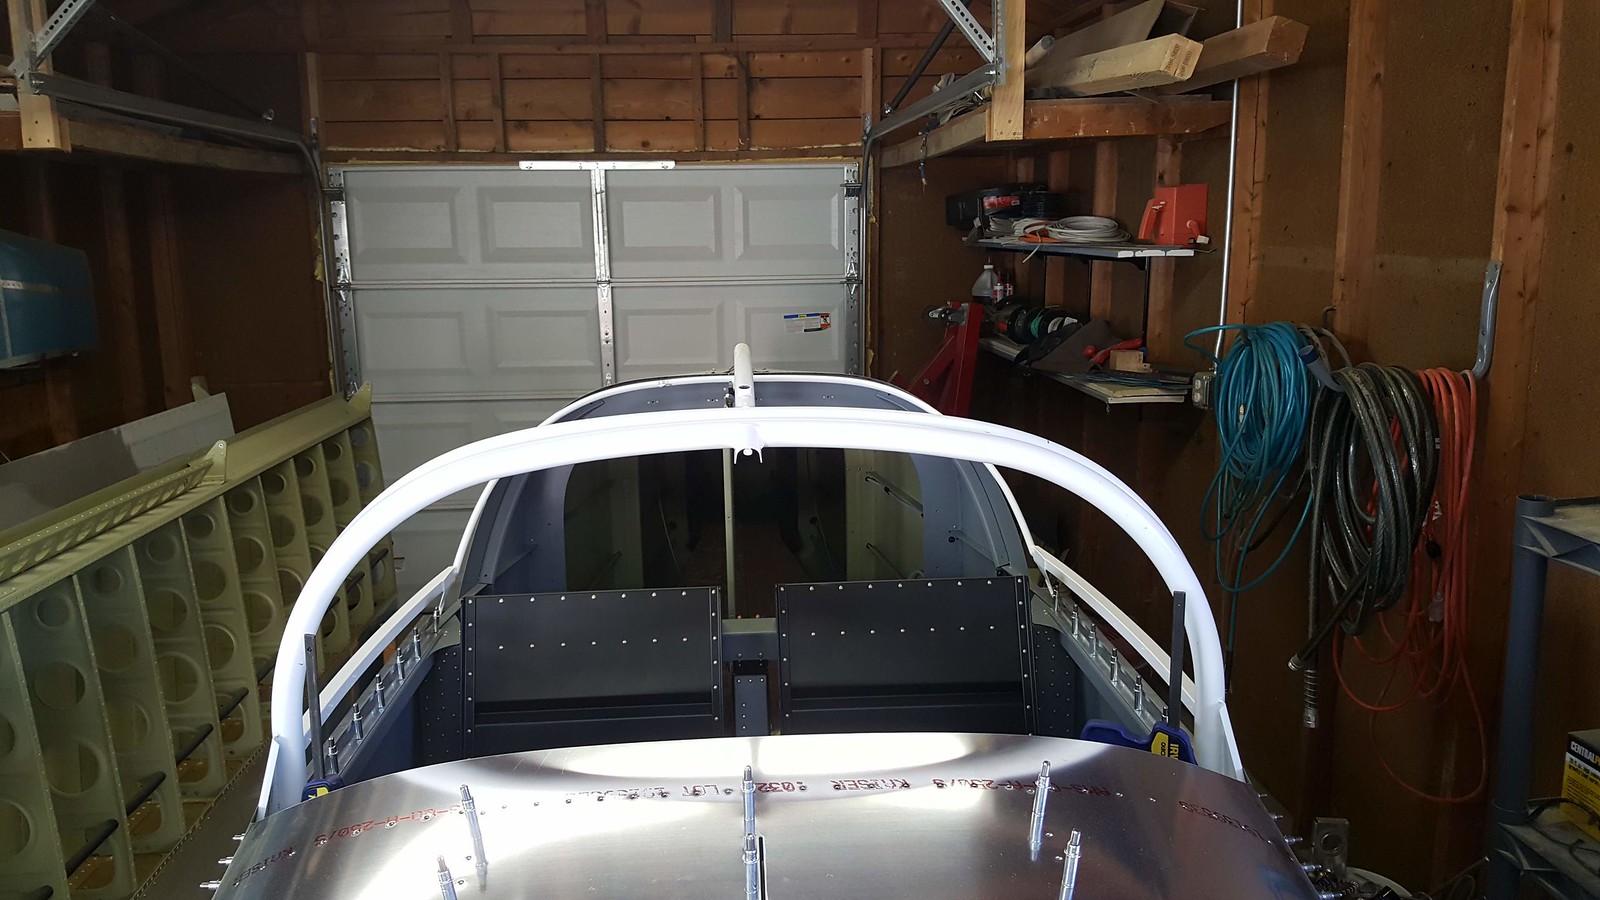 20190406_155115 by Jereme Carne, on Flickr
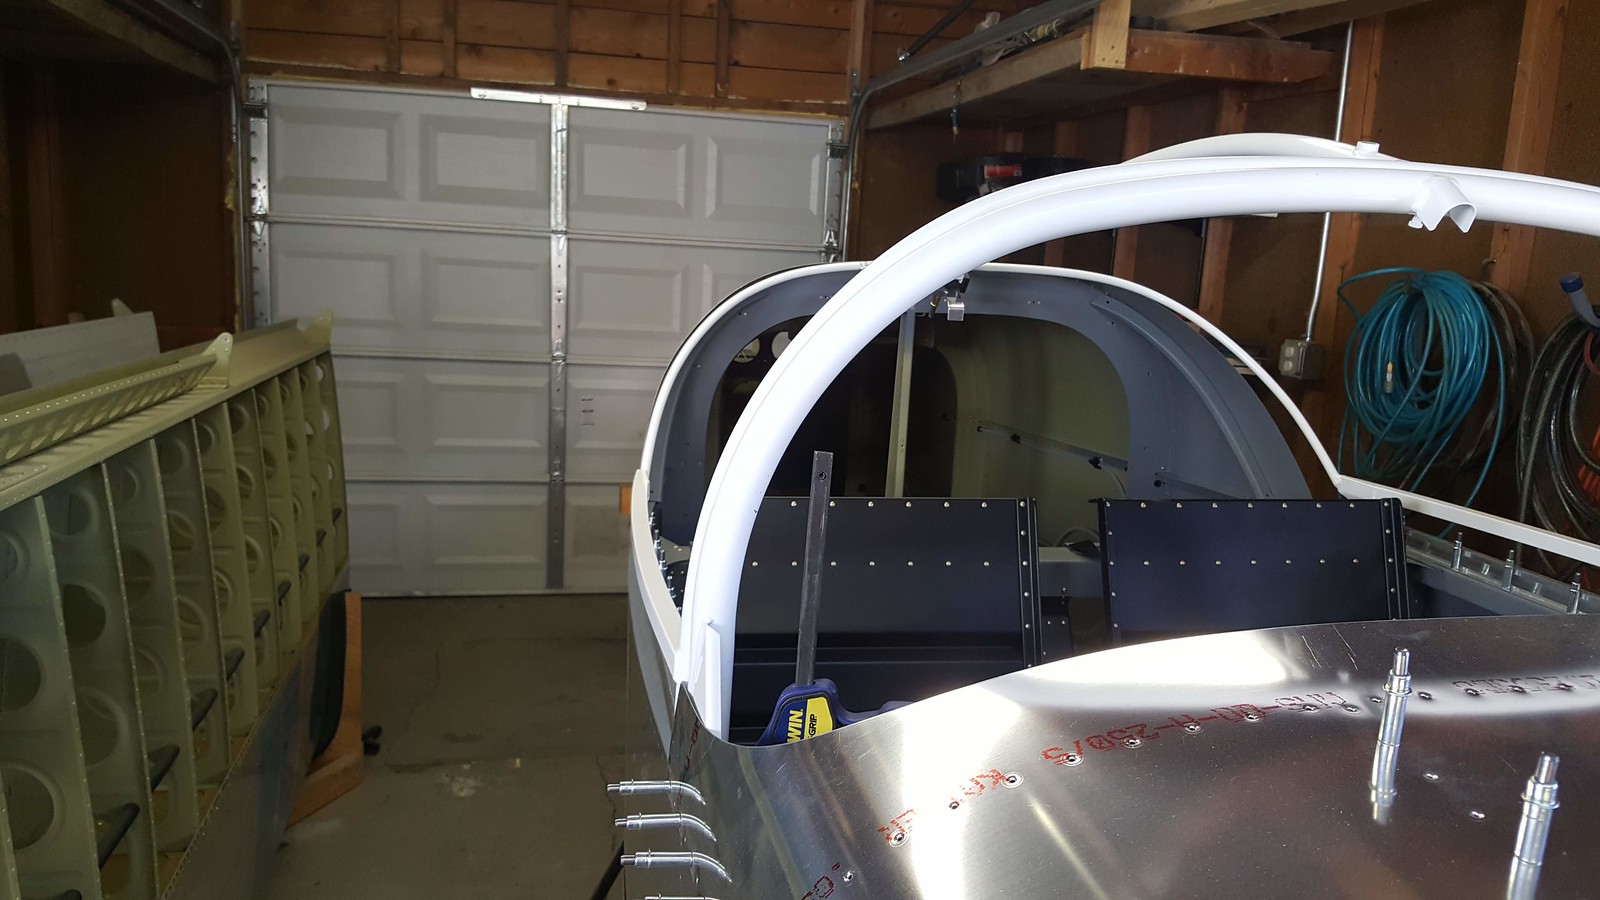 20190406_155135 by Jereme Carne, on Flickr
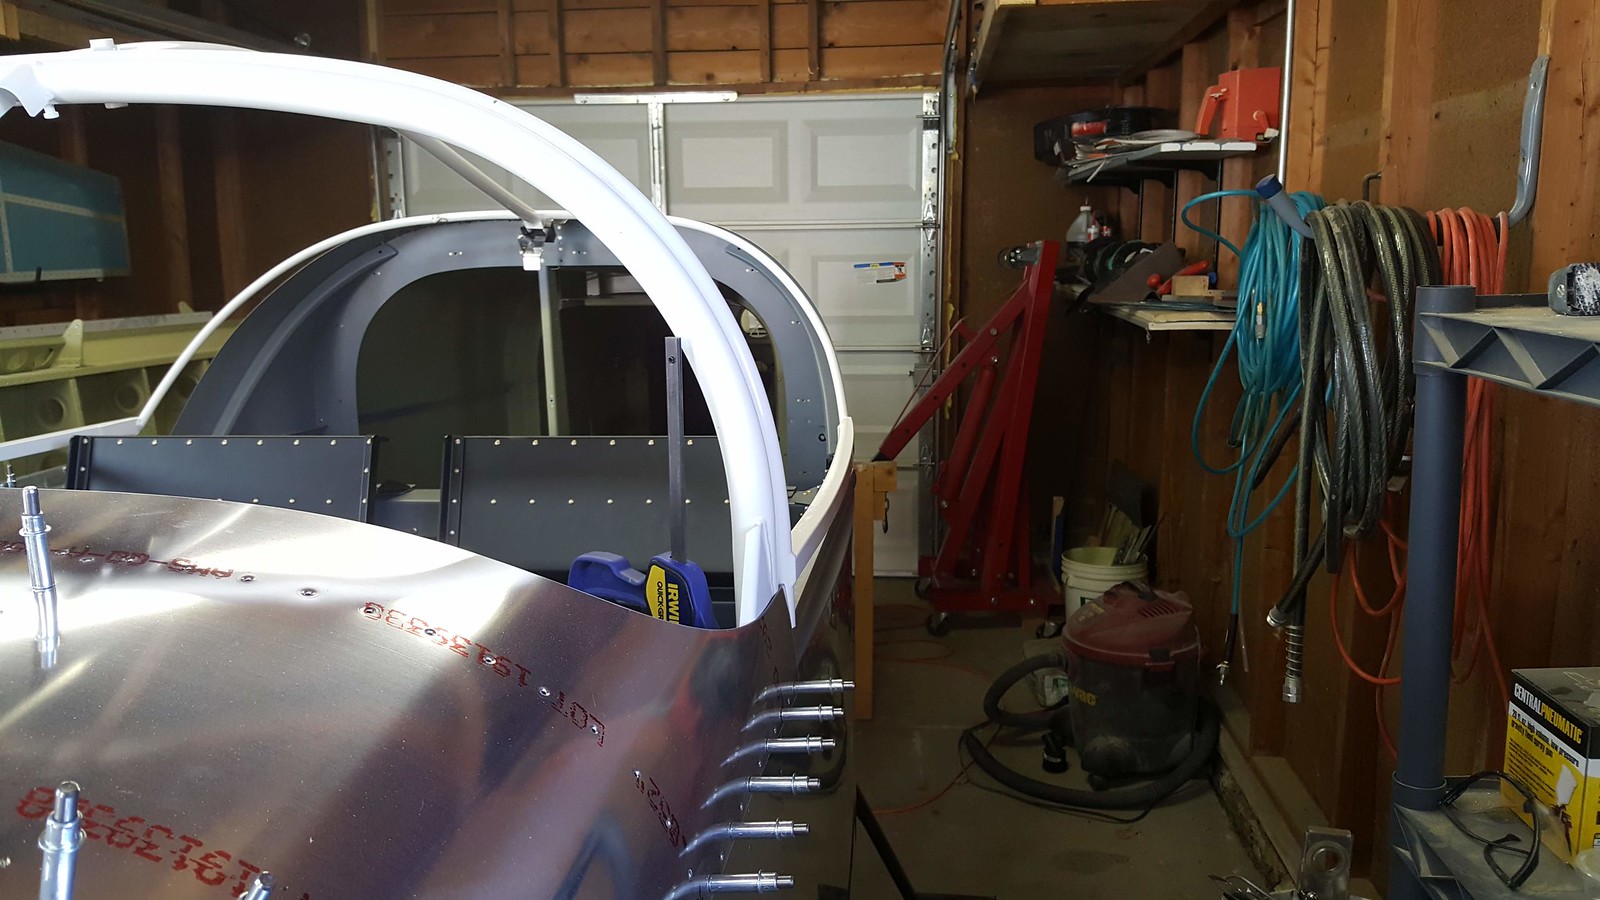 20190406_155149 by Jereme Carne, on Flickr
Just to clarify as well, all of them locations are for the fuel injected horizontal intake engine. The alternate air pass through is for the cable that opens a little door in the intake tube/plenum just past the air filter in case it ever gets blocked. As far as the shutter goes you probably don't need it where you live but I don't know. Where I live I know guys that have to tape their oil cooler completely off in winter. I'd rather be able to control it with a less "gheto" feel. haha This is the shutter. I also came up with what I thought the best area for the pass through was on that one.
Do all -7's firewalls have cutouts around the engine mount to fuselage bolt locations? How does one seal the firewall to fuselage engine mount brackets? What am I missing?
Do all -7's firewalls have cutouts around the engine mount to fuselage bolt locations? How does one seal the firewall to fuselage engine mount brackets? What am I missing?
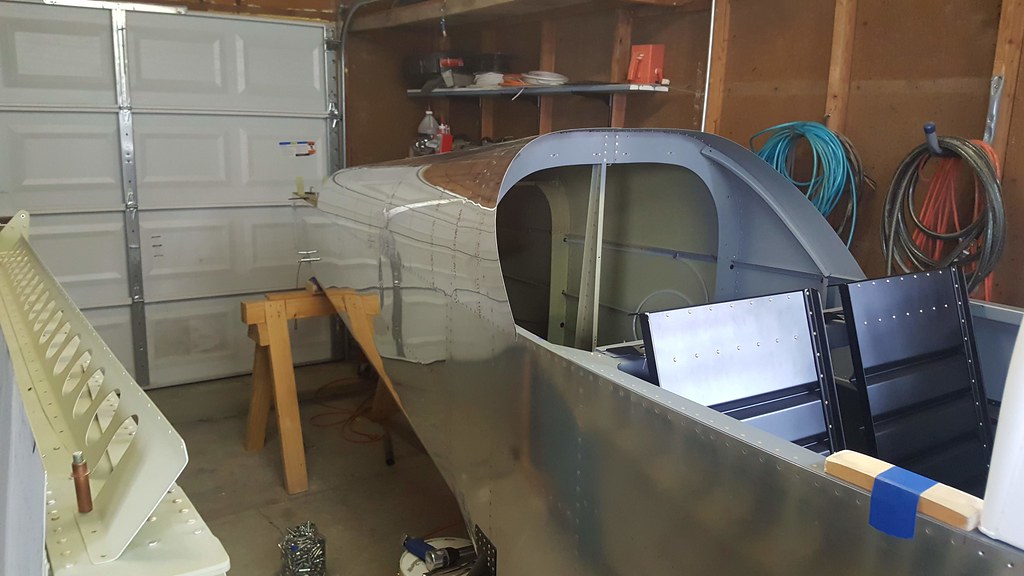
Since I'm waiting for it to warm up before cutting the canopy I decided to mount the tail. Yesterday I finished mounting the horizontal stabilizer, it takes quite a bit of time to get the bolt holes just right but man they came out perfect, couldn't be happier with them.  20190414_135405 by Jereme Carne, on Flickr
 20190414_150206 by Jereme Carne, on Flickr
 20190414_215044 by Jereme Carne, on Flickr
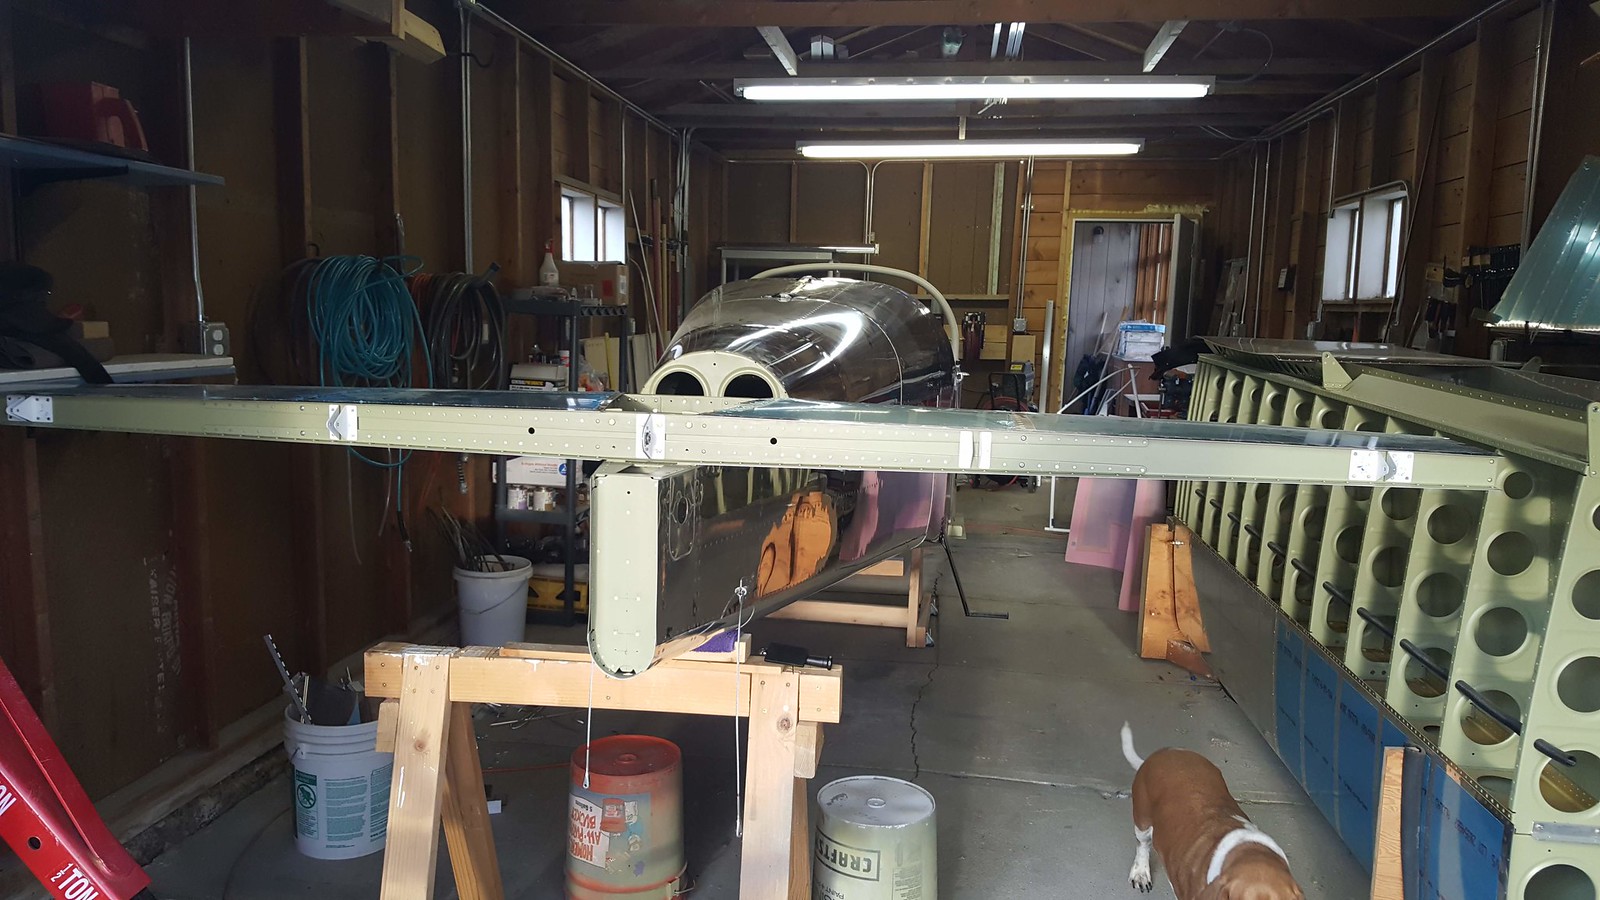 20190417_190330 by Jereme Carne, on Flickr
Sweet dude! I have yet to do this. No room haha.
Looks great! I assume you?re not planning to leave it on there with the space constraints you?re working with.
I'm in awe at the rate your project is progressing. Doing a nice job too! Keep it up. When I get out of Phase 1 I'll have to stop by and see it.
Looking good Mr.
Just a word of advice, once you have the vertical finished and bolted on, do the fitting of the tail fairing (upper and lower) if you have it. That way you don't need to bolt it all back together multiple times like I did.
Travis
 20190419_102740 by Jereme Carne, on Flickr
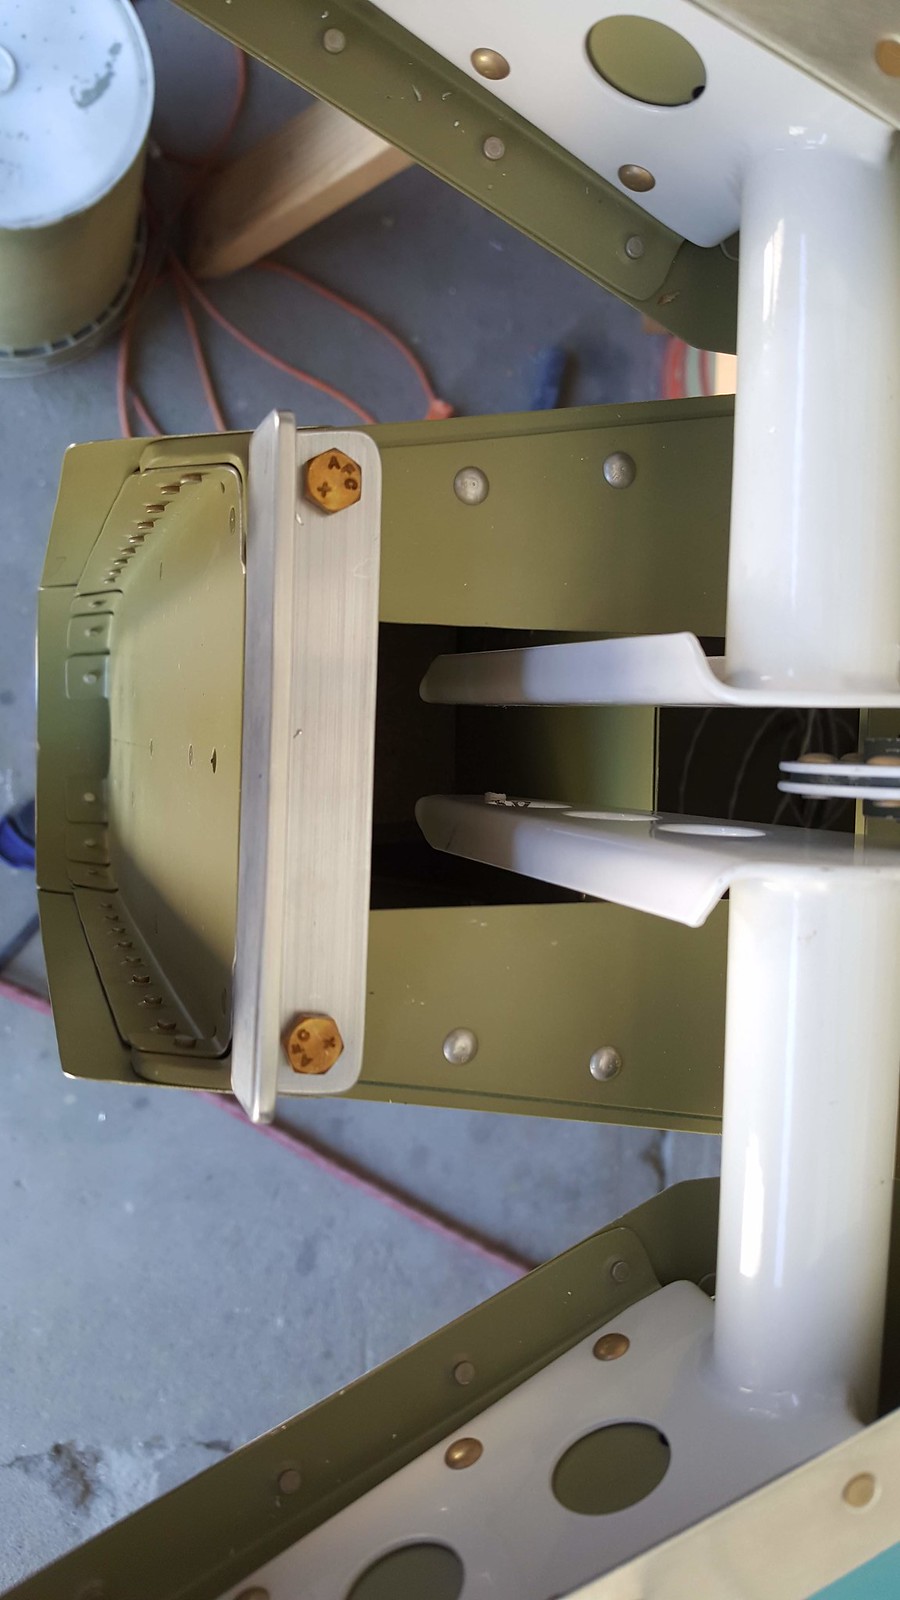 20190419_122438 by Jereme Carne, on Flickr
 20190419_142913 by Jereme Carne, on Flickr
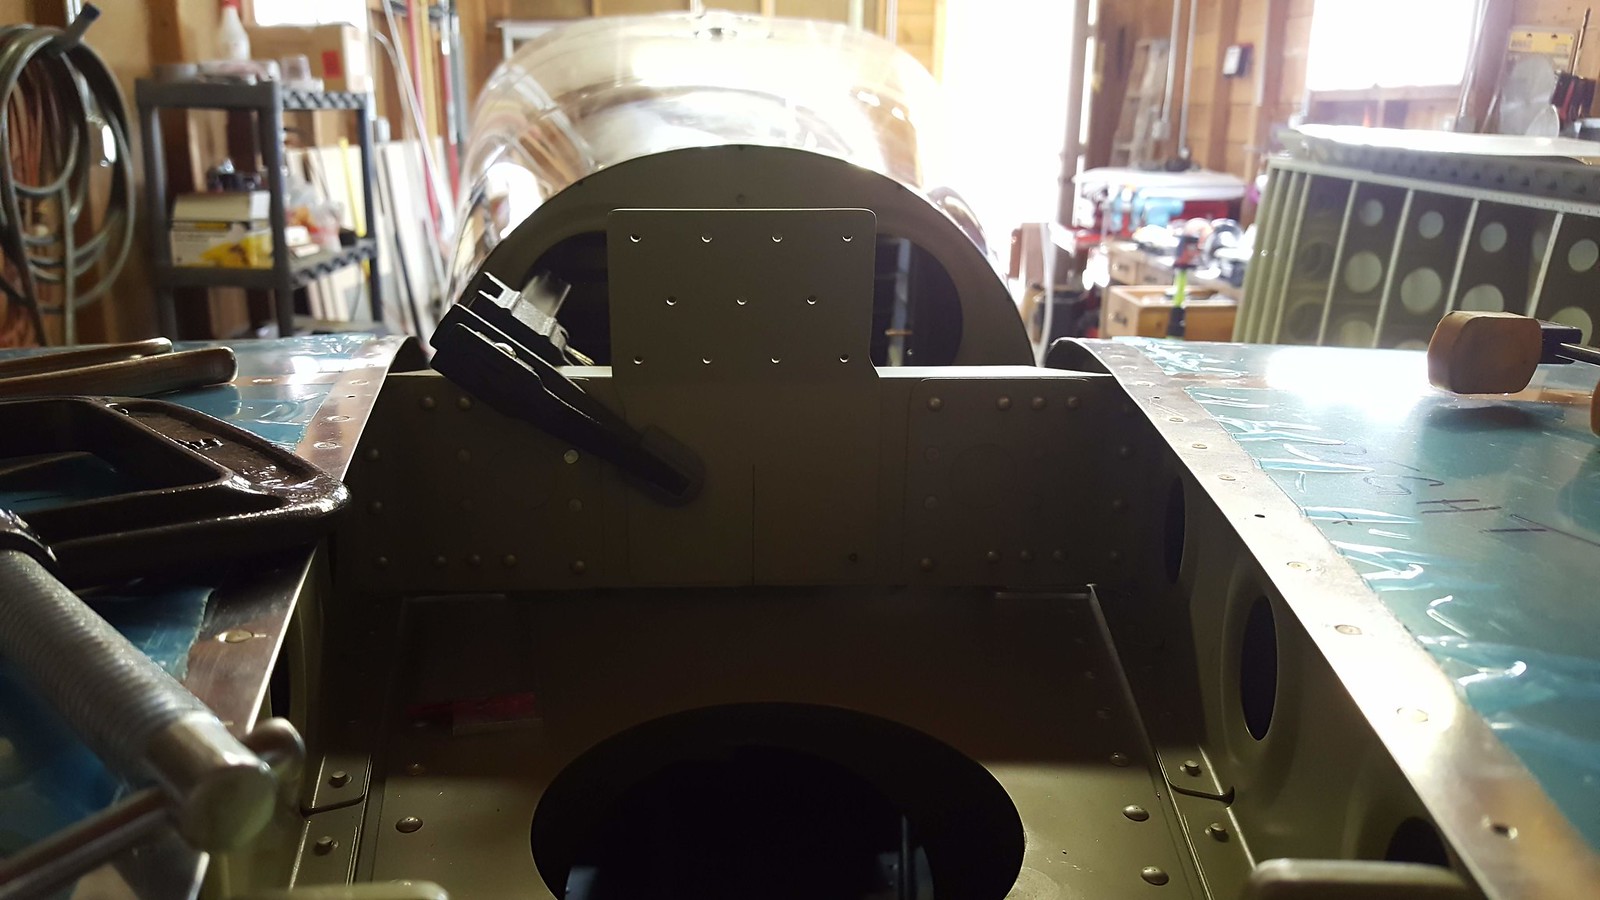 20190419_142927 by Jereme Carne, on Flickr Also looks like I can't open my garage door until the empennage is totally finished. haha
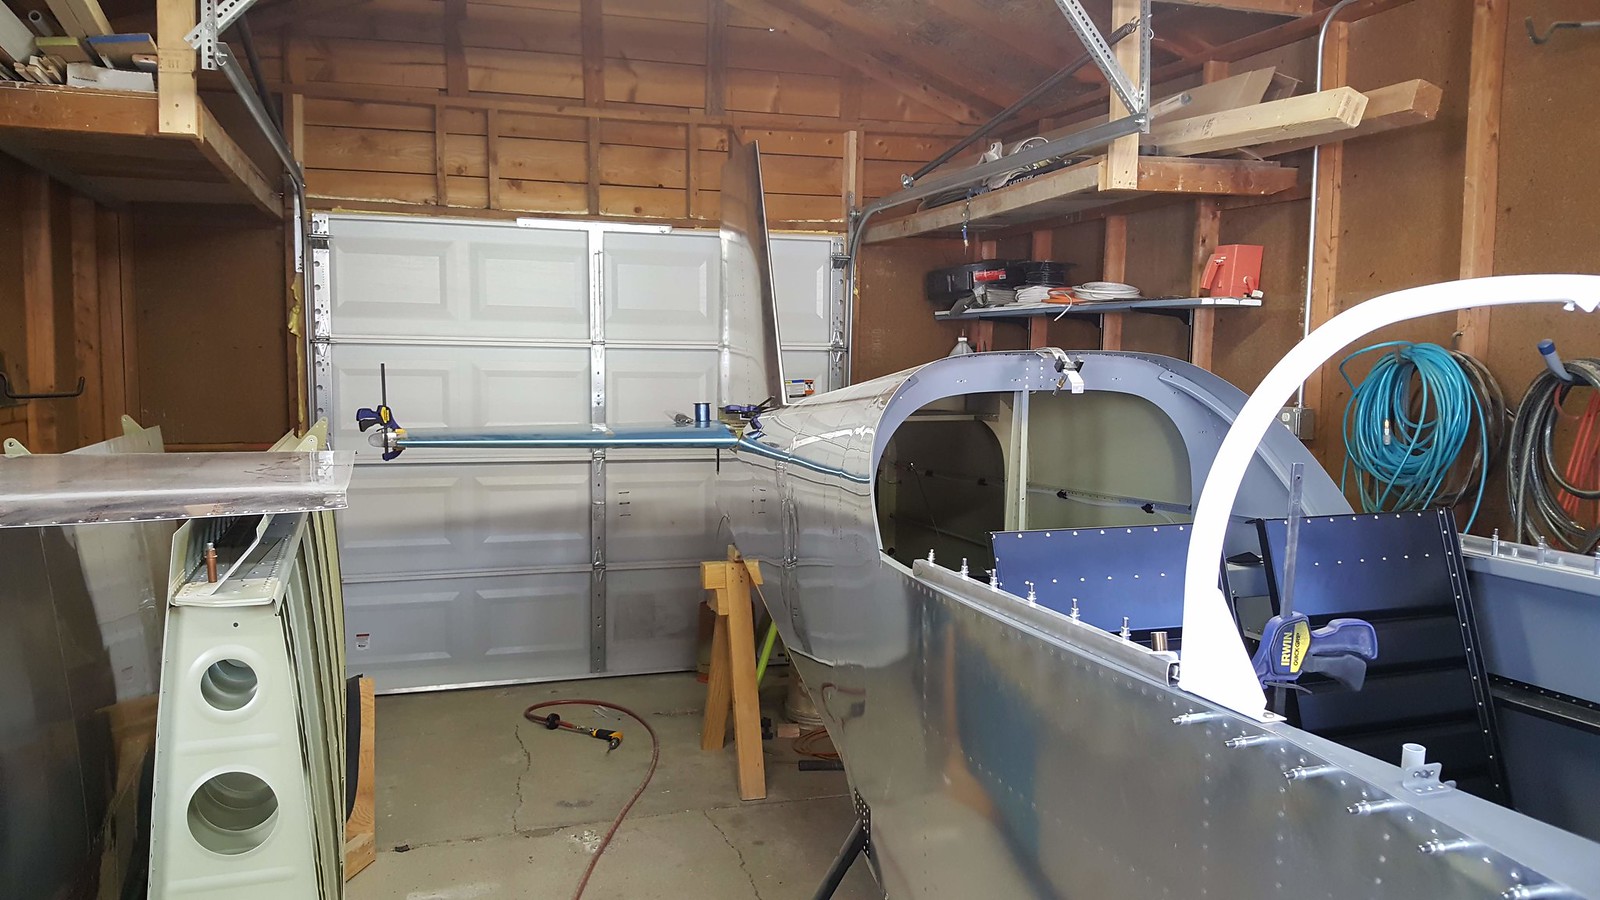 20190419_164306 by Jereme Carne, on Flickr Looks like I will be having fun making my own, more work for sure but I have seen what the end result can look like. Plus, I'll get some more experience with fiberglass before I do the canopy skirt.
 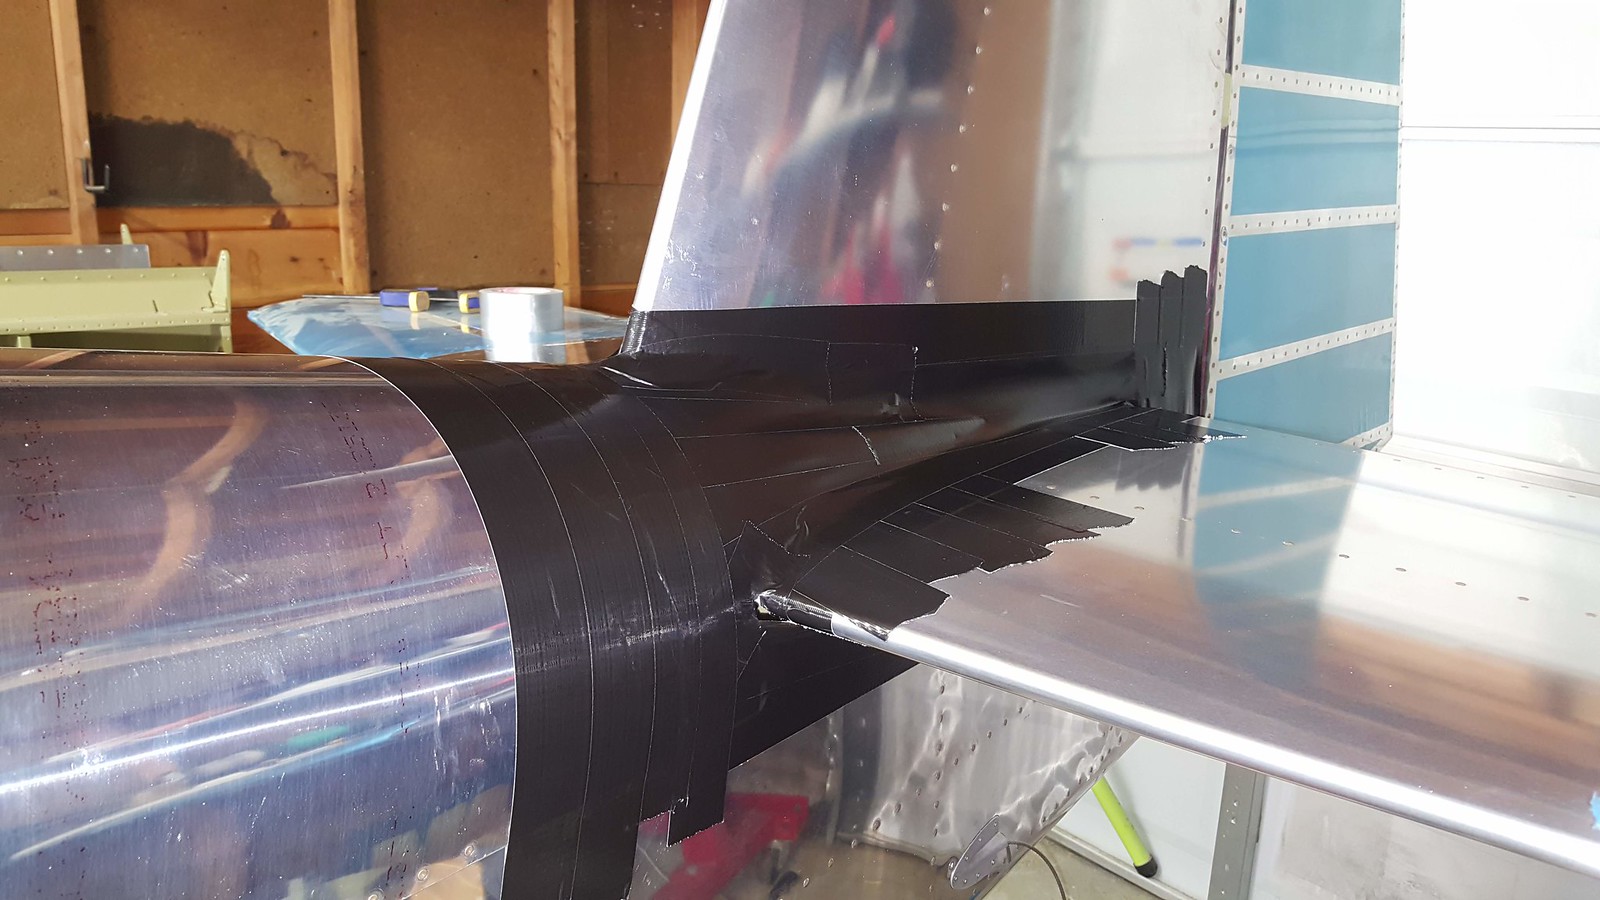 20190422_160332 by Jereme Carne, on Flickr
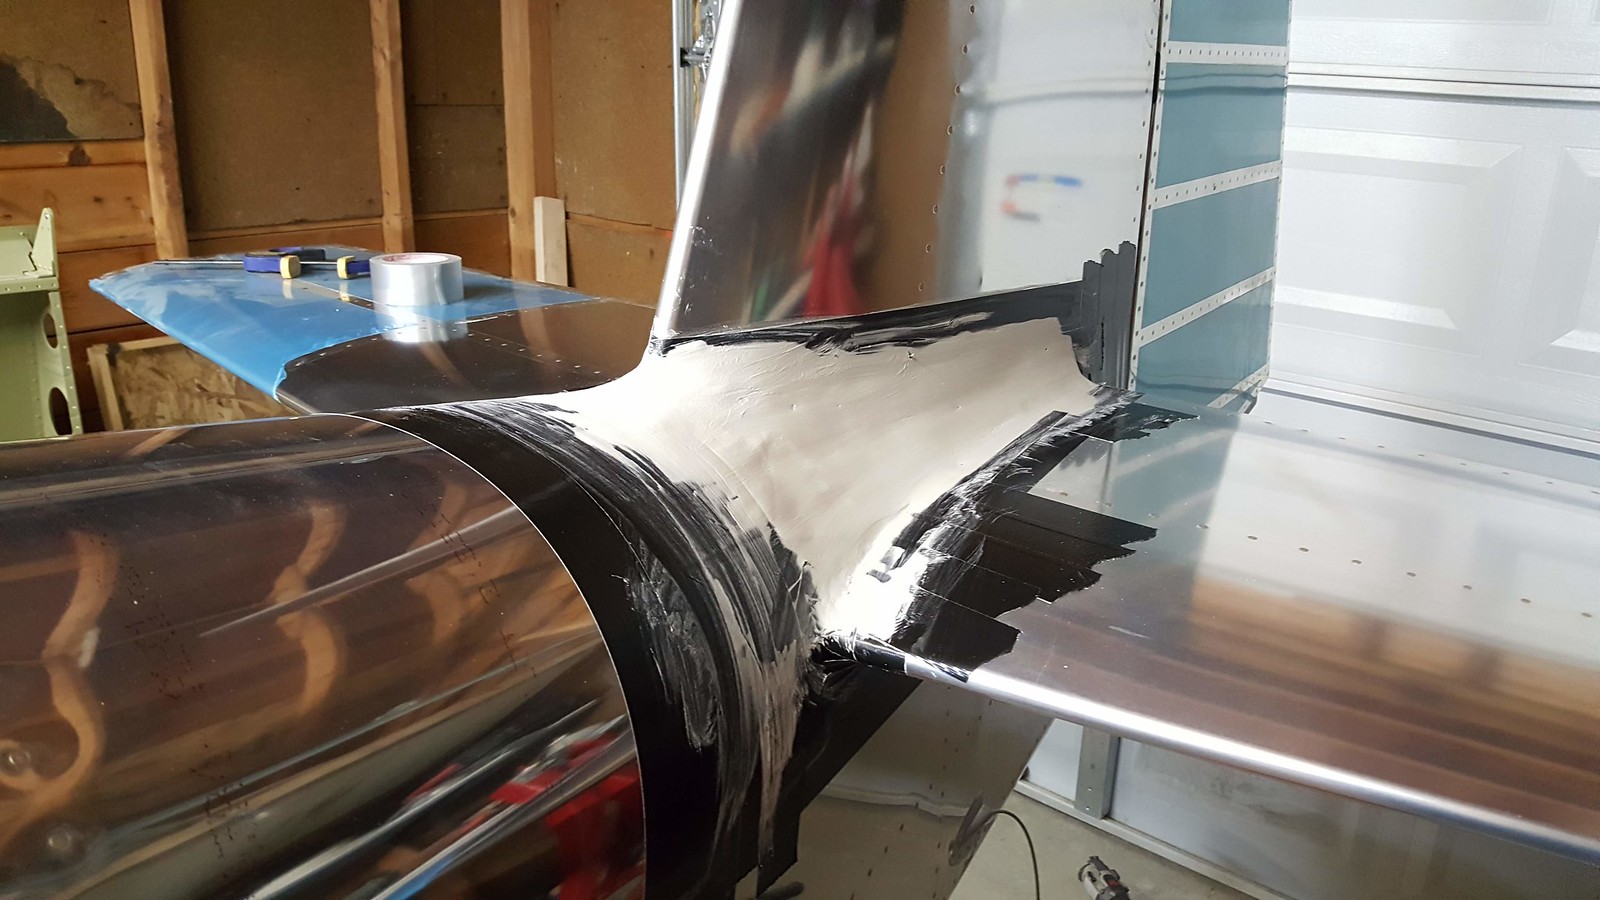 20190422_203830 by Jereme Carne, on Flickr
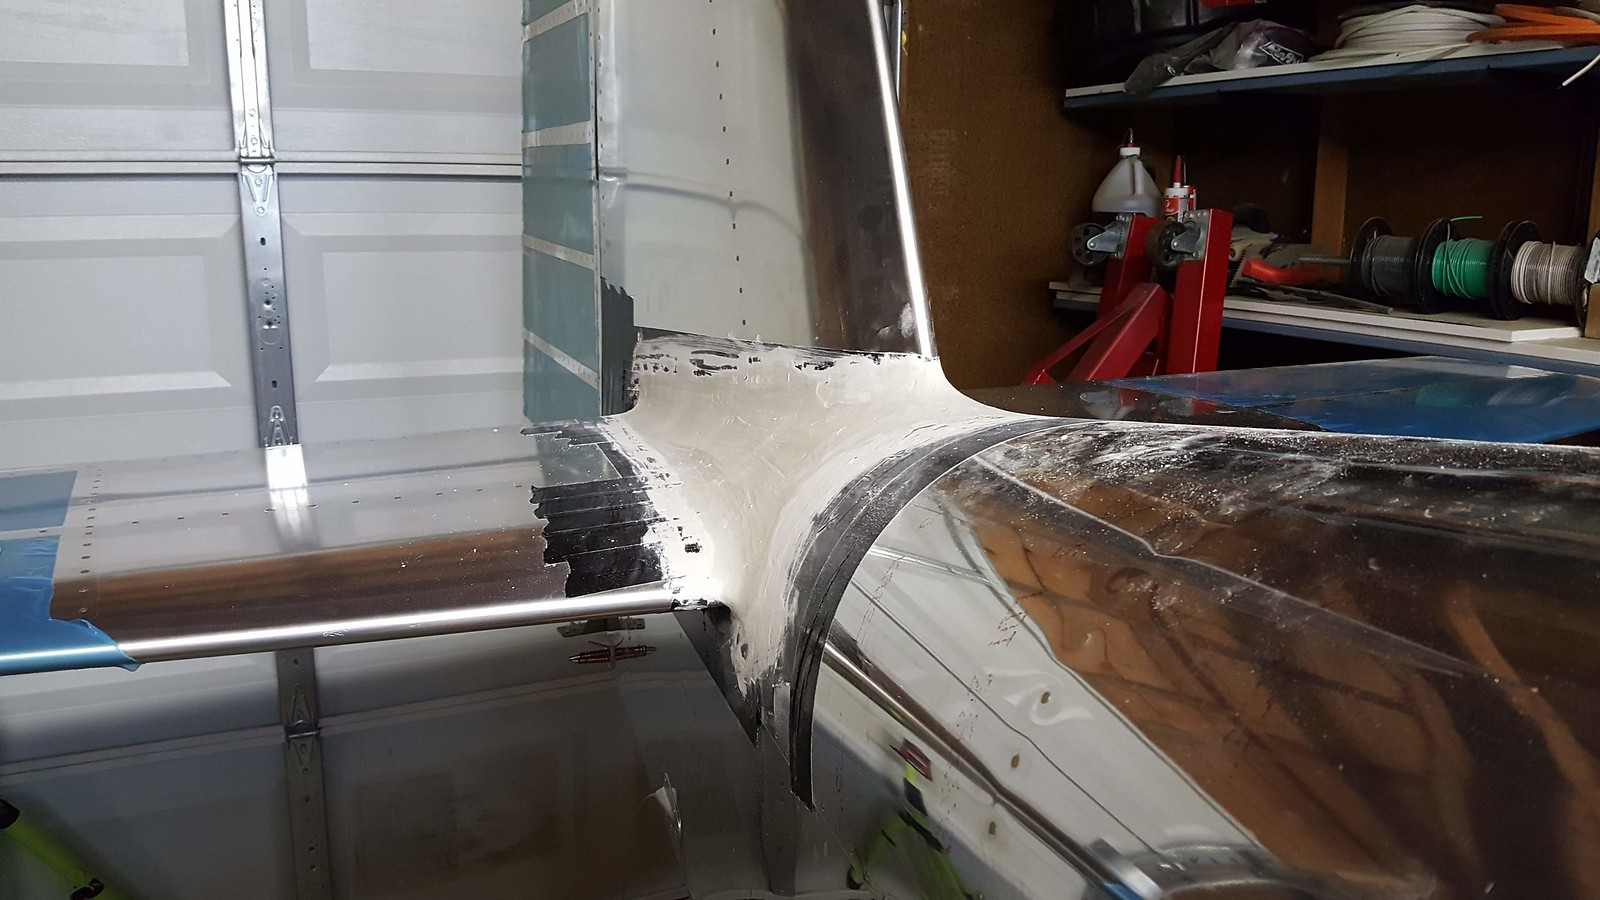
The only downside to using drywall mud is it is way more difficult to sand after the fact than foam (gonna have to use power tools for that one probably haha). However, you can do a tremendous amount of shaping before it sets. The first coat looks decent and will serve as a good base.
The only downside to using drywall mud is it is way more difficult to sand after the fact than foam (gonna have to use power tools for that one probably haha).
Go for it Jereme! Just remember the Golden Rule: Time spent getting the mold or form perfect now pays a large dividend in weight and time later.
I use plaster of paris. It will set up faster, same to sand.
I found the drywall mud can take days to dry if used exclusively, but is great as the topping coats, just use the sanding screens.
Just finished a mold for shrinking my cooling exit!
Oh boy...that stuff is the bane of my existence. Just finished the kitchen remodel.
I hope it works well for you Jereme.
Is that duct tape?
I'm waiting for the next steps. I wouldn't even know where to start on something like this.
Ray
I did wing root fairings on a Midget Mustang. It is not hard to do a good job. I used packing tape and the glass released from it very easy. Duct tape is easier to not acidently sand through though.
I used two part expanding foam. Wicks has some that is inexpensive and works good. Don't even think about using something like Great Stuff foam from a can. It dries rubbery and is almost impossible to sand. The two part stuff dries to a hard crunchy foam that is very east to sand. Scratches the **** out of your eyes if you rub them with the dust on your hands and probably not good to breath so recommend a mask.
The effort you take to make everything perfectly smooth before glassing pays off in not having to do a ton of filling and sanding the glass later which also adds weight.
 20190424_211837 by Jereme Carne, on Flickr