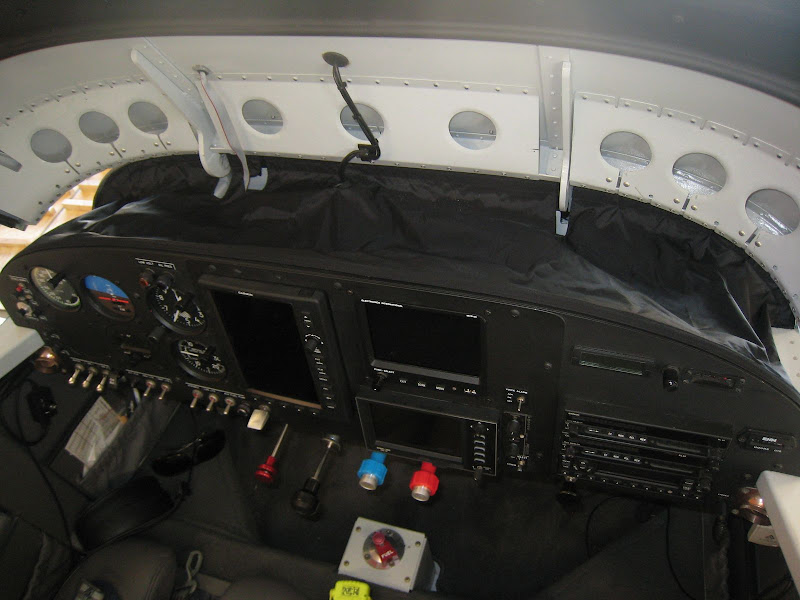
I have previously tried a water resistant fabric rainguard but it still seemed to let some water in if it sat (puddled) in the fabric. Twice I have gotten my radio wet where it malfunctioned, either would not work or would not transmit, and had to remove it and dry it in my oven to get rid of any moisture. As I have gotten my IFR certification in my 6A, it is not acceptable to have any issue here. I have also previously replaced the canopy seal with a somewhat larger one, which I have not seen any water enter when in light rain in flight, but when on the ground and opening the canopy in the rain, the water of course drains into the opening, particularly if it is also raining at the time, and gets the instruments wet between the panel and subpanel. So I decided to work on the 100% solution and make a custom fiberglass watershield. It took me several weeks, but I'm now happy with the shield and comfortable in its protection. It fits very closely to the canopy structure to drain any water which may leak into the area, directing it out the sides of the canopy while minimizing any lost real estate where instruments could project behind the panel.
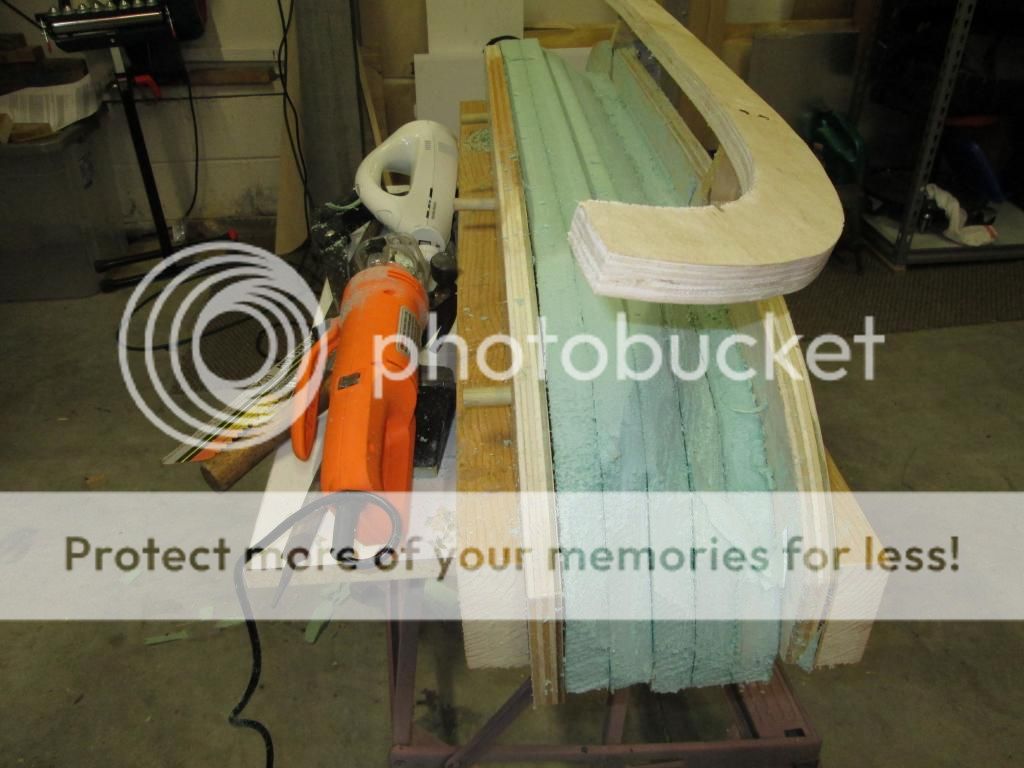
I started by making a plywood mockup of the space between the panel and subpanel, with the hinged canopy mocked up also (just the 3/4" board which repeats the raising and lowering geopmetry. The mockup was filled with insulating foam and then carefully carved while incrementally operating the hinged portion to get 1/4" clearance at the end between the canopy and foam. Here you can see the mockup with the foam being shaped.
Next I covered the foam with wax, then placed packing tape over the plywood where the layup would be and then applied paste wax for a mold release. After that I layed up 3 layers of 4 oz. glass with West system epoxy.
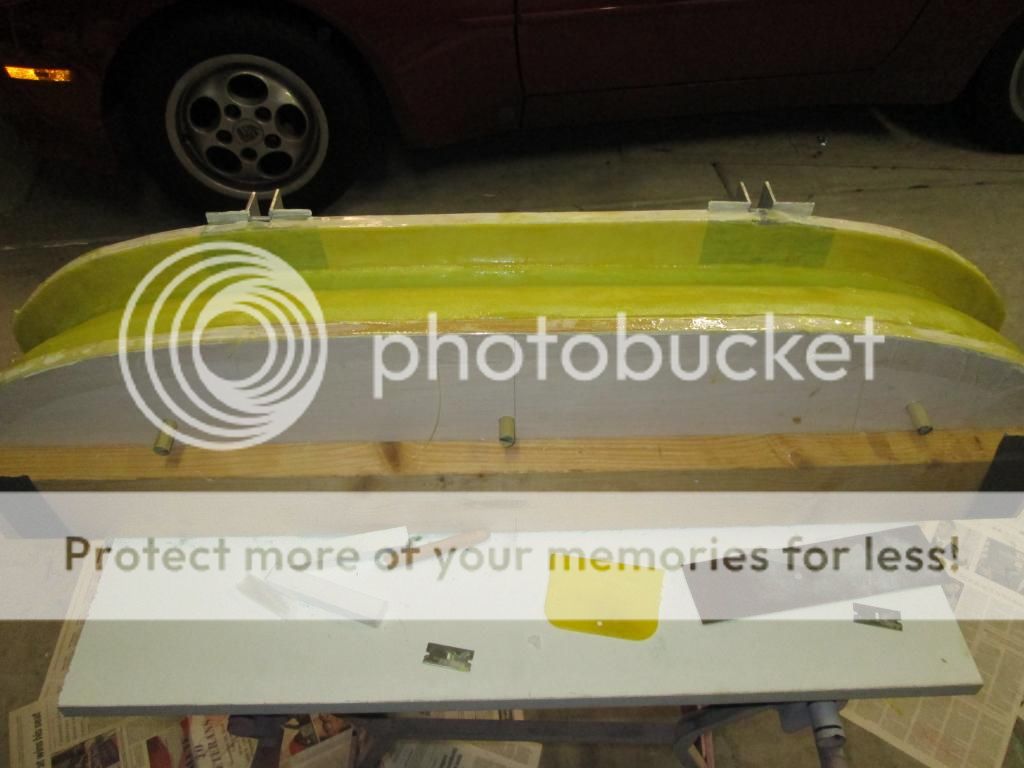
After curing, I popped out the fiberglass raw watershield.
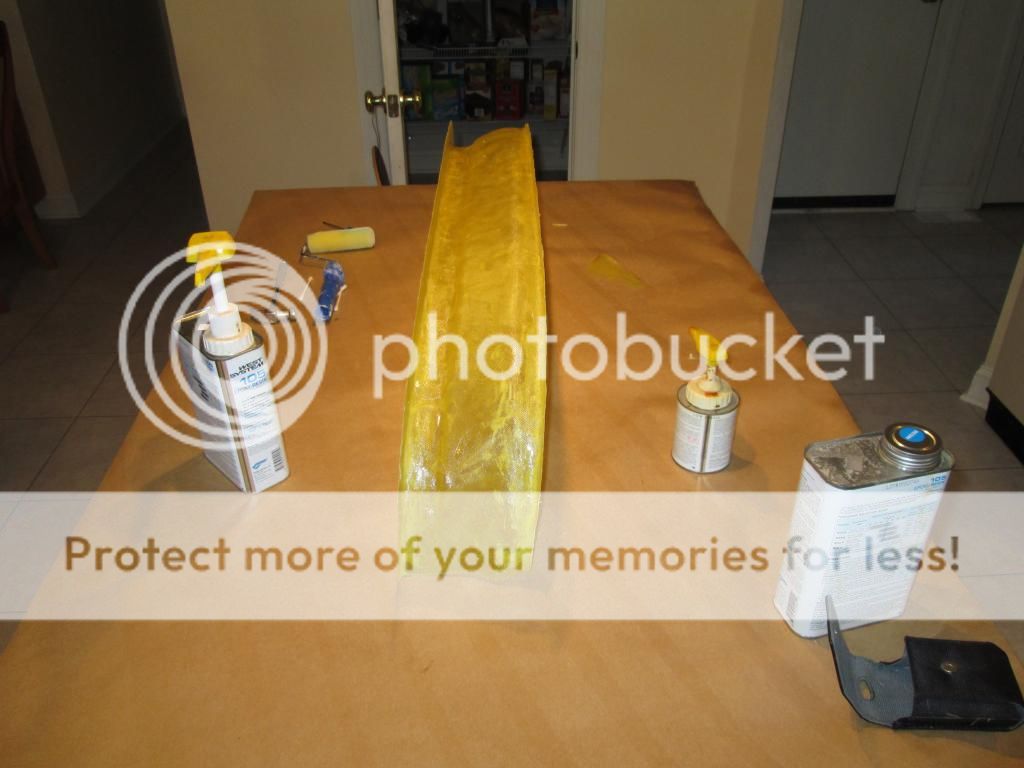
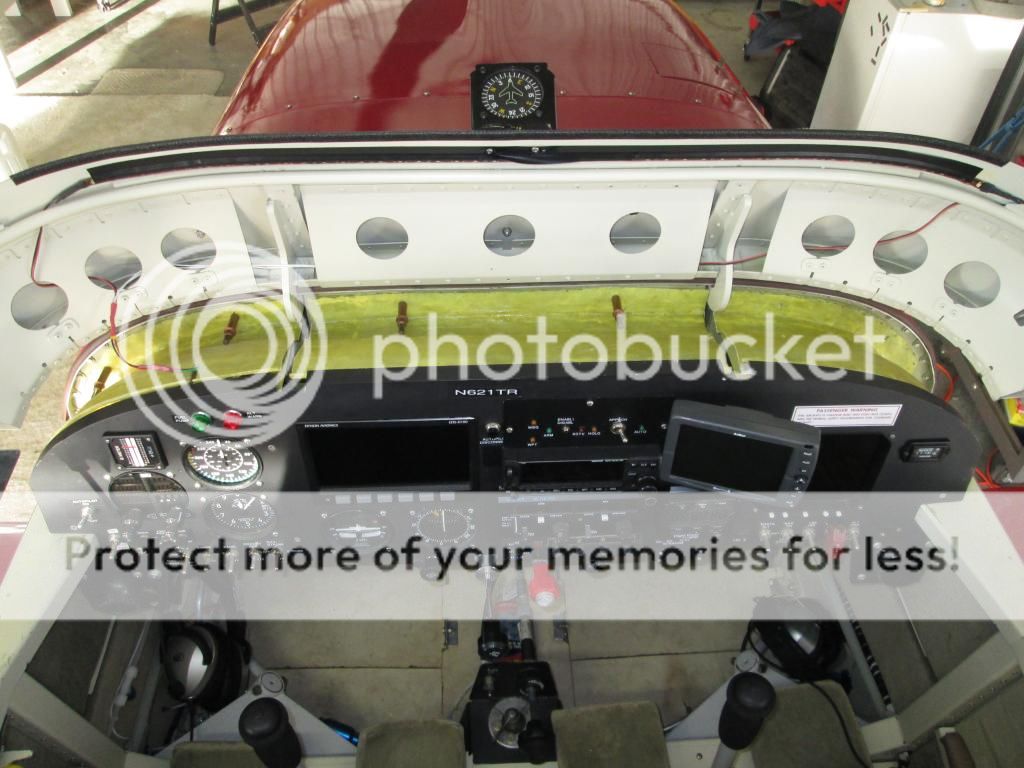
Next, I fit the shield in place carefully marking it and cutting it into 3 sections. Two holes per section were drilled through the shield and subpanel and cleco'd in place. During final constructions, the holes were enlarged with plate nuts placed in the subpanel to secure each piece with #8 screws.
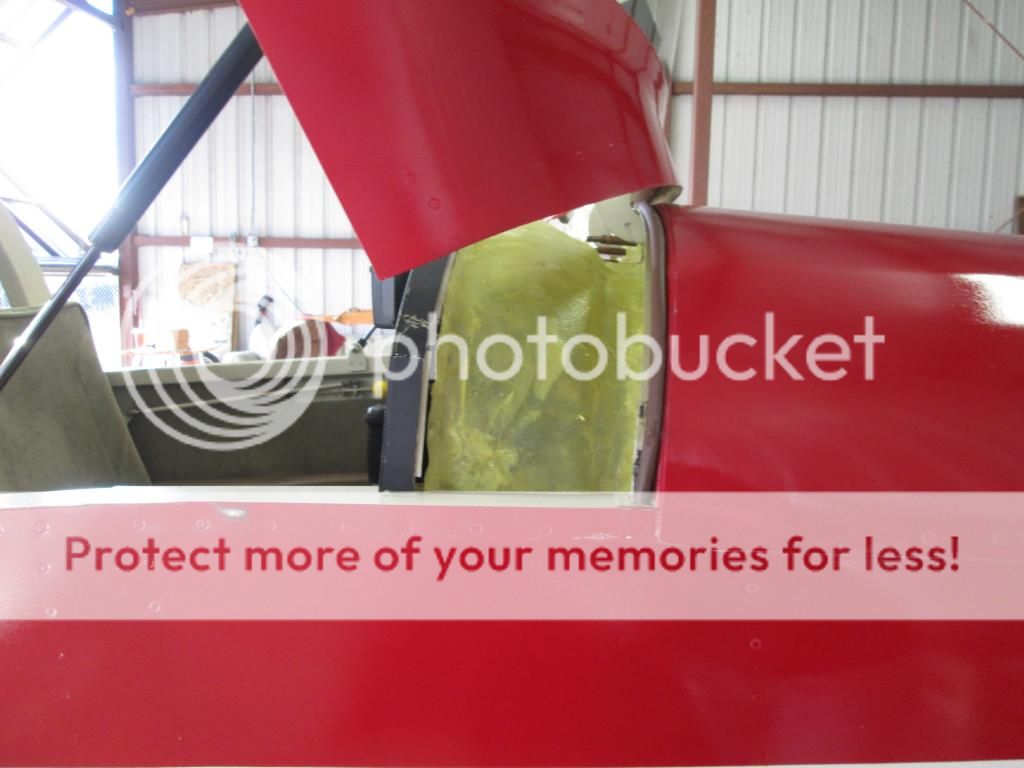
Here's a side view.
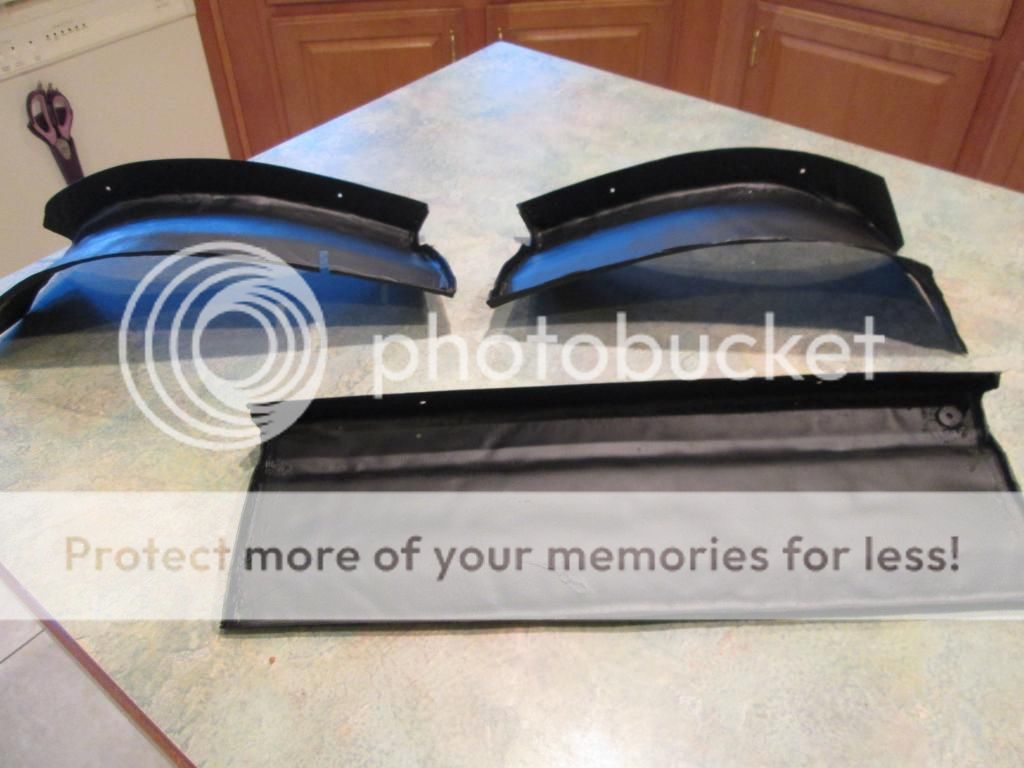
Now here's a picture of the three pieces in finished form. Both ends of the center piece have a 1/4" dam added to prevent small amounts of water from dripping between the hinge gap, and the side pieces also have a dam at the inboard end for the same purpose.

Here is a closeup of the dam, with the drain for the center piece visible. This is just a 1/4" serrated plastic adapter to which tubing is attached and run outboard to the side of the canopy. Any water which drains from the center or sides while in flight is quickly force out the side of the canopy due to the higher pressure inside the fuselage while in flight. If you doubt this, just get your sleeve near the side of the canopy while in flight, it will try to suck your shirt right out of the airplane!

Here's a picture of the 3 pieces painted and in final condition before installation.
And here is the final product
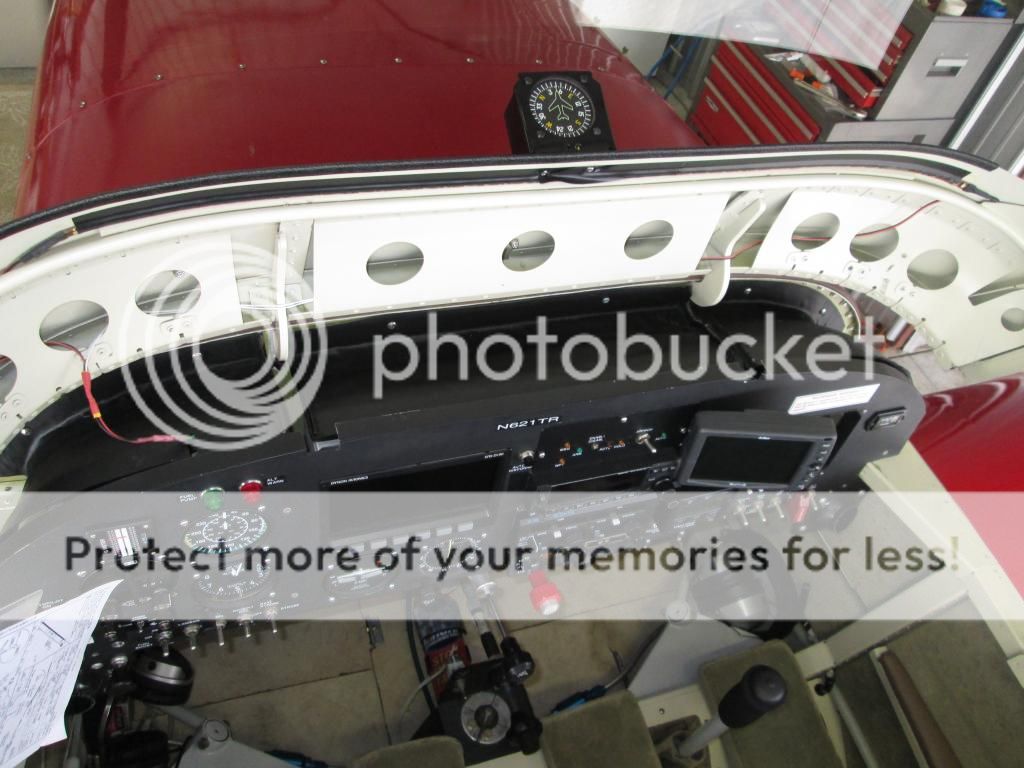
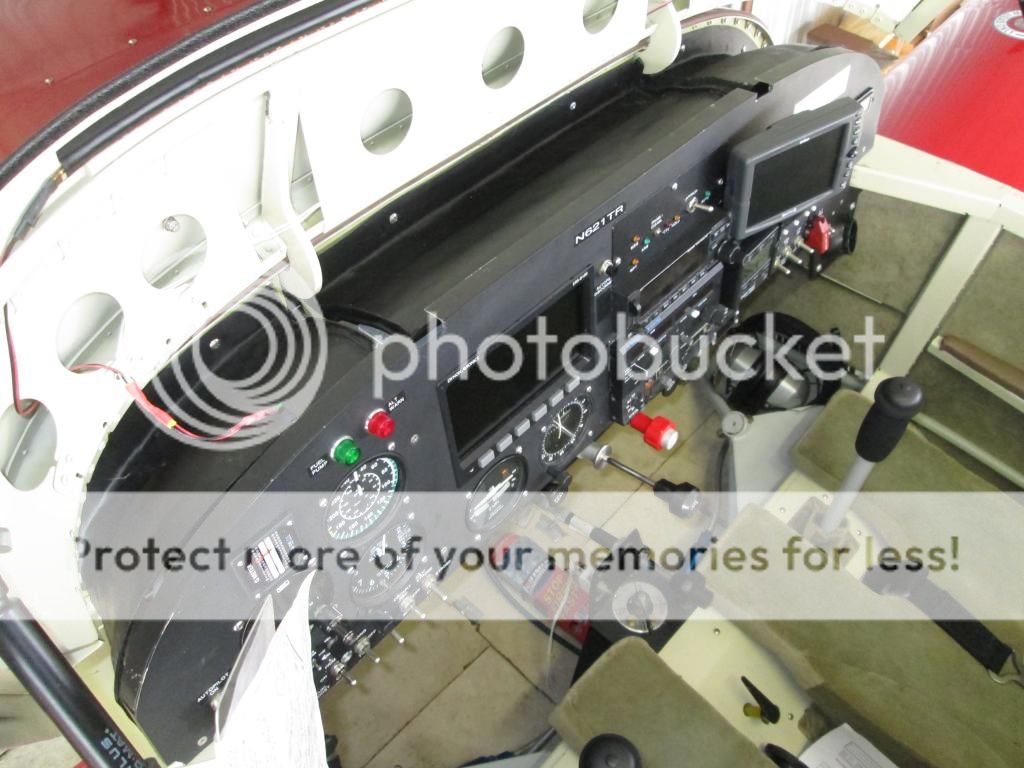
Custom fit, waterproof and no more worries about water somehow getting onto instruments either in flight or on the ground. A lot of work, but I'm now worry free!
I started by making a plywood mockup of the space between the panel and subpanel, with the hinged canopy mocked up also (just the 3/4" board which repeats the raising and lowering geopmetry. The mockup was filled with insulating foam and then carefully carved while incrementally operating the hinged portion to get 1/4" clearance at the end between the canopy and foam. Here you can see the mockup with the foam being shaped.
Next I covered the foam with wax, then placed packing tape over the plywood where the layup would be and then applied paste wax for a mold release. After that I layed up 3 layers of 4 oz. glass with West system epoxy.
After curing, I popped out the fiberglass raw watershield.
Next, I fit the shield in place carefully marking it and cutting it into 3 sections. Two holes per section were drilled through the shield and subpanel and cleco'd in place. During final constructions, the holes were enlarged with plate nuts placed in the subpanel to secure each piece with #8 screws.
Here's a side view.
Now here's a picture of the three pieces in finished form. Both ends of the center piece have a 1/4" dam added to prevent small amounts of water from dripping between the hinge gap, and the side pieces also have a dam at the inboard end for the same purpose.
Here is a closeup of the dam, with the drain for the center piece visible. This is just a 1/4" serrated plastic adapter to which tubing is attached and run outboard to the side of the canopy. Any water which drains from the center or sides while in flight is quickly force out the side of the canopy due to the higher pressure inside the fuselage while in flight. If you doubt this, just get your sleeve near the side of the canopy while in flight, it will try to suck your shirt right out of the airplane!
Here's a picture of the 3 pieces painted and in final condition before installation.
And here is the final product
Custom fit, waterproof and no more worries about water somehow getting onto instruments either in flight or on the ground. A lot of work, but I'm now worry free!
 I'd be happy to have a set. The $10k in new avionics about to go into my 6A deserves the same protection, even though I'll only be VFR in this bird.