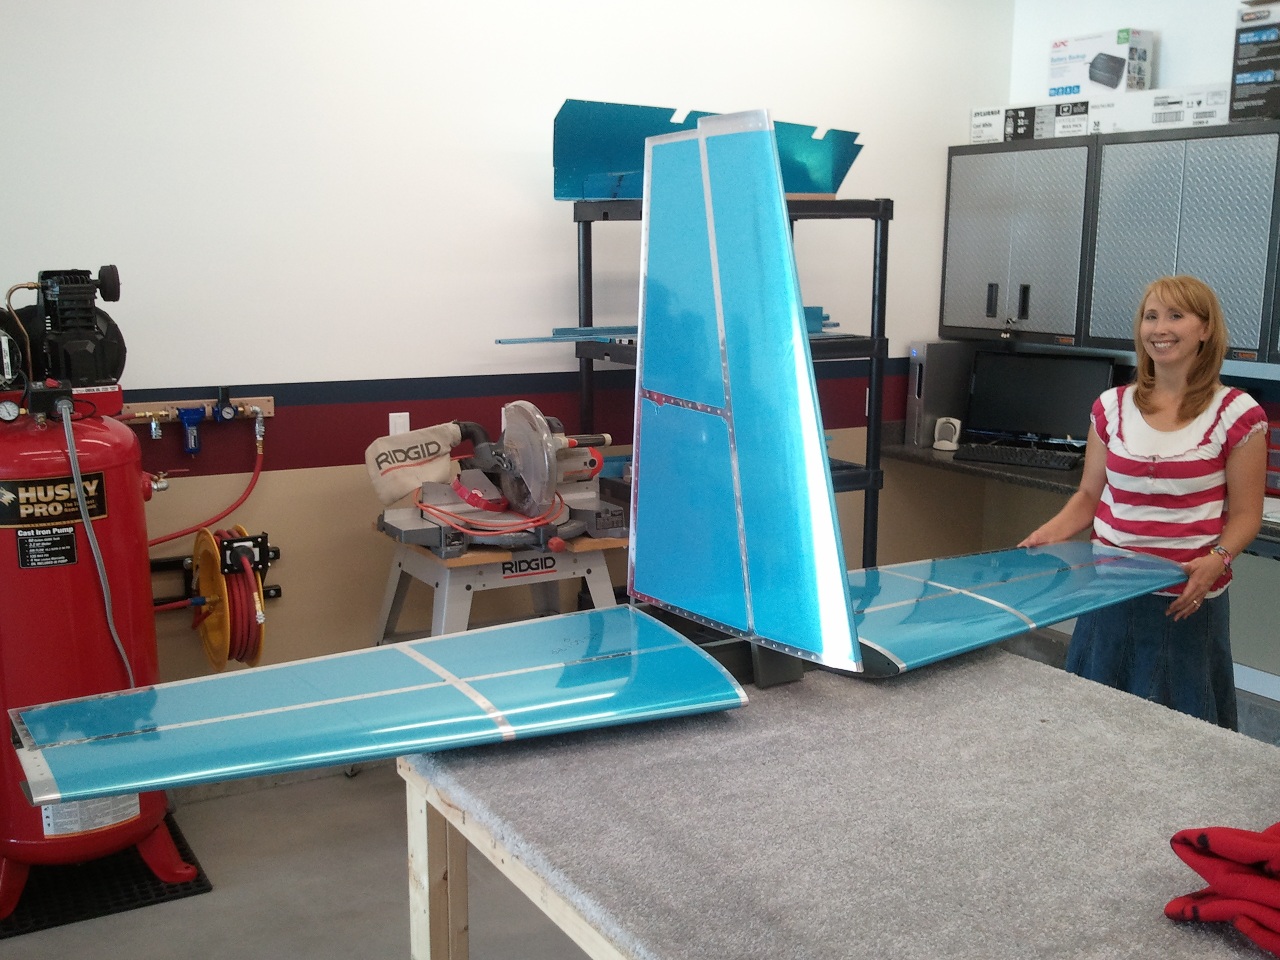
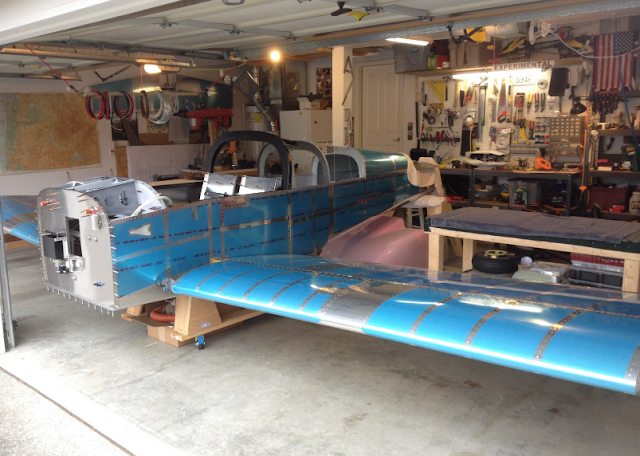
Wing Mating!
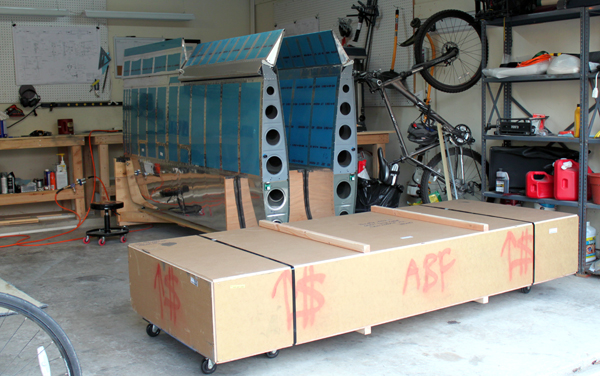
This weekend was a BIG one for our RV-7 project! For the first time we mated the wings and drilled the rear spars. What a site it was! With the help of our local morning breakfast flyers, we successfully got both wings on and 2 hardware store bolts installed within about 30 minutes. It actually went a lot faster than I thought. The leveling process was what really took a long time. The fuselage itself was very level on its stand to begin with, it was the wings that took awhile to adjust. After ensuring the wings were square with the rear deck centerline, we took a look at the plumb bobs and found we had a forward sweep of about 3/8" on each wing. Off came the wings to trim the forward of the rear-spar carry-through. The wings went back on and to our surprise, the forward sweep went away! Measure, remeasure, level, remeasure! Lastly we used the high-tech 3" wood block Van's specifies to set the incidence. After some adjustment, both wings were at -0.2 degrees. That is the best we could do while still ensuring the flaps came up in-trail and kissed the bottom of the fuse skin. 6hrs after starting and after a lot of measuring and leveling, we drilled the two rear spar holes. It was an extremely proud moment in the build process! Not that we need any more motivation to finish the project, but if we did this would have been it!!
Possible GOTCHAS for those who are installing the wings for the first time:
1) The wings have a lot of room to shift around, surprisingly. Measure 5 more times before you drill that rear spar hole.
2) When installing the wings, be VERY sure the bottom fuse skin doesn't get caught on the wing root. We had to have someone underneath pulling the fuse skin down so the wing could slide in above it.
3) Helpers tend to lift the wing-tip way to high when installing.
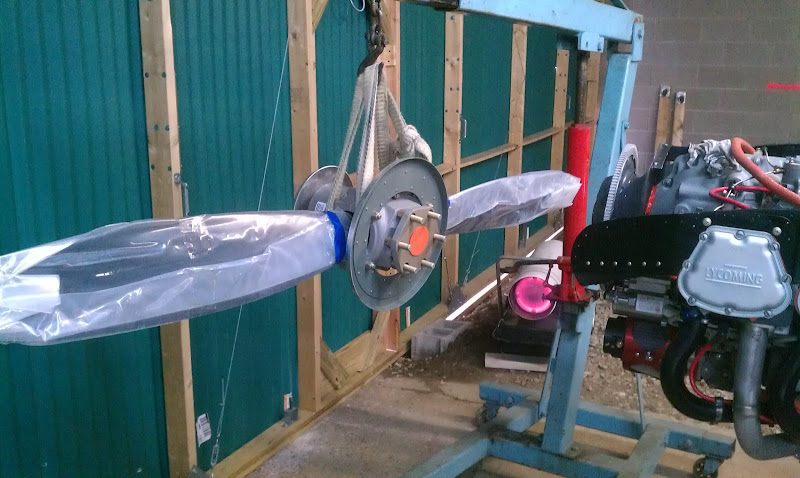
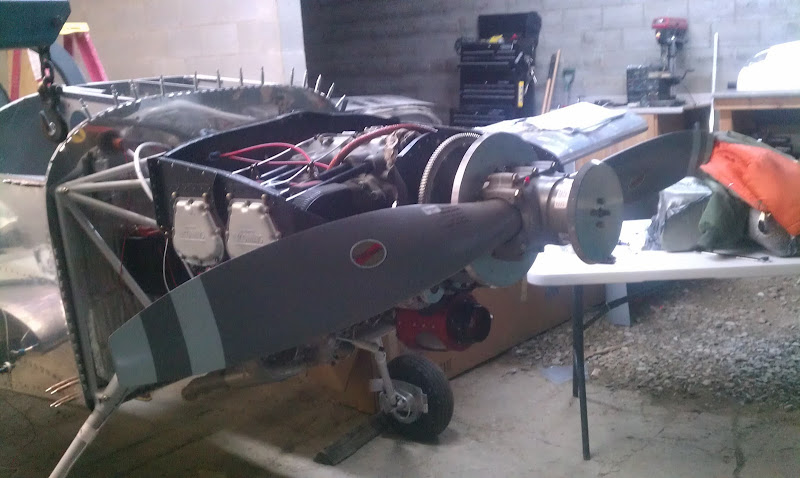
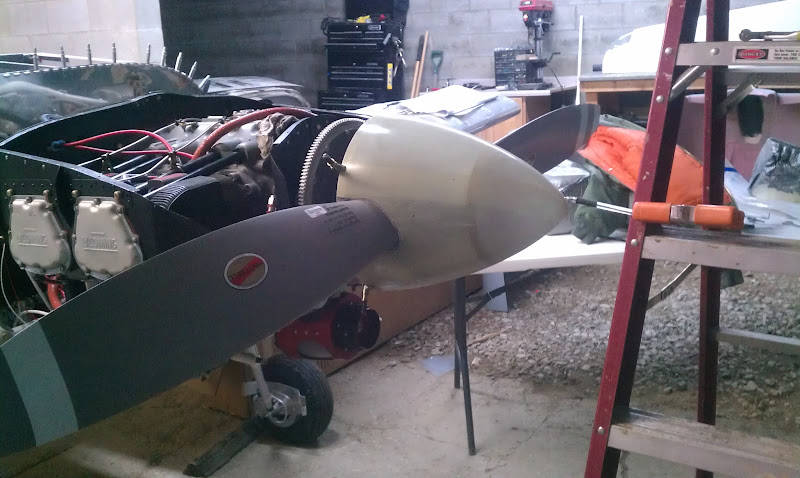
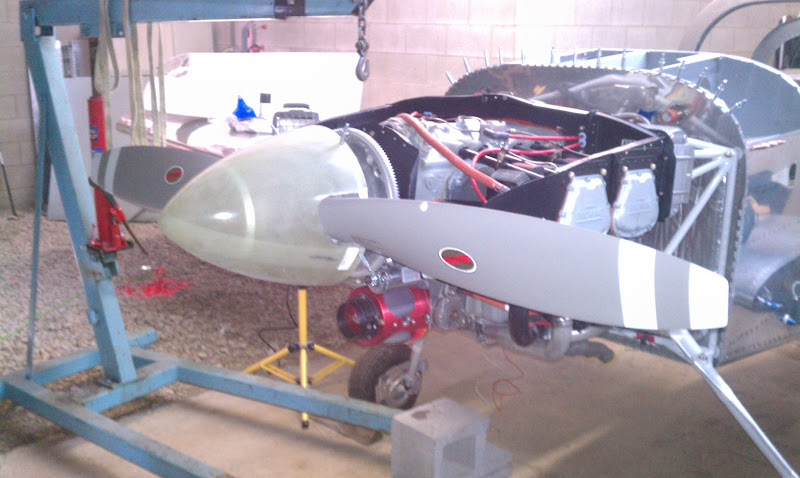
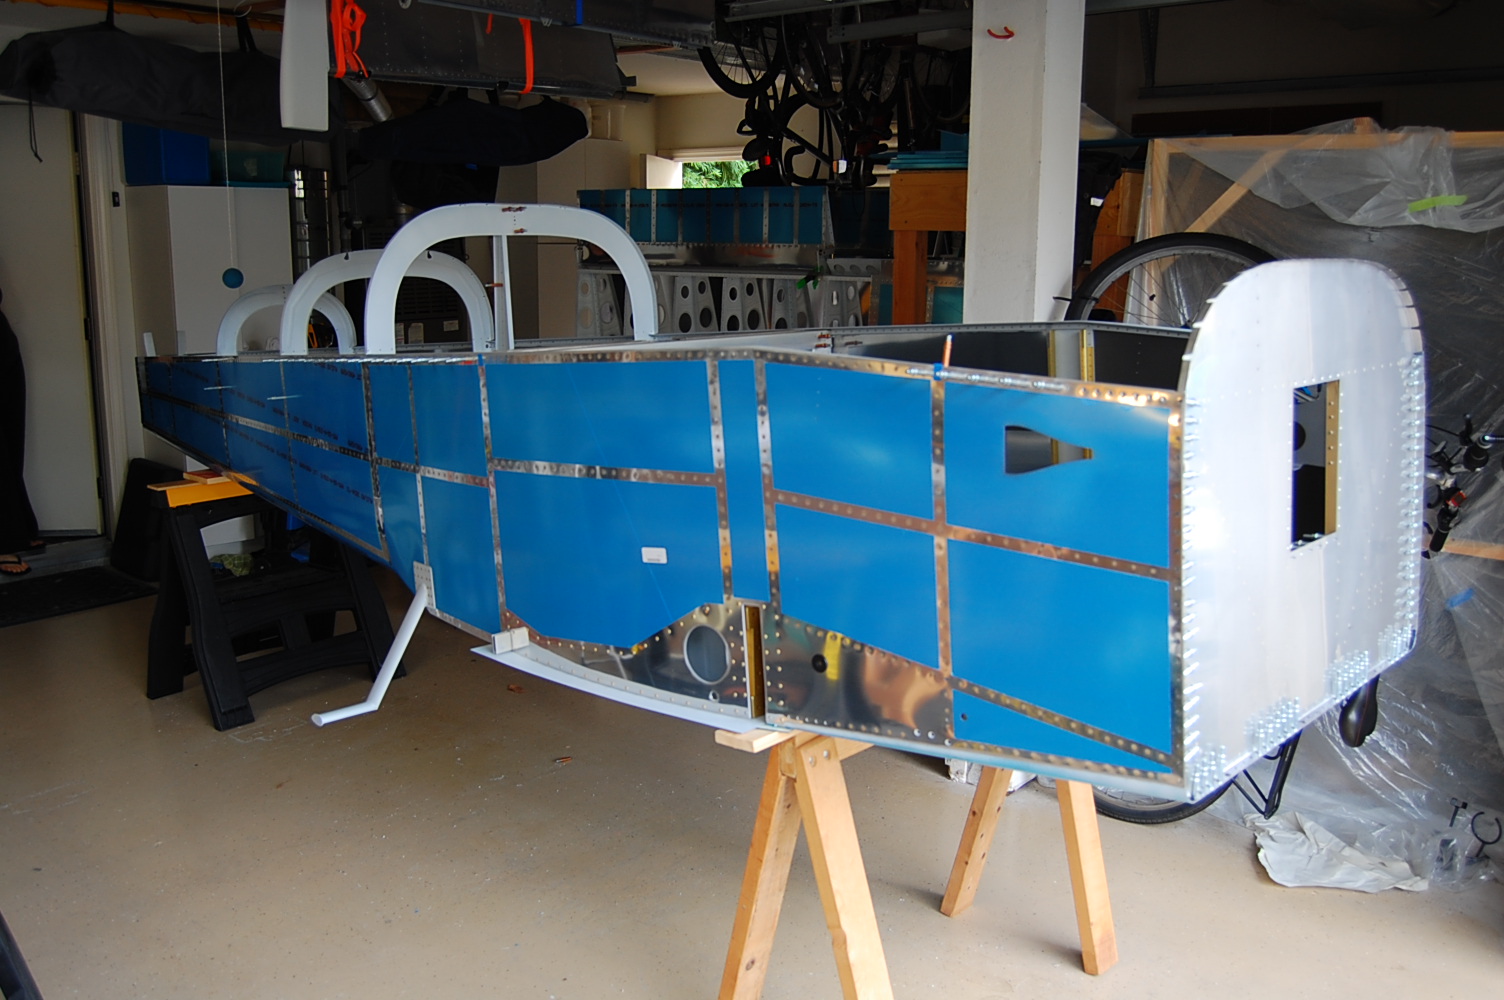
IT LOOKS LIKE AN AIRPLANE!


")


 ...this weekend should be interesting though.
 )
) ")