Van’s Aircraft has published Service Bulletin SB-00116, RV-12 Roll Servo Bracket Rivets that applies to all RV-12 and RV-12iS aircraft with either Dynon or Garmin autopilots installed.
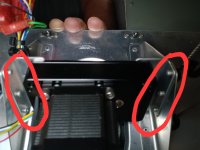
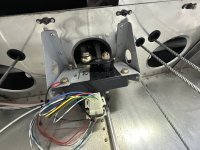
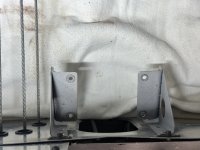
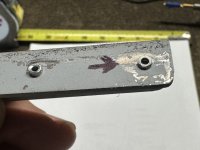
A report from a RV-12 aircraft equipped with a Dynon autopilot indicated that rivets had failed that attach the F-1286B-L & -R Servo Angles to the F-1286A-L & -R Servo Brackets. The current attach rivets should be updated to solid rivets.
The SB advises pilots and owners to inspect this area before further flight. If failed rivets are found replace rivets immediately. For aircraft with Dynon autopilots, if the rivets are intact replace the rivets per this service document within 25 hours.
For aircraft with a Garmin autopilot, inspect at the next condition inspection or 100 hours whichever comes first. Replace the rivets per this service document or continue to inspect at annual inspection or 100 hours, whichever comes first, until the rivet replacement is complete.