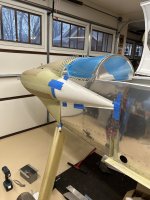
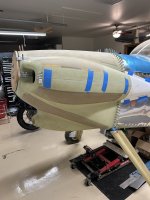
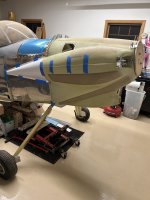
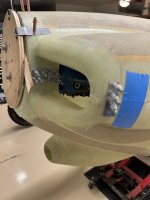
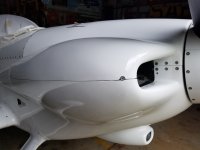
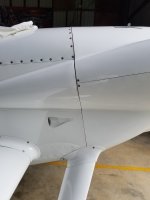
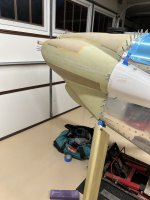
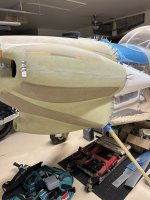
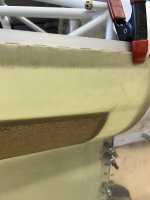
When I built my -4, I was focused on simplicity and security. Nothing fancy to see here... I made a small diameter loop in my hinge pin that fits in a small recess at the front of the cowl. I have a nutplate on a metal plate bonded to the inside of the cowl, and a screw/washer to retain the pin loop. Also, you can see I put a screw in the AFT upper and lower half at that goes into a nutplate on the check extension. During my building stages, I spent alot of time looking at the areas of in service RV-4s that suffered wear and tear, as well as basic aesthetics, and saw these 2 areas as the ones suffering the most. The pin protrusion into the check extension as per plans is OK, but often turns into an ugly wear point, hence the screws I put in mine. Yours is looking good, and the cowling and canopy skirt are the test of patience and detail on the -4 build for sure.