After you finish primary fabrication of the RV-3 fuselage, you might run across a drawing in the back of the plans package that shows a couple of ?optional? roll bar designs ? one made from steel tubing, another from Aluminum plate. Of course, you can choose to have no roll bar at all. But the thought of going upside-down with nothing but the canopy and the vertical fin to keep the airplane off my neck is not thrilling to contemplate.
Looking at several build sites, we saw that modern fabricators have found different ways of welding up roll bars to their own designs. As long as it picks up the loads, and fits under the canopy?why not? With a good friend also building a -3B nearby, we occasionally trade ?custom built? parts, and he had said he would take care of roll bars for both projects. Little did I suspect just how beautiful these things would be ? with aerospace quality welds and a textured powder-coat finish, they are works of art ? and the fit is perfect! Here are a few pictures showing the tricks we used to install a one-piece bar and make the turtle deck skin fit around it. This of course means cutting holes and a slit for installation. I puzzled over it for a few weeks, and came up with this method.
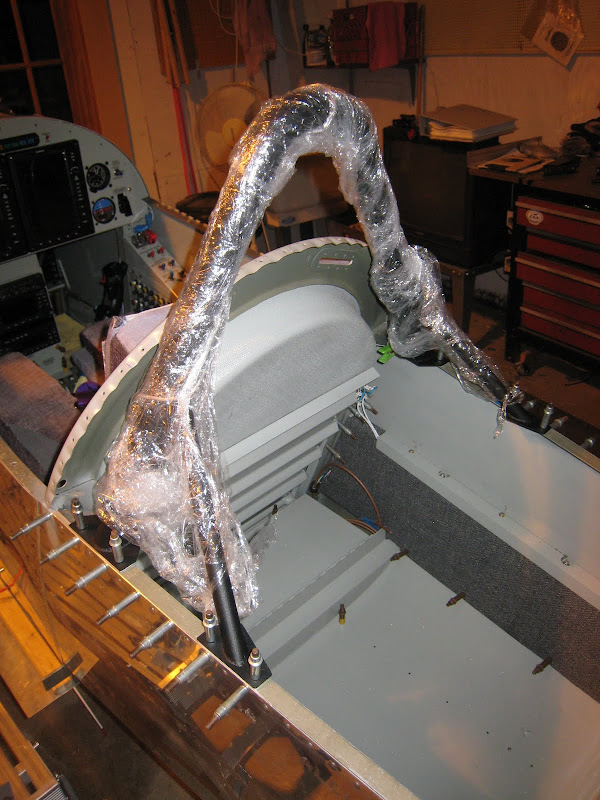
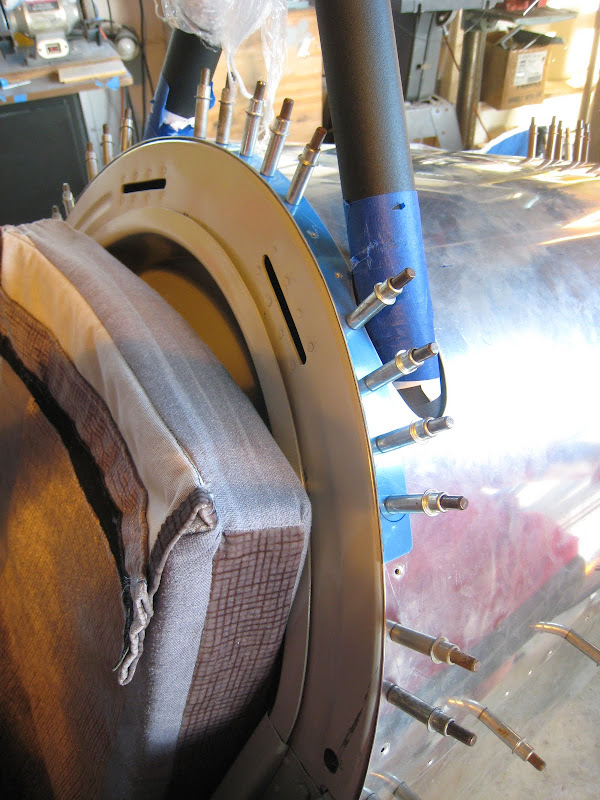
The Roll Bar ? a work of art so beautiful, it came wrapped in plastic so as not to mar the finish!
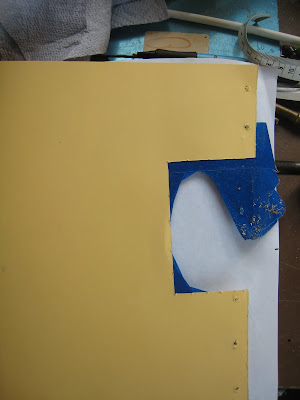
The first step was to take some heavy card stock, and cut a rectangular hole so that it fit around the roll bar, and could pick up the rivet holes in the seat-back bulkhead that were meant for the skin.
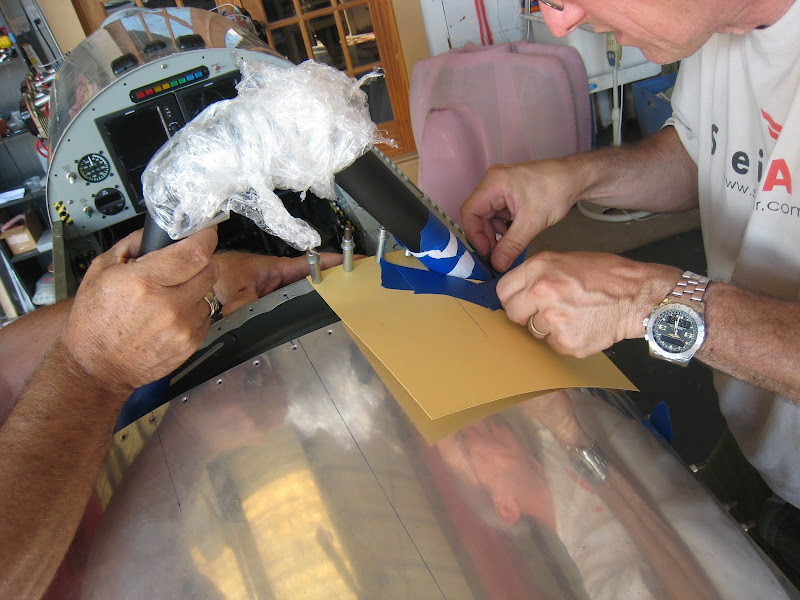
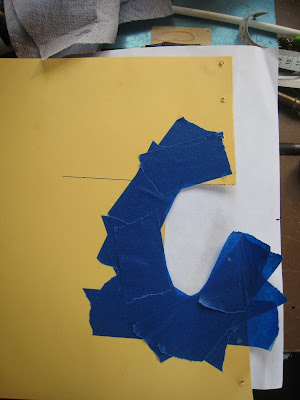
We then use chunks of tape to approximate the curves needed to fit around the roll bar. The cleco holes give an accurate position for the template.
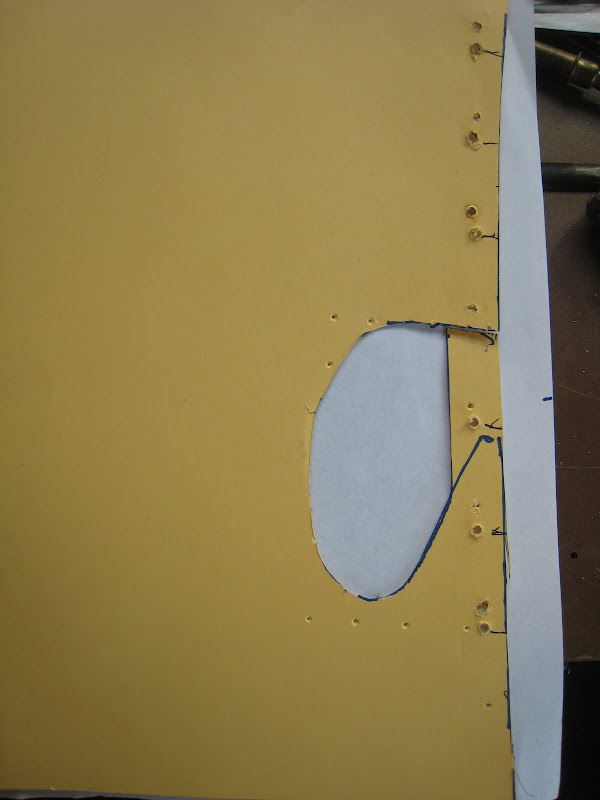
The taped hole was traced to another piece of card stock, the curves smoothed, rivet holes transferred, and it was fit-tested. This was then transferred to a piece of 0.016 aluminum, cut out, and fit tested again.
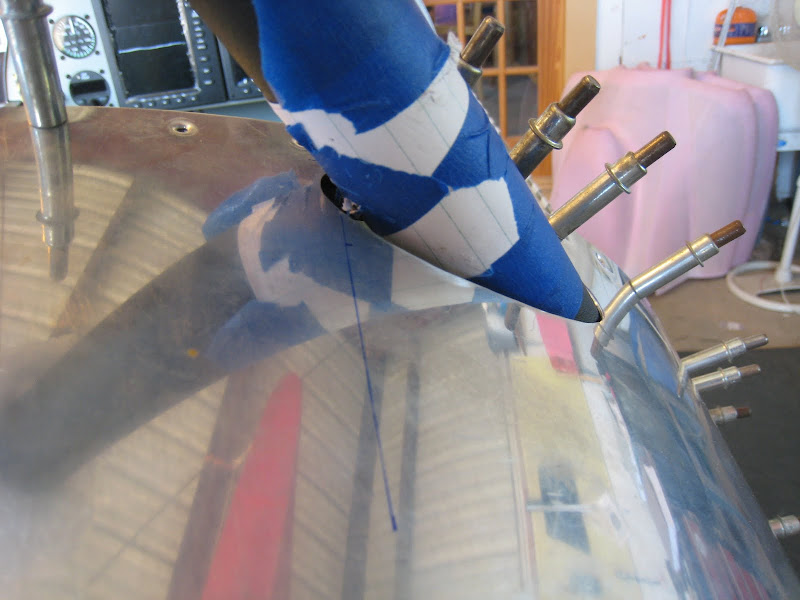
Once we had a metal template that satisfied us, we transferred this to the big piece of Turtle deck skin, and the holes cut out. Big Gulp time ? there are LOTS of hours already in that skin! The little tab up front had to be twisted slightly to install.
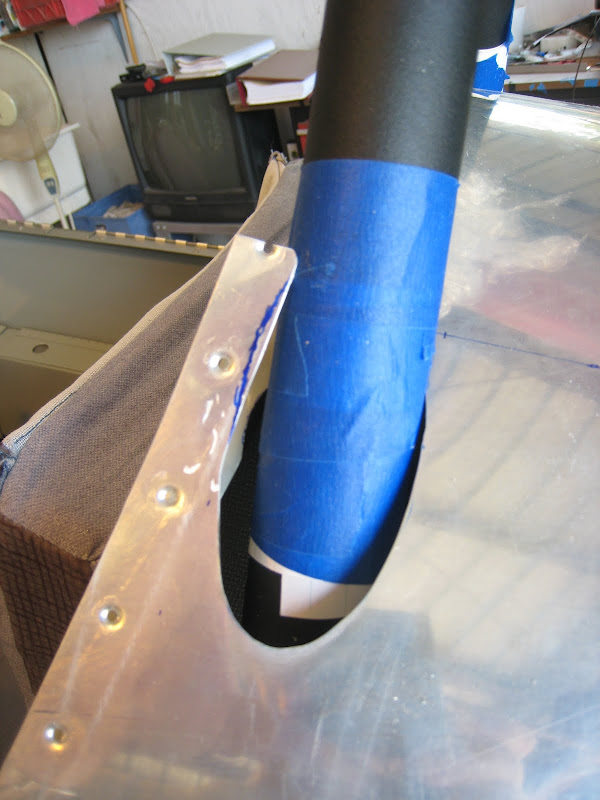
Final trimming was incremental to make the clearance around the roll bar tubes even.
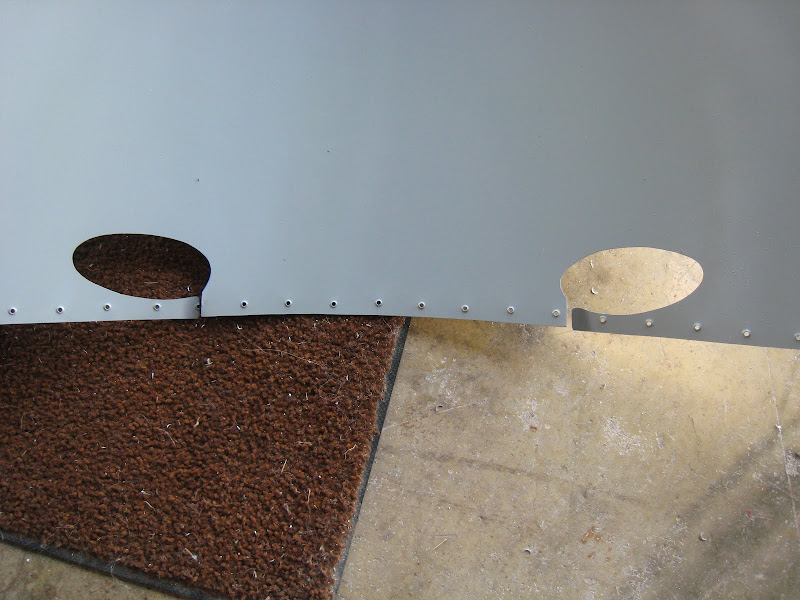
The finished skin with its two ?eye holes?:
To cover up the slits used for installation, we made a little trim strip to go along the edge ? a doubler plate that is really just cosmetic:
Riveting the entire assembly was simple, although we had to back-rivet between the roll bar tubes ? there was no way to get a gun in there with the sets we had on hand. Overall, it turned out pretty nice, and since it will all be under the canopy, it doesn?t need to be weather proof. To be honest, I spent a couple of days trying to figure out how to put edge roll in the space between the skin and roll bar, and came to the conclusion that it was just Gilding the Lilly, and we want this thing to be flying someday?.
Paul
Looking at several build sites, we saw that modern fabricators have found different ways of welding up roll bars to their own designs. As long as it picks up the loads, and fits under the canopy?why not? With a good friend also building a -3B nearby, we occasionally trade ?custom built? parts, and he had said he would take care of roll bars for both projects. Little did I suspect just how beautiful these things would be ? with aerospace quality welds and a textured powder-coat finish, they are works of art ? and the fit is perfect! Here are a few pictures showing the tricks we used to install a one-piece bar and make the turtle deck skin fit around it. This of course means cutting holes and a slit for installation. I puzzled over it for a few weeks, and came up with this method.
The Roll Bar ? a work of art so beautiful, it came wrapped in plastic so as not to mar the finish!
The first step was to take some heavy card stock, and cut a rectangular hole so that it fit around the roll bar, and could pick up the rivet holes in the seat-back bulkhead that were meant for the skin.
We then use chunks of tape to approximate the curves needed to fit around the roll bar. The cleco holes give an accurate position for the template.
The taped hole was traced to another piece of card stock, the curves smoothed, rivet holes transferred, and it was fit-tested. This was then transferred to a piece of 0.016 aluminum, cut out, and fit tested again.
Once we had a metal template that satisfied us, we transferred this to the big piece of Turtle deck skin, and the holes cut out. Big Gulp time ? there are LOTS of hours already in that skin! The little tab up front had to be twisted slightly to install.
Final trimming was incremental to make the clearance around the roll bar tubes even.
The finished skin with its two ?eye holes?:
To cover up the slits used for installation, we made a little trim strip to go along the edge ? a doubler plate that is really just cosmetic:
Riveting the entire assembly was simple, although we had to back-rivet between the roll bar tubes ? there was no way to get a gun in there with the sets we had on hand. Overall, it turned out pretty nice, and since it will all be under the canopy, it doesn?t need to be weather proof. To be honest, I spent a couple of days trying to figure out how to put edge roll in the space between the skin and roll bar, and came to the conclusion that it was just Gilding the Lilly, and we want this thing to be flying someday?.
Paul
")