Hi All,
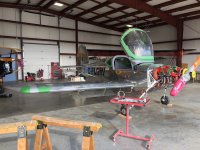
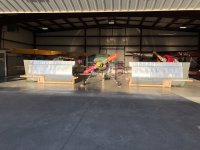
Building an RV-14 taildragger here and getting prepped for wing installation. I’m thinking it through first so it goes smoothly and I don’t waste my helpers time. It seems that the install would be easier with the fuselage in the 2-point attitude with the fuselage and wing spars nearly vertical. I plan on having the wings prepositioned laying on padded sawhorses. If the fuselage is in the 3-point attitude then the wing leading edge would need to be lifted up quite a bit to get the spars to align. Since it’s probably gonna take some wiggling and rocking to get the close tolerance bolts in, having the wings relatively flat during that process vs lifting up the leading edge would seem easier. Or maybe not. I’ve never done it before.
If anyone has any advice on how to position the fuselage and any techniques to get it all aligned, the bolts in and just making life easier, I’d appreciate it. Thanks for your time.
Cheers,
Scott Davis