

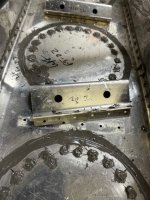
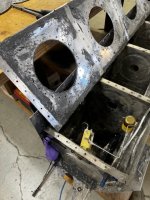
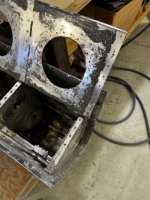
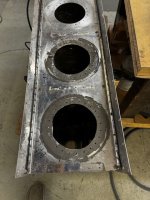
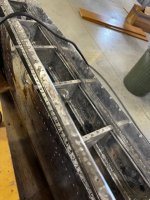
I kept looking at these 2 newly assembled tanks & finally told the owner that there was no way they would leave my hangar in their current condition.
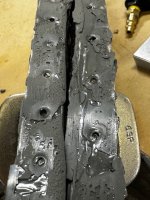
Beside the random rivet leaks on both tanks, I found no sealant under any Z bracket… than I got to second tank… NO sealant on either end rib to baffle, sealant gaps on the baffle/skin flanges, plus same no sealant under any Z bracket.
Just saying- read the instructions… watch any installation videos you can… REASON OUT YOUR TASK AHEAD… & don’t rush!
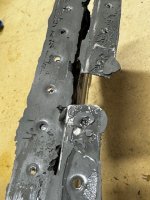
Now back to tearing that second tank apart
Beside the random rivet leaks on both tanks, I found no sealant under any Z bracket… than I got to second tank… NO sealant on either end rib to baffle, sealant gaps on the baffle/skin flanges, plus same no sealant under any Z bracket.
Just saying- read the instructions… watch any installation videos you can… REASON OUT YOUR TASK AHEAD… & don’t rush!
Now back to tearing that second tank apart
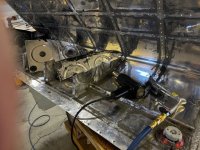
 I riveted one tank wet and one tank with the "dry" proseal method. I found no difference in the amount of squeeze out, the finish of the skins, leaks, etc (but I did find that riveting with the dry method made getting good shop heads much easier and far less stressful). Granted, I not only clecoed things in place, but also used judicious amounts of duct tape and jigs to squeeze the skins tightly against the ribs, then riveted as soon as the proseal skinned over, which meant it was still plenty soft everywhere else to conform/squeeze out). The only leak I had was at one rear baffle corner (riveted the baffles on wet).