What's new
Van's Air Force

Don't miss anything! Register now for full access to the definitive RV support community.

New Guy!

Vitamins

I wish I still had your energy. I tried to do the same approach by building the shop first and then ran out of time to build the RV.

The trick to building is buying from the correct kit manufacturer which you did. The other trick is try to move the project foward a little everyday even if it's only reading about the next step. I've seen too many guys go 12 hour days and then burn out for weeks at a time, myself included. When you bog down, find a buddy with a plane and get some air. AND enjoy the building process. Strive for perfection and accept your limitations. Unless this plane is going directly into the museum, realize that some of the absolutely perfect workmanship will eventually be lost to the harsh and unforgiving environment where you plan to operate that aircraft.
 
On to building a plane!

So...big day yesterday. Emp and Wing kits delivered!!!

Delivery was 3 hours after the END of my appointment. Just cruel.

P1000418.JPG


Spar Crate was more awkward than one would think.

P1000417.JPG


Pretty sight!

P1000431.JPG


Ready to go!!!

P1000432.JPG


Thanks to all...now to get the build site up and running.

New Guy no more, New Builder now!!!! :D
 
A word of warning: There are 4 very long 3/4"X1/8" pieces of aluminum angle in the spar box. I can't remember if they are the same length or not. Either way, two of them are used for the fuselage longerons when you get the fuselage kit. The other two are used for whatever comes up. Seperate them out and tag the longerons. Cutting them up will be really bad news (shipping for someting like that is terrible).

congrats!!! Oh, if I could only come help you pound rivets. I could do the rivet pounding, you could debur the 15,000+ rivet holes. Sounds fair to me.
 
Thanks

Yup...Van's now sends a big warning with the final invoice stating the same. Apparently it is a big problem.

Inventory to start soon.
 
Excellent!

Fantastic news, Jason. Congratulations! I have a DRDT-2 I'm not using at the moment, if you'd like to borrow it.

--Stephen
 
Congratulations, Jason! You're about to embark on one of the most rewarding projects you've ever been involved in.

Speaking of funny, here's another essential item you'll need for your shop wall:

caution%20sign.JPG
 
Oh, you and I already took care of that...thanks.

2011-03-22%2010.12.55-1.jpg
2011-03-22%2010.12.42-1.jpg


I have the vector file I created for anyone else that has a sign maker that wants to duplicate.

Mine is 2'X'2' and all that have visited laughed and understood the warning in the same breath.
 
Last edited:
Build begins

The build has begun. Log is located here. It is in a constant state of flux, but getting there.

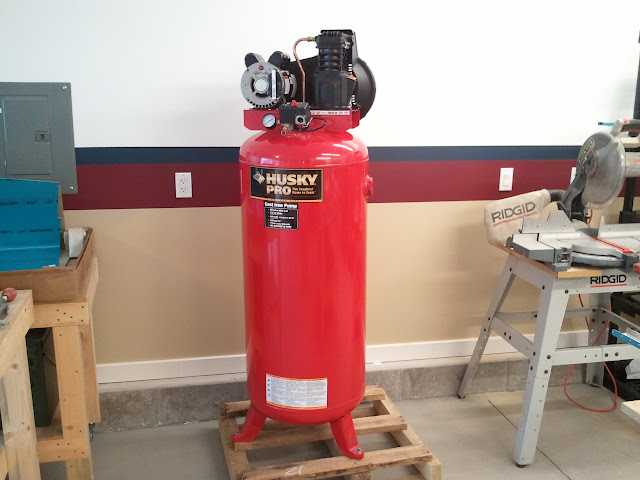
Santa arrived late and delivered a belated gift.

2011-04-28%2019.22.17.jpg


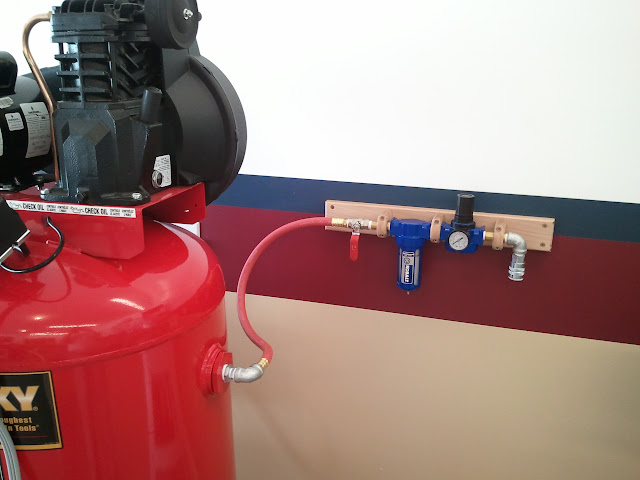
First challenge was to mount the filter and regulator. There seems to be a lack at the home stores of means of doing it nice and attractively. I figured, I am building an airplane, I can surely make something that works and looks good...

2011-05-02%2014.27.59.jpg


Thanks again to all that have offered encouragement, advice, and cheers thus far. Hopefully my log updates often cause that means I am building often!
 
Last edited:
Jason,

Nice looking shop and setup. Looks like you got the right idea. I'm looking forward to following your log and seeing the progress.
 
I would move the valve to the tank, so that when closed, the hose is not under pressure.
 
I would move the valve to the tank, so that when closed, the hose is not under pressure.

What Mel said.

Plus, I always put a "T" in just after the valve, and run a tank pressure coupling in addition to the regulated one.

Only issue is no filtration/dryer with my method, but for just running a blow gun, or impact tool, it is just fine.
 
I would move the valve to the tank, so that when closed, the hose is not under pressure.

I thought that too...now three ;) but you are right, makes better sense.

Plus, I always put a "T" in just after the valve, and run a tank pressure coupling in addition to the regulated one.

Thanks for the idea Mike. I could add a "T" where the shutoff valve is now. Then it is simply a coupler for the valve and be back in business...looks like another HD run after work for me.

Thanks guys.
 
Last edited:
Air Supply Part Duex

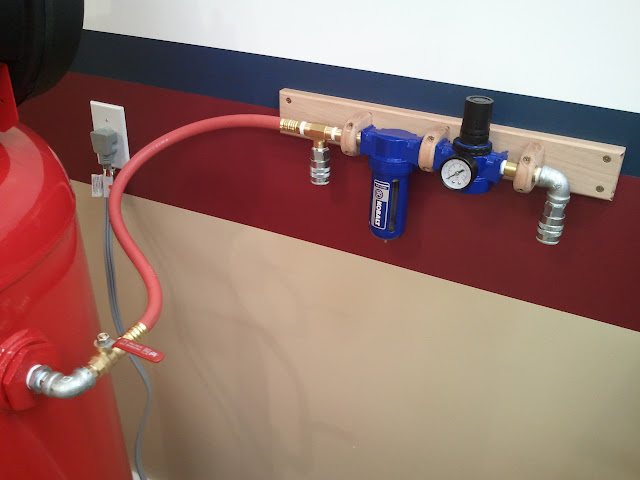
Per the Mel and Mike suggestions, I moved the shutoff valve to the tank and added a tank pressure outlet.

2011-05-03%2021.09.03.jpg


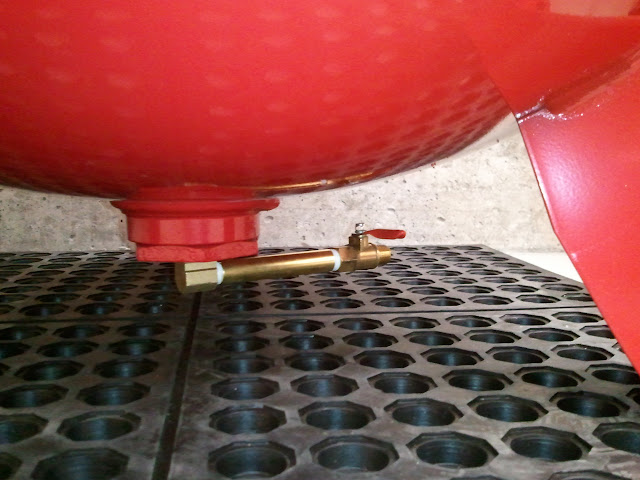
I also made the valve for moisture removal easier to get to and use.

2011-05-03%2019.17.57.jpg


Thanks guys! Now, less shop work and more plane work. Again, this community of builders is proving awesome already. No wonder RV's are pleasant to build. You get a ton of help with the kits.
 
Last edited:
Shop passed the final inspection on Wednesday. Nice to have the City monkeys off my back.

Apparently all the different inspectors that have been by during the project have been talking to each other...because when this one showed up, he said..."Oh, you're that guy!"

He assured me it was a good comment. ;)

Now back to building a plane!
 
Back
Top