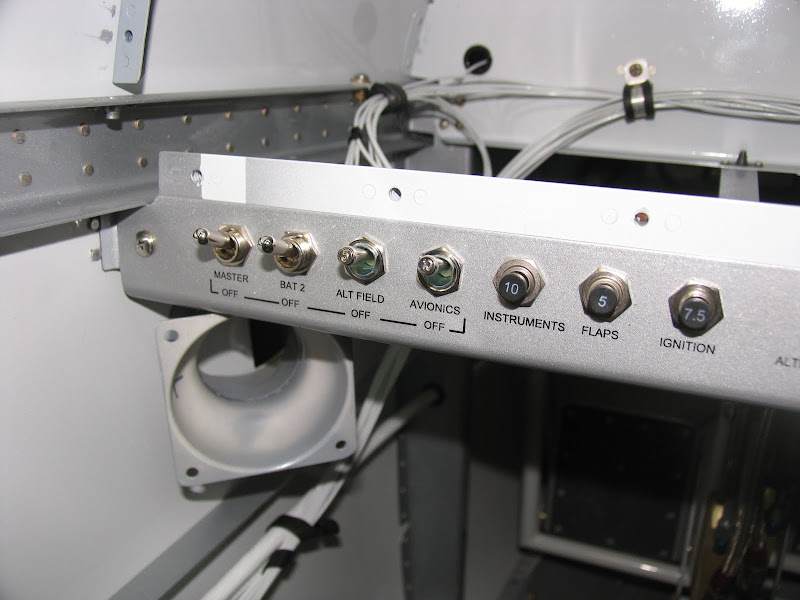
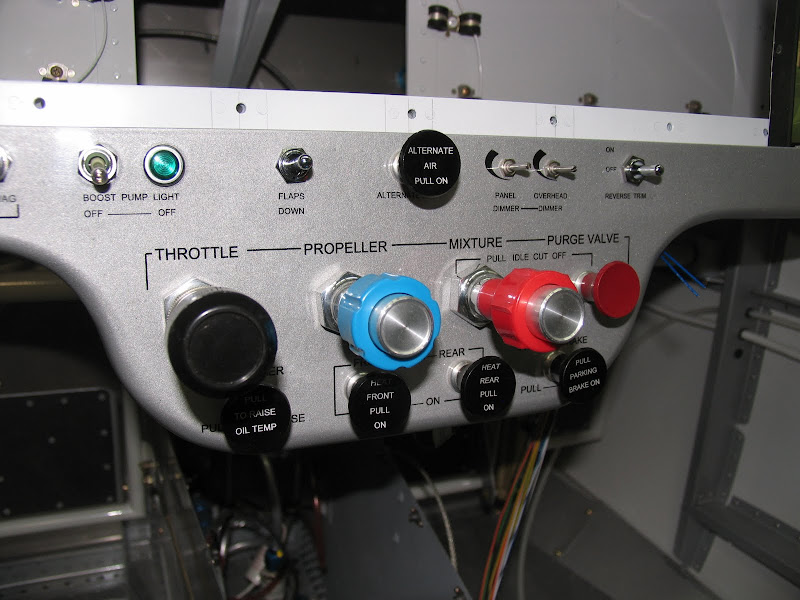
I applied labels on a smooth surface (no powder coating) and found it is very difficult to remove labels (I experienced this when I had to remove some label during the process).
Instructions MUST be followed letter by letter.
The most delicate fase is the Mylar carrier bonding and cutting, in my opinion.
No problem in the first step: print your label WITH the 10 points border very close to the print on the chemical blue sheet with a LASER printer. No need in my case to use alcohol: just be careful not to touch the sheet on the glossy surface (the one which will receive print).
No problem in the second step: apply the colour or the clear glossy sheet. Just be careful to remove any excess of colour with the supplied 3M tape. If you do not use the tape, the Mylar will not stick properly.
No problem in the alcohol step: clean both the print and the Mylar carrier and apply the wet paper towel to carry electrons to Mylar.
Then, it comes the very delicate step.
1) Put the cleaned side of the Mylar on the print and overlap a piece of it in order to fold it over the plexi board. I used a paper sheet already bent to help the Mylar bending properly. Then when holding the most fore part of the board/Mylar/print with your left hand, you raise the paper sheet with the right hand to verify that the Mylar and the print are aligned and that the Mylar did not wrinkle. Then, you pass it in the laminator twice.
2) Now, you have the Mylar bond to the print, but everything is lightly sticked to the board. You must be very careful to hold the printed part of the assembly very thight when removing the print (with the Mylar) from the board. The aim is to avoid that the Mylar carrier disconnects from the 10 points border of the print. If this happens, when you will place the print in the water bath, print will remain sticked to the chemical paper and not to the Mylar. I found useful overlapping a second board on the print and holding both boards very tight during the cutting phase. That way scissors force can't pass through and wrinkle the Mylar where it sticks to the 10 points border.
It may happen that in some parts the border will be affected. No problem. once all the print will be cropped, just overlap the said paper sheet and pass everything again in the laminator: the Mylar will stick again over the hole border.
Now, if you have in your hands a well border-sticked print, you are in the descent phase of the process. Just place the print in the water and start the counter. It is important to remember which is the direction of the curl (you saw this when heating the print in the very first step of the process), because the print will round on itself and if the direction is wrong, the Mylar carrier will stretch and disconnect from the blue chemical parer and since the printed part will no longer be in contact with the Mylar, it will not stick on it.
At the end, I found useful to place the decal on the panel and then stick a piece of 3M tape on one border. Check again for alignment, raise the decal bending the tape on itself, covering the panel with paper towel, spray on the decal the Sulky spray, remove the paper towel and then bonding the decal.
Let me know if something was not clear. If you understand the process, it is not difficult. If you don't understand it, you may waste all of the supplied foils without applying a decal.
Ciao.
Camilo


")