I took a look at the issue last night on my -14. At 105 hours, I have yet to do the wobble test and haven't had any symptoms. That being said, as I near the time for condition inspection, my plan is to do the check(s). The many comments on this forum pointing to problems with the #2 exhaust valve make me want to get in front of the potential problem. I might as well check them all.
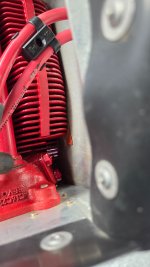
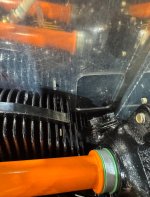
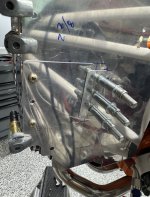
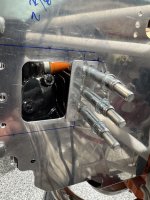
My question is, what about the clearance on cylinder #3? Does the hole/vent for the oil cooler duct provide enough clearance to remove the rocker arm shaft?
The port for the shaft seems pretty low for that to work, however the shaft appears to come out at an angle that may be enough for the the oil ducting hole to allow clearance.
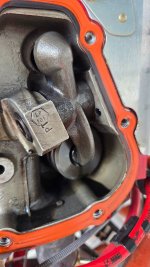
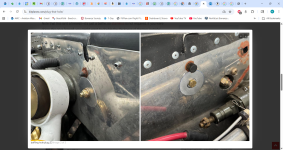
By the way Phil, your solution looks great!
Fred