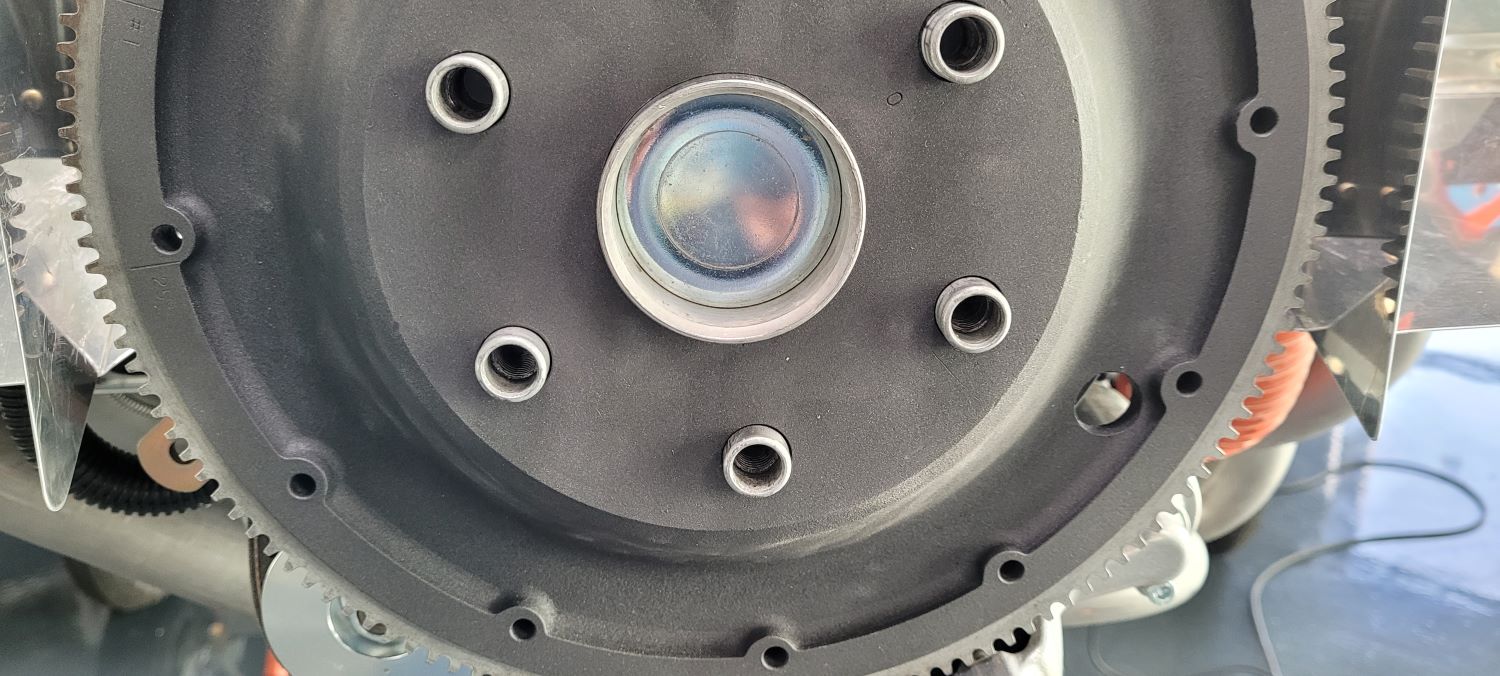
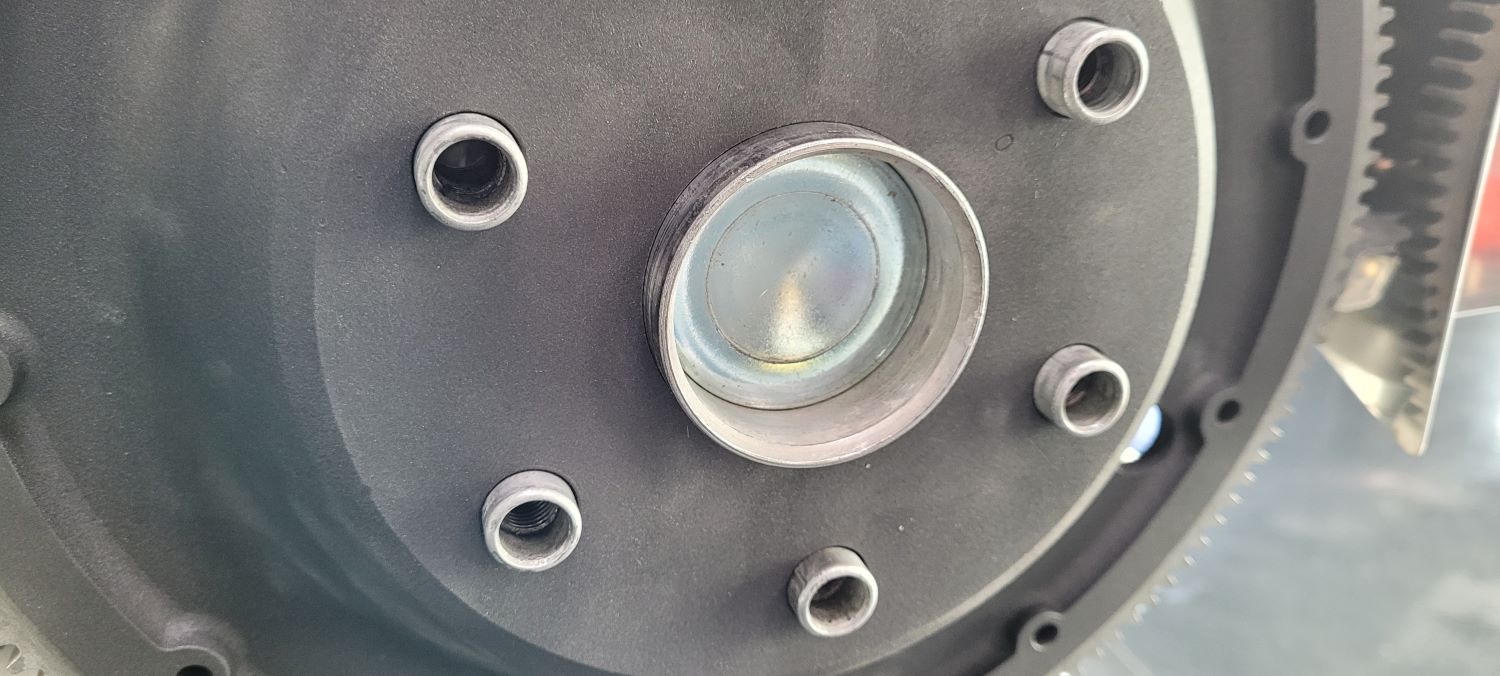
I had to remove crank front plug during cleanup from failing camshaft. The old plug had a nice smooth broad indentation from installation. It looked like the punch used to install was large maybe 3/4 inch or slightly larger. My question is what size and shape punch is used when installing the plug? My engine is a 0235 C series. An A & P is helping with engine rework but just want to make sure on this.

Van's Air Force
You are using an out of date browser. It may not display this or other websites correctly.
You should upgrade or use an alternative browser.
You should upgrade or use an alternative browser.
Installing Lycoming crankshaft plug
- Thread starter navy06
- Start date

Thanks for the reply. I saw that video a few days ago and the dimple that small diameter punch produced looked nothing like the broad smooth dimple that AEA did when crankshaft was certified 15 years ago. That’s why I was wondering about proper tool to use.
I use a small socket to flatten the plug.
Last edited:
Suggest you DO NOT follow that Youtube video. Instead refer to Lycoming Service Instruction No. 1583, available by Google search. Don't drill the old plug, pierce it with a punch, hard enough to take it from convex to concave, and it will come out on the punch. The Lycoming tool is expensive, about $1800, so most mechanics don't have one in their toolbox. The good thing about that tool is that it will not allow the new plug to be overdriven. I found a small sledge hammer with a 1.75" diameter head, and ground it down in the center so the plug won't be driven past flat, and hit it with a three pound sledge. It sets the plug consistently, just like the lycoming tool, P/N 64681
Plug
Five responses, only one correct. Follow the Lycoming instructions. All other posts are really bad information that could cost you an engine, your airplane or possibly your life.
Read the Tom Wilson article in Kitplanes about the Rutan F rating for EAB maintenence, especially non builder issues.
The plug IS NOT SUPPOSED TO BE DIMPLED. It is supposed to be flattened.
I’d say Mel’s method follows the Lycoming service instruction.
From the Lycoming SI
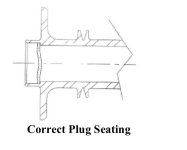
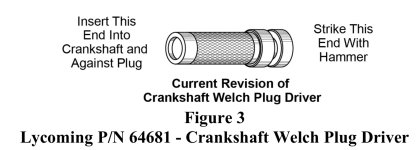
“Install the Crankshaft Welch Plug Driver P/N 64681 (Figure 3) or equivalent against the expansion plug and strike the opposite end of the driver with a hammer until the expansion plug is correctly seated (Figure 2) in the crankshaft bore. The tool is designed to drive the plug only until it is seated correctly.“
The installed plug does indeed have a large radius dimple.
Attachments