Good Afternoon:
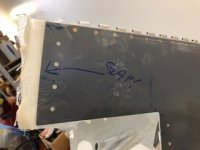
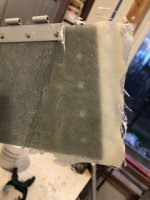
. My first attempt started prior to engine arrival and installation and took the advice of many on the forum to wait until the engine arrived. Upon engine installation the trimming I completed during the first attempt was too aggressive, leaving unsightly gaps on the side, left worse than the right. Attempts to add some fiberglass to close the gap and retrim were met with not very good results. I ordered a new bottom cowling and followed the directions exactly. Now it appears the whole assembly is off center by about 1/4 to 1/2 inch. to adjust it I un-clecoed the top cowling rotating the left side aft without much improvement. Every other fitting is spot on and I am pleased with the way it cam out. My question is:
1. Live with it, which I can do because it was never going to be a show plane and after 10 years of building I want to fly it.
2. Order a new top cowling and start over. The new bottom cowling was nearly ten aviation monetary units ($1,000) including shipping.
Any advice would be greatly appreciated