

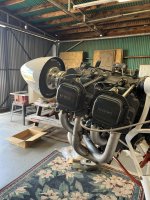
Fitting my cowl this weekend. I Purchased the old pepto bismol pink cowl a few years ago from a guy that went horizontal induction rather than vertical. Since I already have my ground adjustable fixed pitch sensenich prop and spinner, and to set the 1/4" gap, I bolted on the starter ring and the spinner which has the saber 2-1/4" spacer bolted/added to the spinner. A beauty.
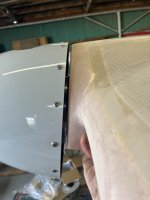
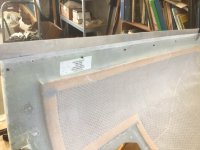
Then my heart sank as I looked at the aft end cowl to firewall skin gap/shortage. It appears I'm a few inches short...probably a total of 3" or so in order to get a good trim back to the 2" mark per plans
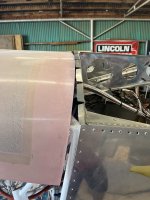
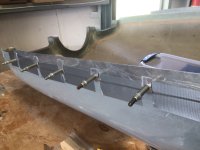
I've researched some of Dan Hortons Scarfed layup extension solution advice. Question is with that much length add on, is it possible to to add this much extension to the cowl, in an area that will have hinges attached? I'd do a long gradual angles scarf with staggered layers and likely carbon and or metal strip included. But I'm open to suggestions. Is this length even feasible. Anyone tackle this issue with their cowl...Looks as if it will be both top and bottom. Not sure why this cowl is so short (doesn't look like it was previously trimmed either) as the spacer is common for fixed pitch.
What do ya'll think?
Then my heart sank as I looked at the aft end cowl to firewall skin gap/shortage. It appears I'm a few inches short...probably a total of 3" or so in order to get a good trim back to the 2" mark per plans
I've researched some of Dan Hortons Scarfed layup extension solution advice. Question is with that much length add on, is it possible to to add this much extension to the cowl, in an area that will have hinges attached? I'd do a long gradual angles scarf with staggered layers and likely carbon and or metal strip included. But I'm open to suggestions. Is this length even feasible. Anyone tackle this issue with their cowl...Looks as if it will be both top and bottom. Not sure why this cowl is so short (doesn't look like it was previously trimmed either) as the spacer is common for fixed pitch.
What do ya'll think?


")
