Brantel
Well Known Member
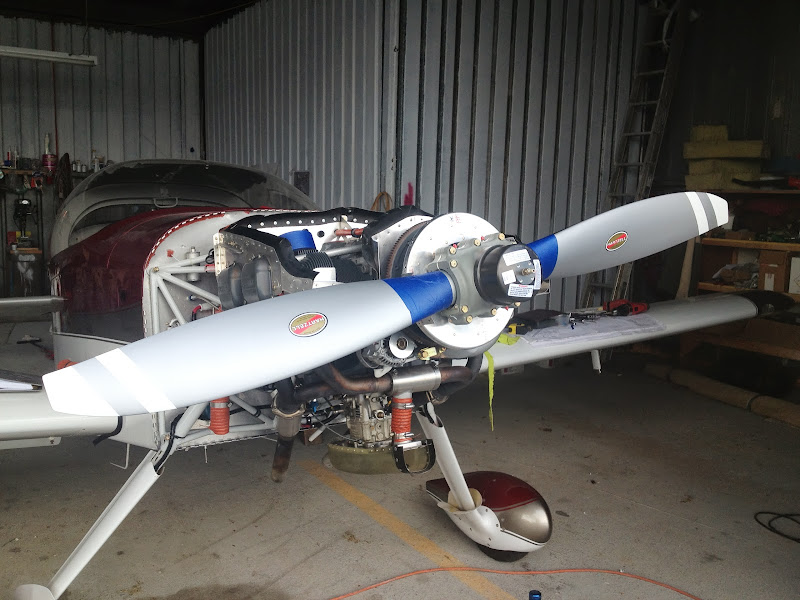
This thread will serve as a complete record of my efforts to convert my airplane from a Metal FP Sensenich to a 72" Metal CS BA Hartzell.
I want to thank Tim Emig "380mxc" for selling me a new in the box prop. He was a pleasure to do business with and went out of his way to ensure our transaction was painless for both of us. Thanks Tim!
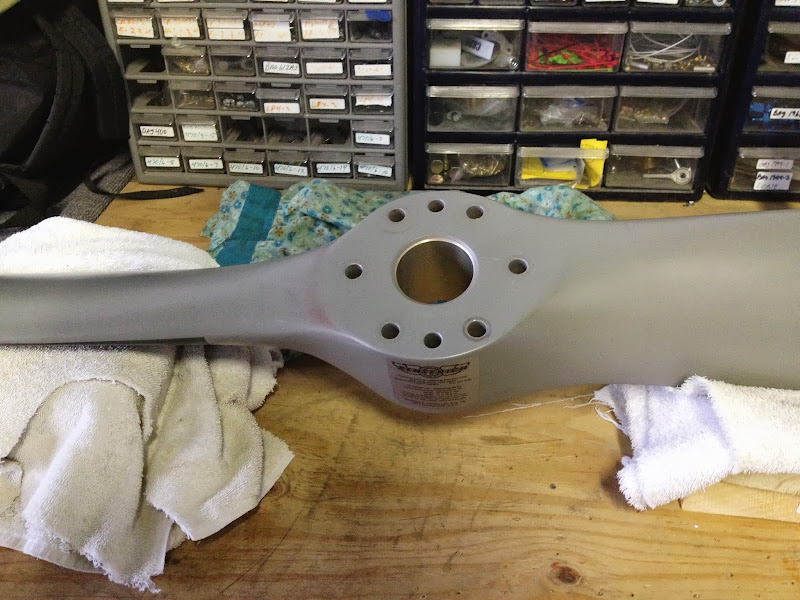
The prop arrived today looking just like it did when Tim sent me the pictures he took right before dropping the prop off at the UPS depot. UPS managed to get it to me in two working days without damage.
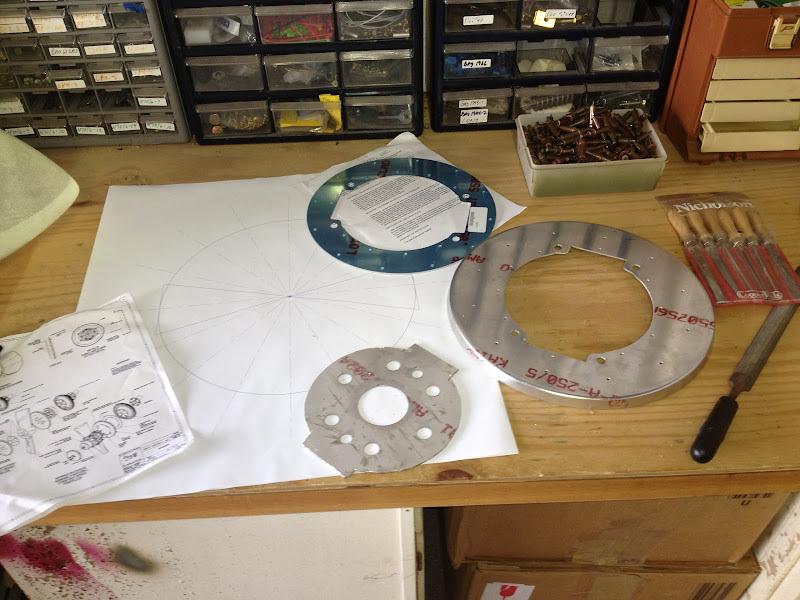
Tim also sent me a brand new spinner kit in a separate box. That also arrived in good condition.
I am in negotiations with the Nashville FSDO so hopefully I can get all the legal mumbo jumbo out of the way by the time I am ready to fly this thing.
The goal is to get it installed, fly off the test program and be ready for a trip to Osh. If the plane is not ready or not safe, there will be no Osh for the airplane, I however have alternative transportation available!
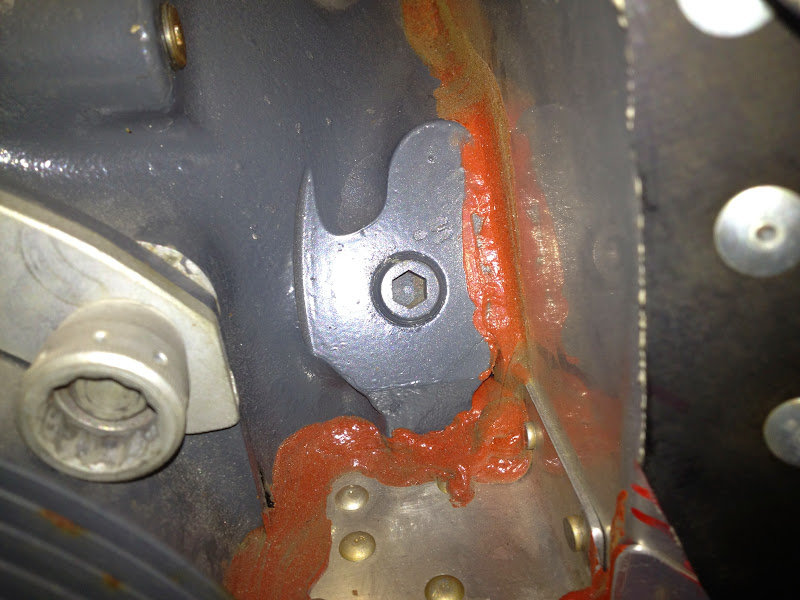
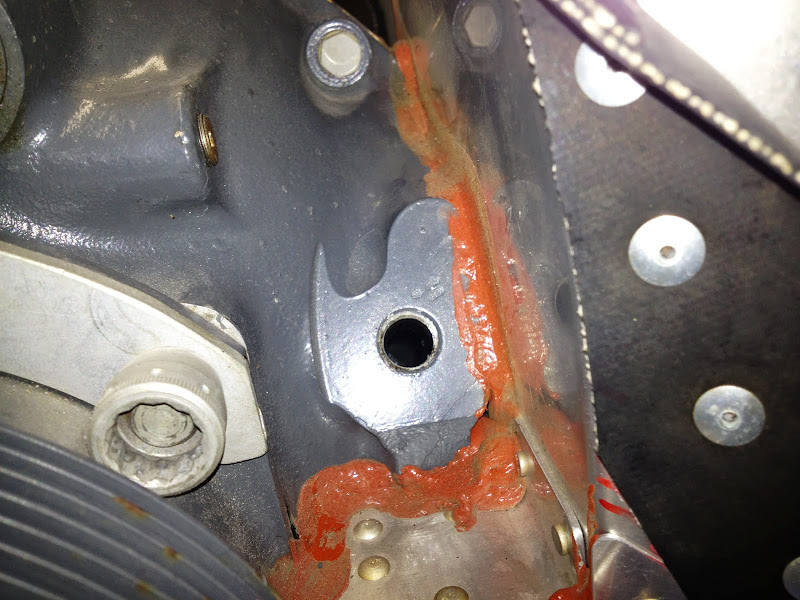
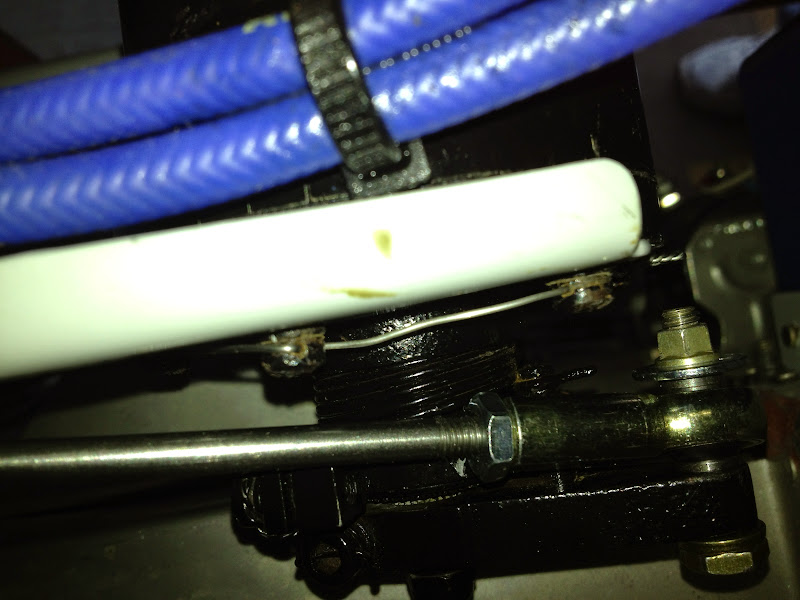
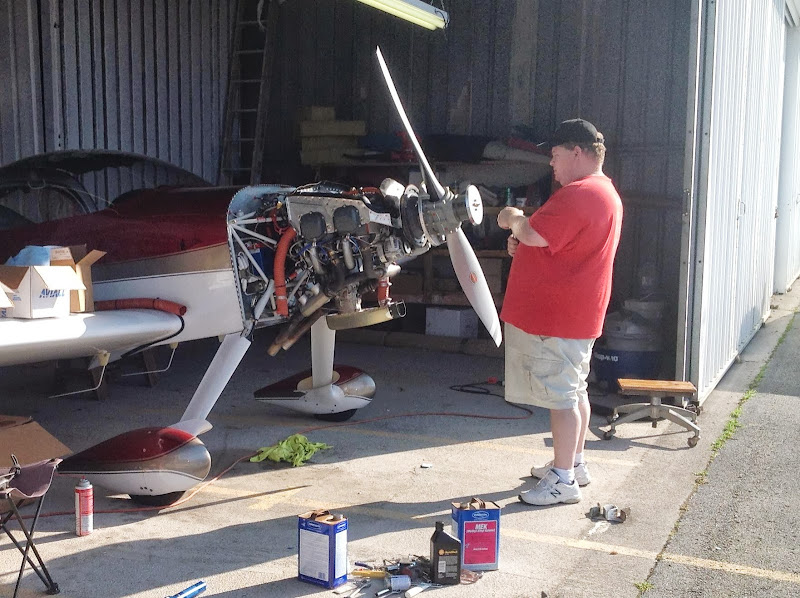
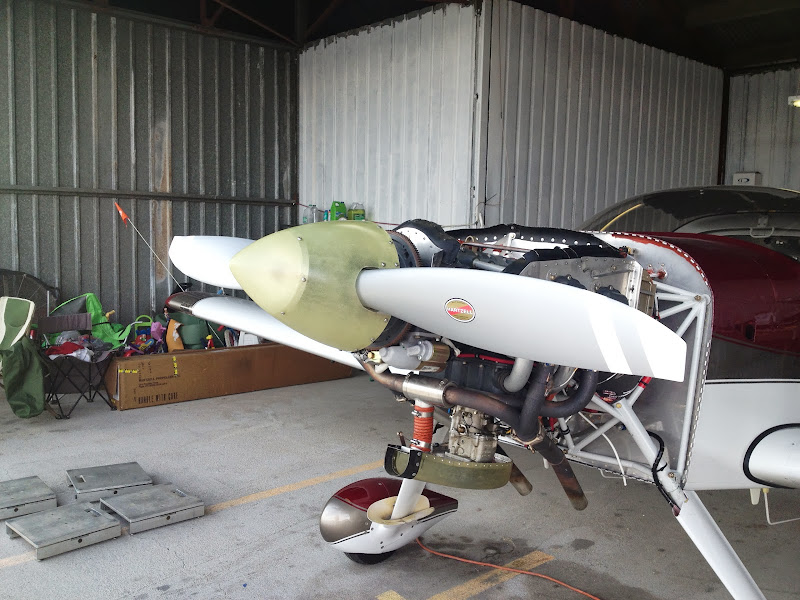
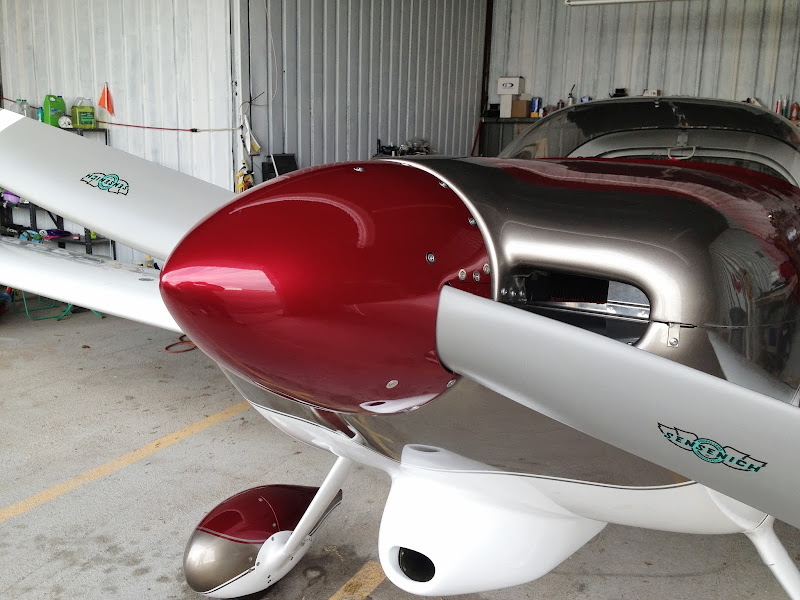
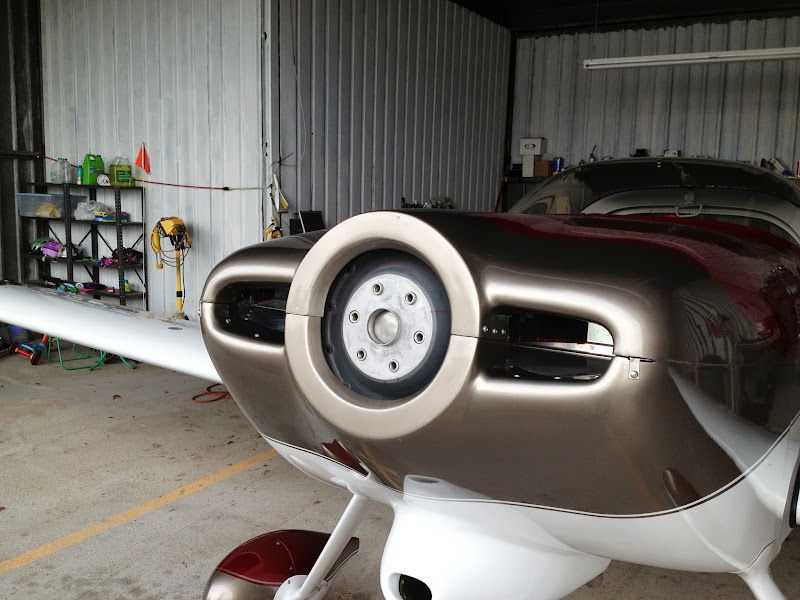
So tonight I started with getting the Metal FP removed...

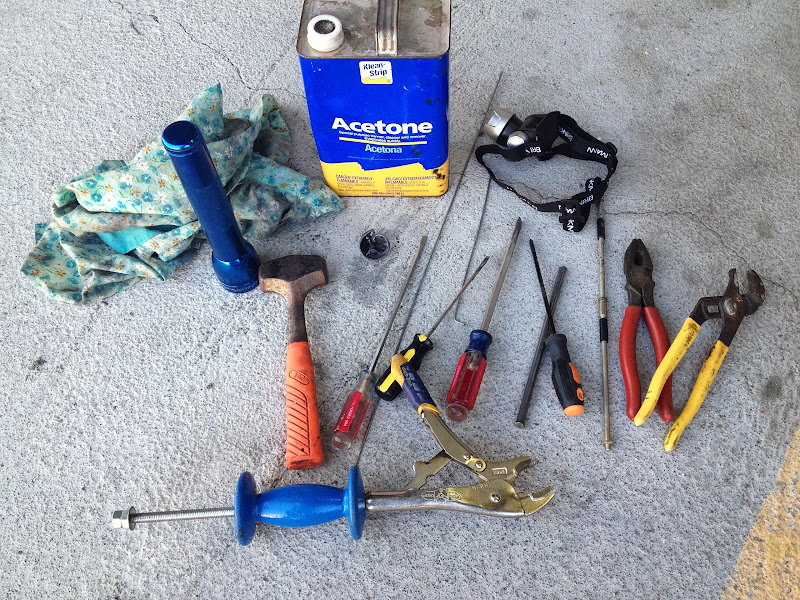
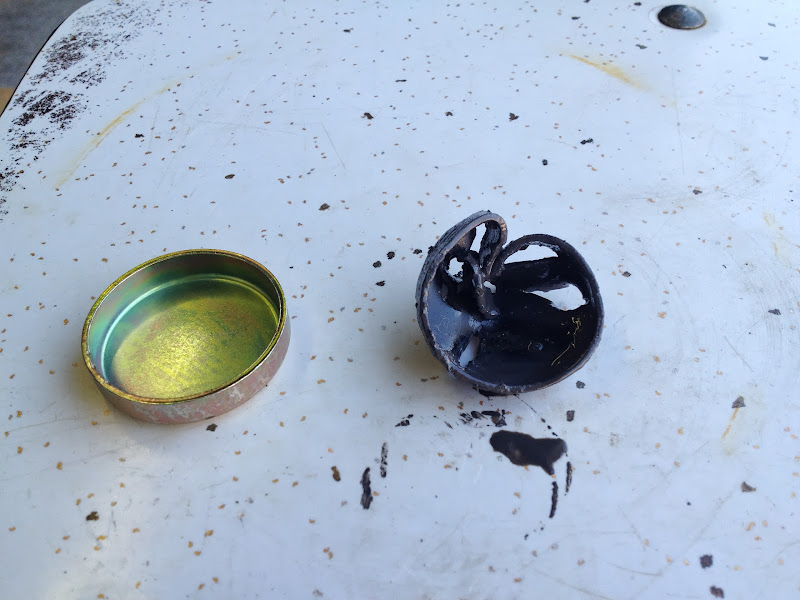
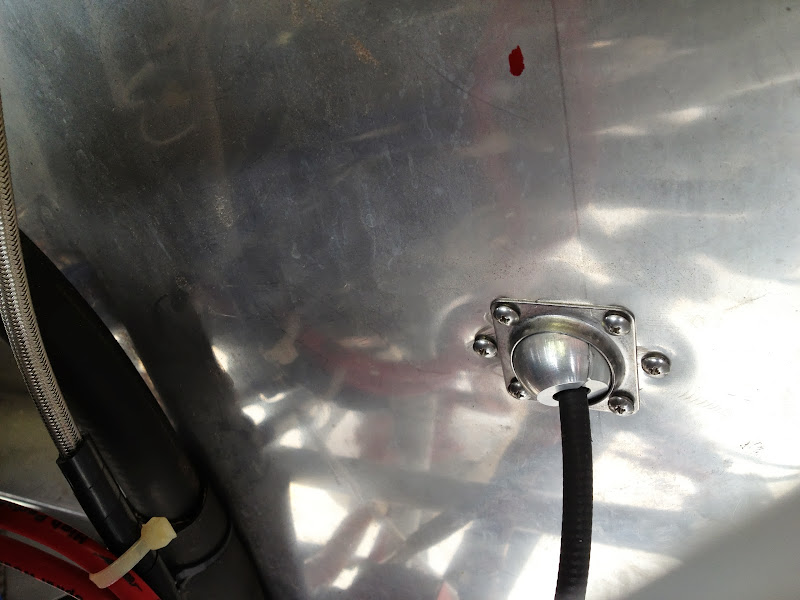
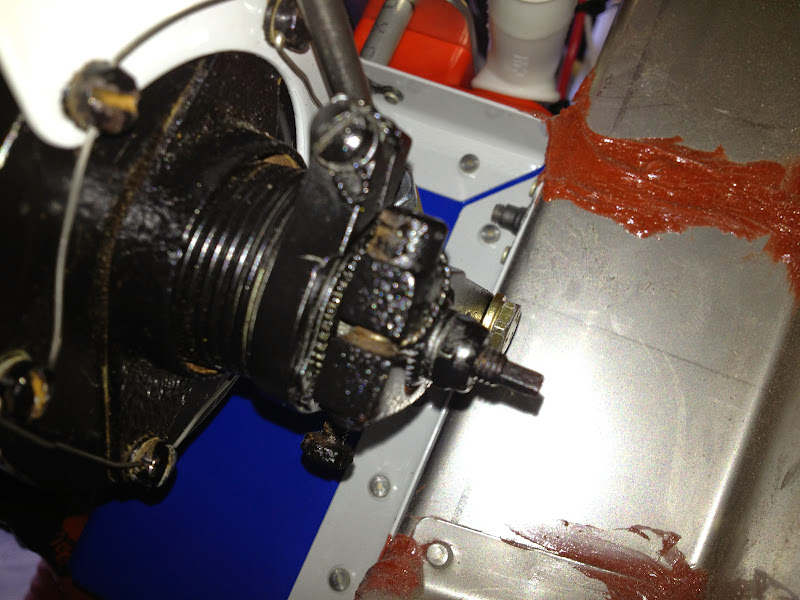
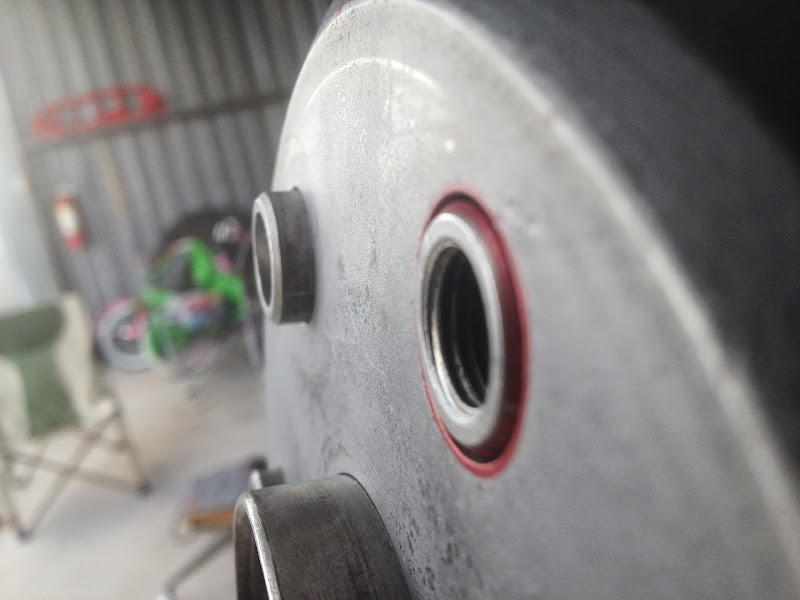
and then focused on getting this plug out of the front of the crank. I used the Don Sword's method to get this plug out. Take a ballpeen hammer with the ball in the center of the plug and then whack it with another hammer. This pushes the plug in and makes the outtie an innie and the plug comes right out. Sounds worse than it is....
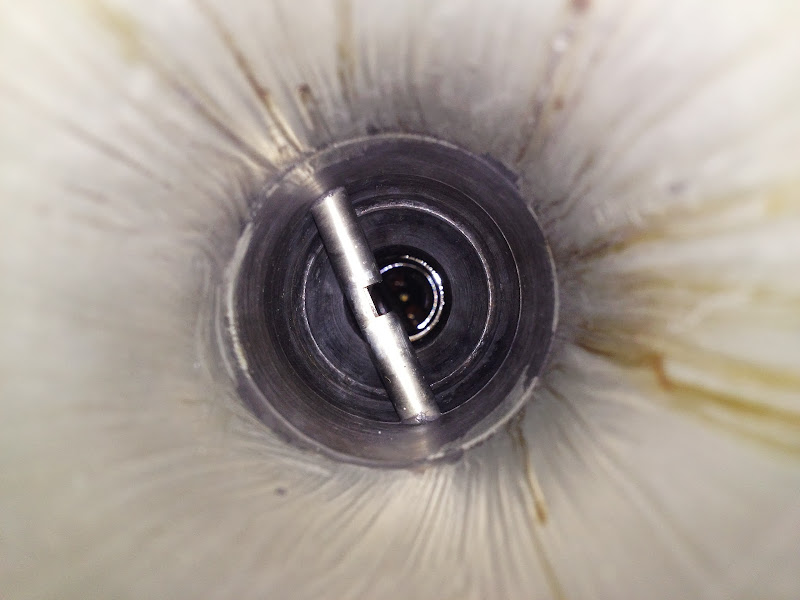
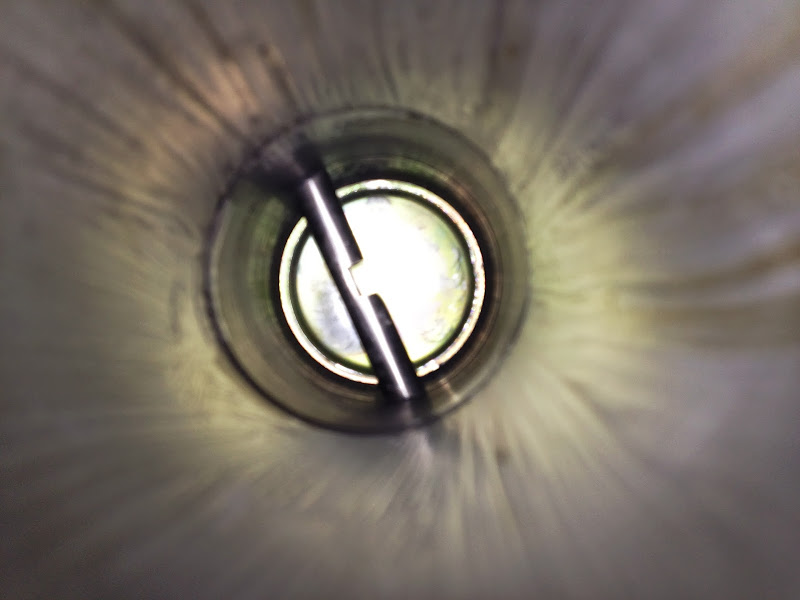
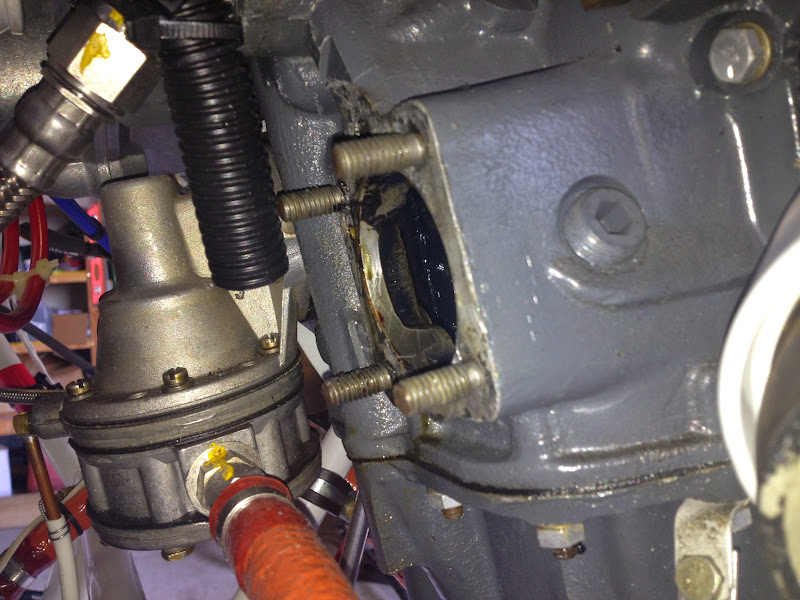
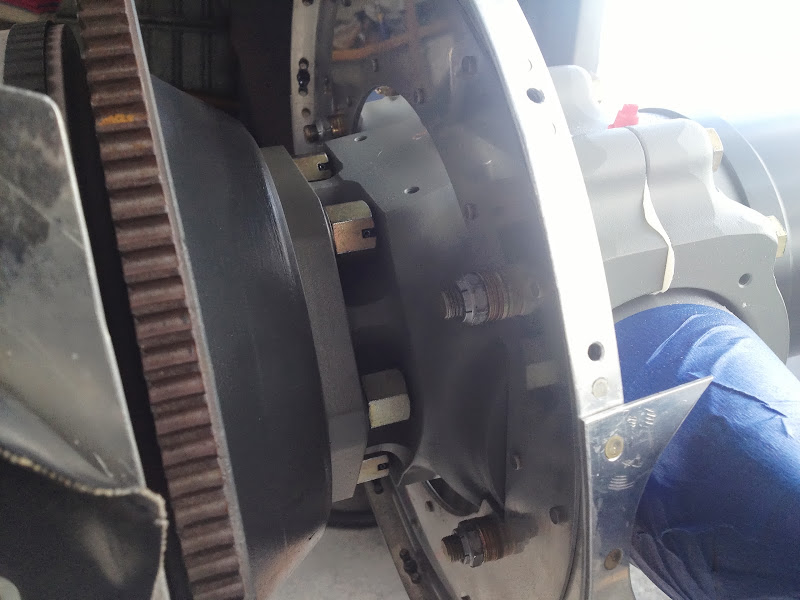
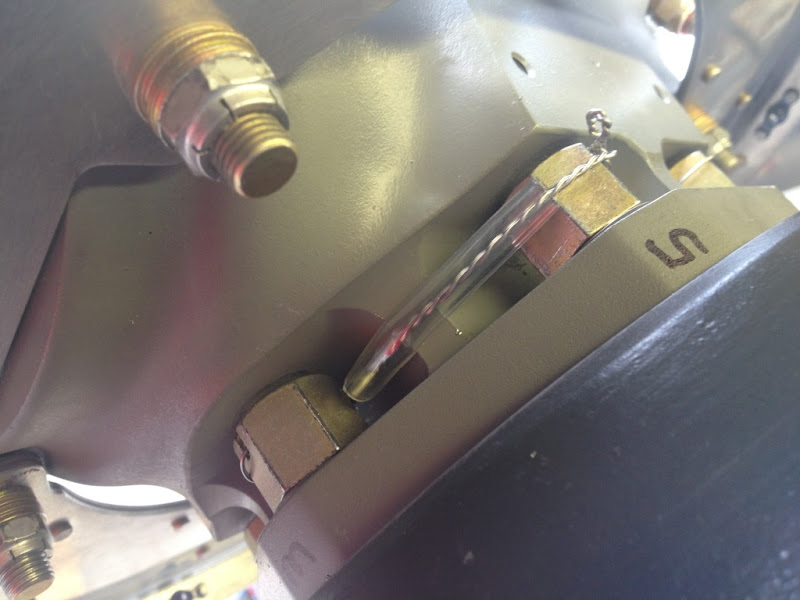
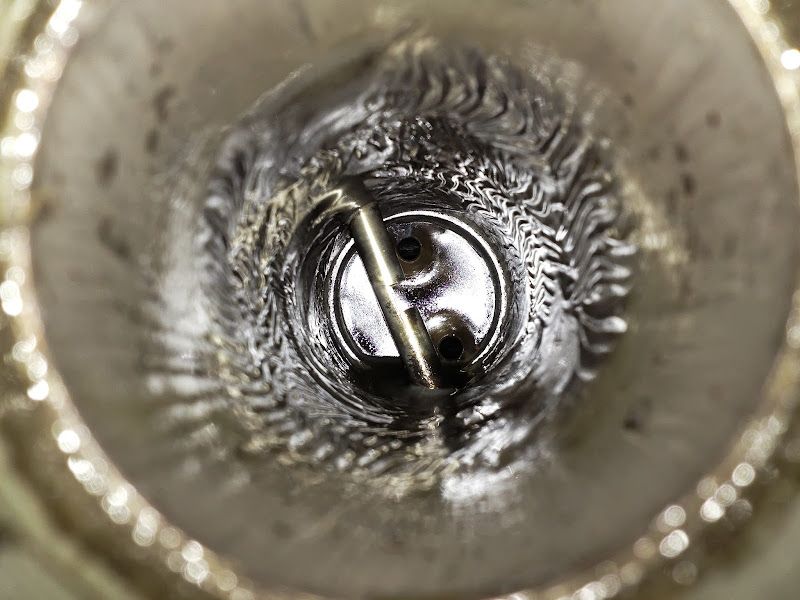
I was hoping to not find a plug in the back of the crank but I was not so lucky! Anyone got any suggestions on how to get this thing out?
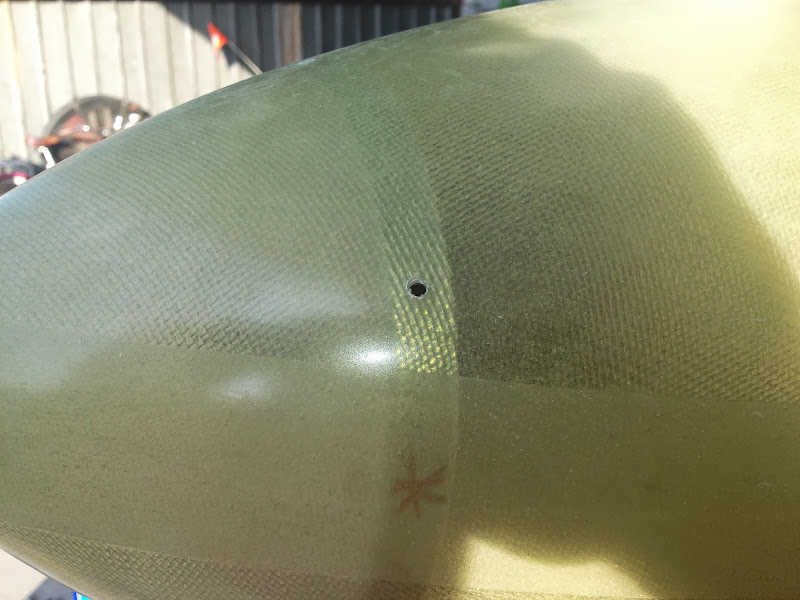
This crank was reconditioned/certified during the overhaul and had the SB505 done on the inside. While it is slimy in there, I see the epoxy coating is doing its job!
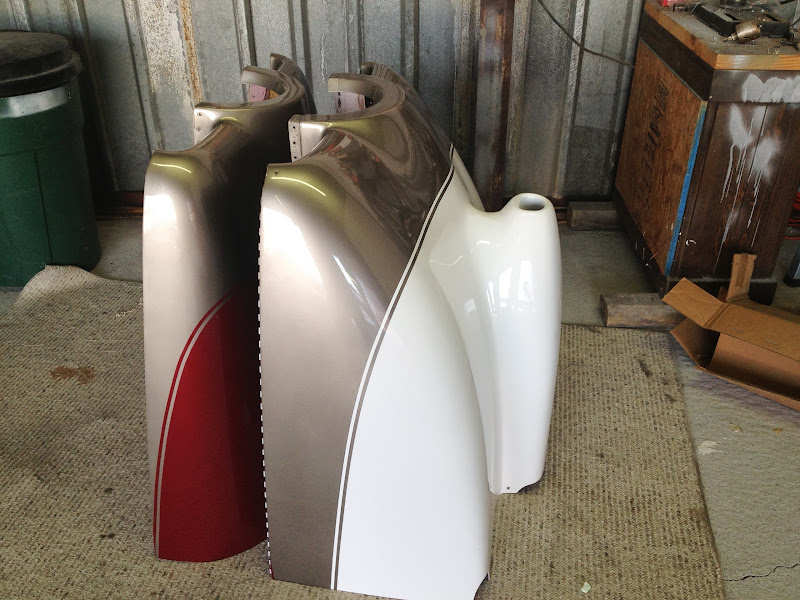
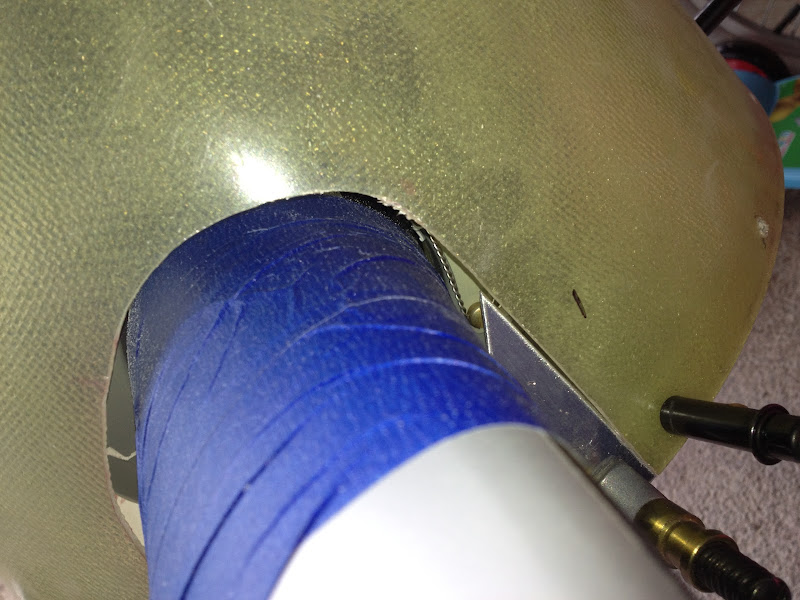
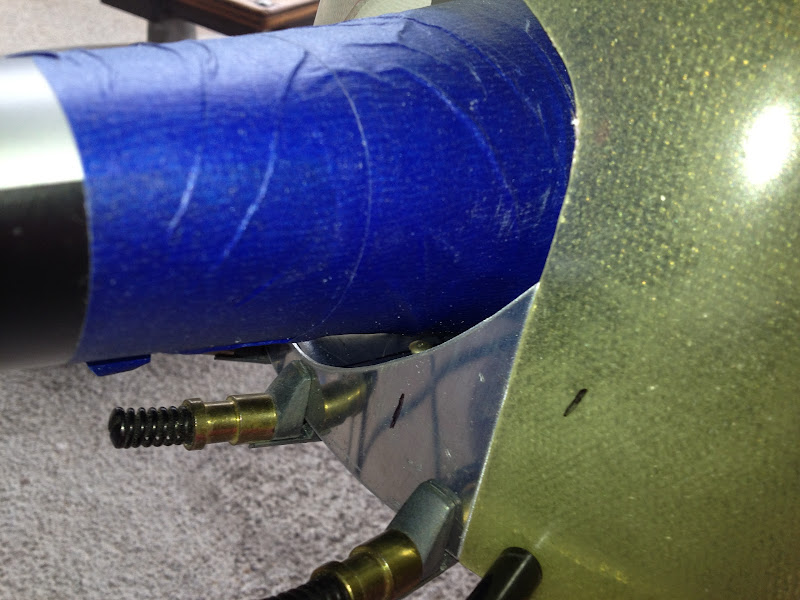
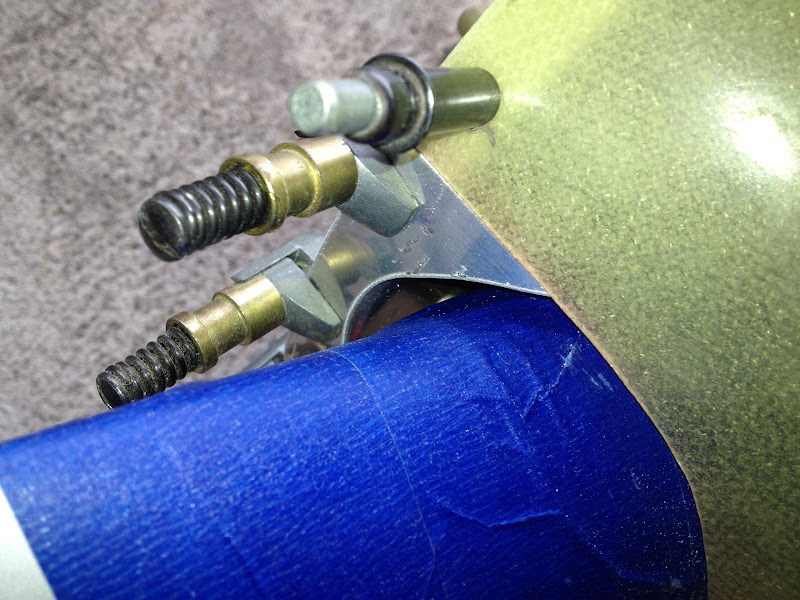
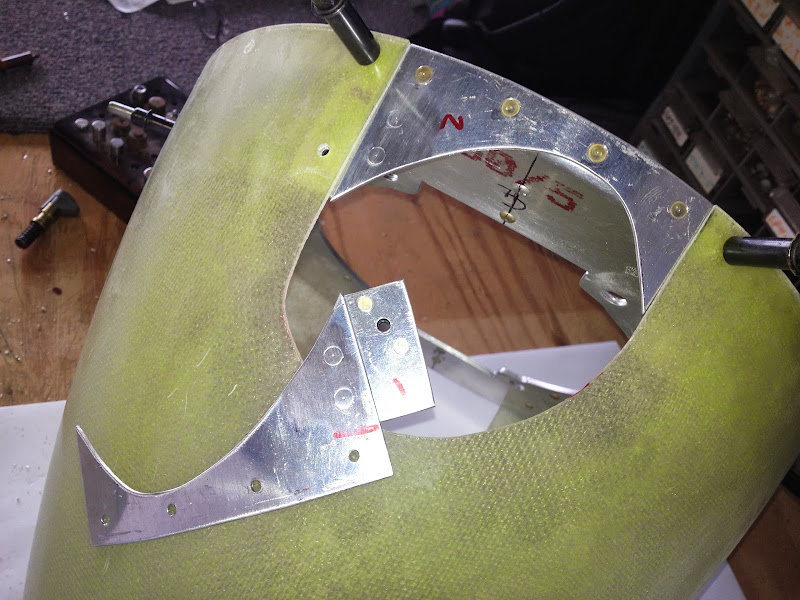
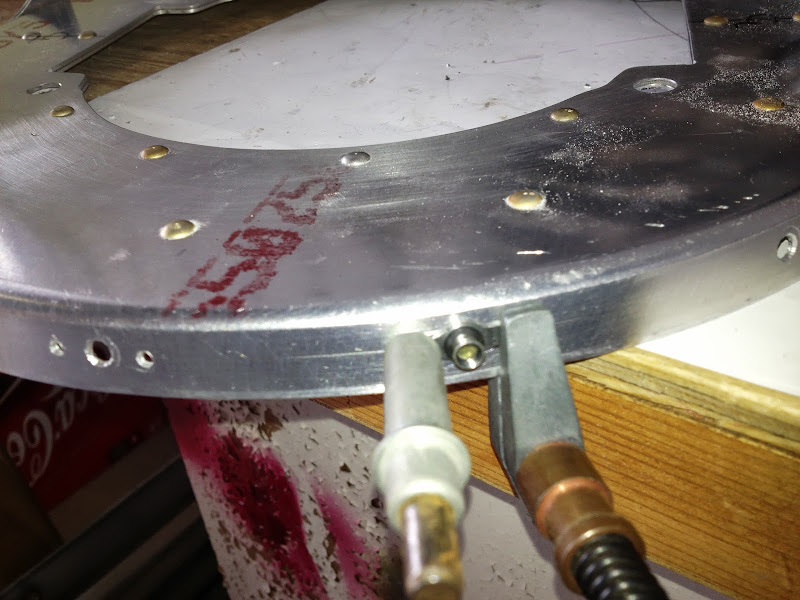
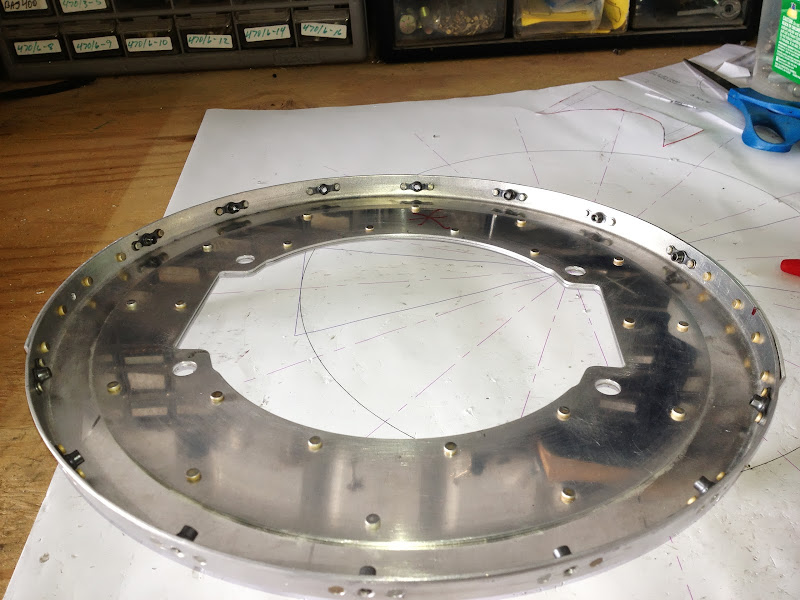
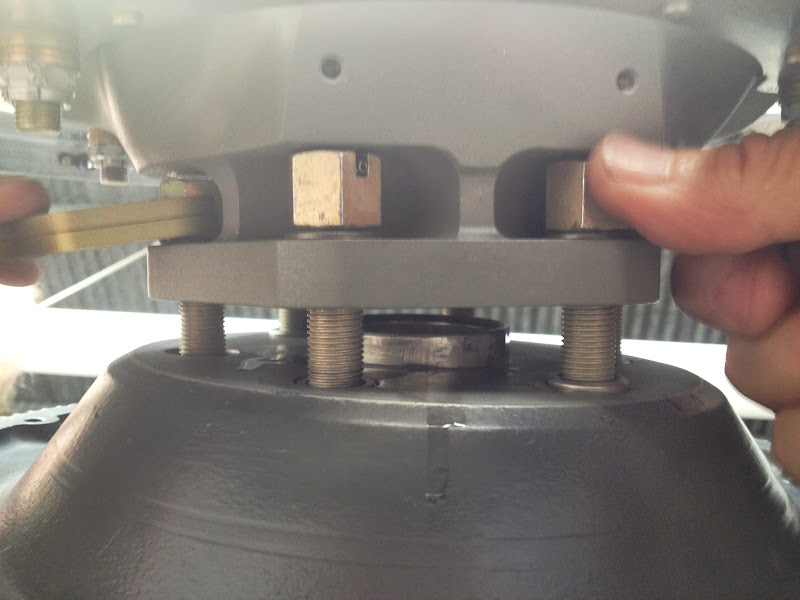
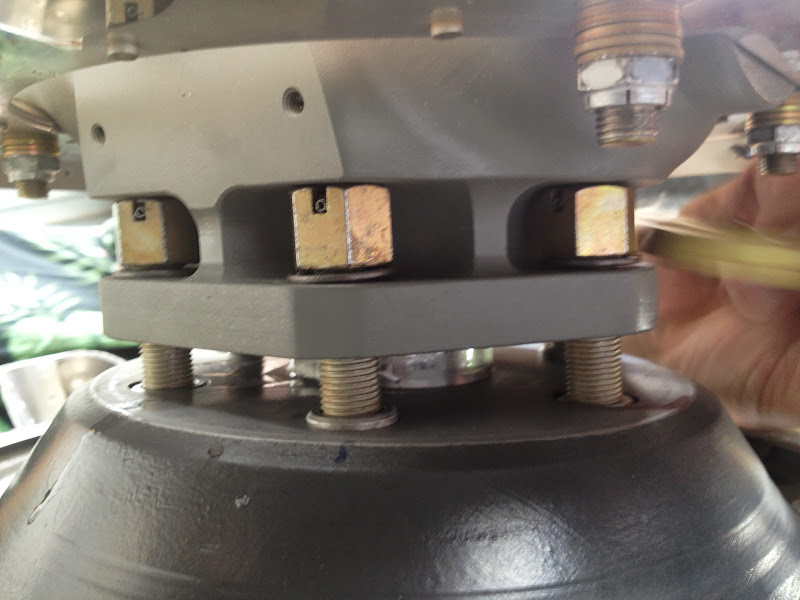
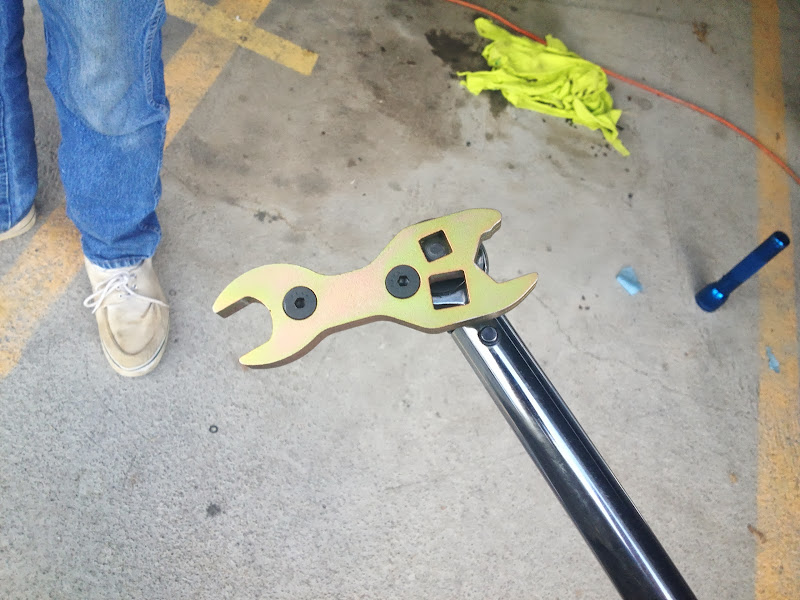
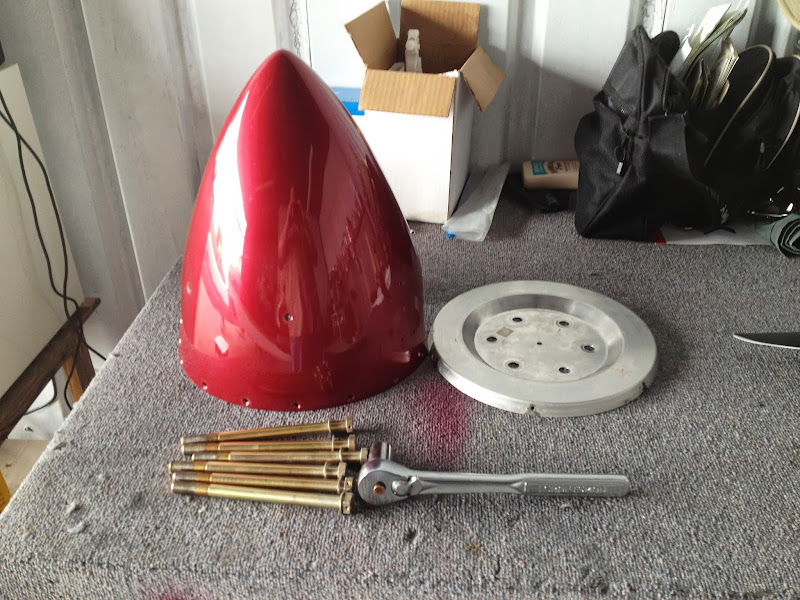
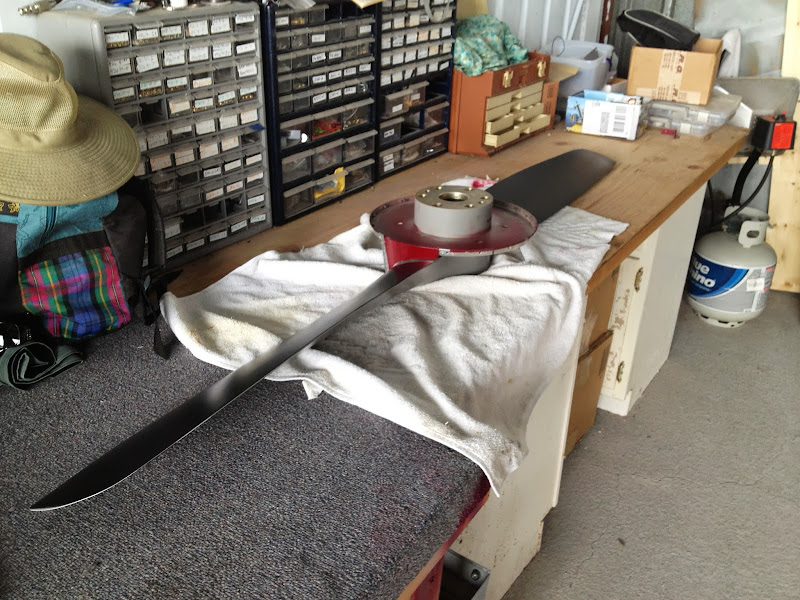
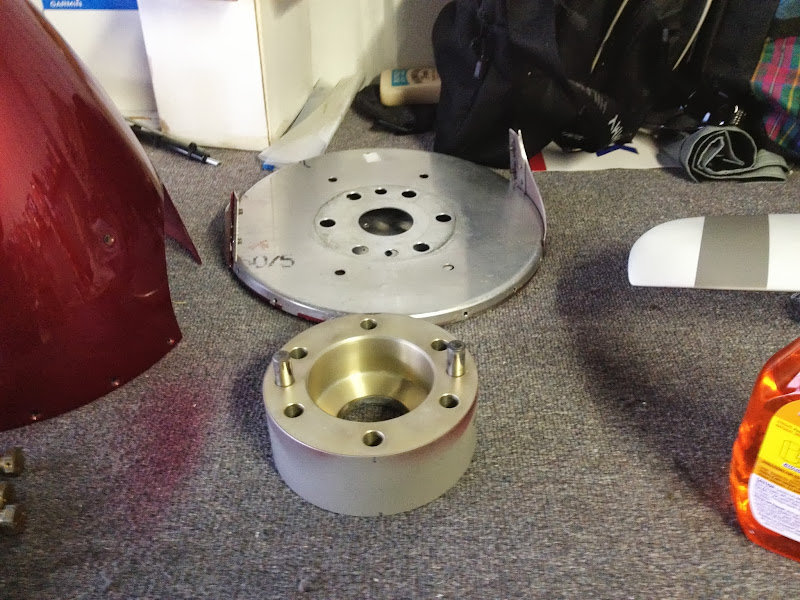
Next I set out on the task of getting this FP prop/spacer apart so I can ship it to it's new owner.
I used the method provided by the techs at Sensenich to get it apart. I sat the prop on two blocks of wood with a towel cushion. Spinner backplate and spacer in the middle hanging down. I then took a long 3/8" steel drift pin and a hammer and worked back and forth on the dowel pins. Slowly it came apart and all was well. I managed to do this without any damage to anything!
That's it for today....
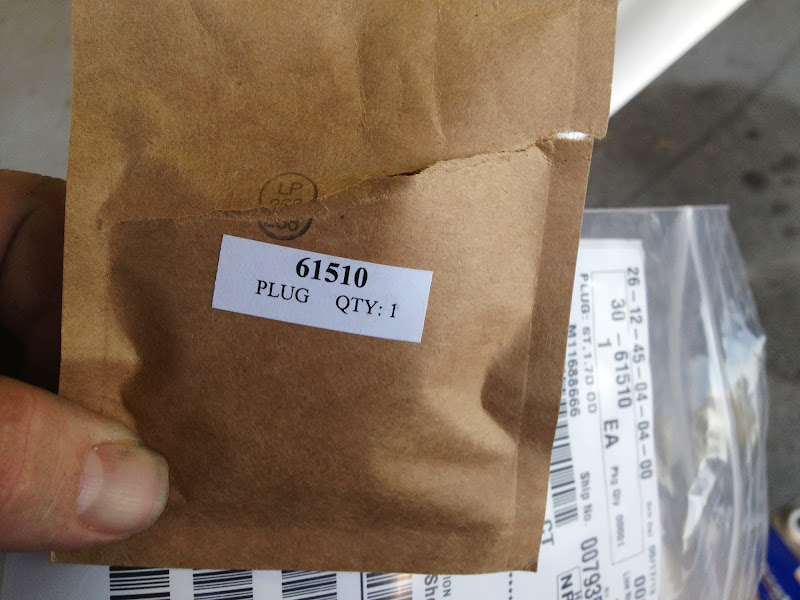
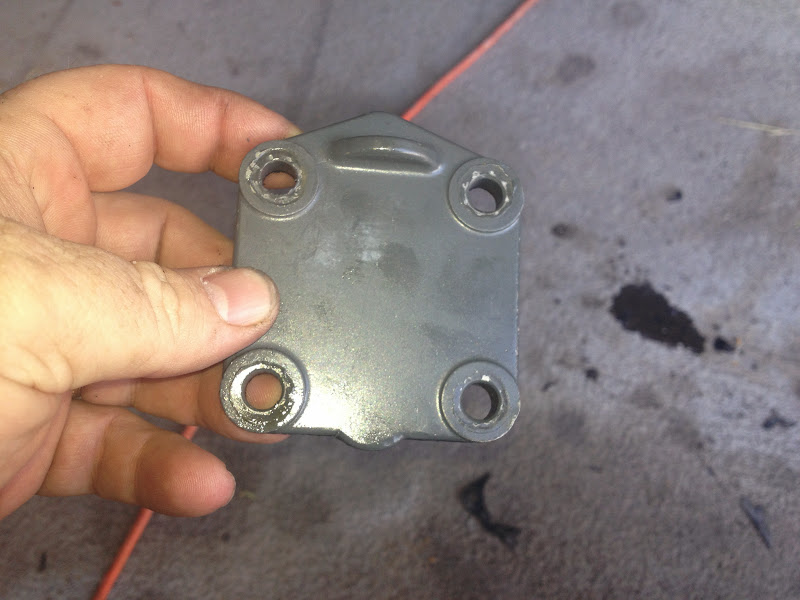
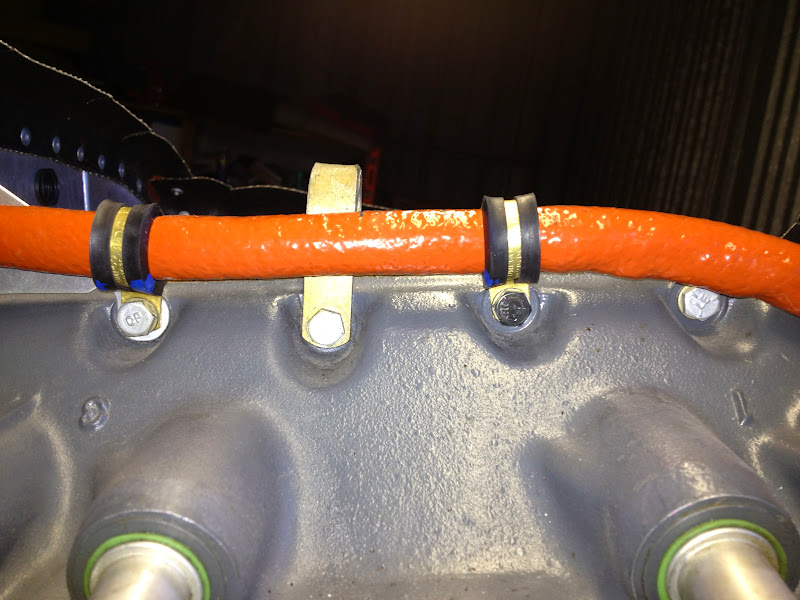
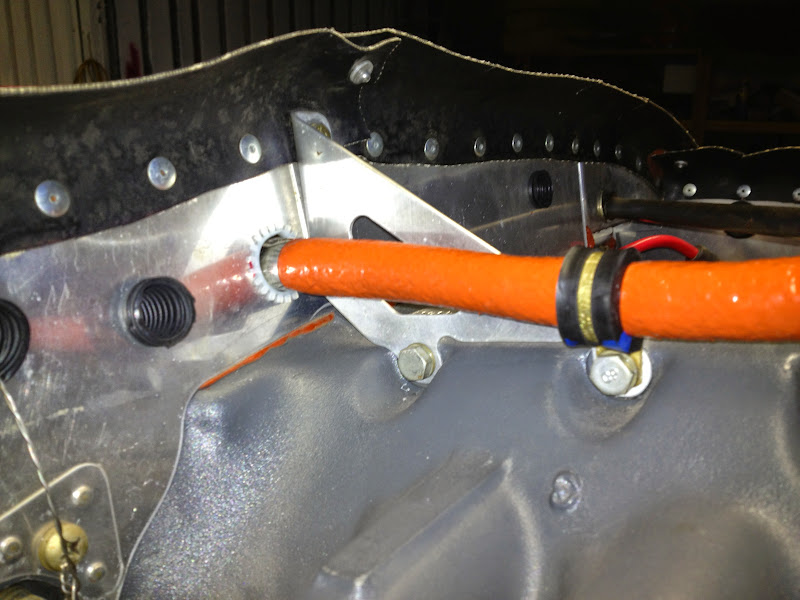
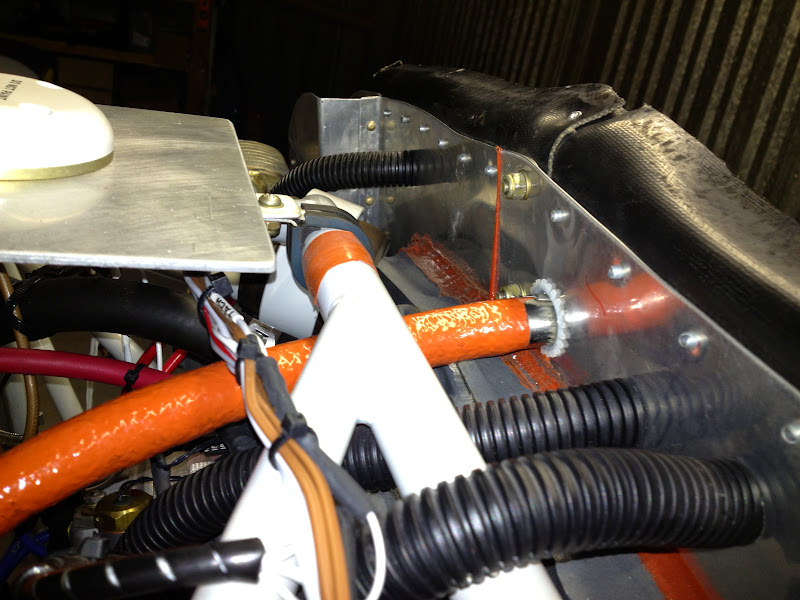
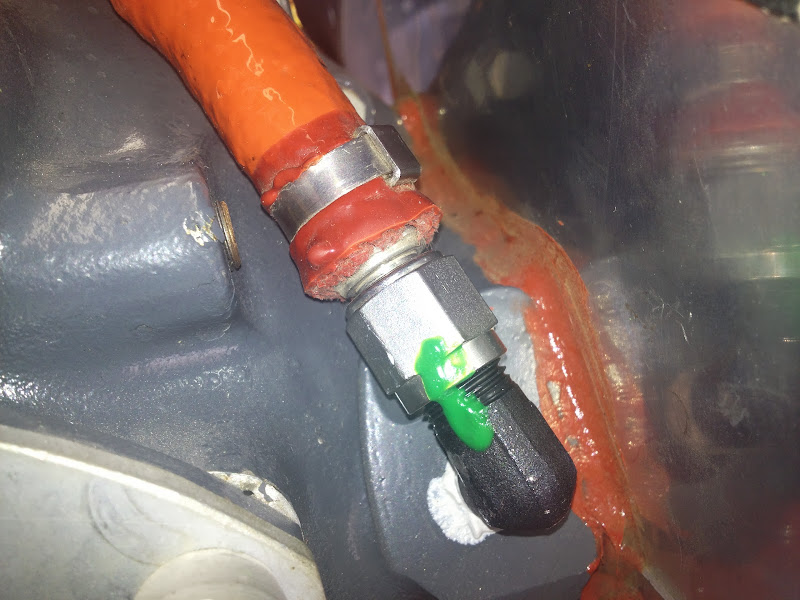
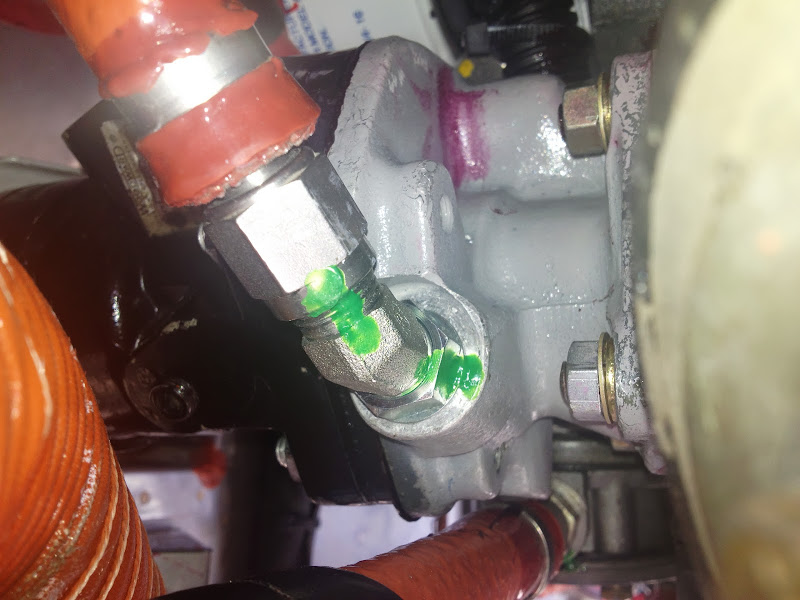
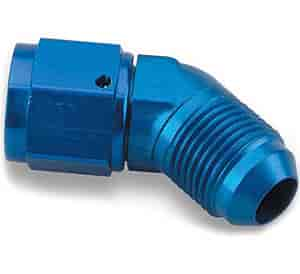
For the last 6 months I have been acquiring the parts needed to make the swap....I have the oil line, fittings, cables, brackets, gaskets, studs, rebuilt governor, drive adapter, eyeball, etc. etc. etc.
Hopefully I have everything I need to make this happen in short order.
I want to thank Tim Emig "380mxc" for selling me a new in the box prop. He was a pleasure to do business with and went out of his way to ensure our transaction was painless for both of us. Thanks Tim!
The prop arrived today looking just like it did when Tim sent me the pictures he took right before dropping the prop off at the UPS depot. UPS managed to get it to me in two working days without damage.
Tim also sent me a brand new spinner kit in a separate box. That also arrived in good condition.
I am in negotiations with the Nashville FSDO so hopefully I can get all the legal mumbo jumbo out of the way by the time I am ready to fly this thing.
The goal is to get it installed, fly off the test program and be ready for a trip to Osh. If the plane is not ready or not safe, there will be no Osh for the airplane, I however have alternative transportation available!
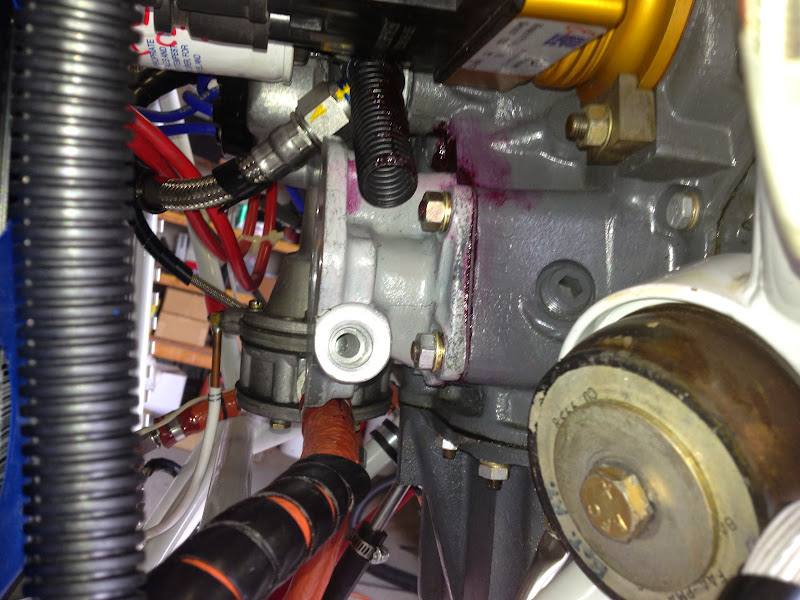
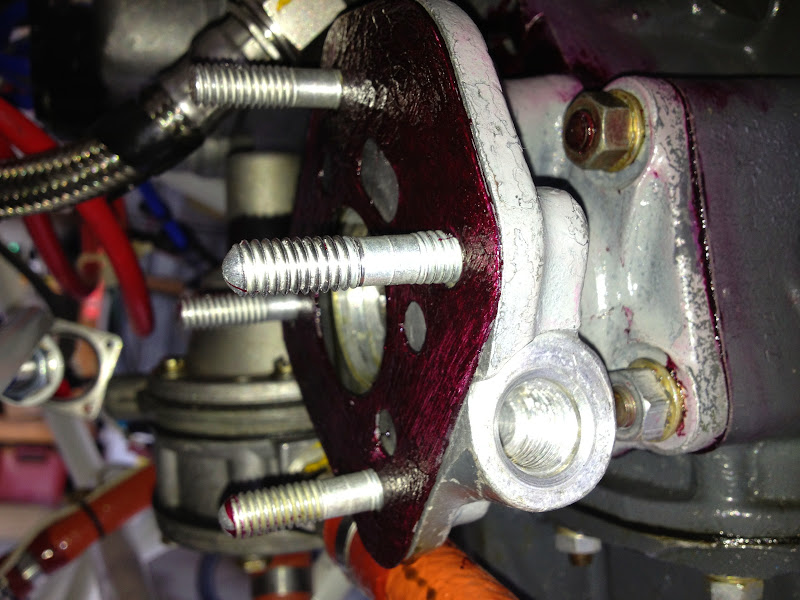
So tonight I started with getting the Metal FP removed...
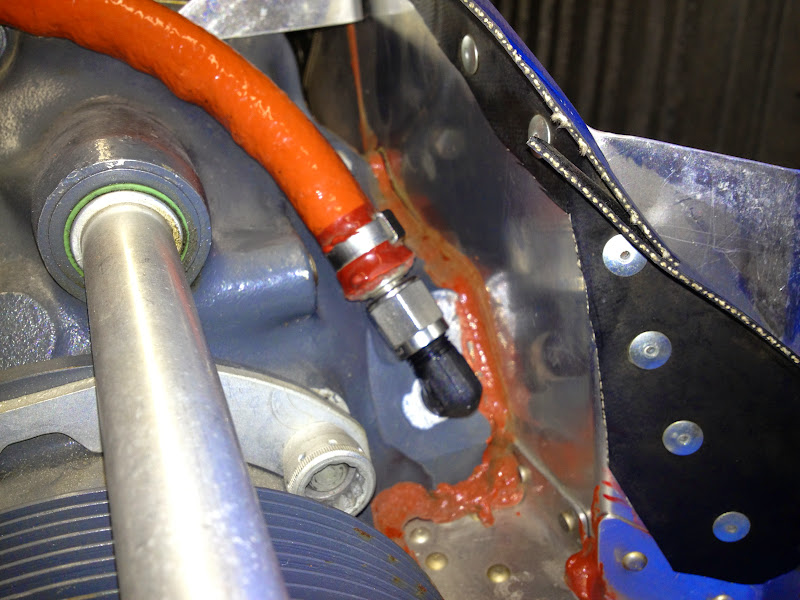
and then focused on getting this plug out of the front of the crank. I used the Don Sword's method to get this plug out. Take a ballpeen hammer with the ball in the center of the plug and then whack it with another hammer. This pushes the plug in and makes the outtie an innie and the plug comes right out. Sounds worse than it is....
I was hoping to not find a plug in the back of the crank but I was not so lucky! Anyone got any suggestions on how to get this thing out?
This crank was reconditioned/certified during the overhaul and had the SB505 done on the inside. While it is slimy in there, I see the epoxy coating is doing its job!
Next I set out on the task of getting this FP prop/spacer apart so I can ship it to it's new owner.
I used the method provided by the techs at Sensenich to get it apart. I sat the prop on two blocks of wood with a towel cushion. Spinner backplate and spacer in the middle hanging down. I then took a long 3/8" steel drift pin and a hammer and worked back and forth on the dowel pins. Slowly it came apart and all was well. I managed to do this without any damage to anything!
That's it for today....
For the last 6 months I have been acquiring the parts needed to make the swap....I have the oil line, fittings, cables, brackets, gaskets, studs, rebuilt governor, drive adapter, eyeball, etc. etc. etc.
Hopefully I have everything I need to make this happen in short order.