I feel like I need to scrap my whole canopy…
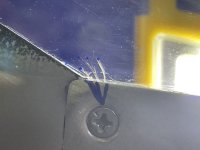
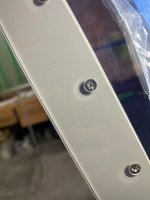
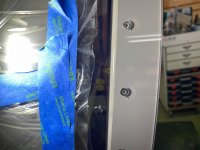
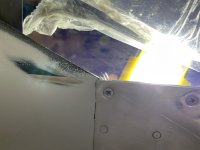
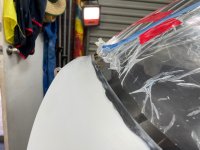
I’ve been working so hard to get a nice edge to my fibreglass fairing, remove the last layer of tape and found this.
I’m very worried I’ll come out on Christmas morning to find my canopy cracked in half.
Is this a massive problem? What do I do!
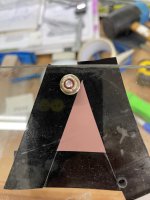
It’s the only place on the whole canopy as far as I can see - this one fastener was tightened the same as all the others.
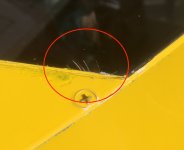
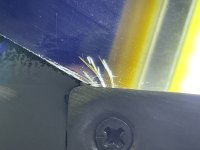
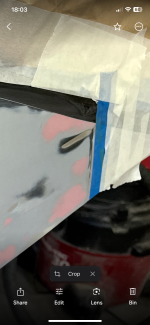
There looks to be 3-5 tiny cracks. I can’t feel them on the inside or the outside with my nail. The longest is 1/4” long.
I’ve been working so hard to get a nice edge to my fibreglass fairing, remove the last layer of tape and found this.
I’m very worried I’ll come out on Christmas morning to find my canopy cracked in half.
Is this a massive problem? What do I do!
It’s the only place on the whole canopy as far as I can see - this one fastener was tightened the same as all the others.
There looks to be 3-5 tiny cracks. I can’t feel them on the inside or the outside with my nail. The longest is 1/4” long.


 He never smoked a day in his life but that was his way of saying: let's think of something else for a while........