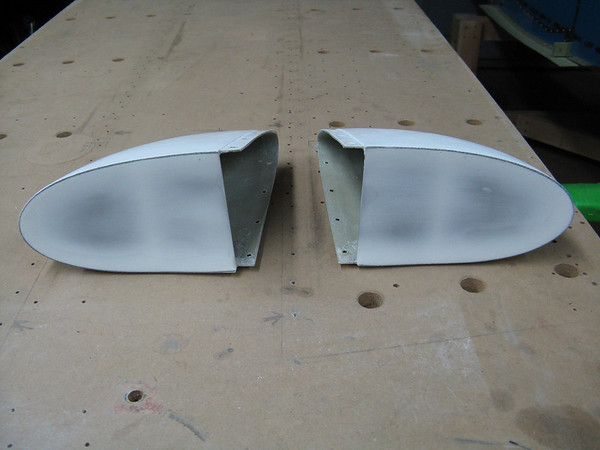
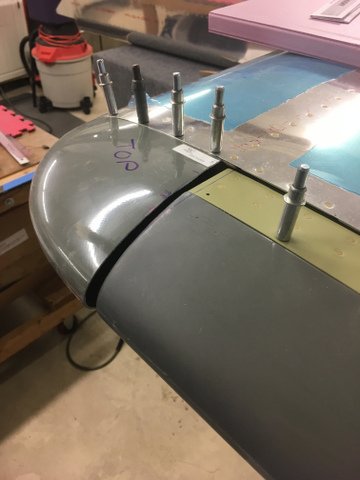
The method I have used for many years and as described in the RV-14 plans...
- Use a piece of waxed aluminum to make a thin laminate with two layers of cloth and resin. If the close out piece is not flat, the metal can be bent/shaped to result in a laminate piece that will match the opening you are intending to seal.
- Once it is cured cut out the filler piece so that it is approx. 1/6" bigger around perimeter of the fairing opening.
- Sand the interior (non smooth) surface of the lay-up, and about 1" back from the edge of the fairing for additional bonding/glass lay-up later.
-With the fairing clecoed in place and tape/etc. being used to hold it in the desired finished shape, wet the edge of the fairing with resin... and hold the laminate in place with tape to the fairing until the resin fully cures.
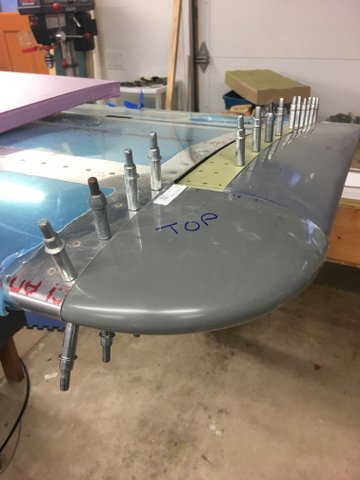
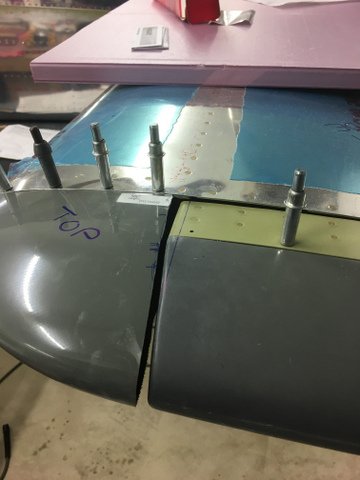
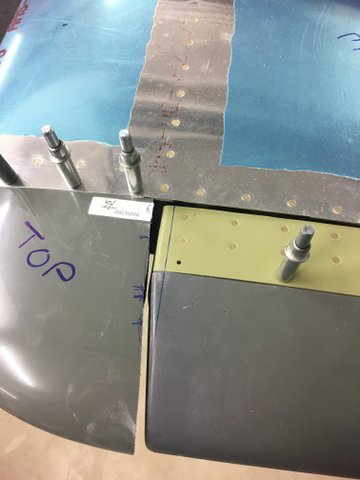
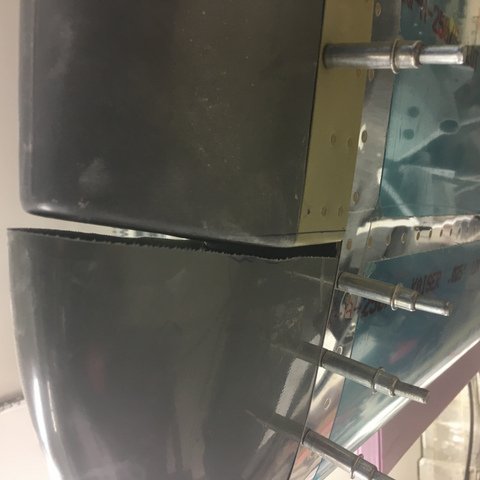
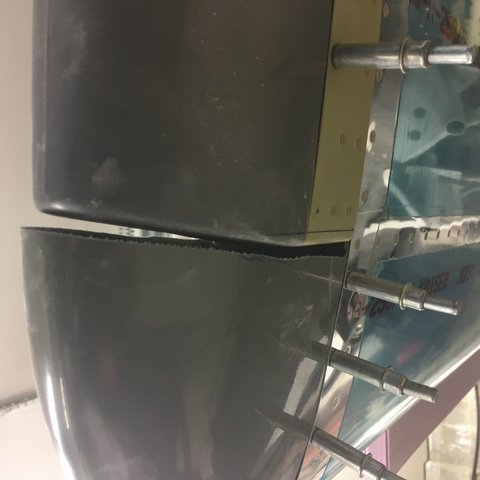
-Uncleco and remove the fairing. Apply a fillet of flox mixture around the interior corner/intersection point between the laminate and the fairing. While the flox is still wet, add one more layer of glass to the inside of the laminate, large enough that it laps onto the fairing by about 1". Cleco the fairing back onto the airframe while it fully cures.
- Sand the excess laminate flush to the fairing on the outside and radius the corner as desired (possible because of the flox fillet on the inside).
This all takes very little time, is strong, light, and best of all doesn't require tedious futzing with shaping a filler piece of balsa or foam to properly fit the inside. It does require that you have a way to keep the main fairing in the desired shape/position but that is easy to do with tape and wood sticks if needed.


") I really don't know but.....
I really don't know but.....
