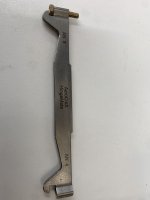
Hey guys, I’m just at the point where I am attaching flight controls surfaces like the elevator and rudder to the HS and after ten minutes of cursing at my inability to insert the bolts into the rod end bearing I decided that I’d just try make a tool in onshape to do the job.
It seems to work well enough navigating the tight spaces on the tail feathers but have not tried the flaps/ailerons as I’m not there in the build yet. Just posting here in case someone wants the stl files.
Link to download from printables

It seems to work well enough navigating the tight spaces on the tail feathers but have not tried the flaps/ailerons as I’m not there in the build yet. Just posting here in case someone wants the stl files.
Link to download from printables
Last edited: