I'm sure this has been discussed but my search came up empty.
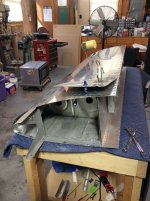
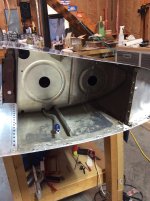
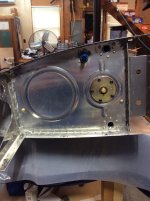
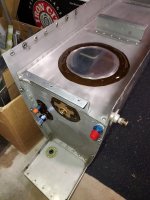
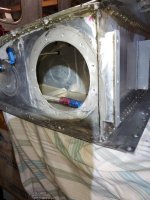
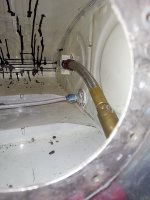
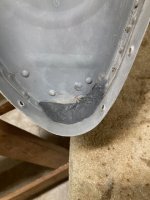
Issue: RV-6A tank, leak at inboard rib nose. I've been into it twice trying to effect repairs, but it hasn't been successful. I'm thinking it is time to just extract the inboard rib completely, fully clean up, and install a new rib. OK, simple enough, except...
Once I drill out the countersunk rivets holding the rib in, how do I cut the proseal? It's one thing if they weren't countersunk, could get a knife in there or something... but with the countersinks nested, how will I ever get it apart?
 .
.