What's new
Van's Air Force

Don't miss anything! Register now for full access to the definitive RV support community.

Top/Bottom Cowl Inlet Adjustments...

Michael Burbidge

Well Known Member
I've not done much fiberglass work. The top and bottom cowl inlets don't match up very well. The cowl is all fitted quit well otherwise. It look like I need to do some filing, filling, fiberglass to fix this fit. But I'm not sure how to go about it. It's a little worse on one side than the other. Anyway, any suggestions or pictures would be great.

I'm thinking the easiest would be to first file the top curve where it curls slightly past vertical. Then build up the bottom with epoxy/microballoons until it matches the top. Then of course some sanding to make it look nice.

You can see the fit problem in these pictures.

axGzroG.jpg


8pcnaZd.jpg


Thanks,
Michael-
 
I have not yet worked with the cowl, but why don't you heat it and bring them closer in alignment before using a filler?
 
Michael, your plan should work just fine.

I would mix just a bit of Cabosil into the epoxy to make it thicker, then add the micro as needed. When you add just micro to make a putty consistency you end up with a mixture that is kinda light in epoxy and that is where the strength is, the dryer the micro mix, the weaker it is. If this were a high stress area you would want to use flox not micro-----but flox is so hard to sand, and I think micro should do the job just fine.

After you get things looking right, I would add a single layer of bi cloth to the area, and feather in the edges.
 
I have not yet worked with the cowl, but why don't you heat it and bring them closer in alignment before using a filler?

My experience with heating parts and trying to massage them into a new position has been poor. It works just fine over the short term, but apparently with many heating and cooling cycles the Fiberglas will eventually try to return to its original position. Happened to me on my RV4...

I'd go with Mike S's suggestion.
 
Last edited:
My inlets looked similar. I ended up putting packing tape on the inside of the lower cowl inlets, putting the 2 halves together on the floor and laying up fiberglass/filler on the inside of the top inlet-down the side-laying on the packing tape of the lower inlet to make the curve. After it cured I just sanded the inside of the inlet out to the shape I wanted.
 
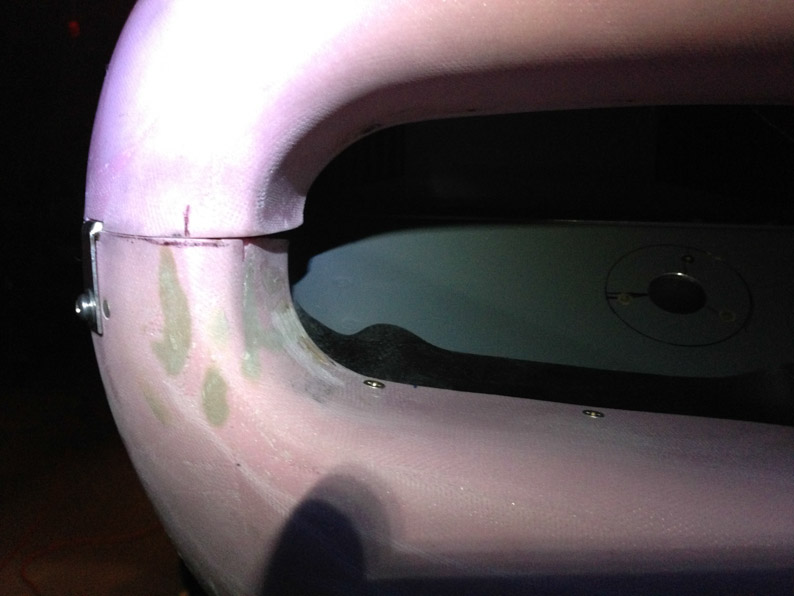
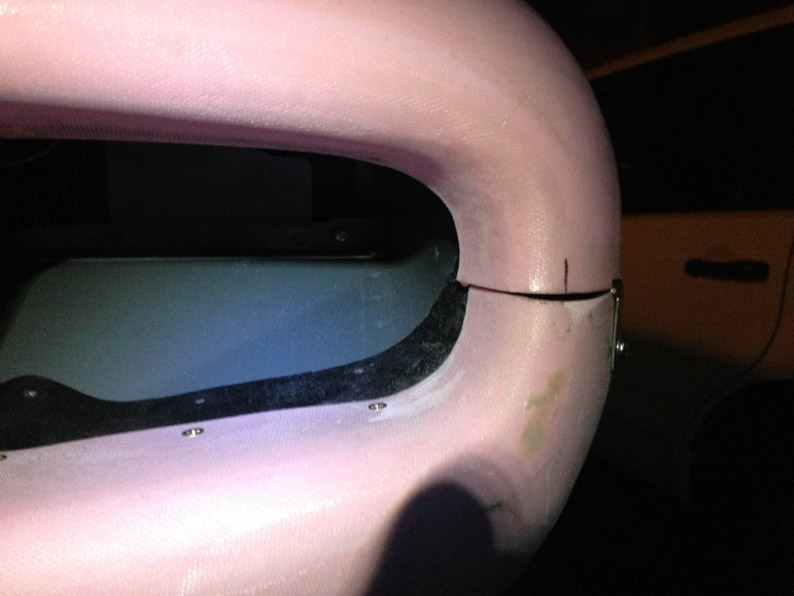
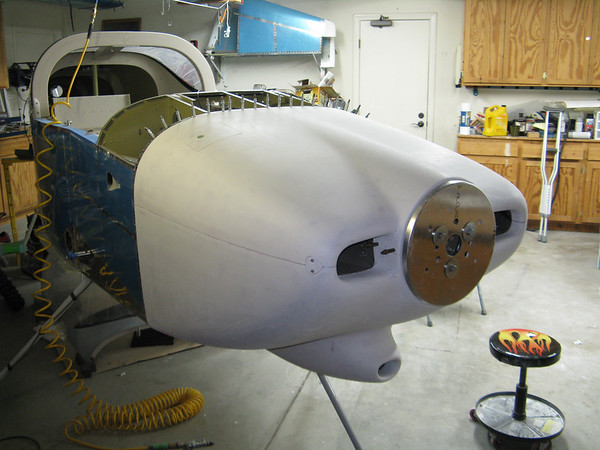
Proper engine cooling starts right here, at the inlets. The inlets, top compared to bottom, side compared to side, are supposed to be parallel or slightly diverging, up to 3 degrees I believe. From the pictures, if you measure the distance from the end of the radius in the opening, top to bottom, and then take the same measurement in about 2 or 3 inches I believe you will find that the actual inlet size gets smaller, thus a converging duct. This is not an ideal situation and you have the opportunity to correct this when you are correcting the miss match of top and bottom cowling halves.
Think like the air, try to get it to flow straight where ever possible. The picture shows that the glass in these miss-matched areas actually pinches the incoming air, causing it to change direction inboard.
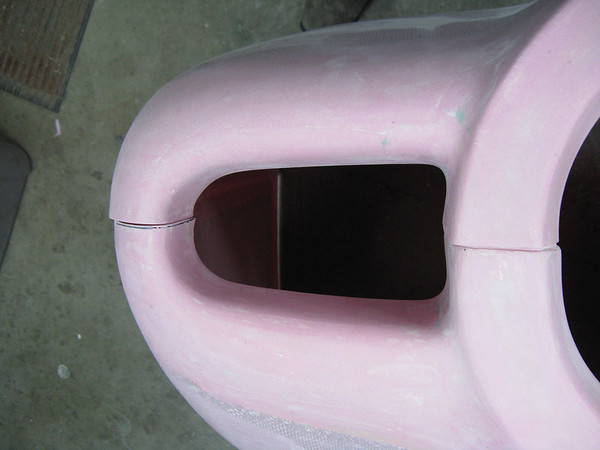
To fix this I would cut a series of slits, 1/4" apart in the glass, top and bottom all the way around the outboard inlet. These little cut flaps can now be pushed back in the correct position and glassed in place. At the same time raise the top of ramp of the upper cowling so that it is parallel, or slightly divergent, with the bottom cowl ramp. To do this you will also have to slight the inboard upper radius of the top cowling.
Although this may seem like a lot of bother it will get your system set up correctly, at the start, and also clean up the current alignment issue.

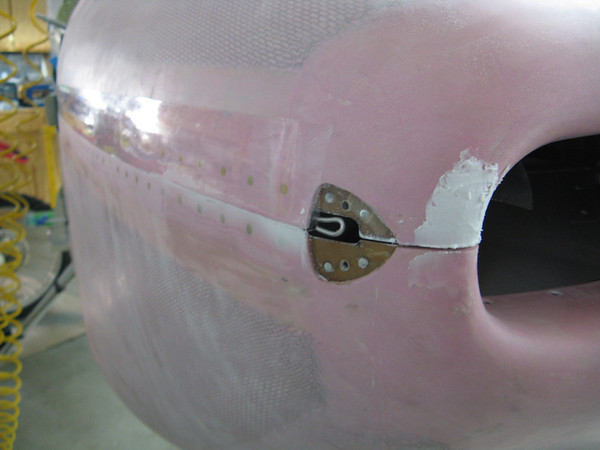
To do this I use a three step process. Slit and rough glass the parts, from the outside, into the right position.
When dry sand/grind the inside areas , which will grind off some of the original slitted bits, and glass this area.
When that dries, grind off the original outside layup and most of the original slitted material and lay up a nice smooth final glass area.
Doing it this way will remove any tendency for the original parts to move back to where they started.

For bonus points, when you get this done wax up the inner cowling outer lip.
Then sand/rough up the lower cowling outer lip.
Put the halves together with the waxed hinges and pins and pour an insert of glass/ flox into the lower/upper lip area.

This will give you a perfect seam between the cowling pieces in this area.
It will stop air leaks, look better and also help to hold this important shape over time.

It amounts to about an hour at day for four days, not much to make a nice part.
 
My experience with heating parts and trying to massage them into a new position has been poor. It works just fine over the short term, but apparently with many heating and cooling cycles the Fiberglas will eventually try to return to its original position. Happened to me on my RV4...

I'd go with Mike S's suggestion.

Good to know, Tom, I will scratch that off the options list for my cowl work. I just remembered Sam James talking about that, and don't know all the particulars around using this technique.
 
Listen to Tom. Diverging the inlet sidewalls will also get the flap seals pointed the right way, intersecting the aluminum baffle walls. He told you one way to do it, and there are others.

As an aside, Tom's post is an interesting philosophy illustration. Most builders see a fit problem. Tom sees an opportunity to improve cooling performance. Most folks think his Rocket is fast because he incorporated secret technical tricks. Closer to the truth is his attention to fundamentals, combined with a belief that the kit is just a canvas. Want to build a really good airplane? Think like Tom.

After you fix the inlets, go back and correct the rubber flaps shown in the photos. Waves and puckers are leaks which will significantly reduce cooling.
 
Thanks!

Thanks for the very detailed description of how to fix things. I know from previous posts that you and Dan are experts when it comes to fiberglass. Having done almost no fiberglass work before, this scars the heck out of me.

Thanks,
Michael-
 
Started with this abomination.

IMG_2955-M.jpg


Sanded the high spots down. Slathered on some micro to fill the low spots.

IMG_3726-M.jpg


Shampoo, rinse, repeat.... Eventually you can get it looking very nice and smooth.

IMG_3870-M.jpg


More photos on my web site that describe the process.
 
Back
Top