Andy,
I admire your ability to just tear into things. Not a thread redirect but about the oil temp, do you have piston squirters?
No squirters that I'm aware of, converted HIO-360-A1F6D to carb and 8.5 compression and electronic ignition. Oil Temp was really not a problem, me tearing into things probably is....
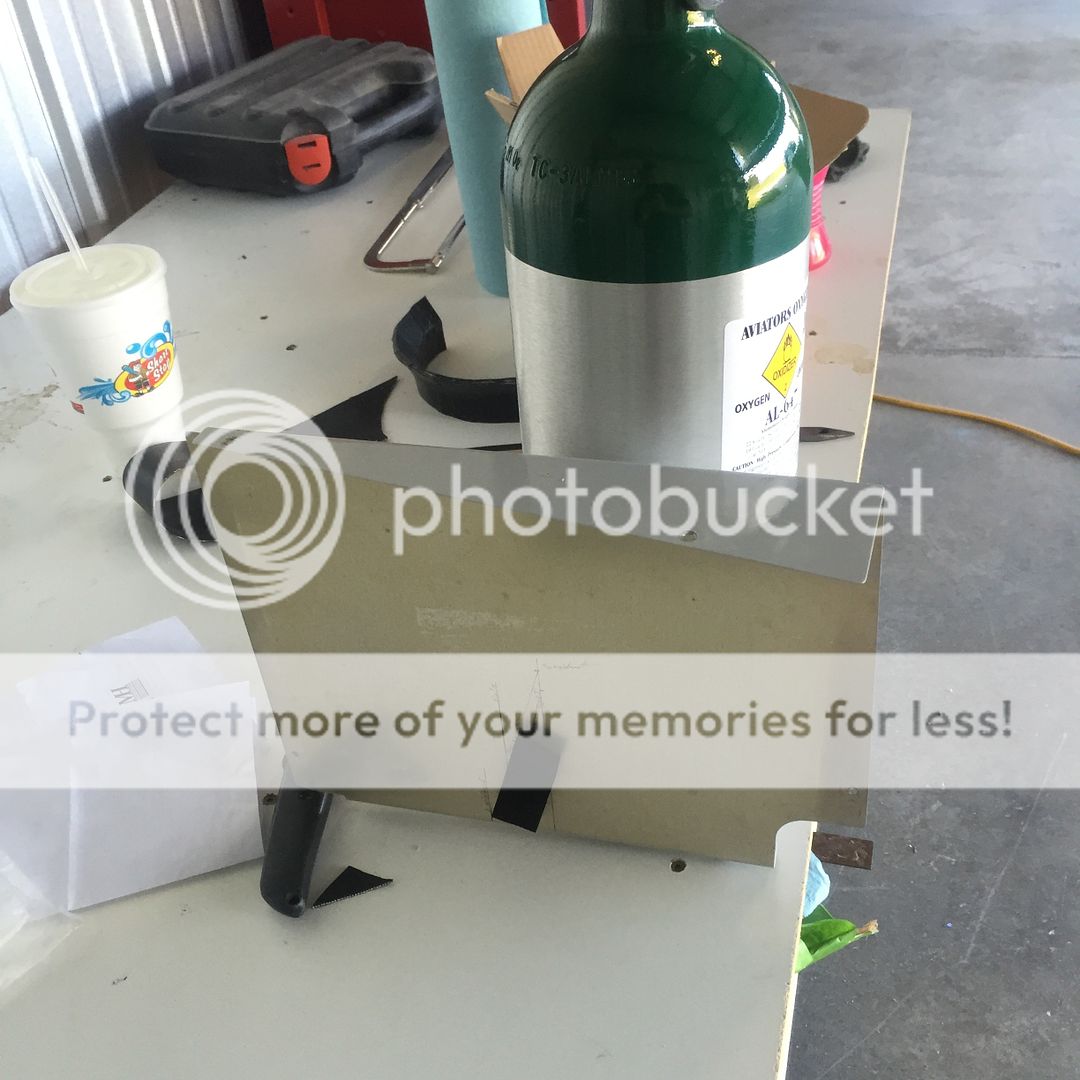
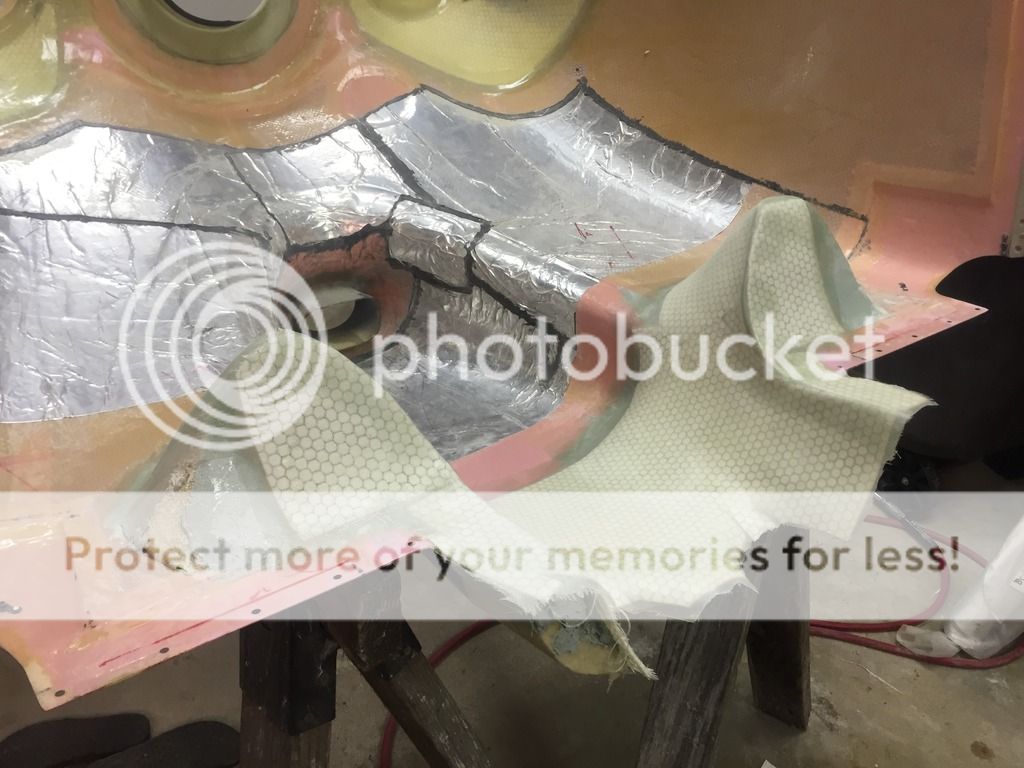
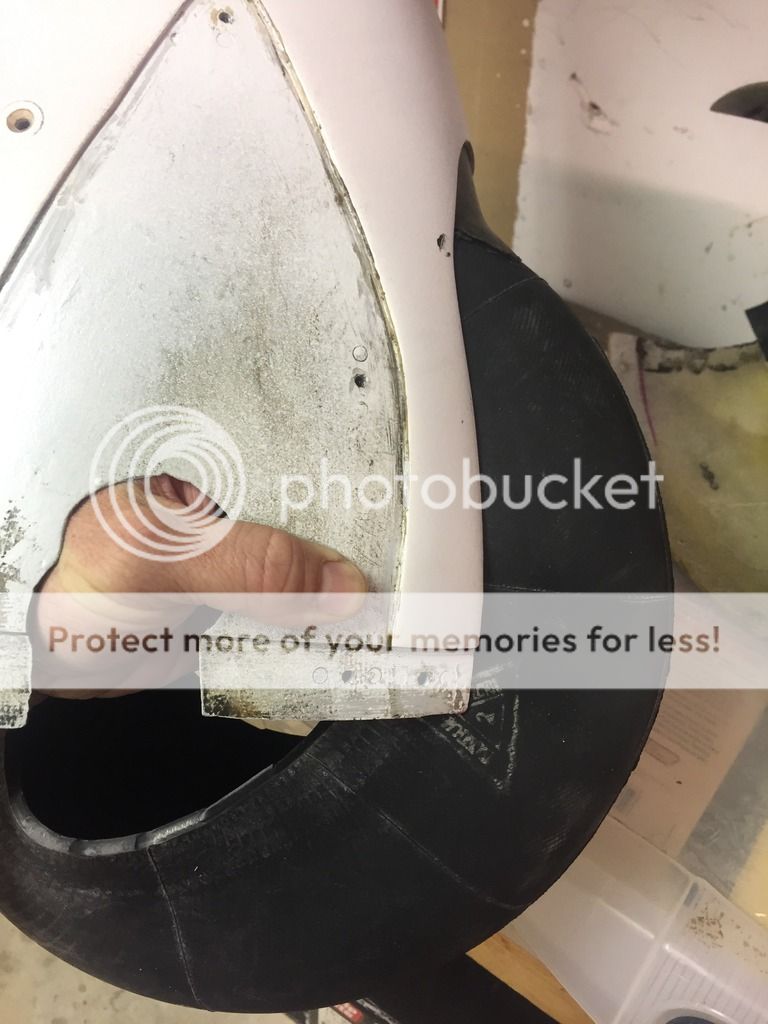
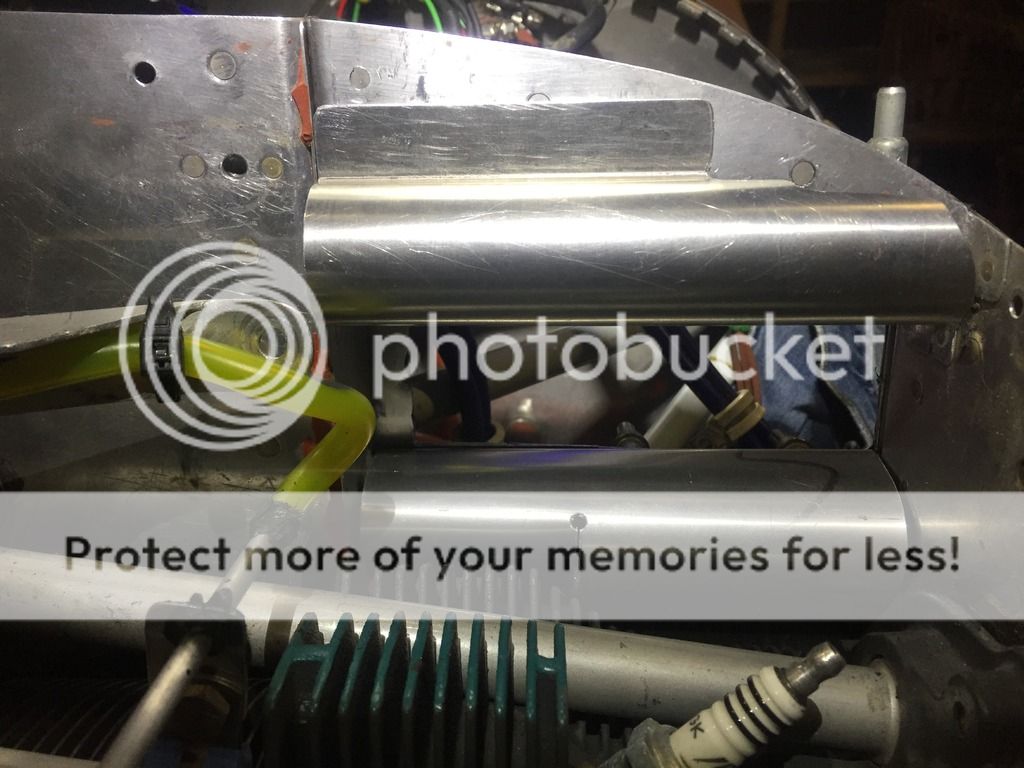
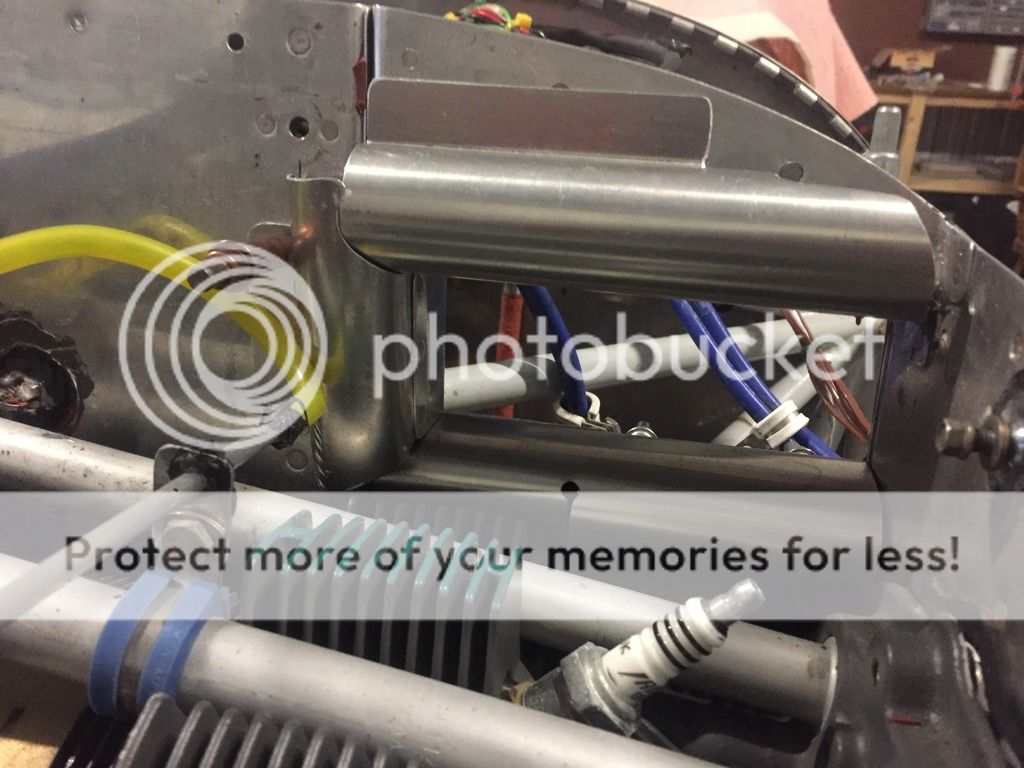
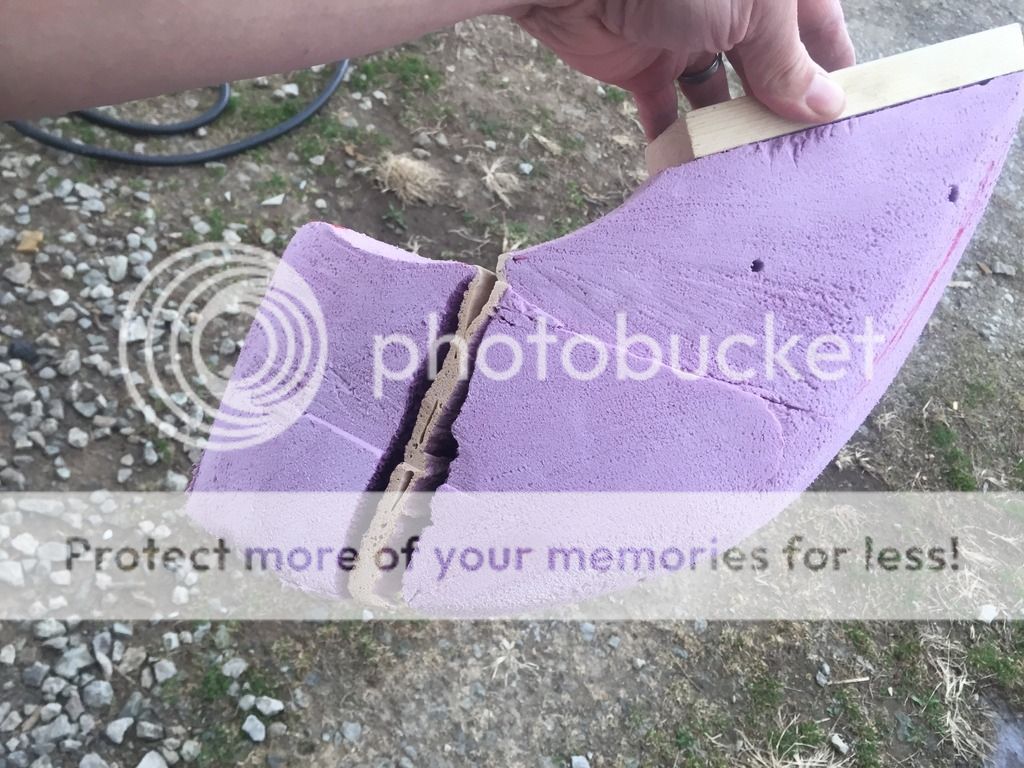
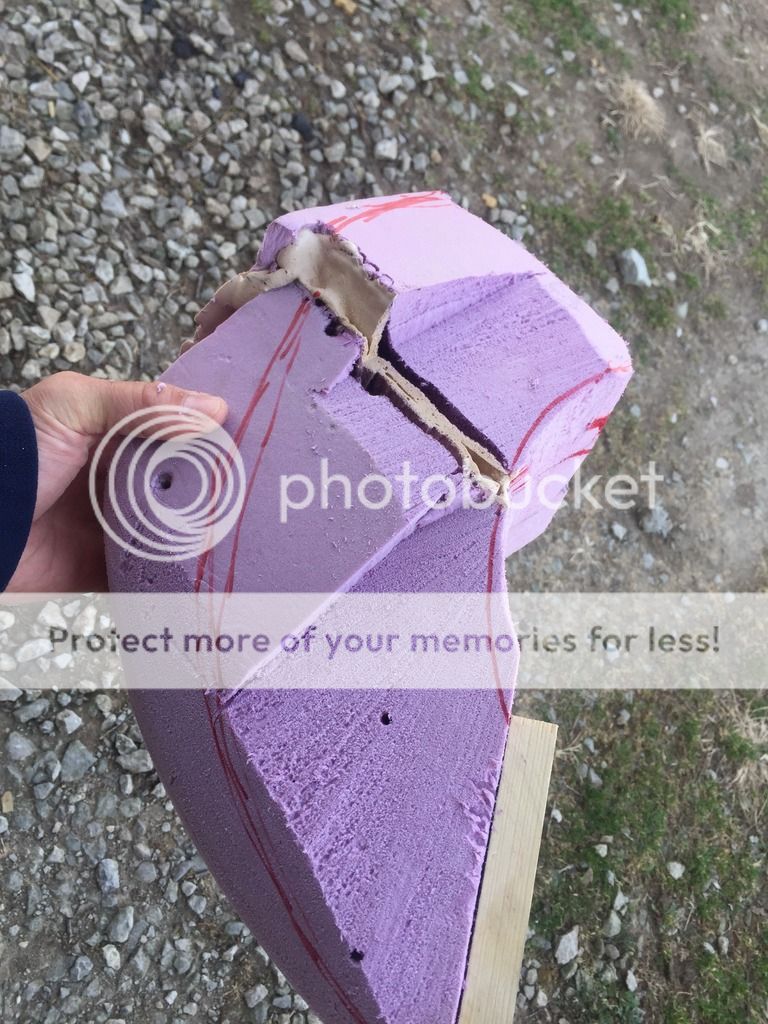
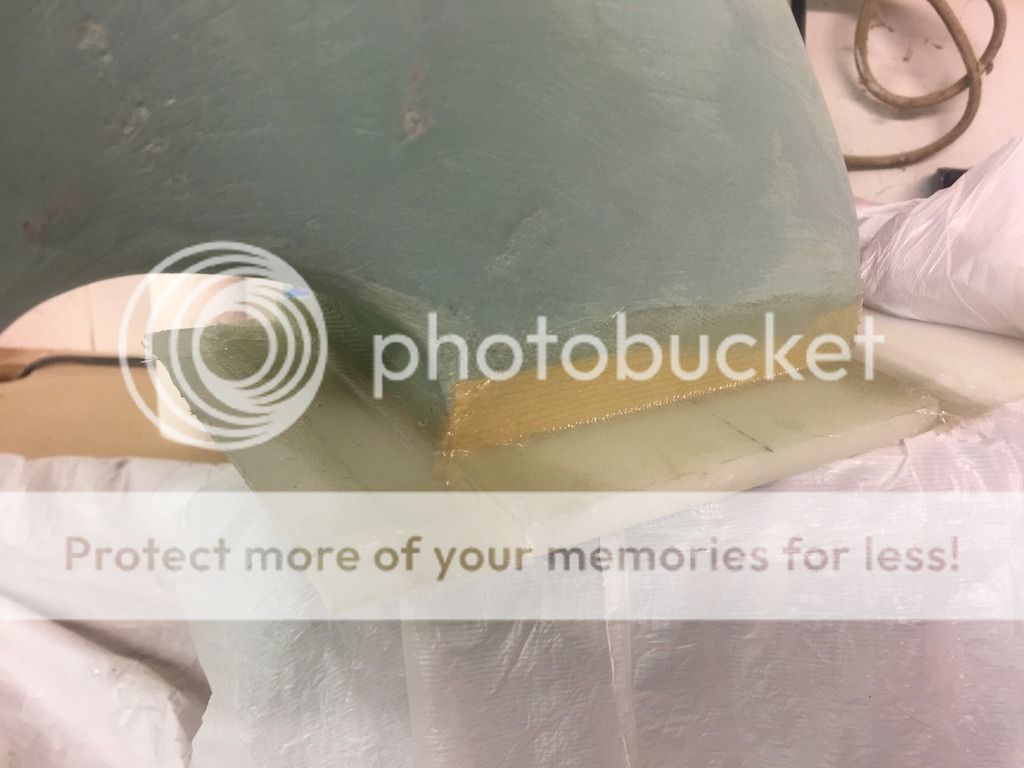
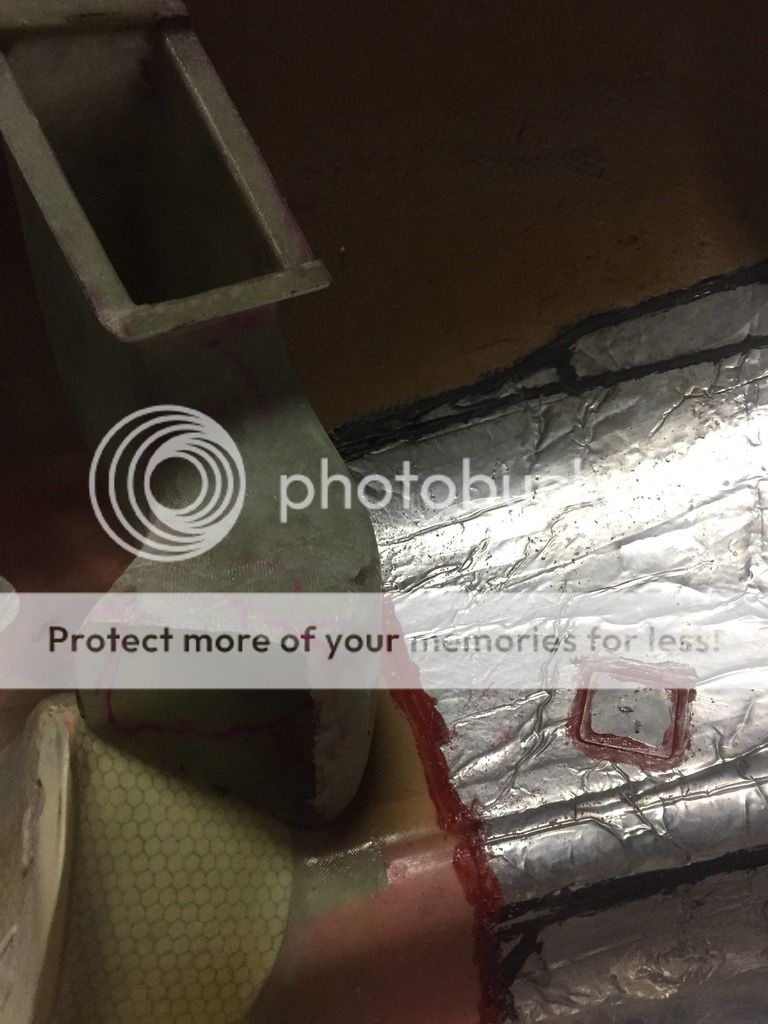
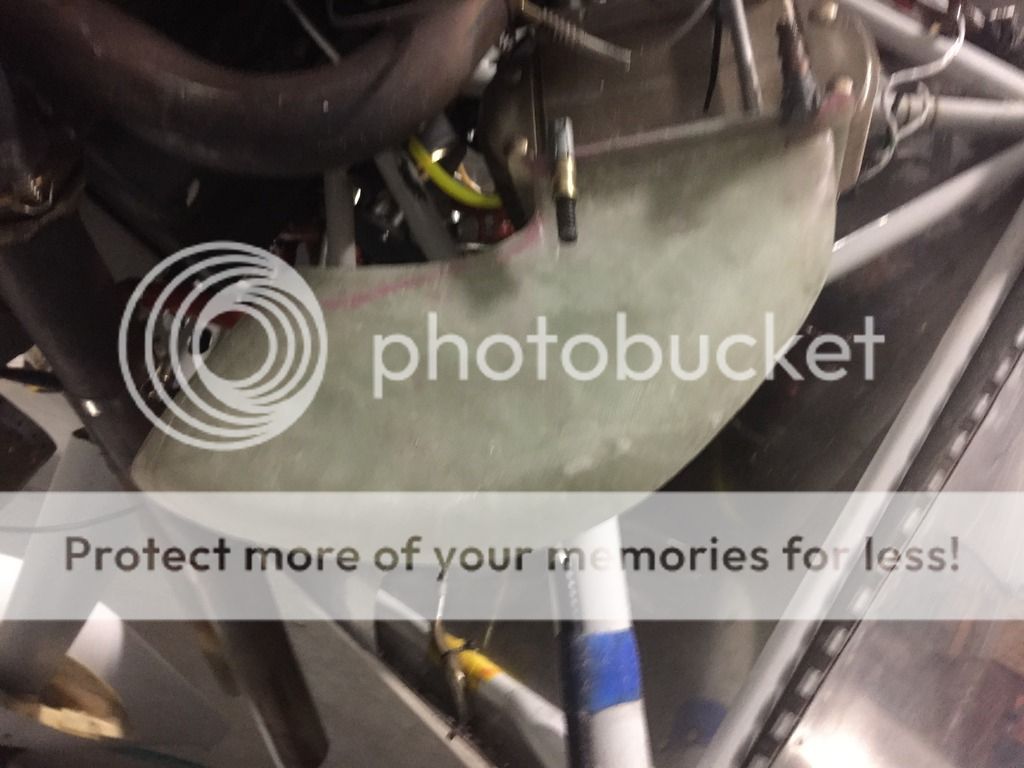
#4 has always been my hottest cylinder in climb by 20*, in cruise everything is pretty even. I had some baffle wraps left on cylinder 4 I wanted to pull off as well as see if I could direct a little more air into it. I also wanted to duct the oil cooler air toward the exit, just to see....
Nice radius work, do you have data on this or is it wishful thinking about the airflow verses pressurized plenum air? Thinking I have seen someone lately do a similar thing to direct flow through cylinders somewhere...can't remember now.
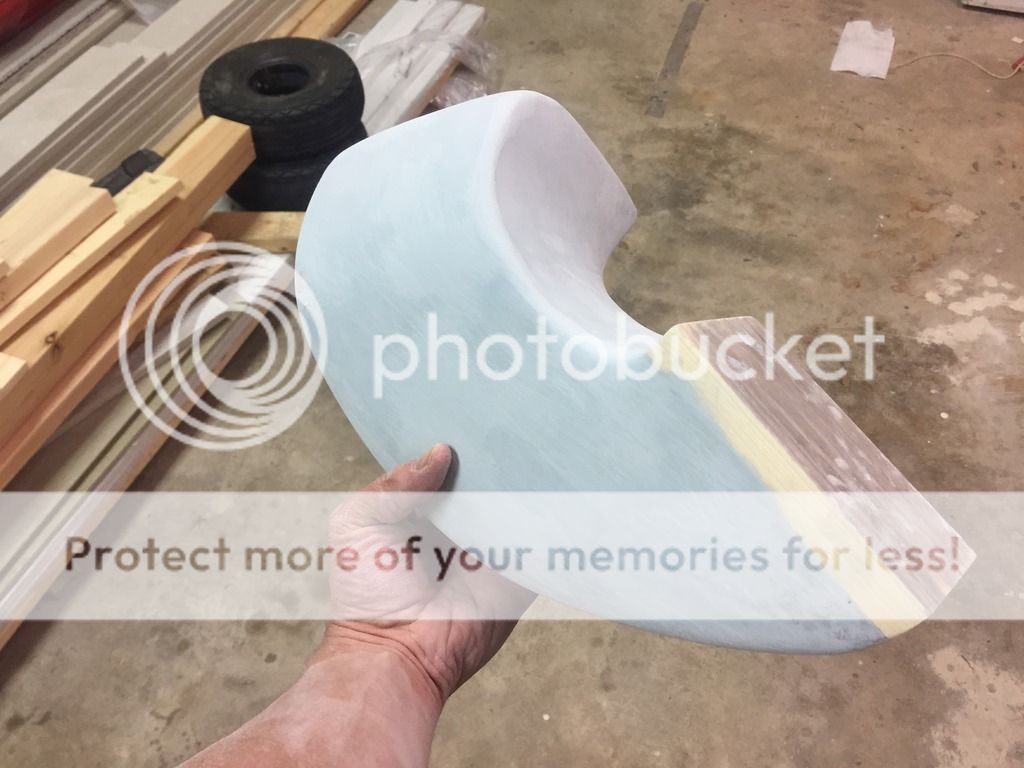
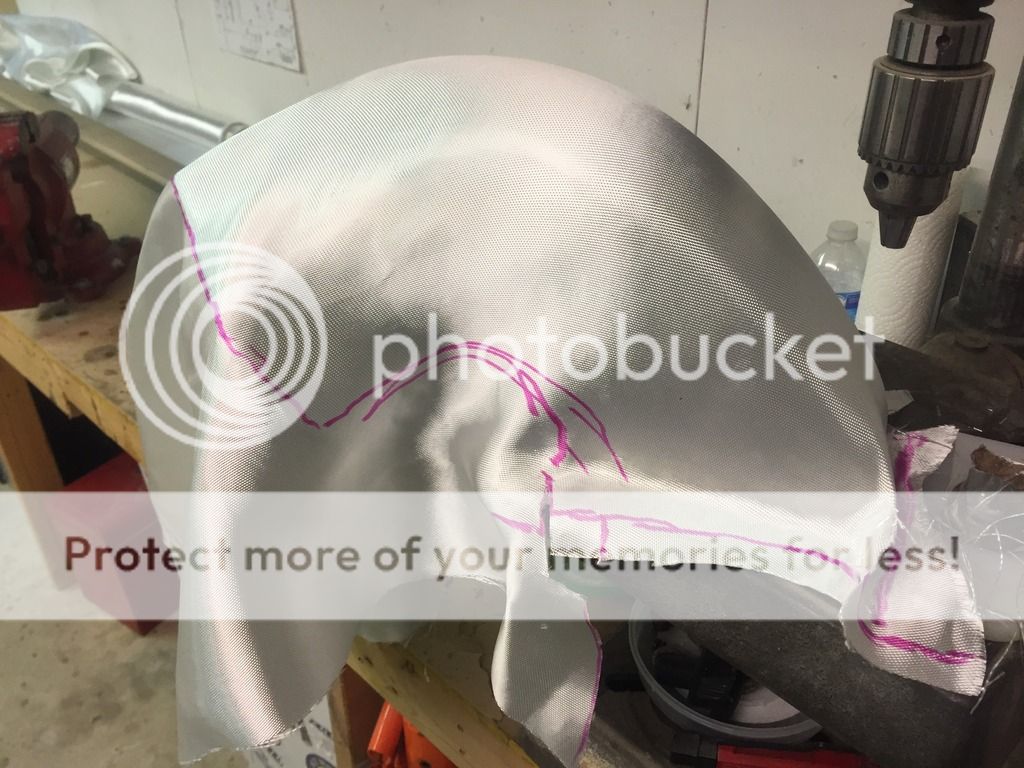
Mostly wishful thinking or rounded corner is better than square, I'ld like to say I've understood the old NASA reports on engine baffling but the pictures and summaries help.
Quote: "I'm aiming to keep the exit duct for the oil cooler the same size as the cooling fin surface area, about 16.5 sq in, "
Why the "size" of the oil cooler?
Why not 125% of the input, allowing for thermal expansion?
Which input...the 10" opening in the baffling or the 7" duct opening?
I can appreciate your effort to pressurize the input air tapering down from 10 to 7.....but not clear on your exit thoughts.
I understand starting at the cooler size for attaching and gathering the air but you could taper to a smaller size to help fit better.
10 times 125% or 7 times 125%
or maybe you have found the actual free air flow number for the cooler?
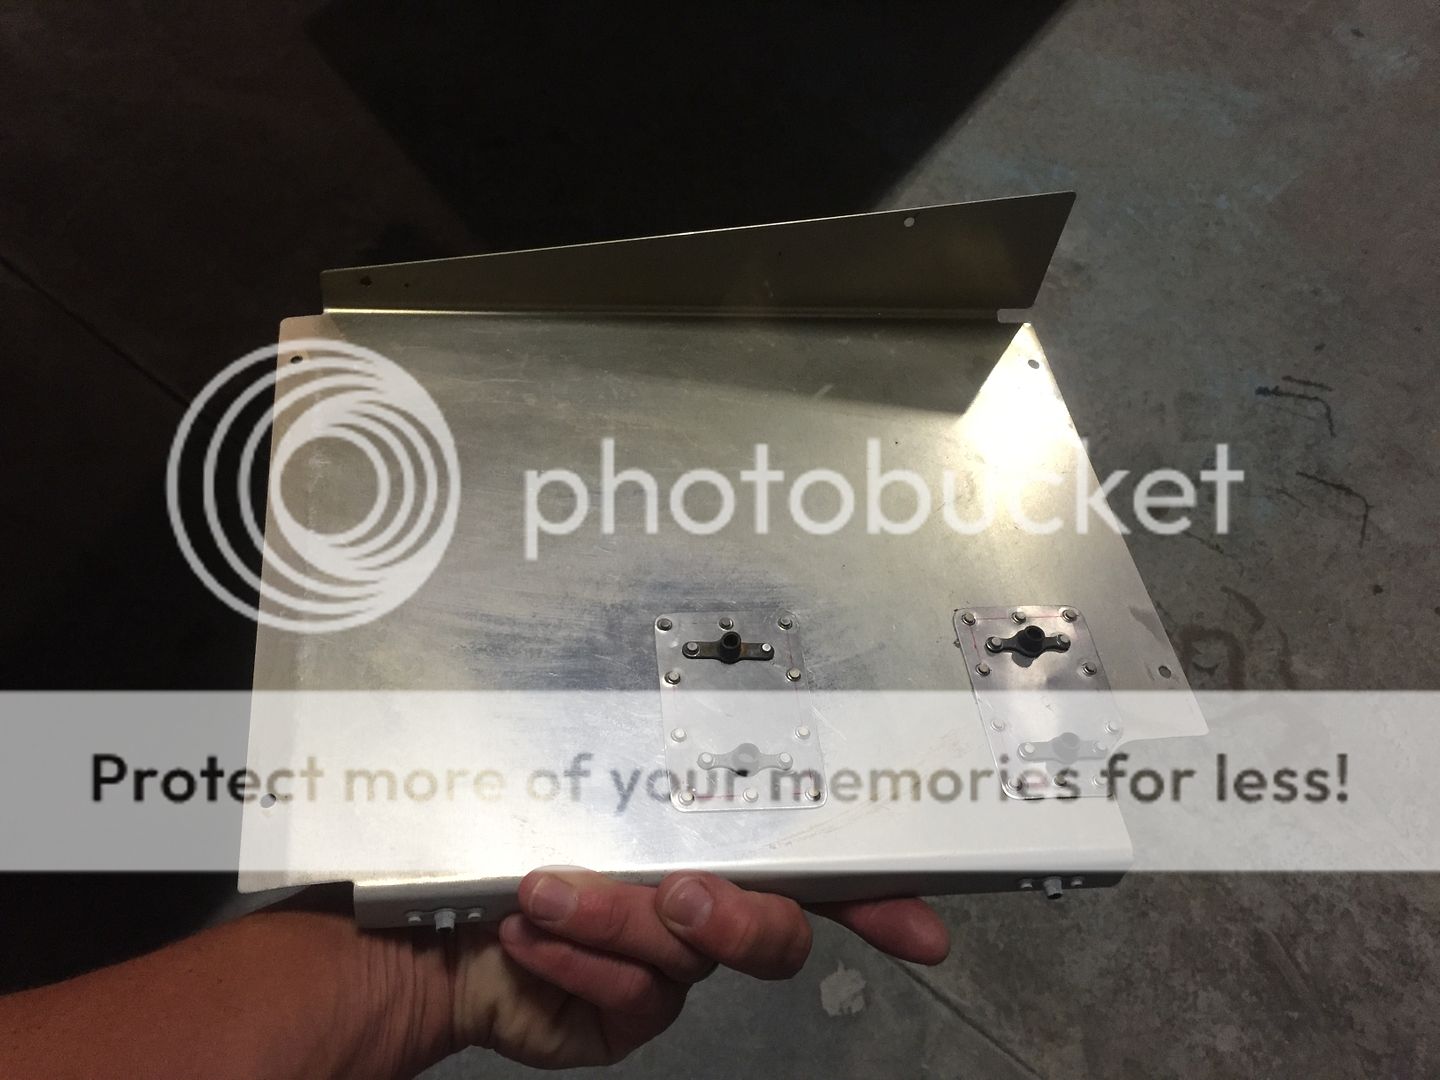
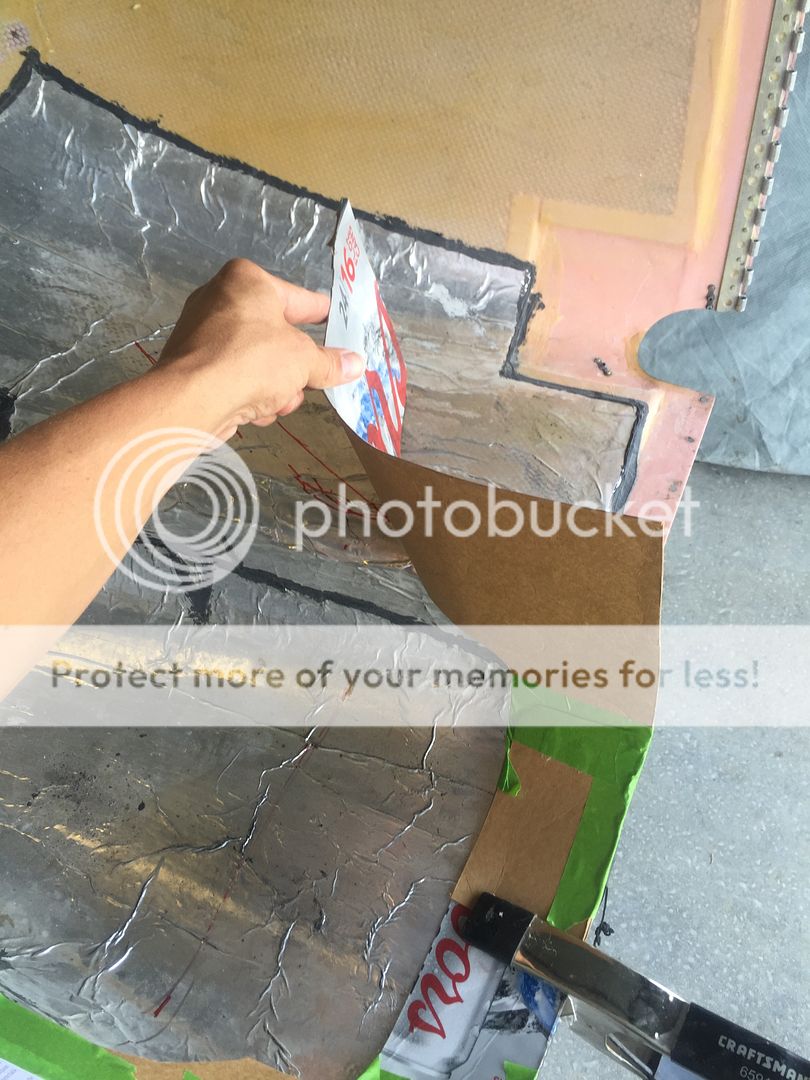
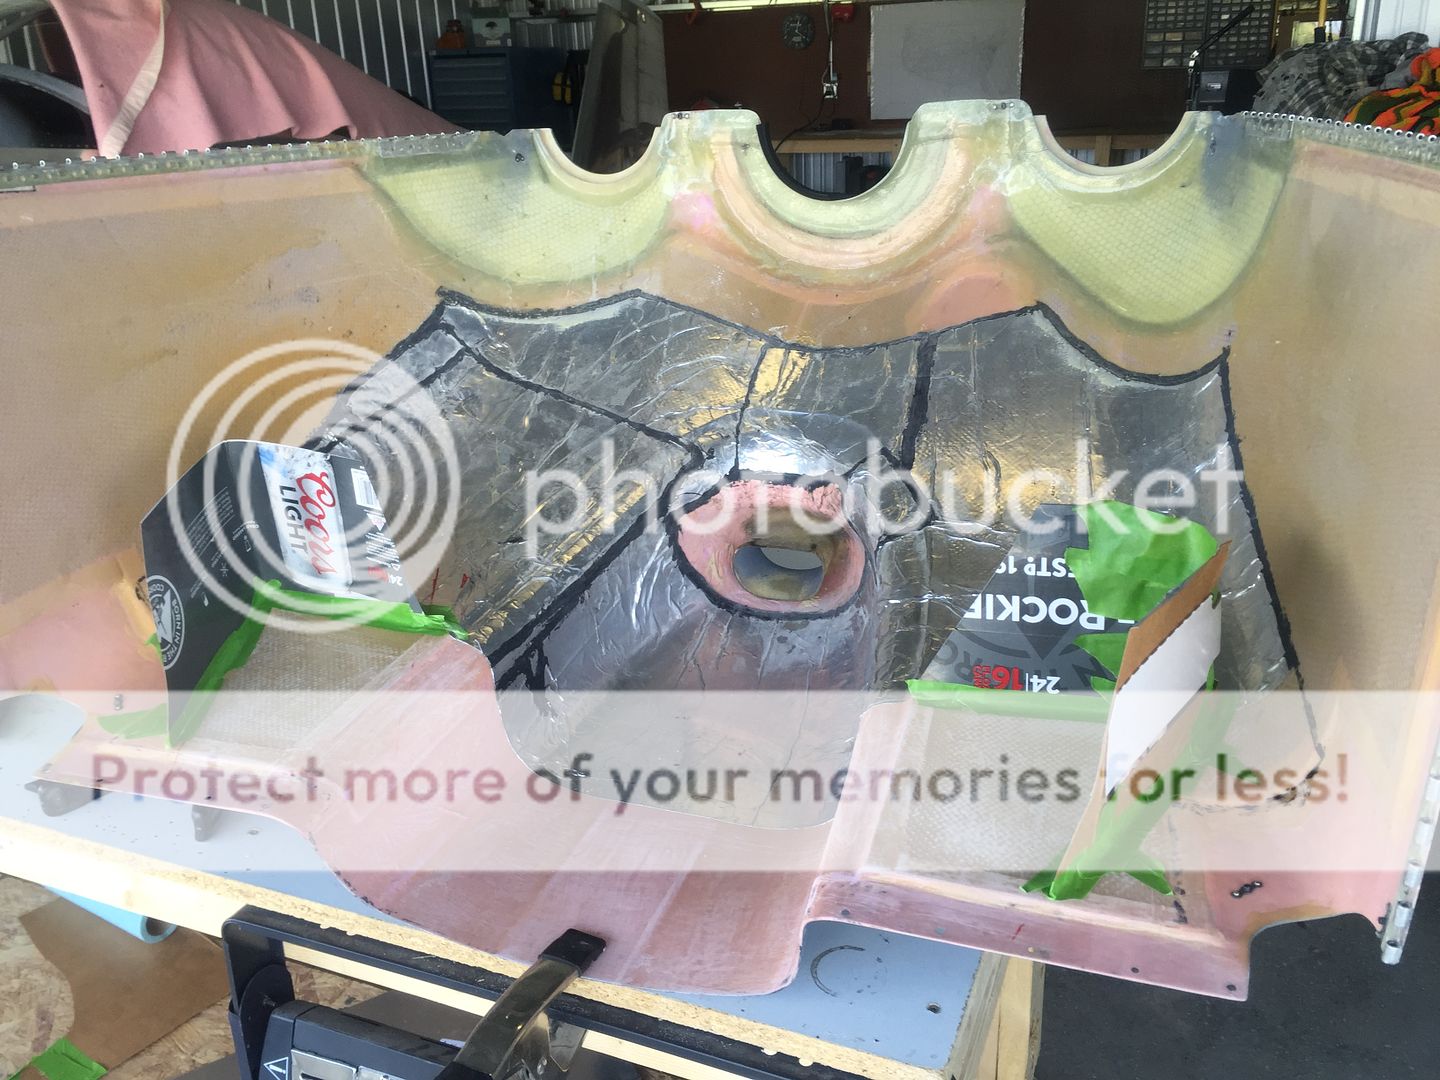
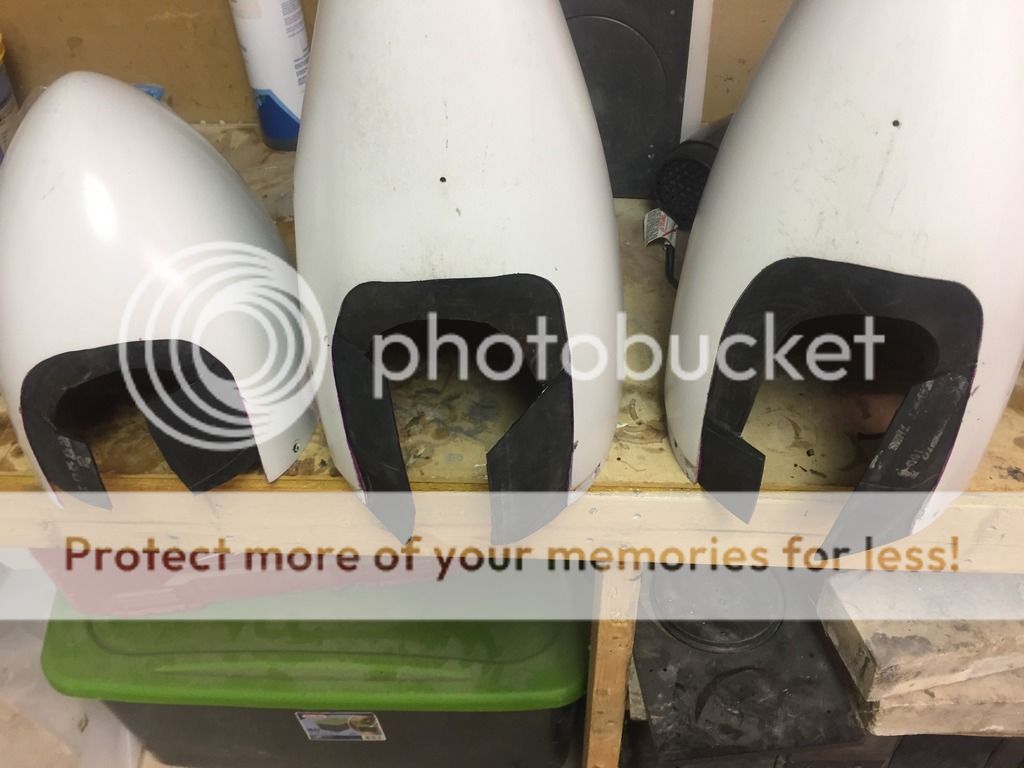
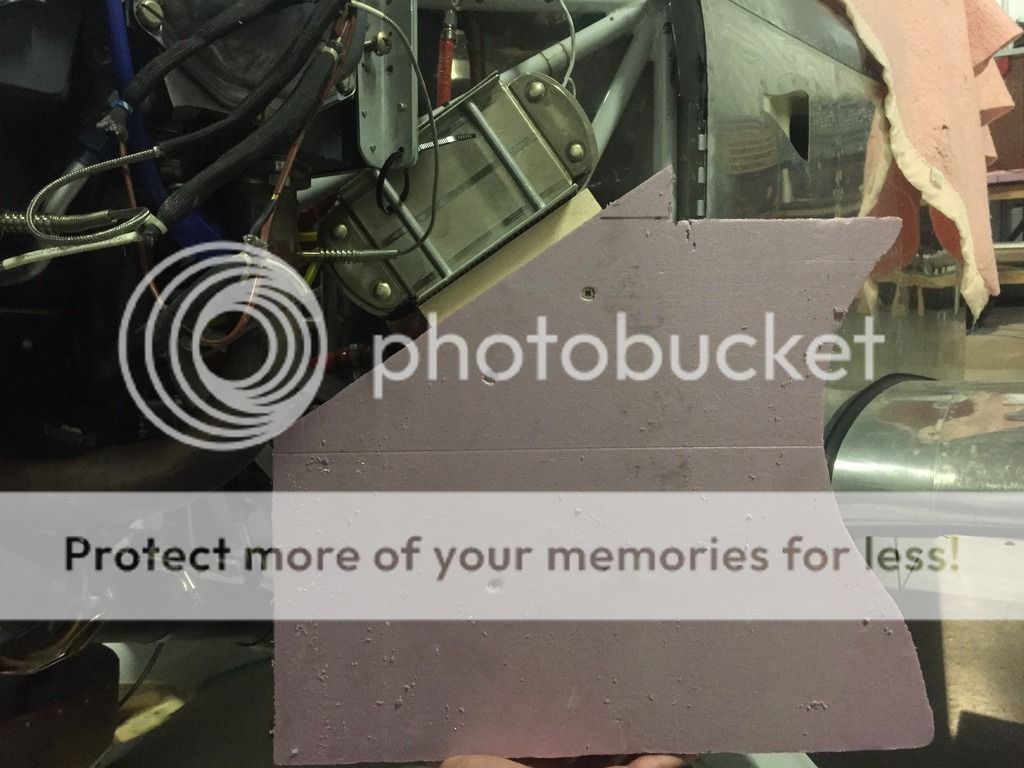
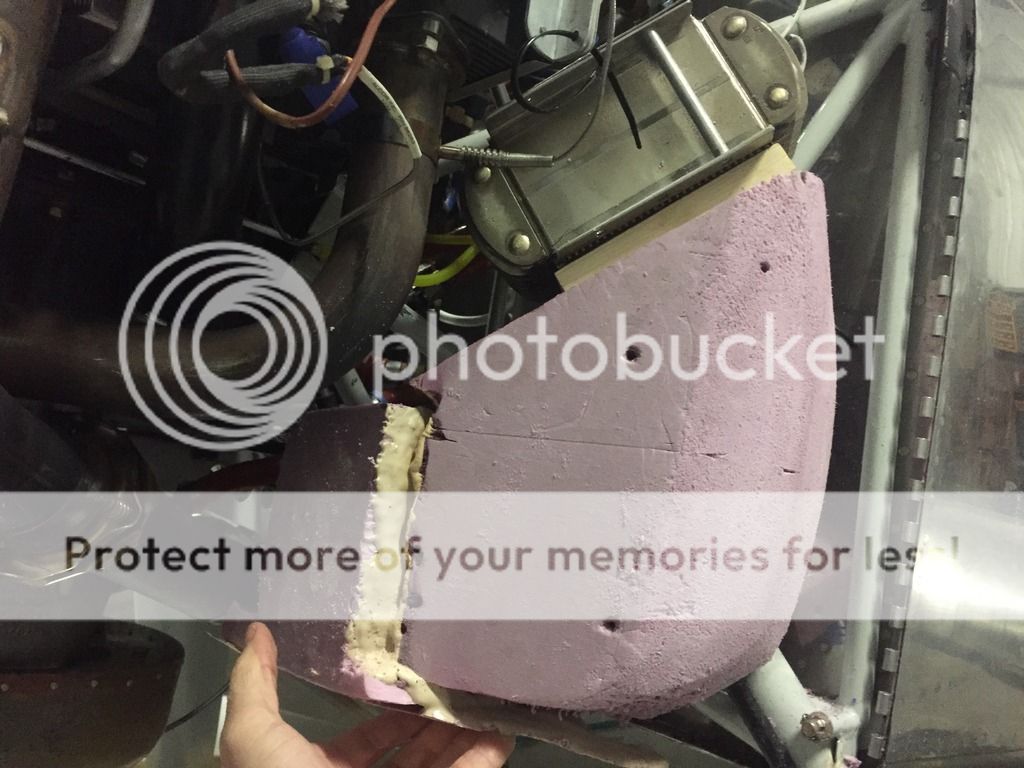
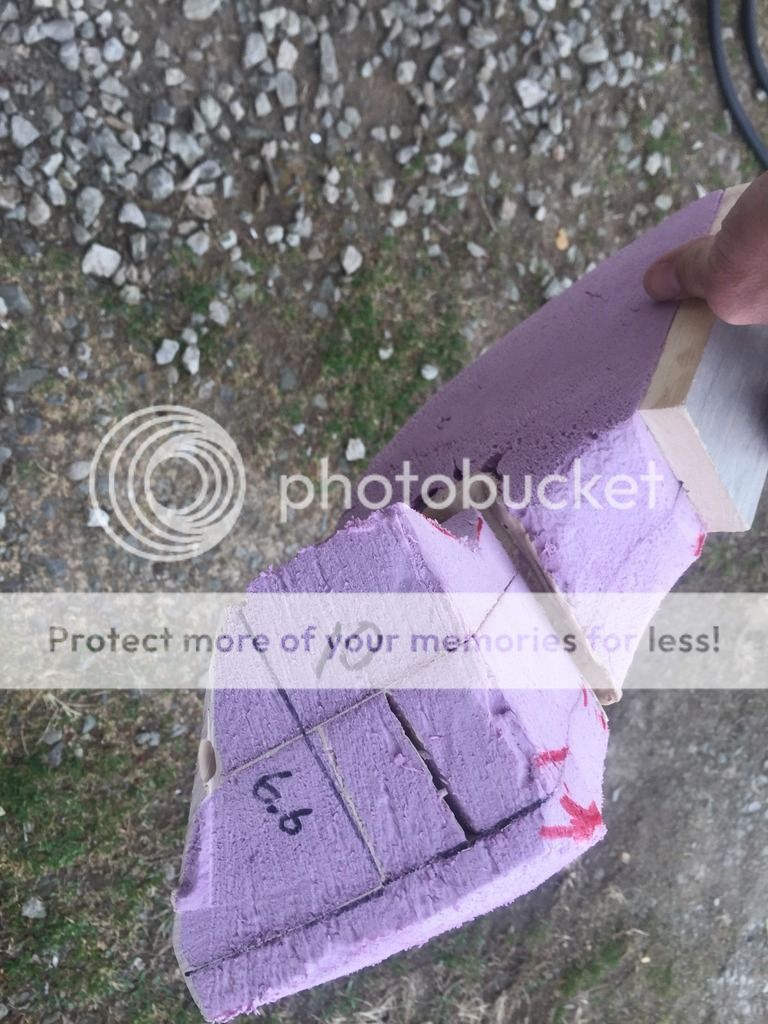
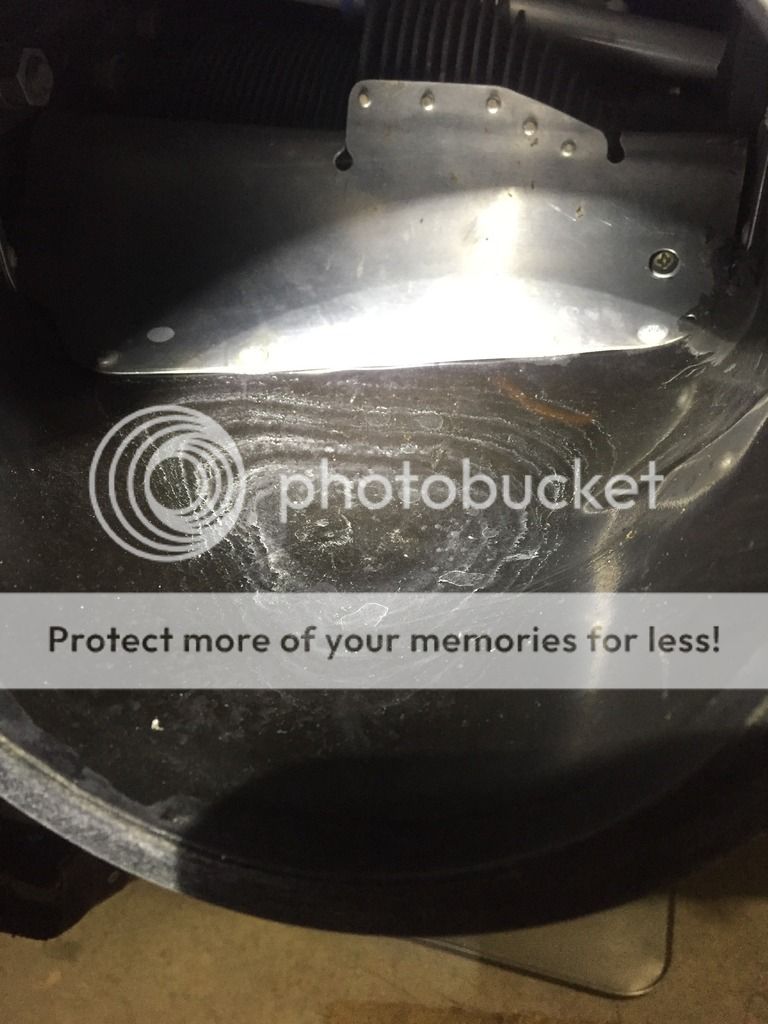
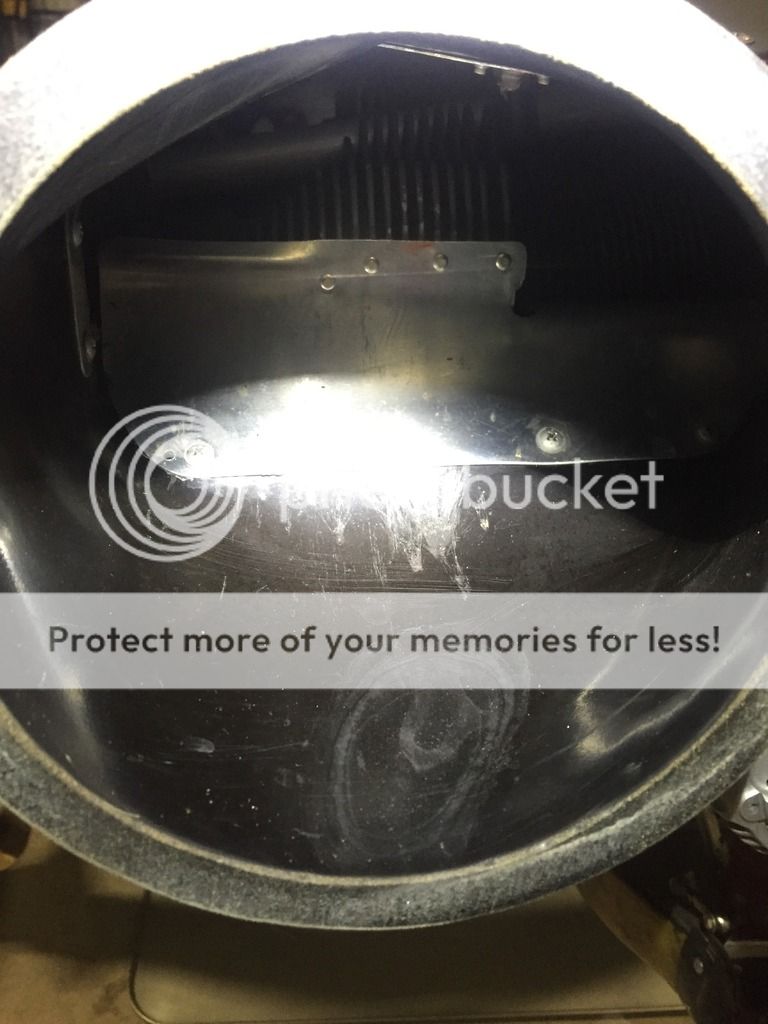
I went with the 10.5 sq in oil cooler opening because it was a split between the 3 and 4 inch scat tube areas and it fit nicely with the stock opening on the baffle.
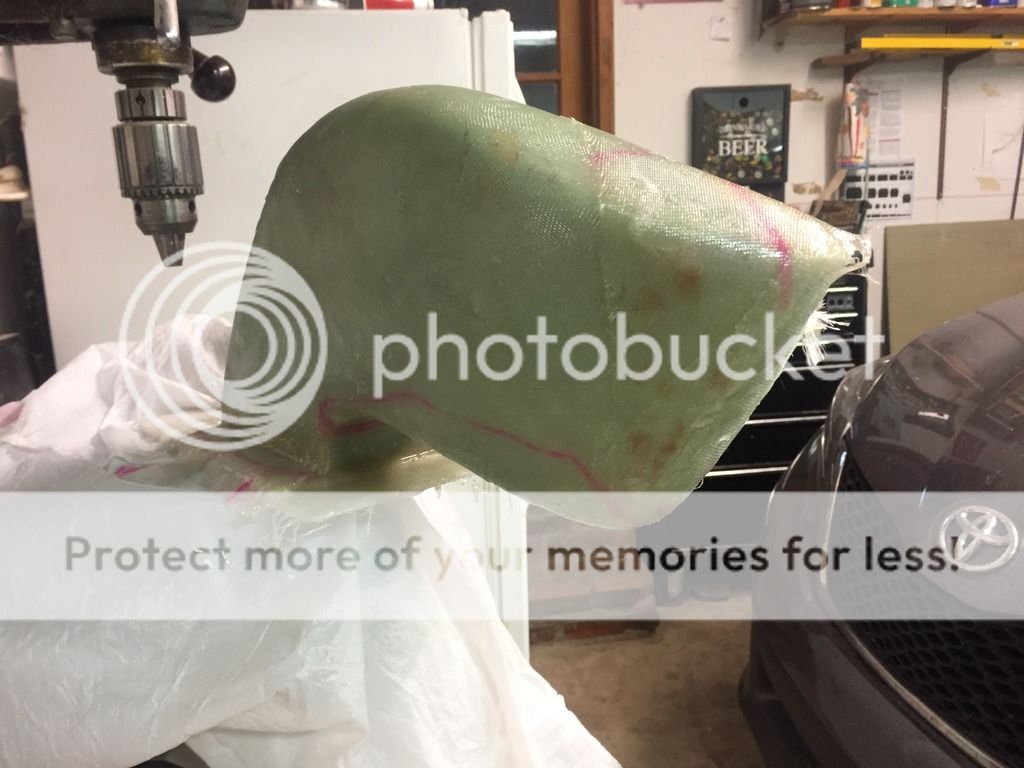
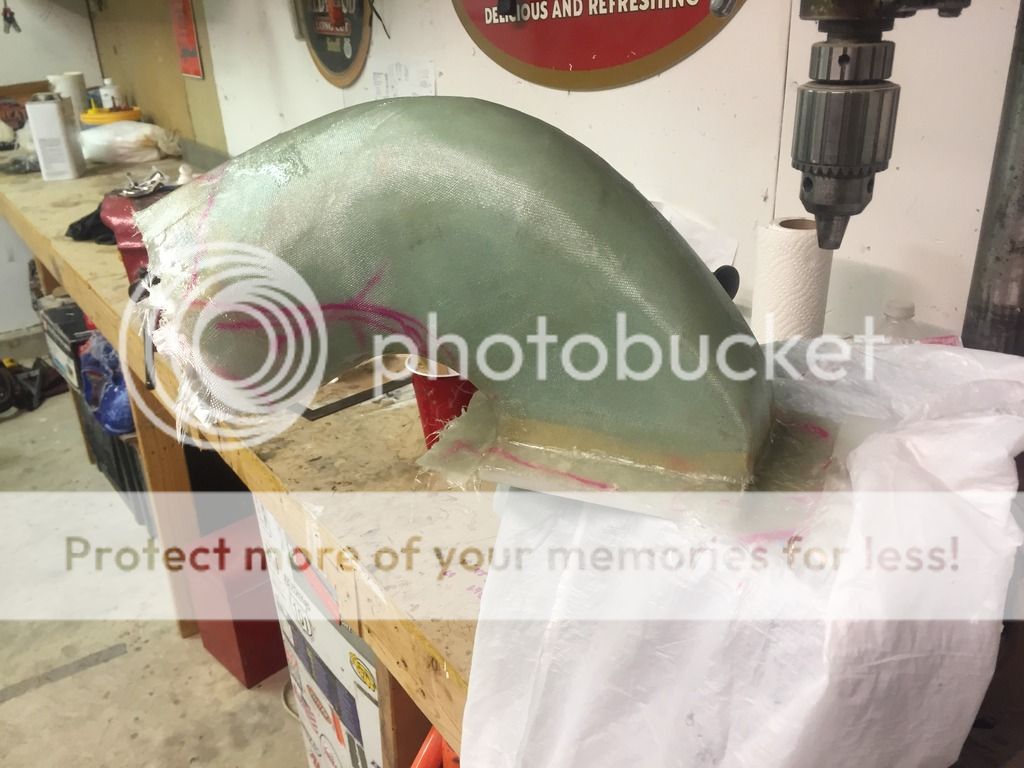
I plan on a diverging duct to the face of the cooler that's about 16.5 sq in so I will lose some pressure.
Really didn't plan on thermal expansion of the air in the exit duct. I was hoping to maintain enough pressure differential to cool the oil well and stay above lower cowling pressures.
Really just a guess overall.
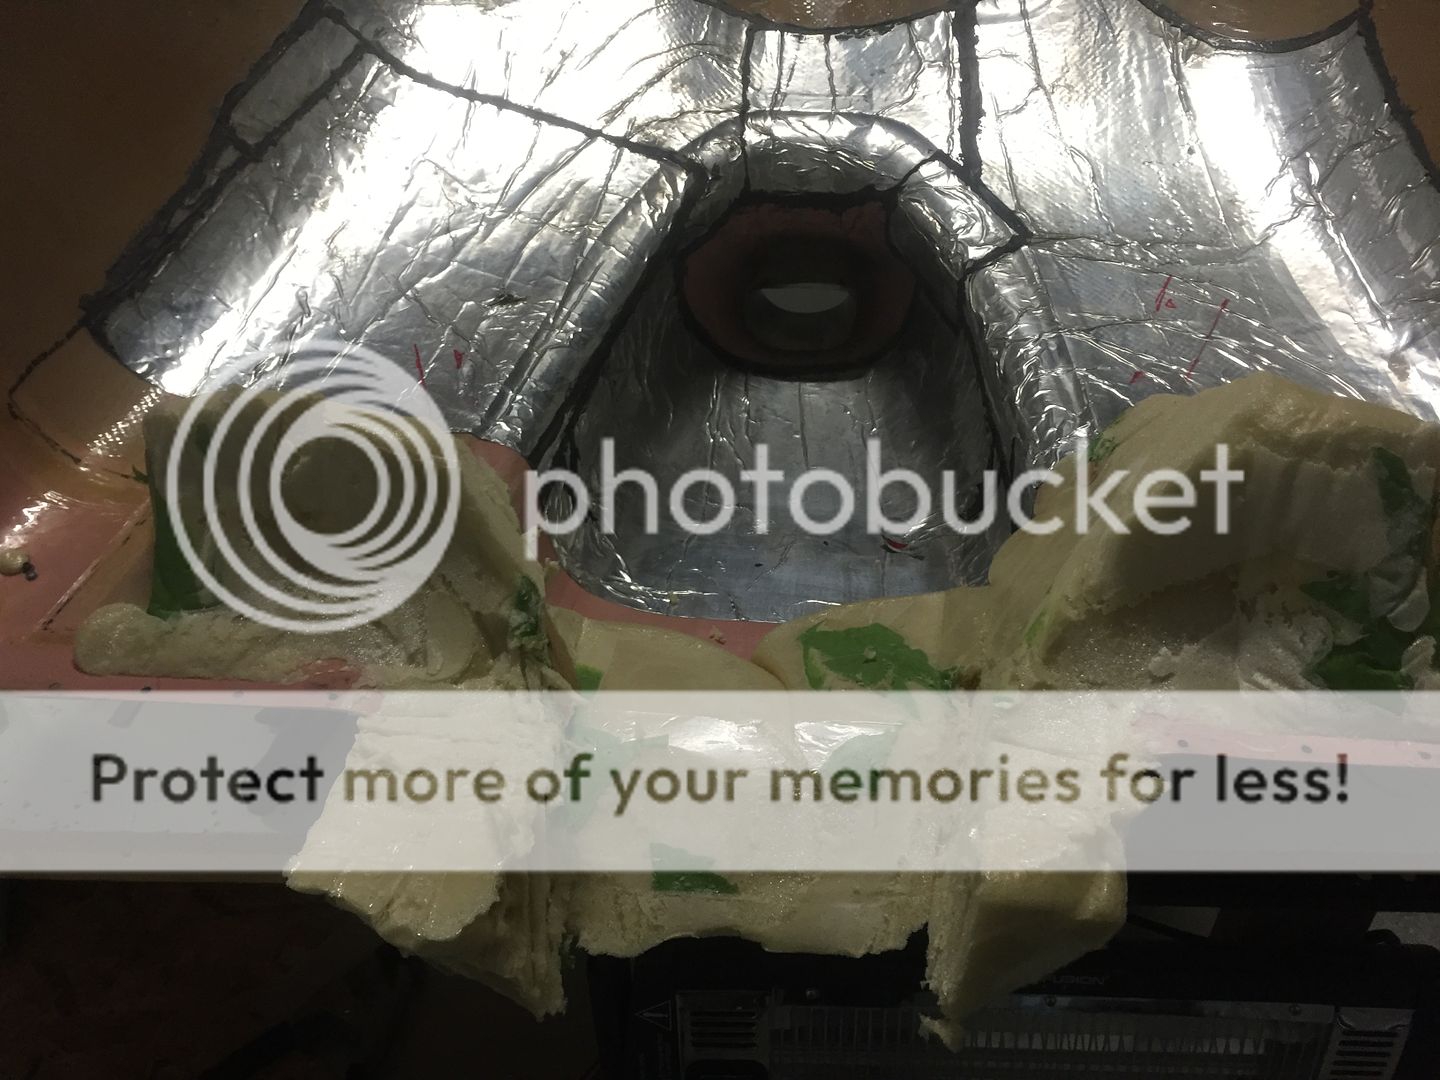
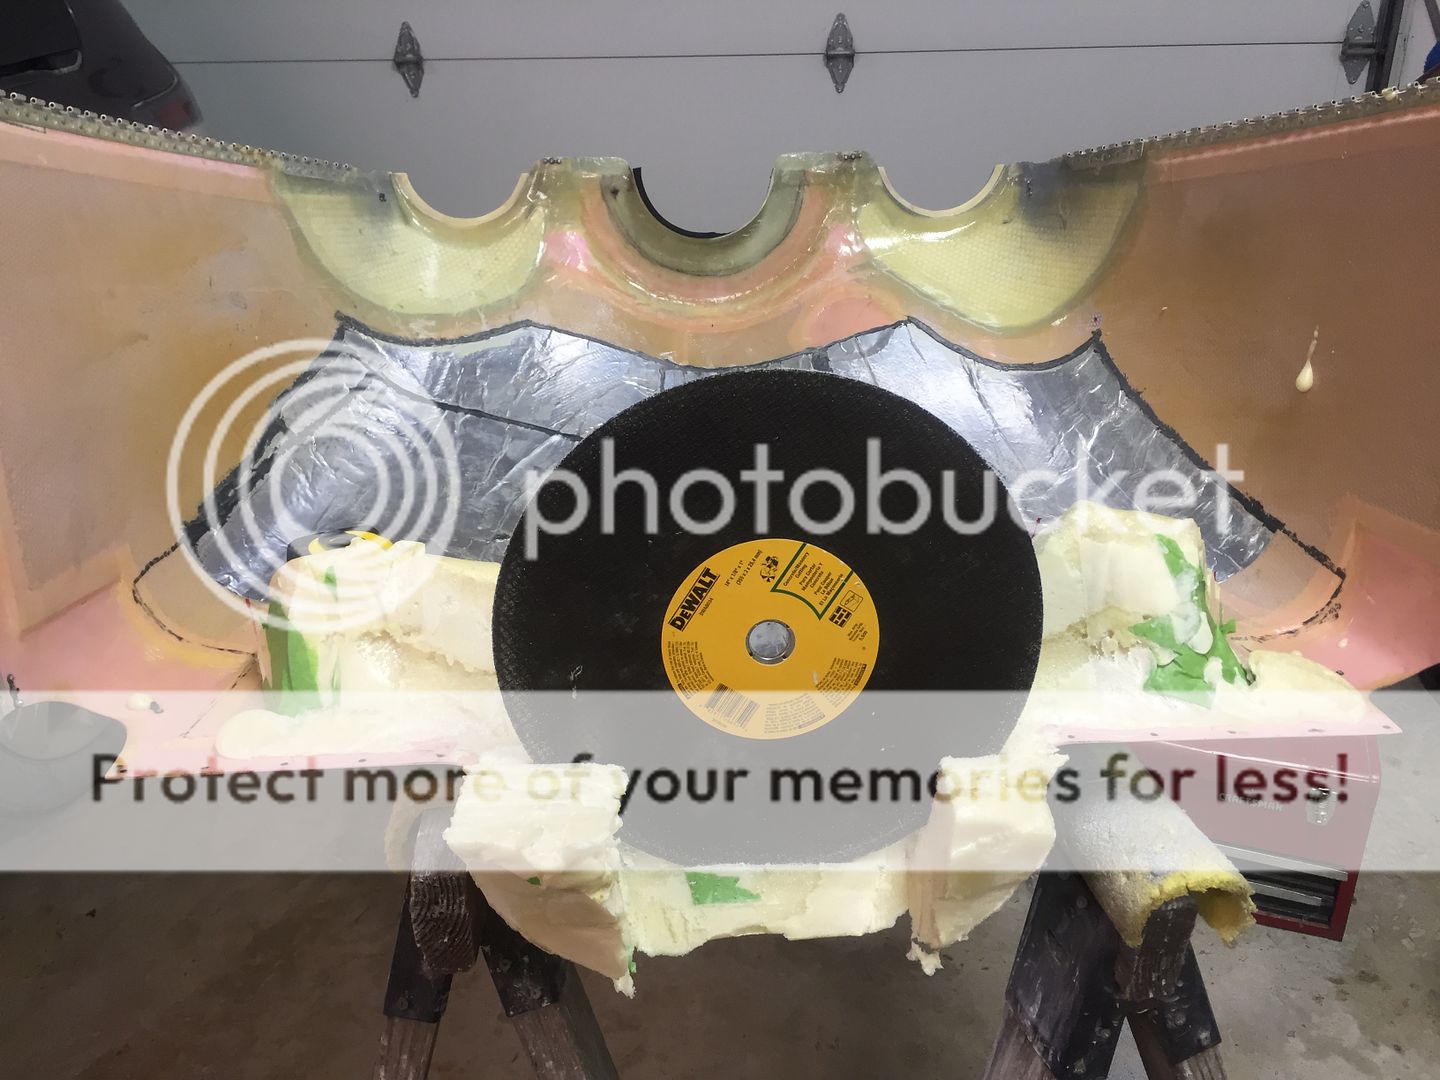
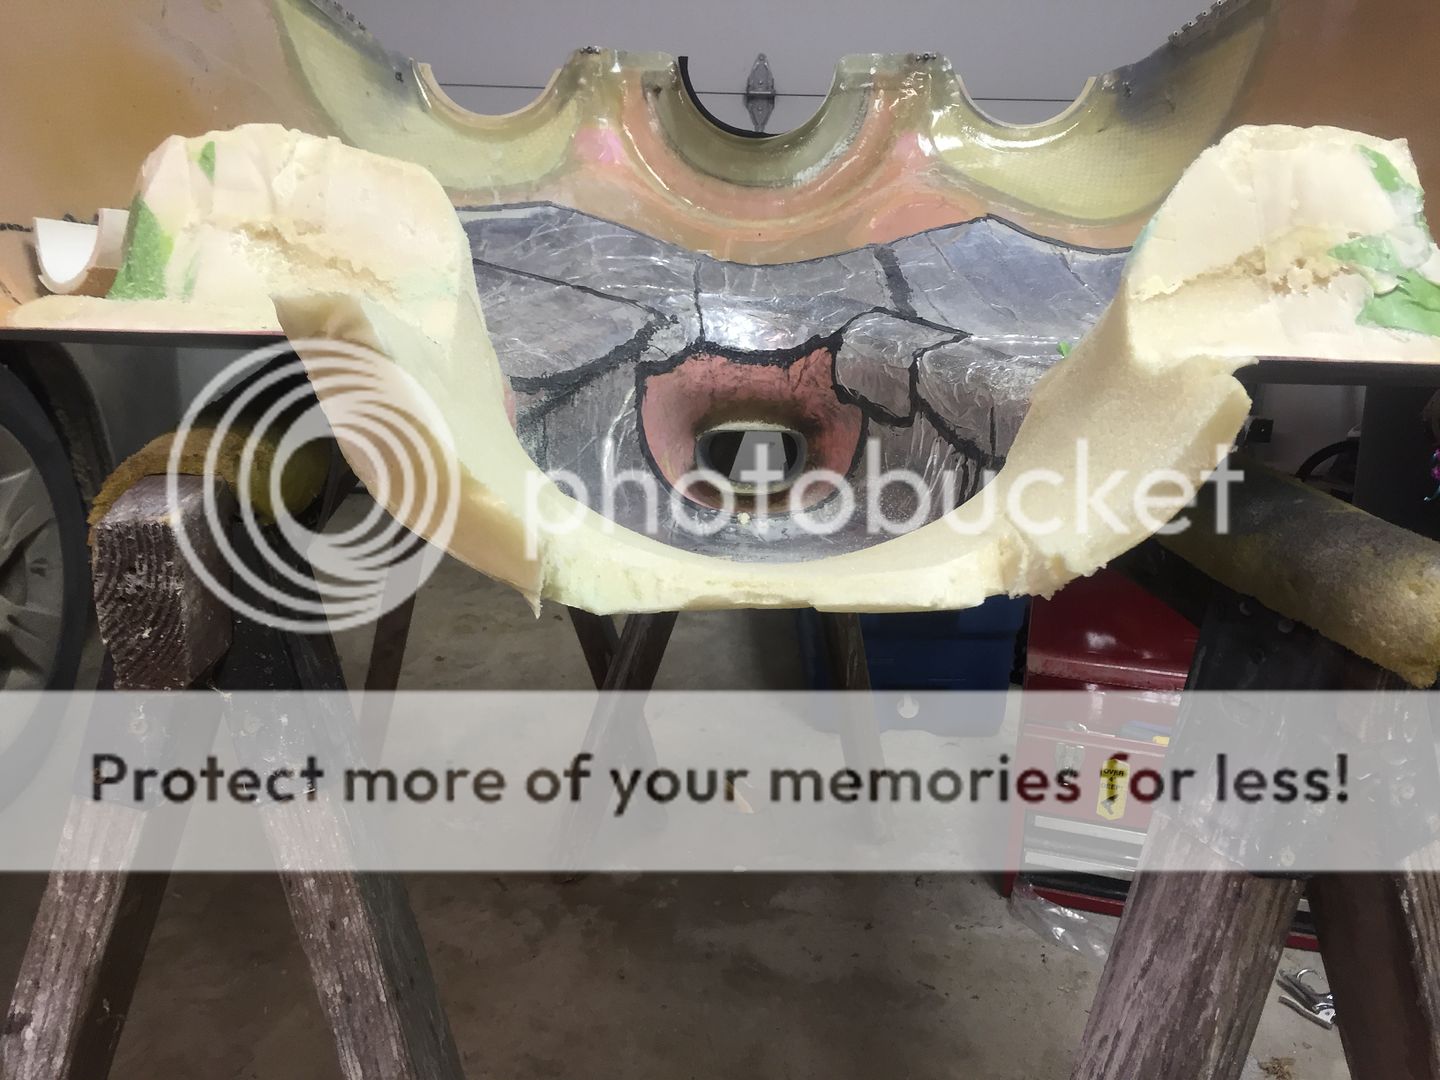
The cooler on the baffle had about 10ish sq in of fin area available to plenum pressure, the other 6ish inches were right next to the hot cylinder head with the exit blowing against the firewall. I'm thinking that moving the cooler off the hot engine and exposing all of the cooling fins to airflow will make the already adequate cooling even more so. I do plan on making the exit of the oil cooler duct slightly smaller to "throttle" the exit, it should give me a little leeway to open the exit slightly if I need more oil cooling.
Post #12 from this thread reinforced what I've searched online...
http://www.vansairforce.com/community/showthread.php?t=146953&page=2
Just 2 cents from a fan...
Thanks Bob, but I'm an amateur.....pictures prove it!

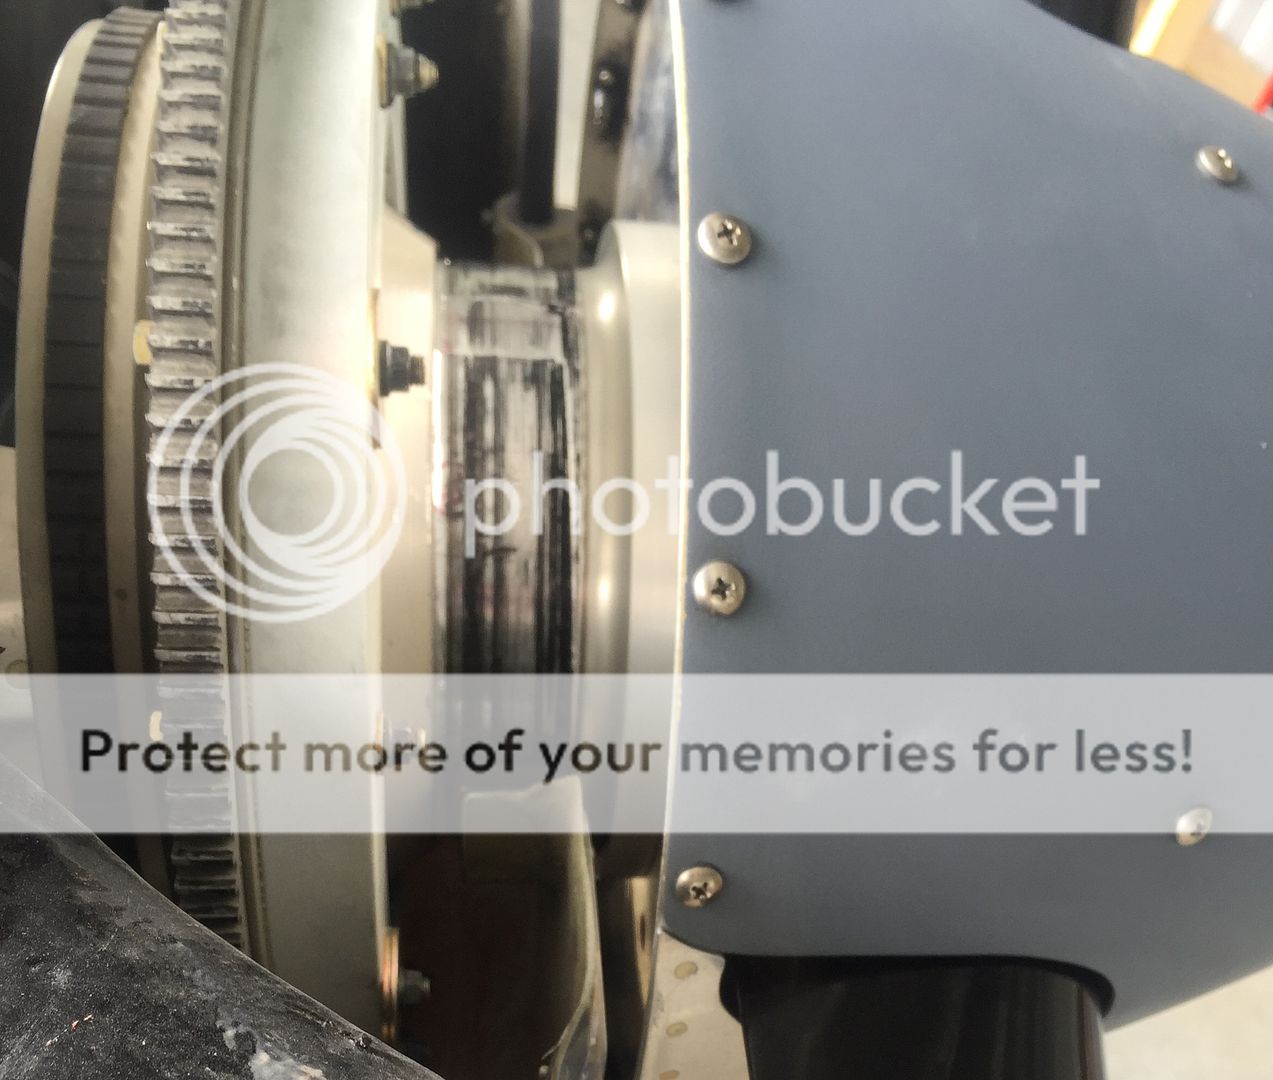
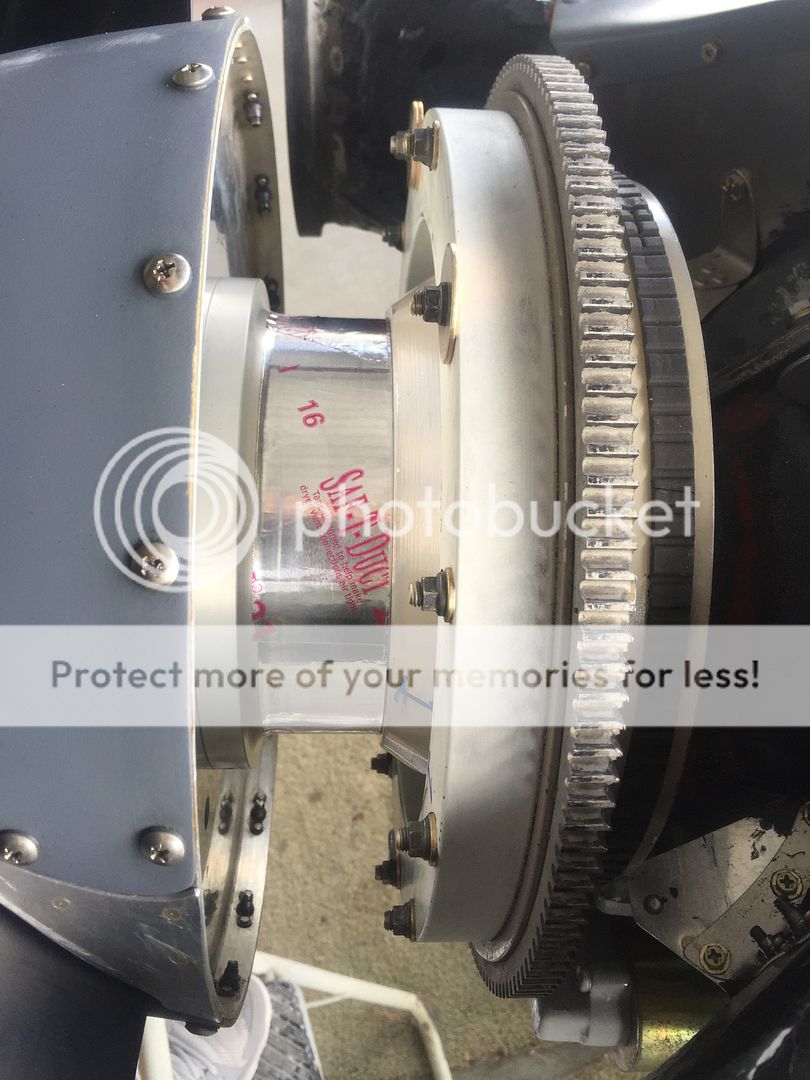
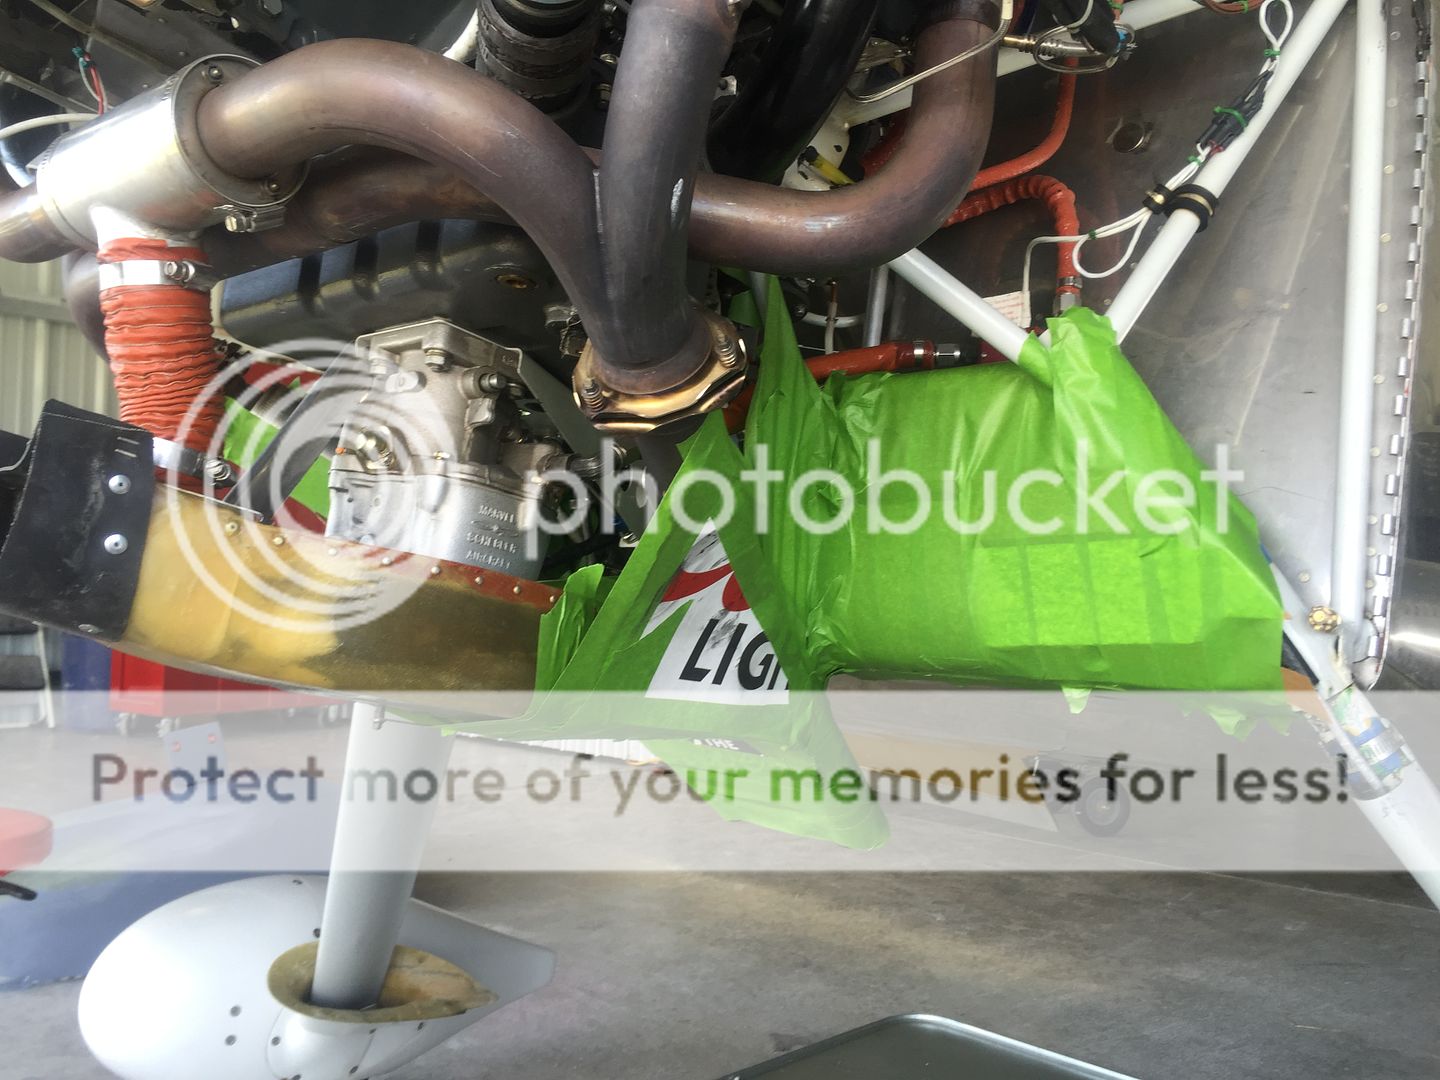
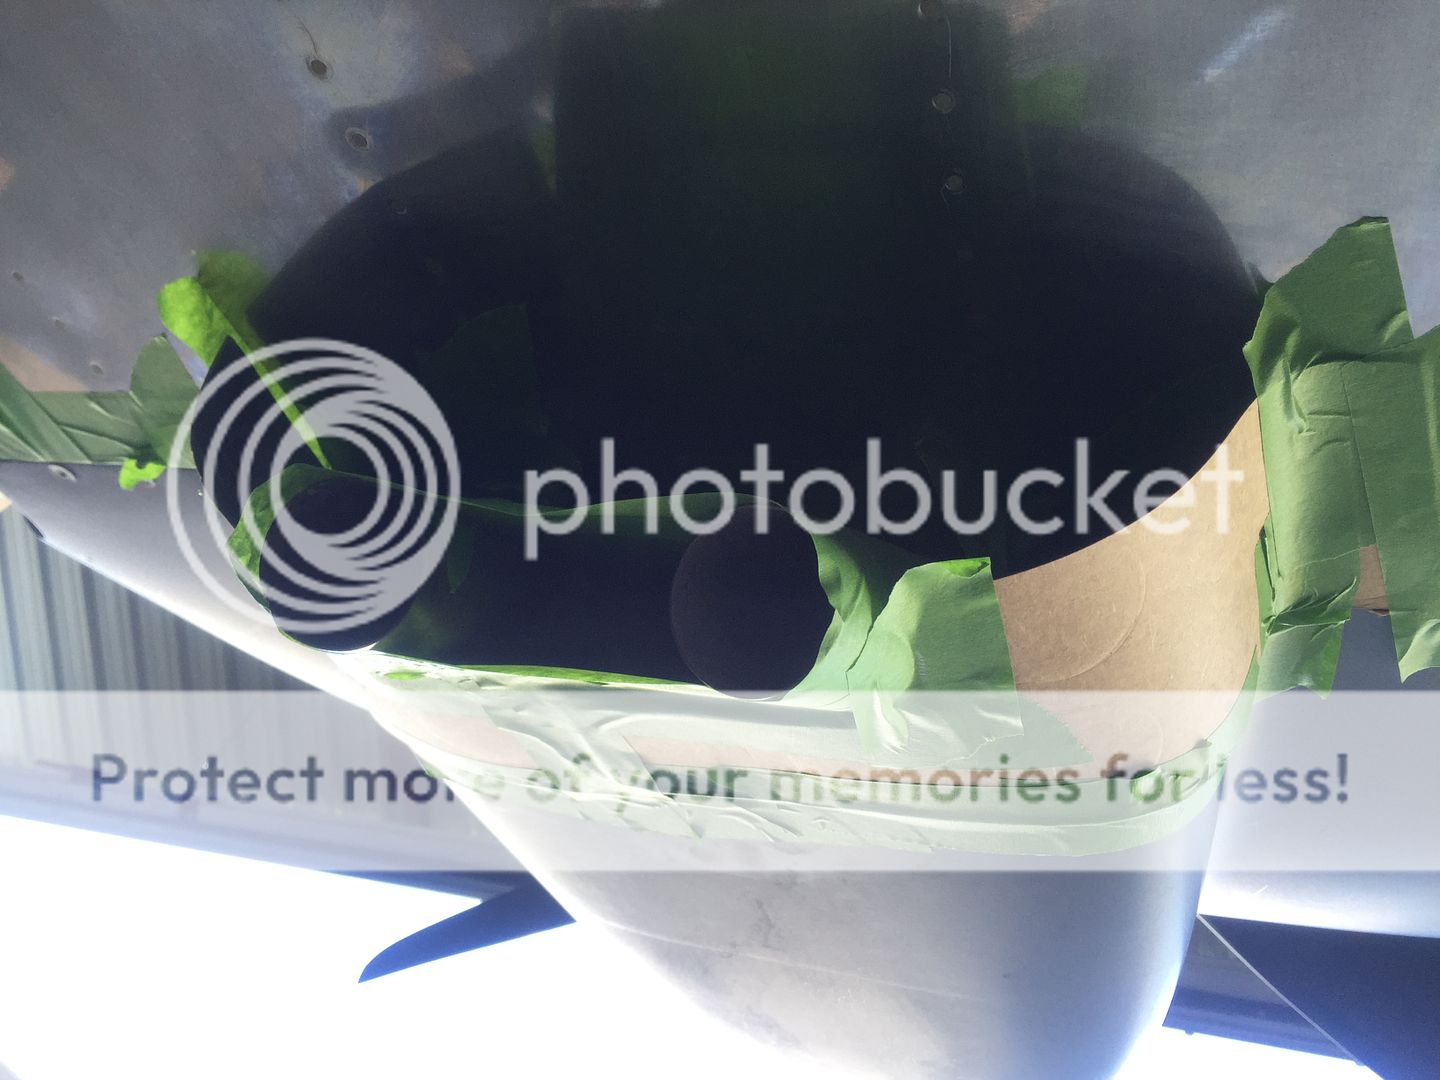
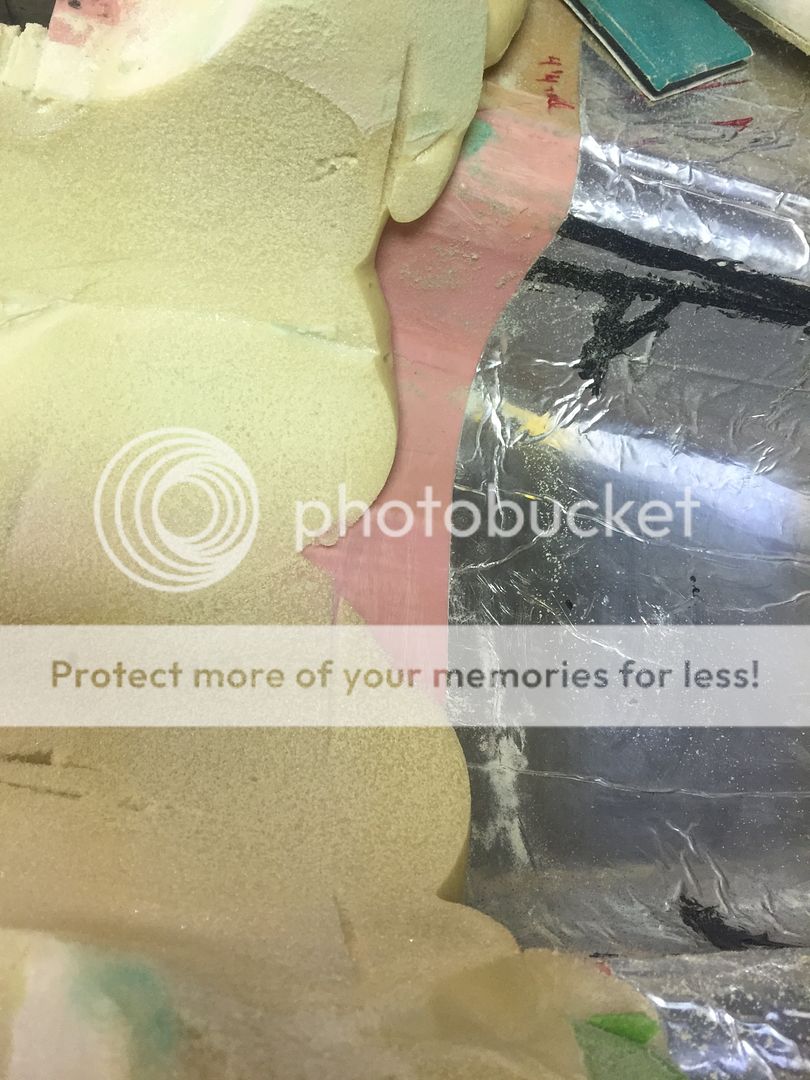
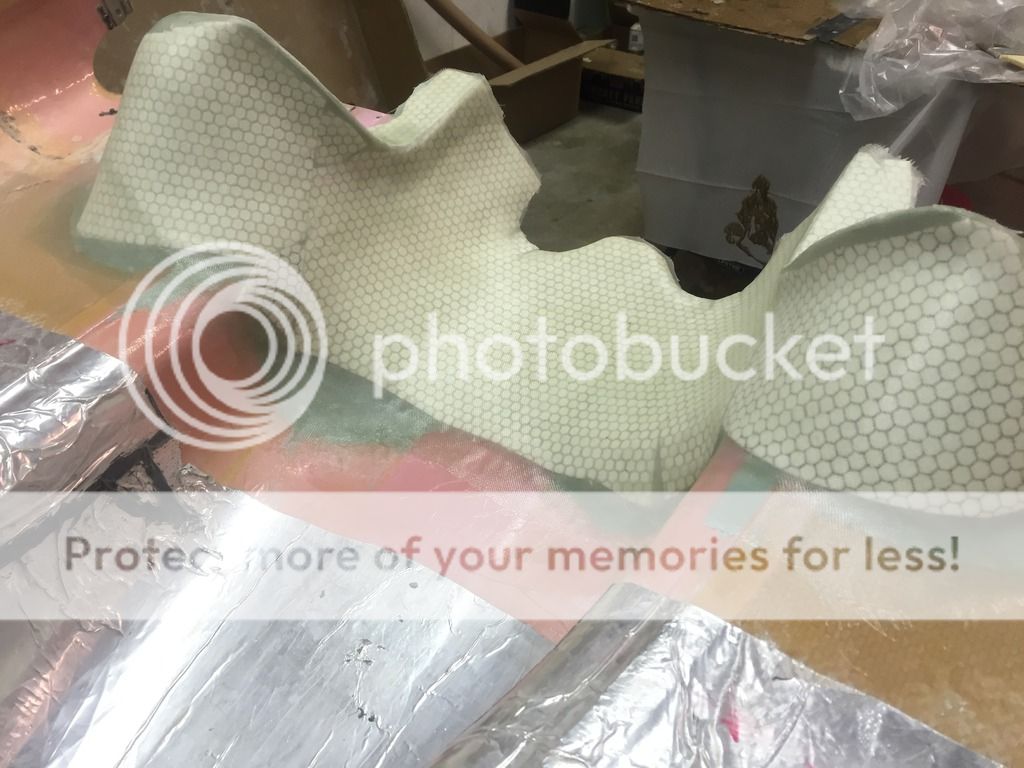
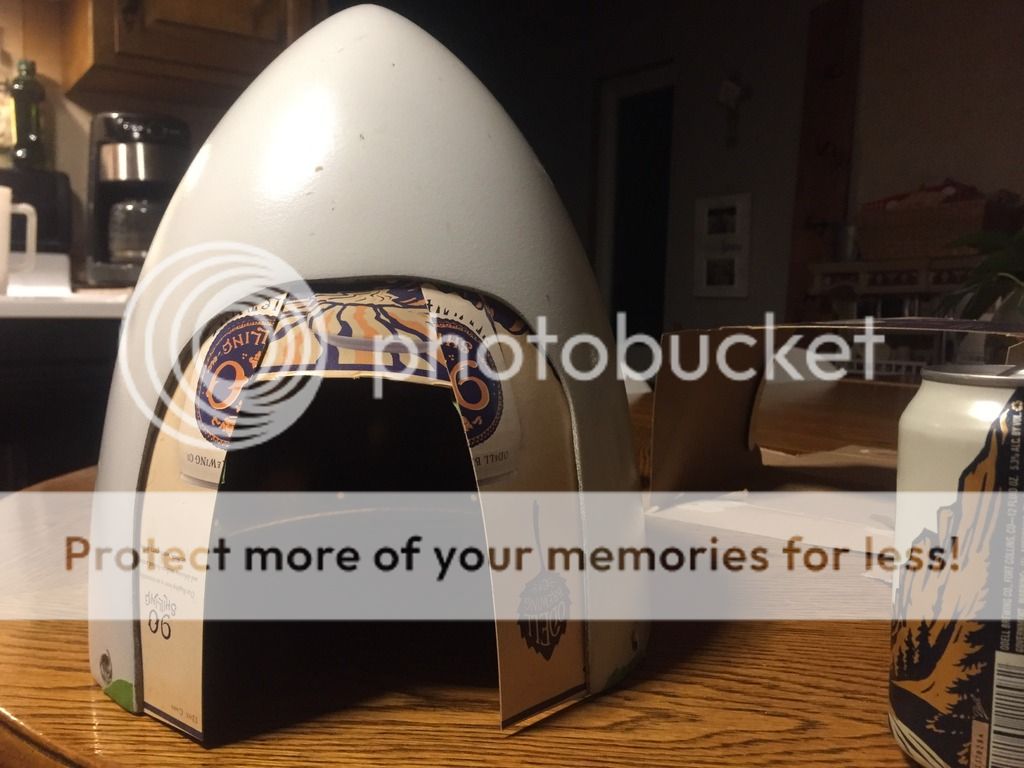
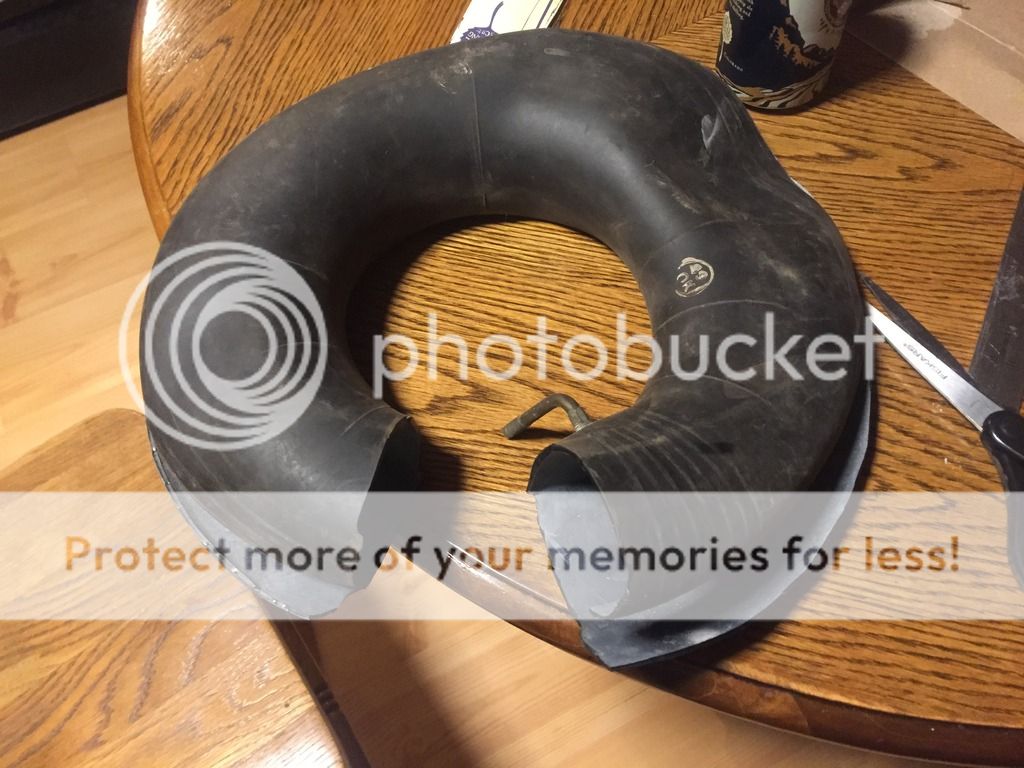
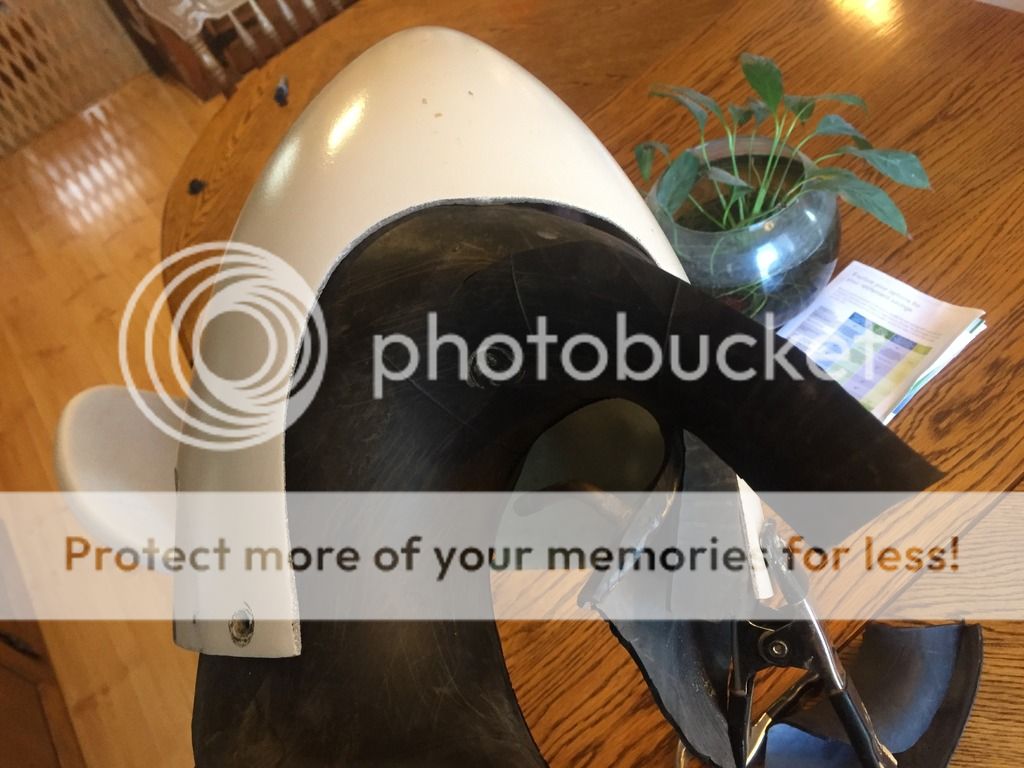
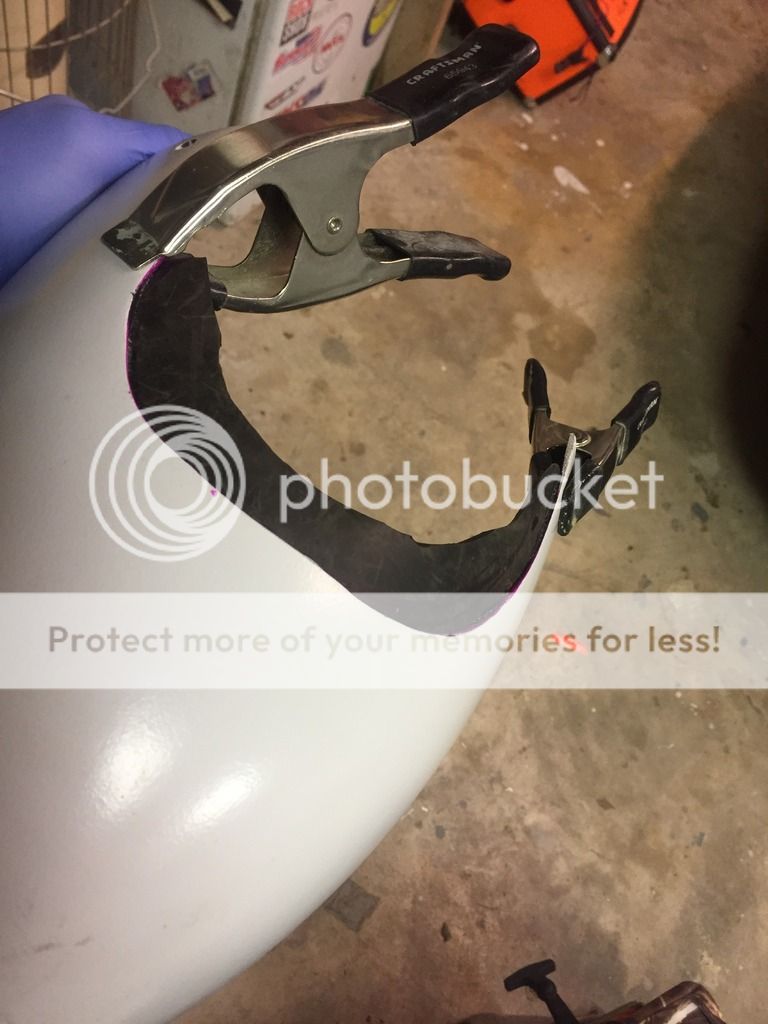
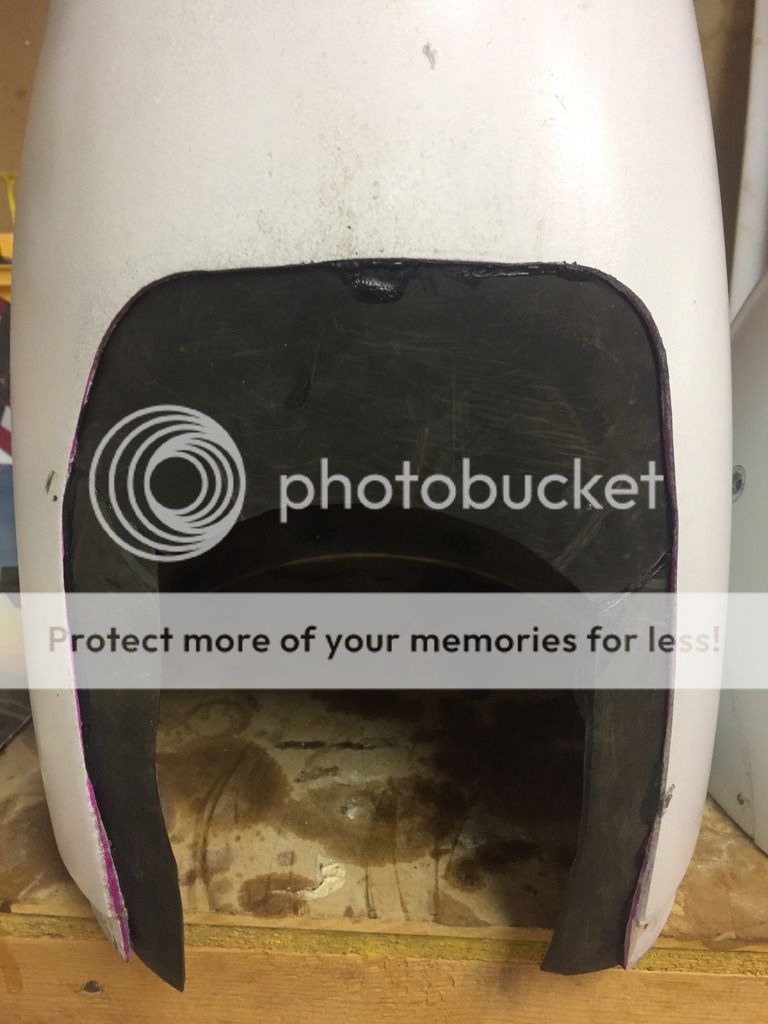
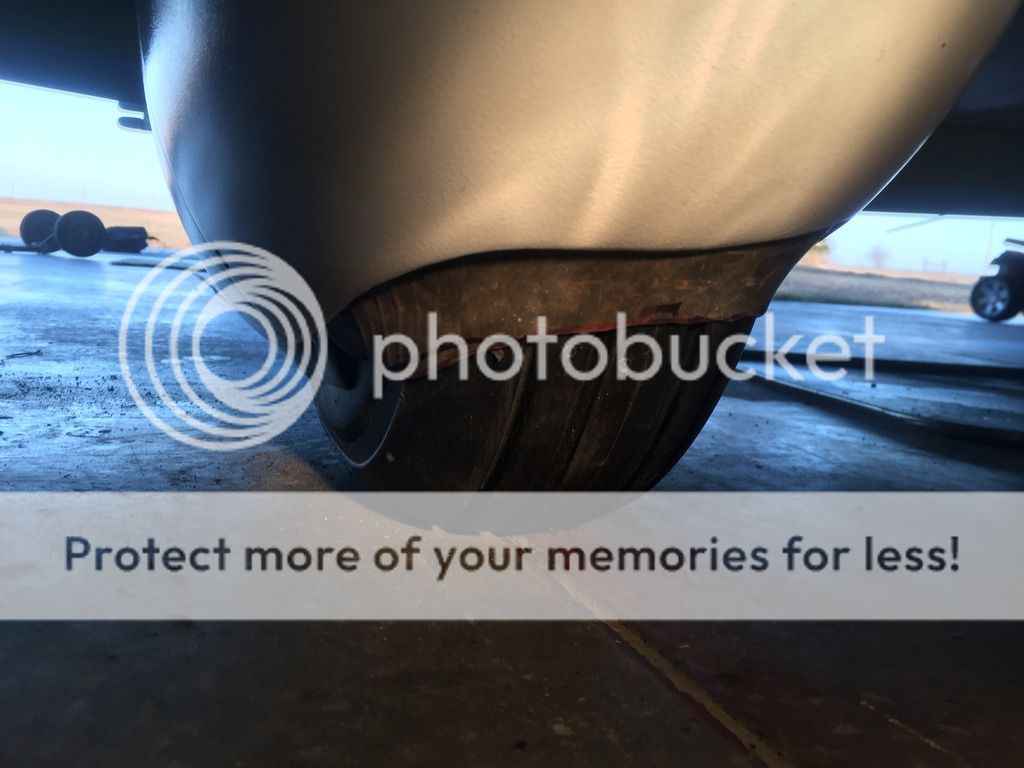
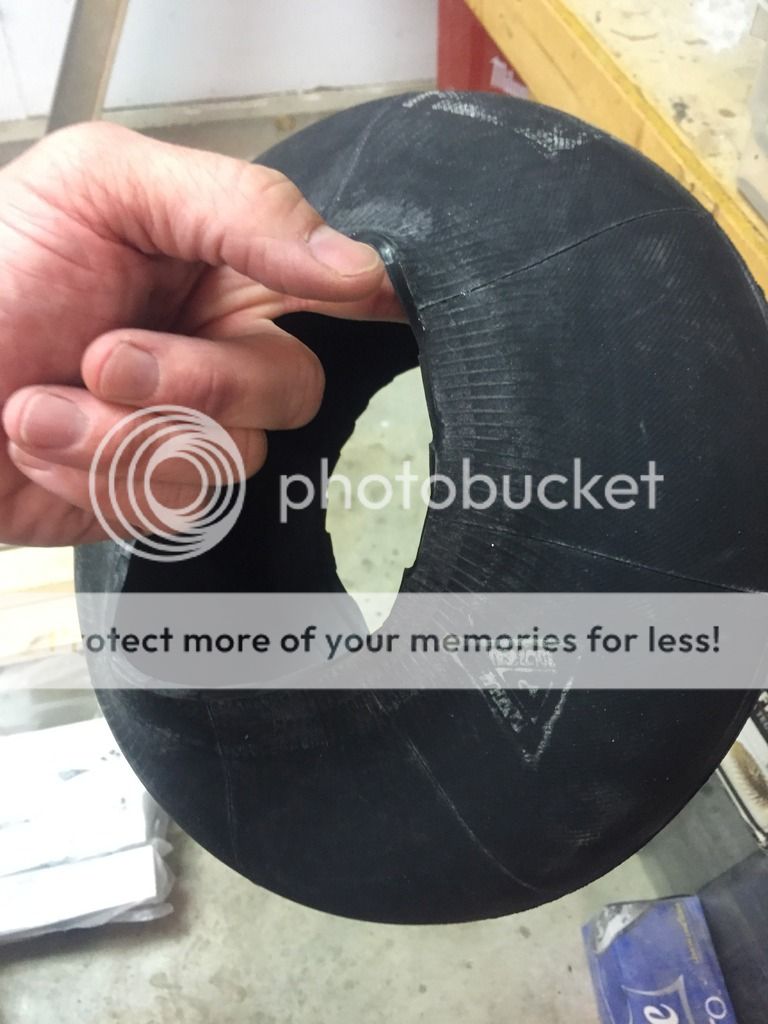
 Anyway I used some of the leftover tape from the second installation kit to protect the surface of my prop spacer. I initially used 1 piece making sure the tape joint wasn't being peeled off by the rotation. I ran the engine for a minute and checked the foam seal, just a little smoking. After a couple runs and checks the seal "conformed" to the spacer and no more smoke, you can slightly hear the seal rubbing when turning the prop by hand. There was foam dust everywhere, but a quick blowoff took are of it. Here's the prop spacer/tape/seal interface after 1 trip around the patch.