Slipstream
Member
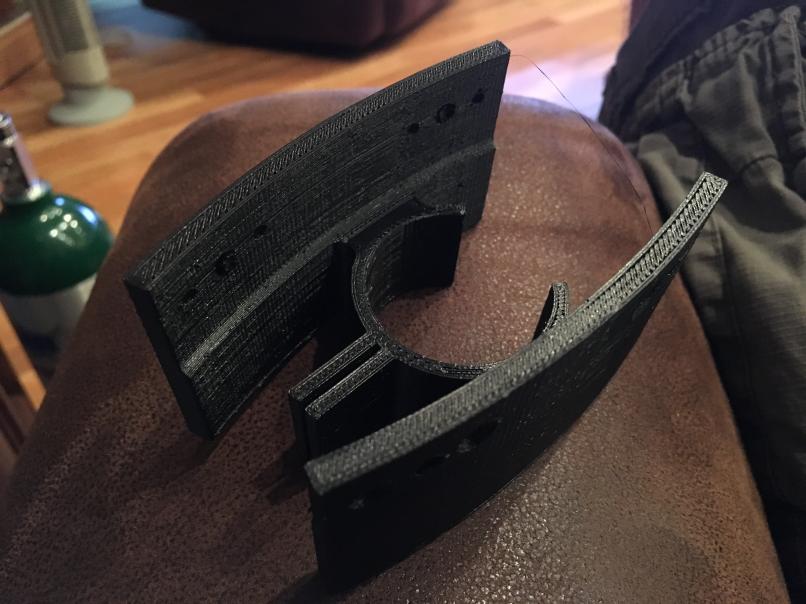
If there's a definitive, easy-to follow how-to on the gear fairings, I'd love to see it. In the entire build, nothing has confused and intimidated me more than these things..
The plans confused me because they seem to call for drilling the piano hinges of the gear fairings while the fairing is on the gear leg, weight on wheels. The plans don't mention jacking up the plane until it's time for intersection fairing alignment. Perhaps I totally read the plans wrong. Let me know.
So I figured I'd jack it up anyway, tried my best at getting perfectly straight fairings, and they still came out slightly warped. Argh. I'll be starting from scratch again, obviously..
So, here are my questions: Did you successful builders actually drill the trailing edges of the gear fairings on the leg itself, or did you drill on a nice, flat, easy to use table?
Why do the gear fairings come before the wheel pants in the instructions? It seems to me that getting the fairings trimmed up perfectly requires the wheel pants to be in place... right?
Thanks for your help!