Hello and just beginning a thread on an RV-9A project that I am working on in Kalamazoo Mi.
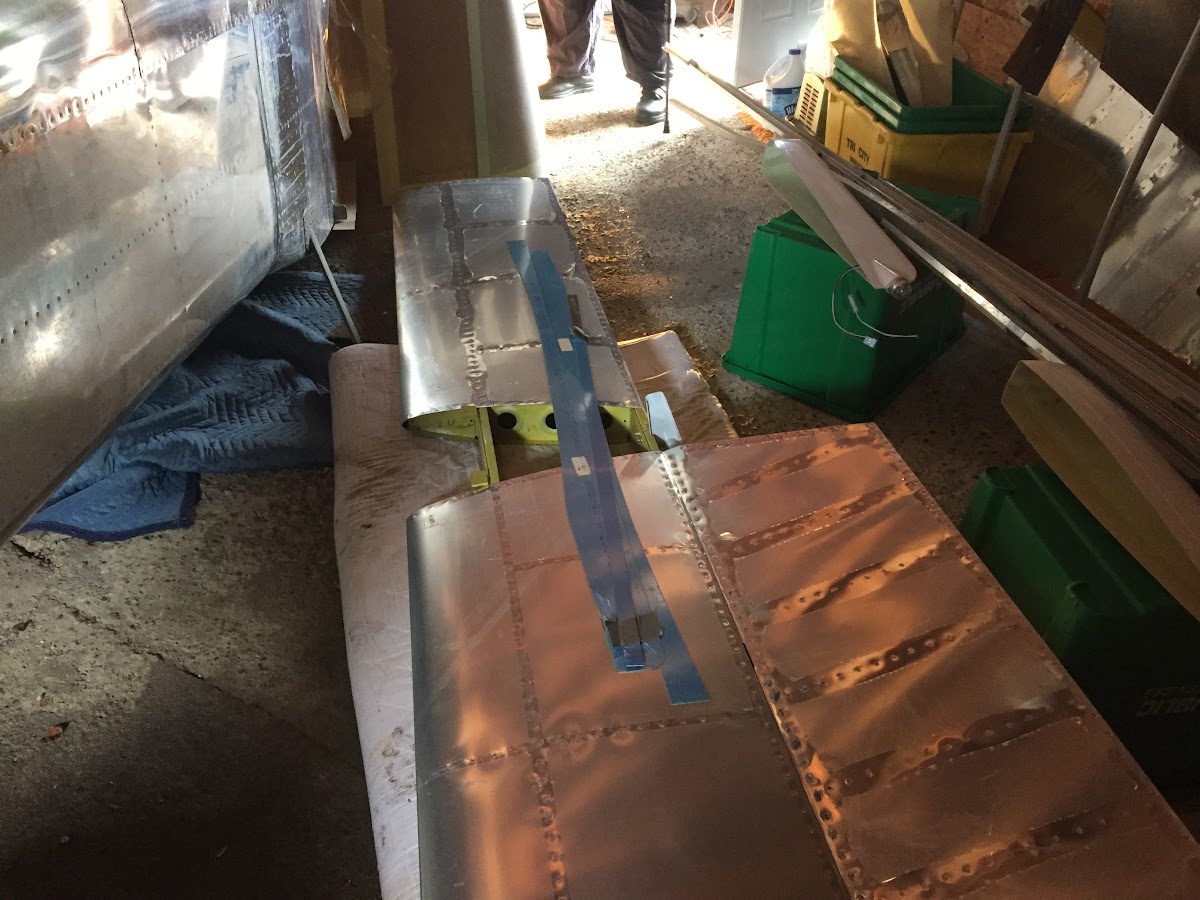
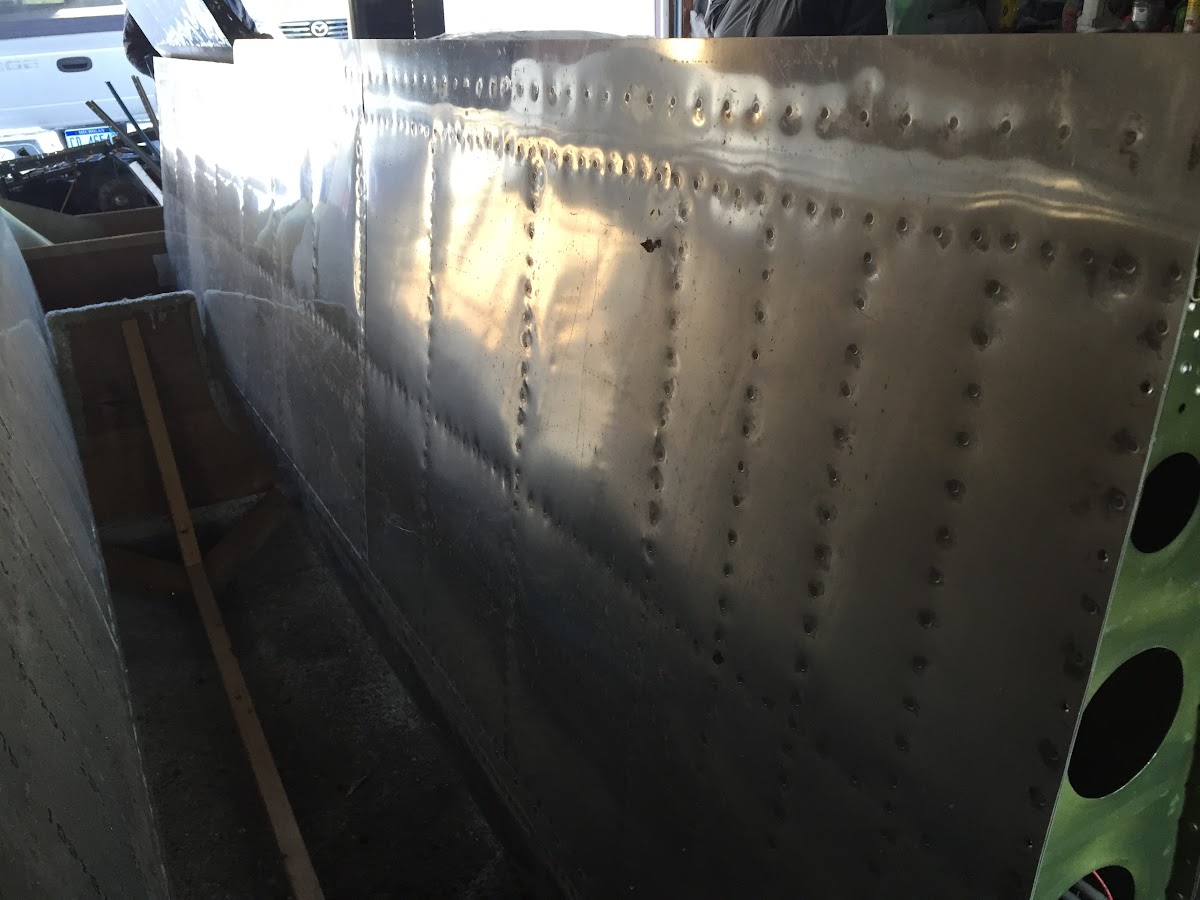
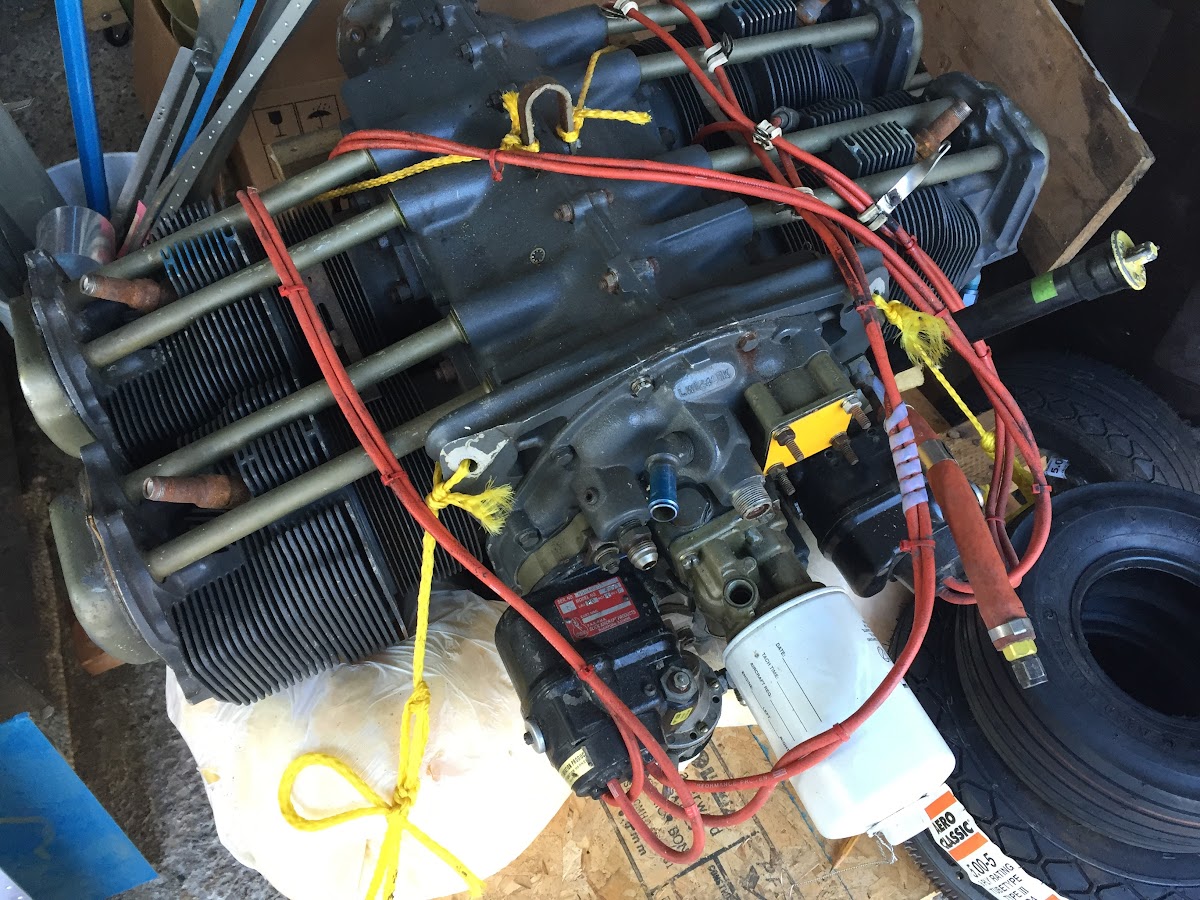
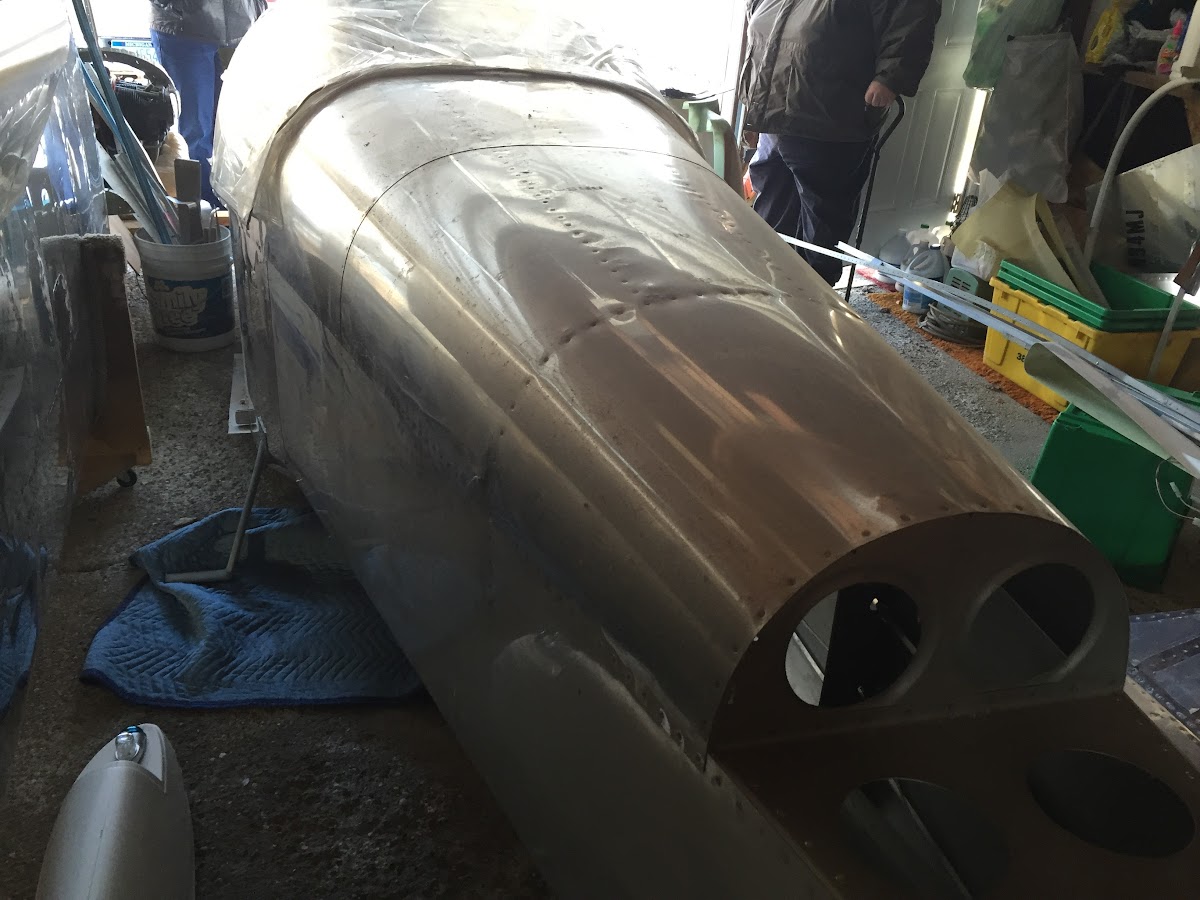
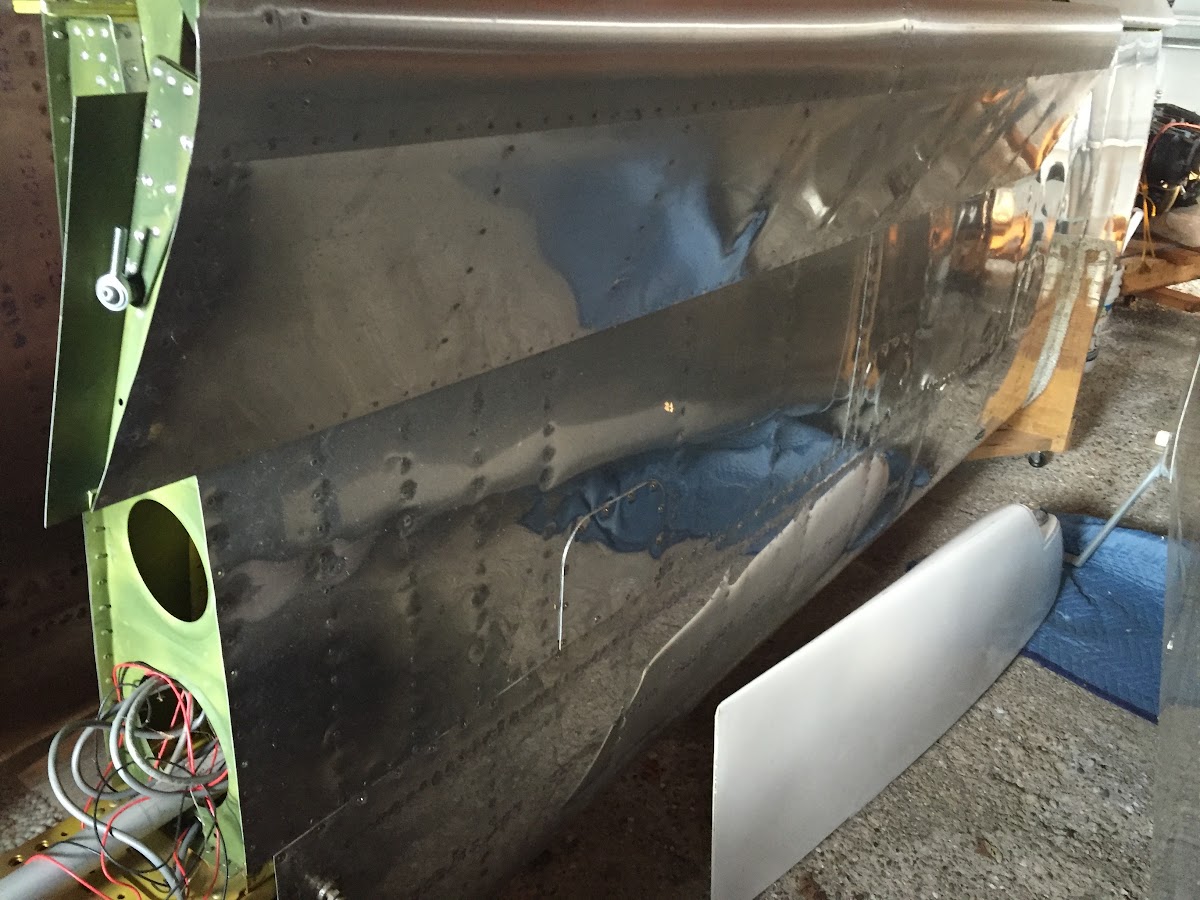
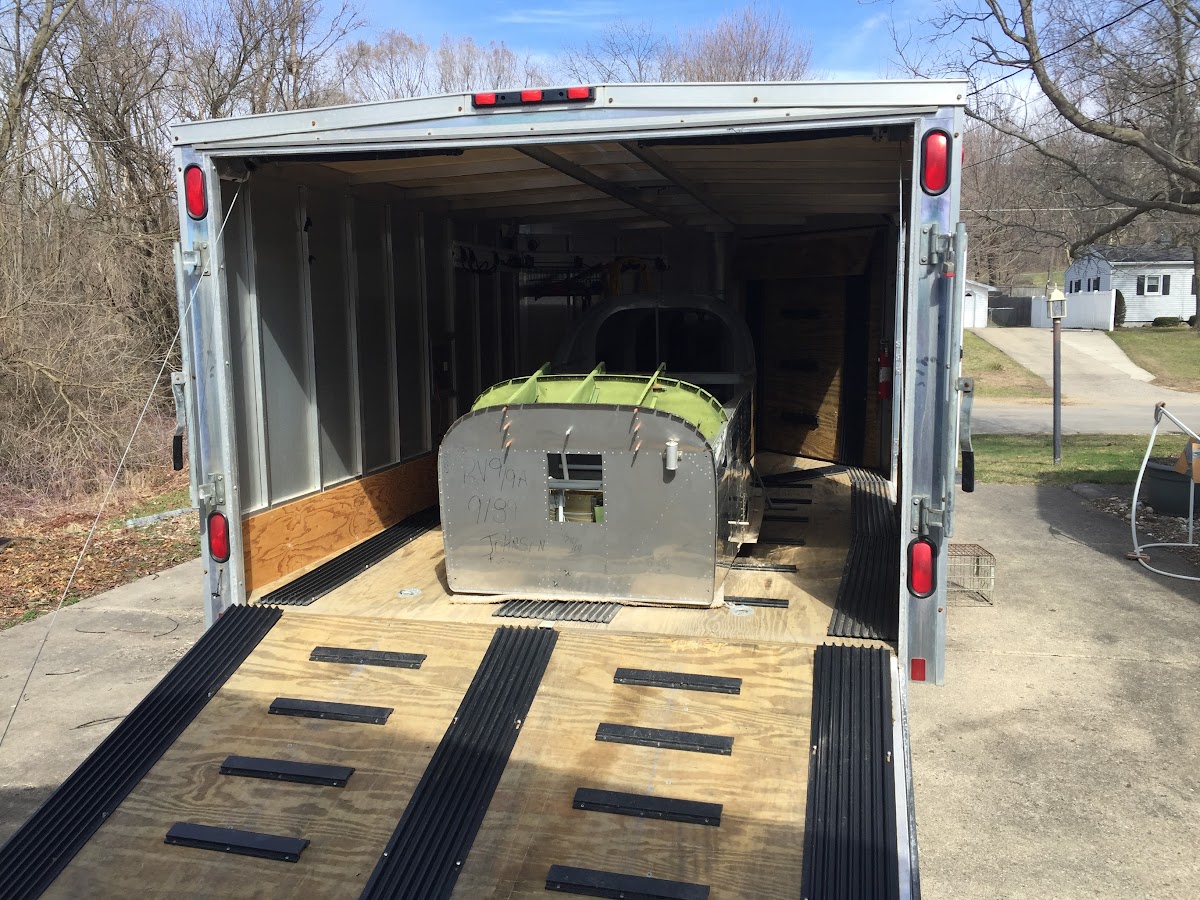
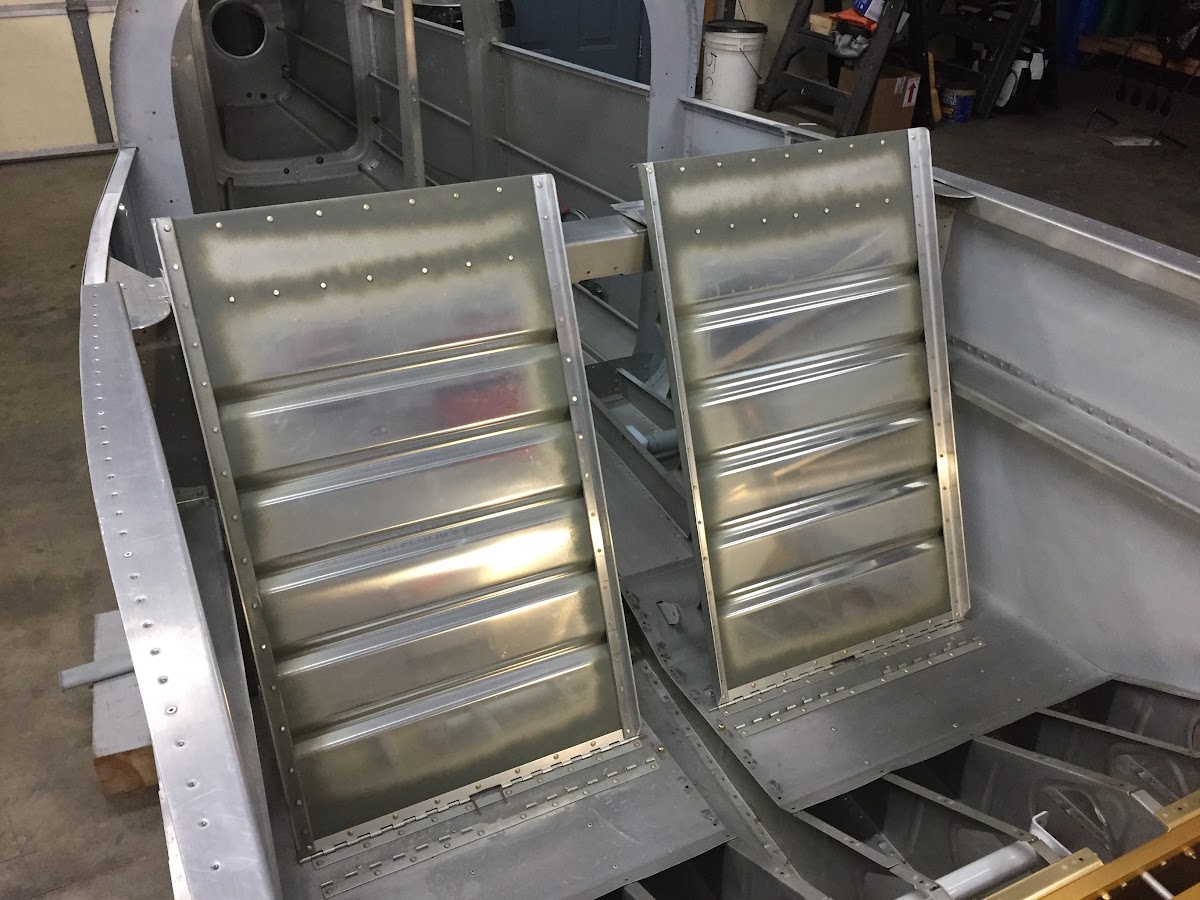
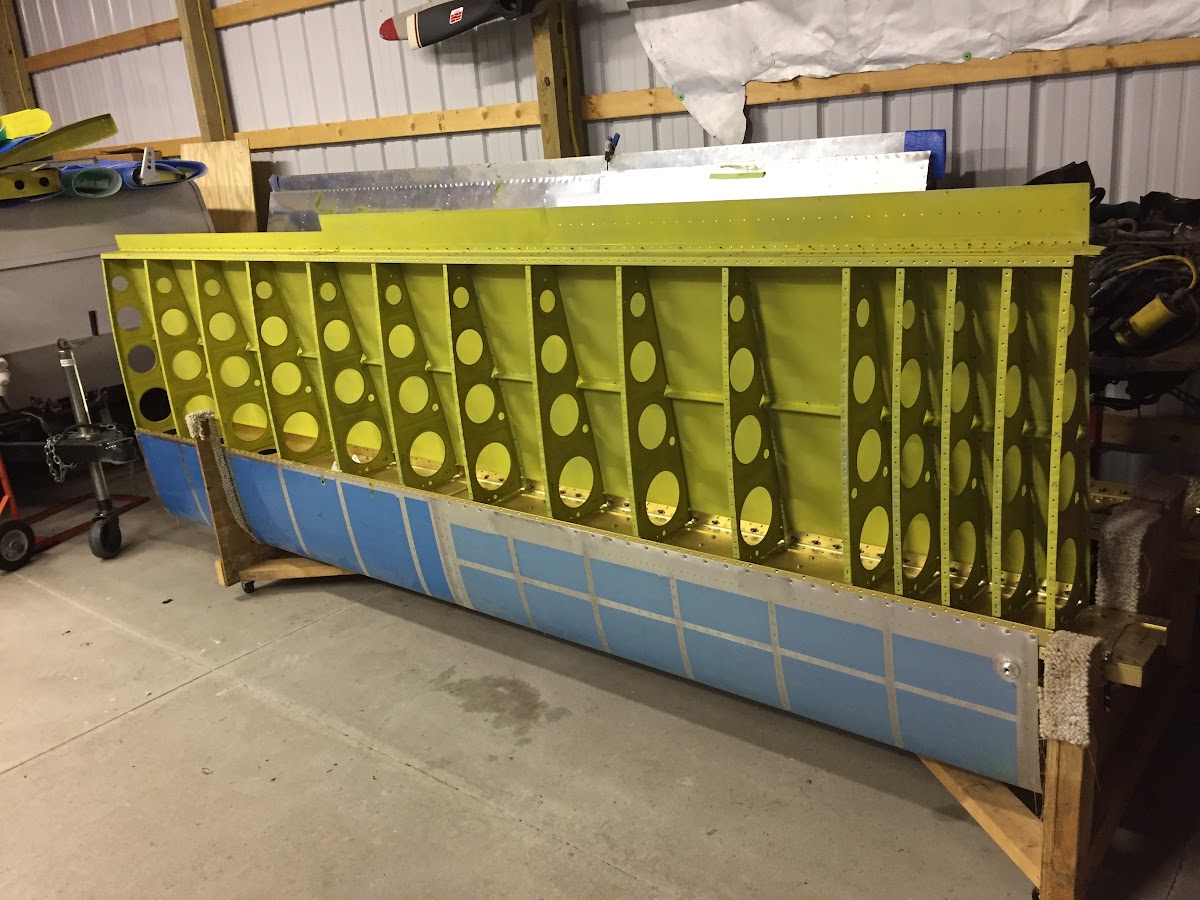
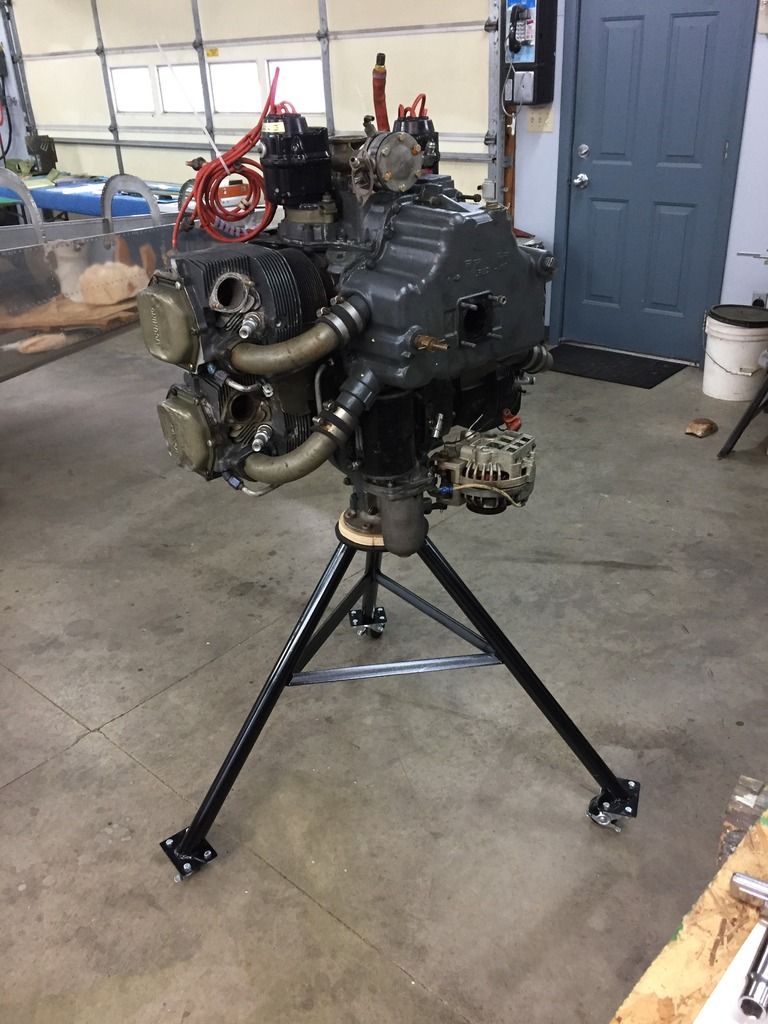
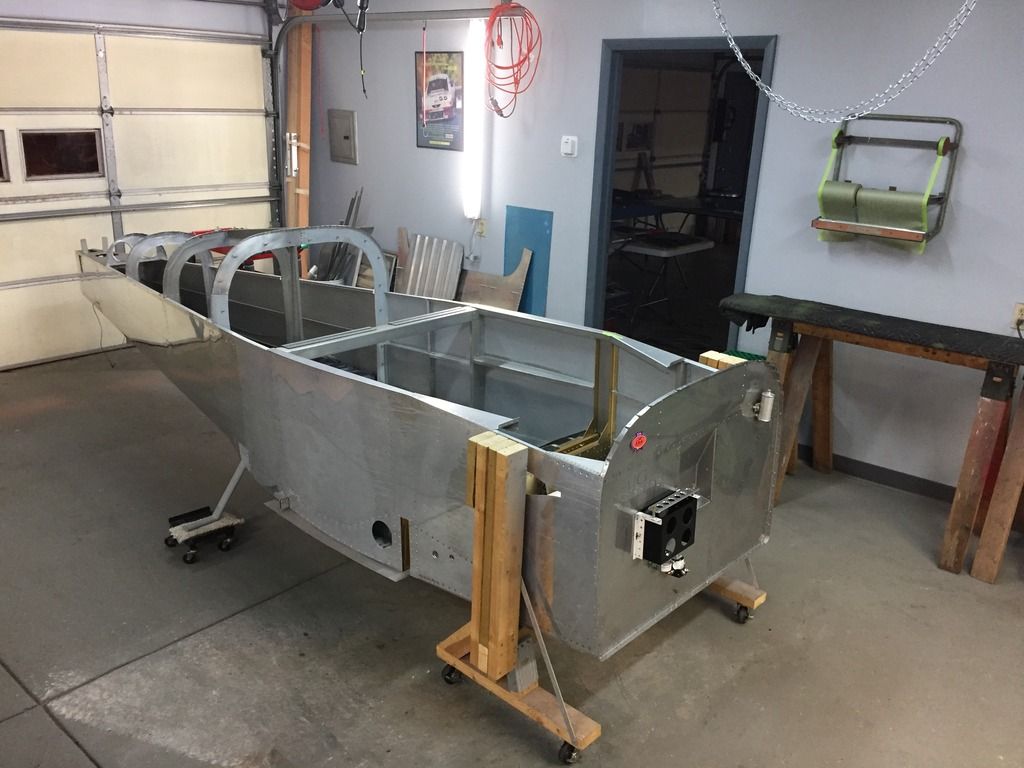
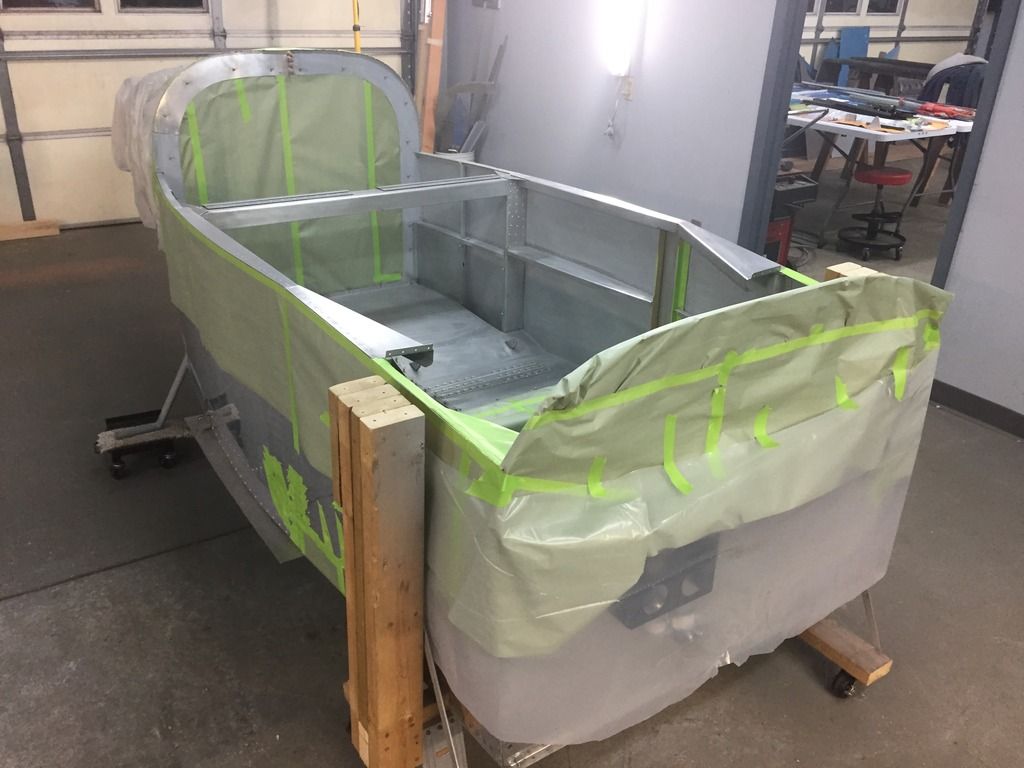
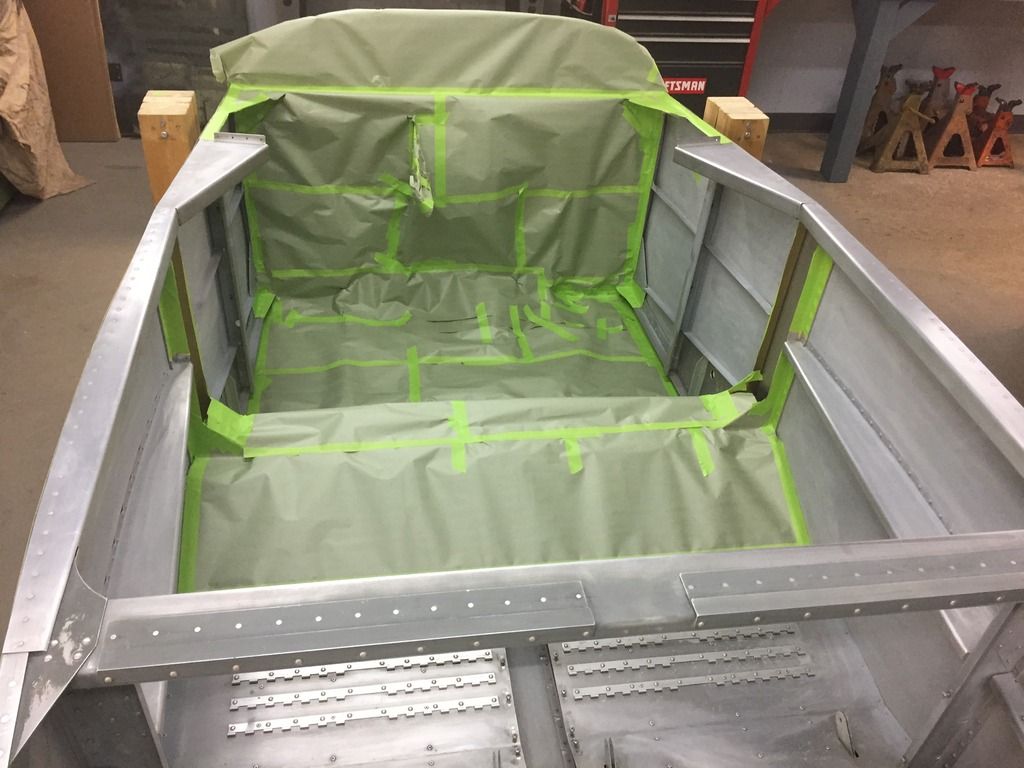
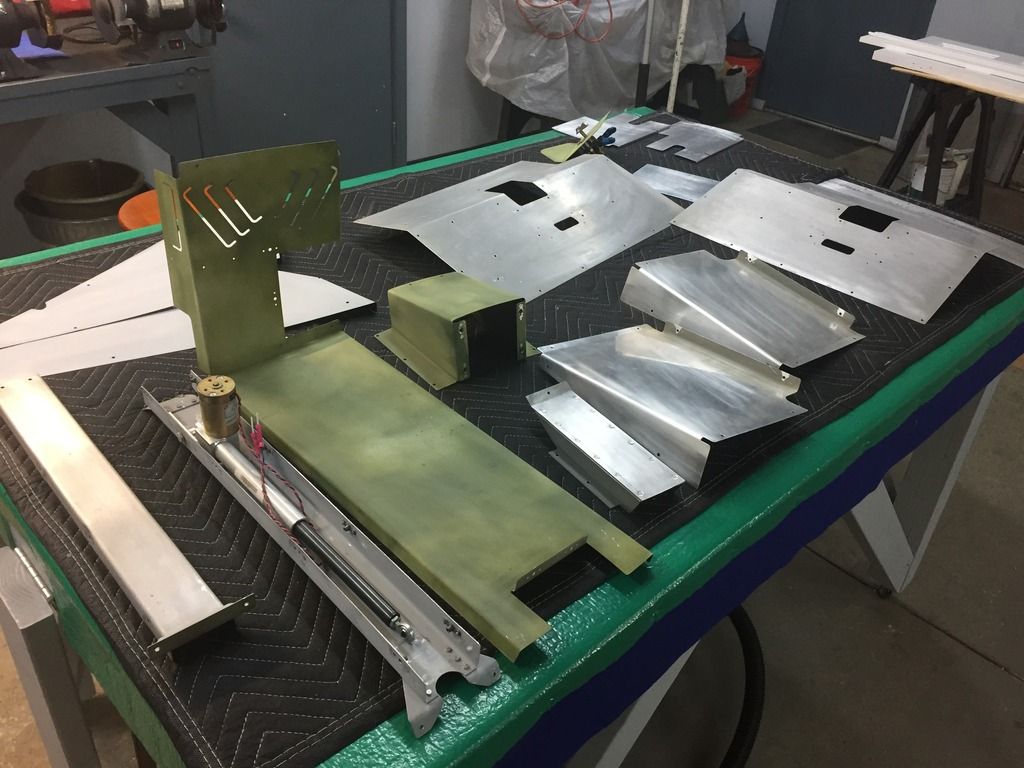
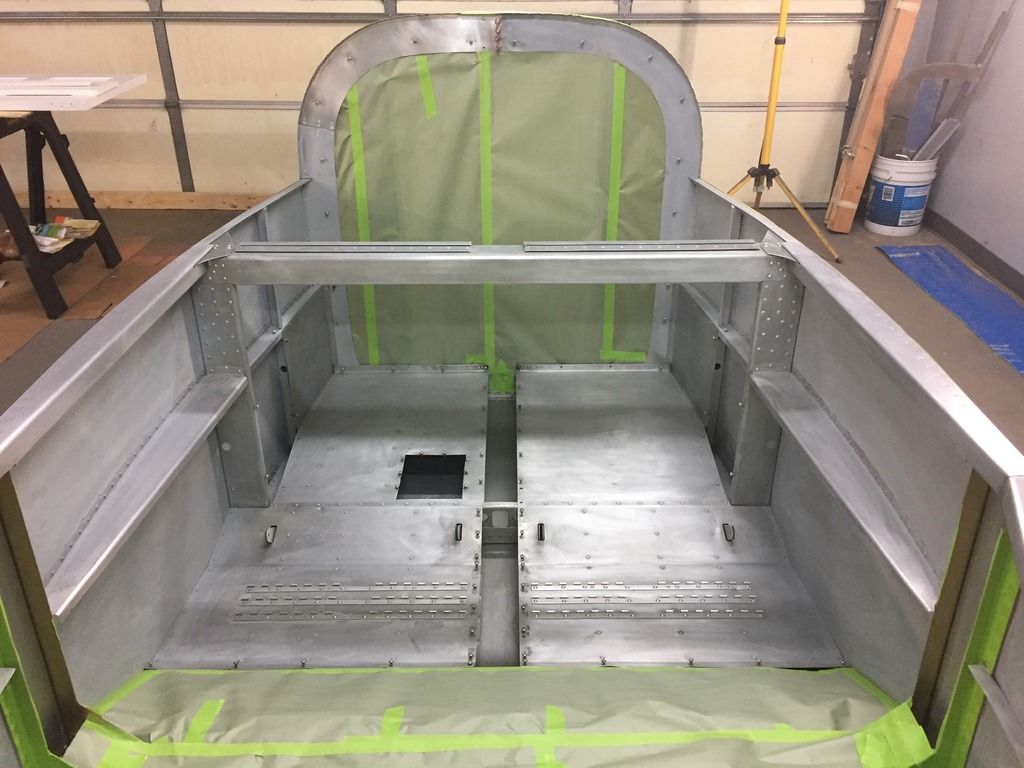
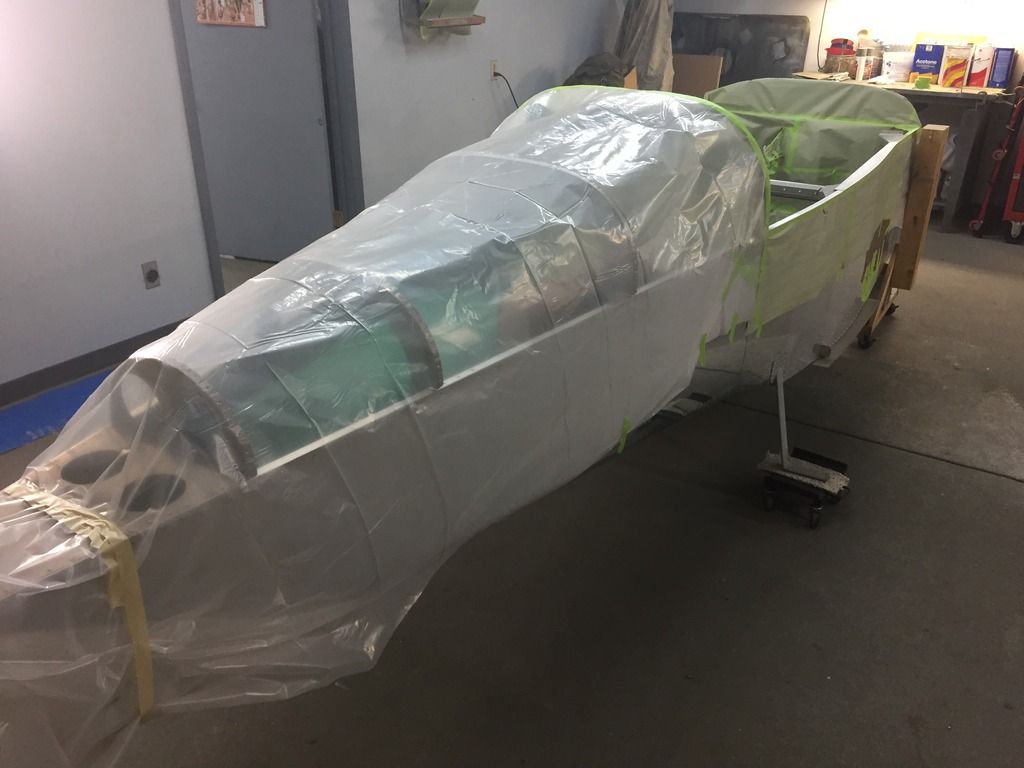
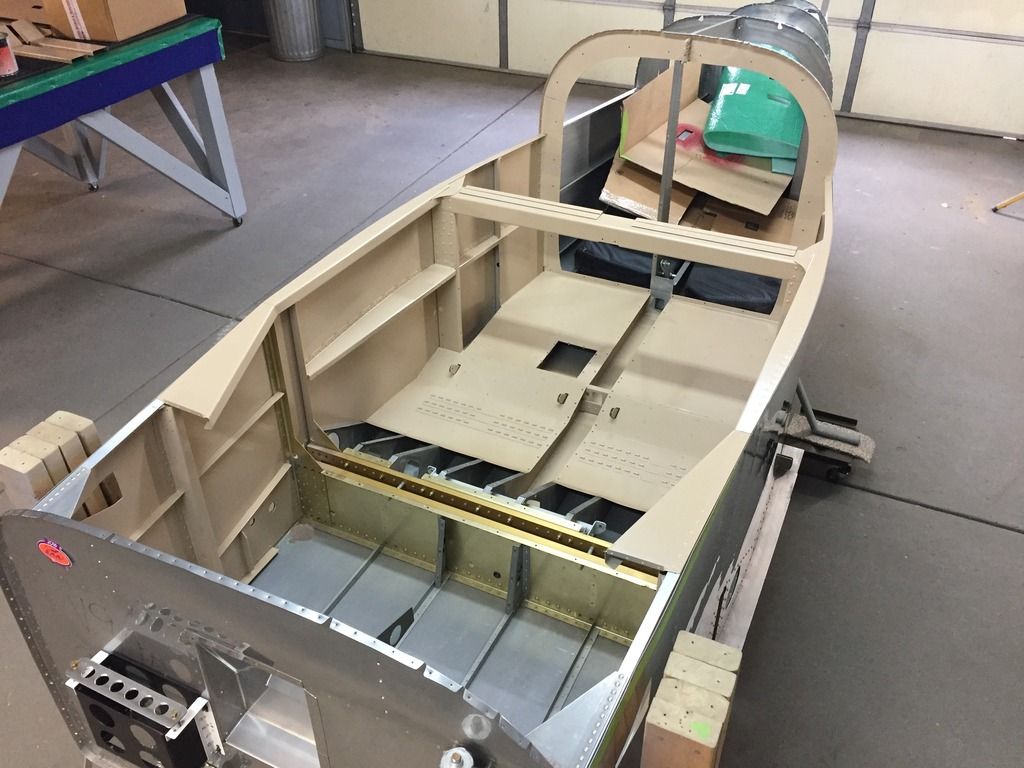
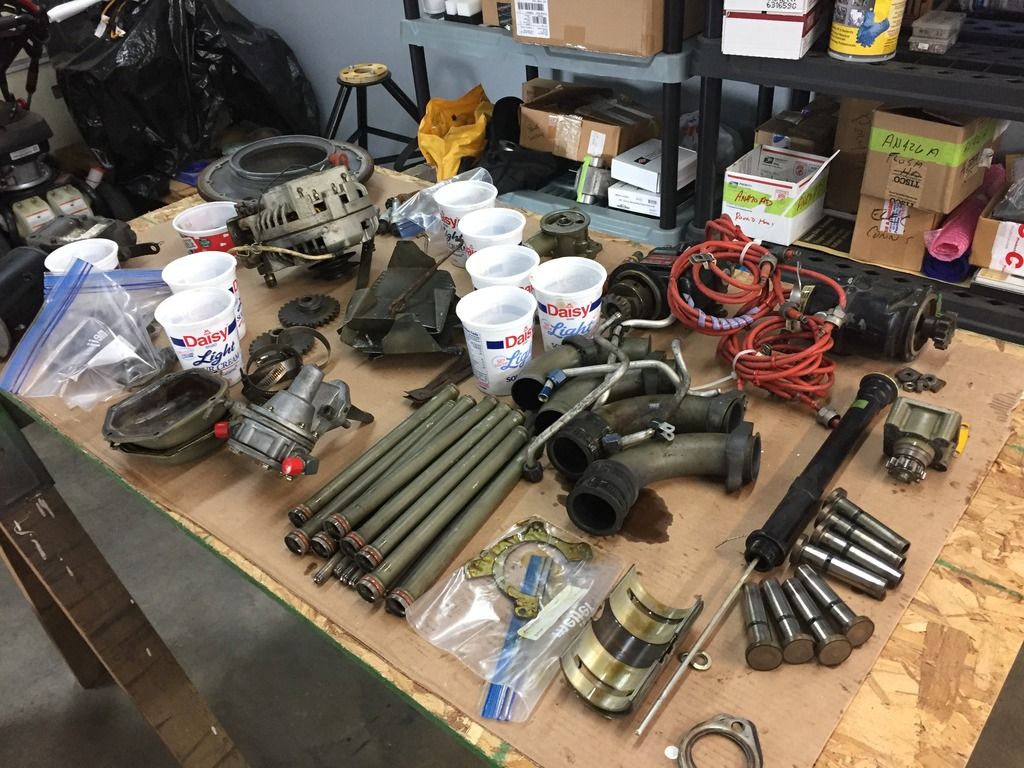
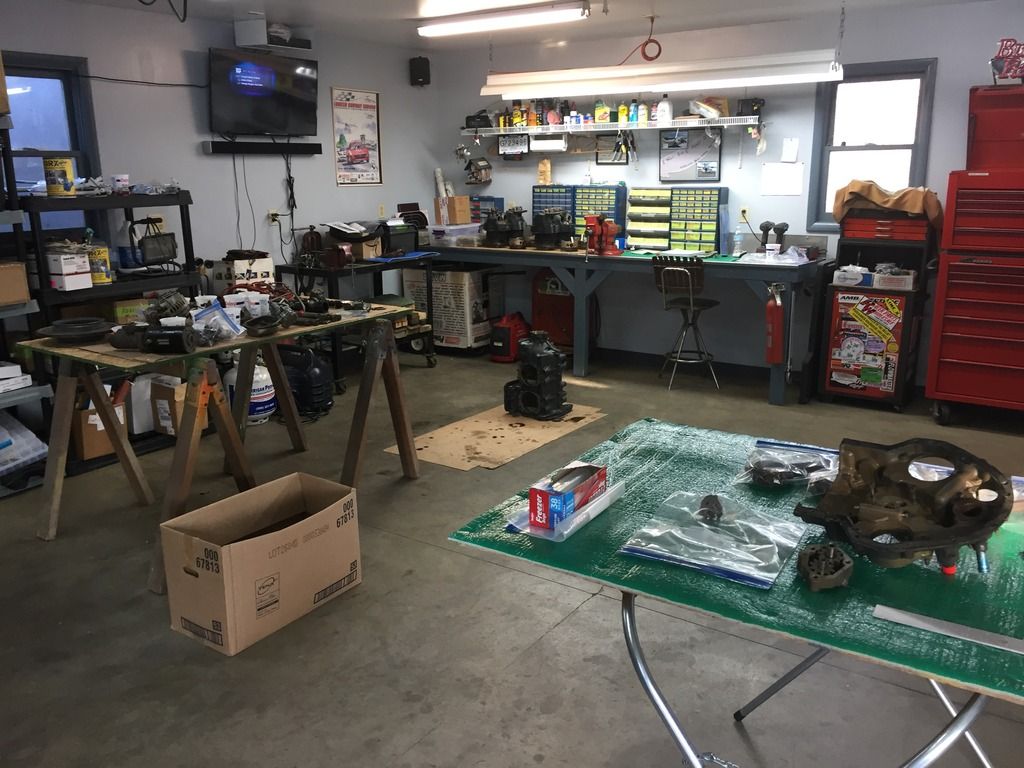
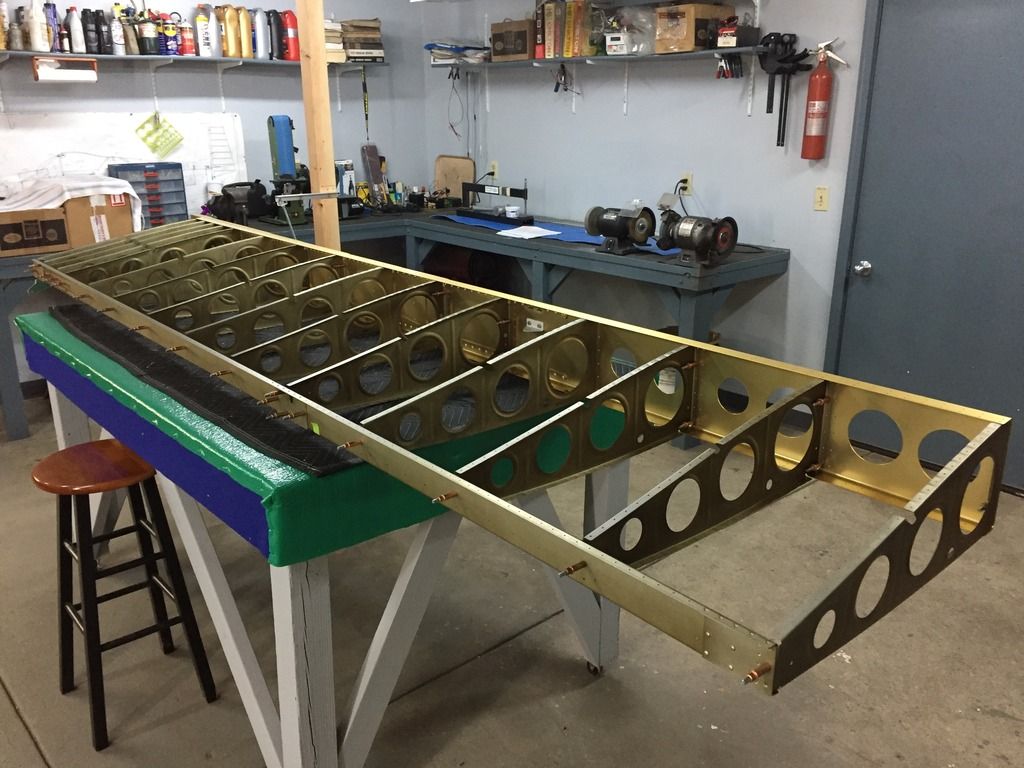
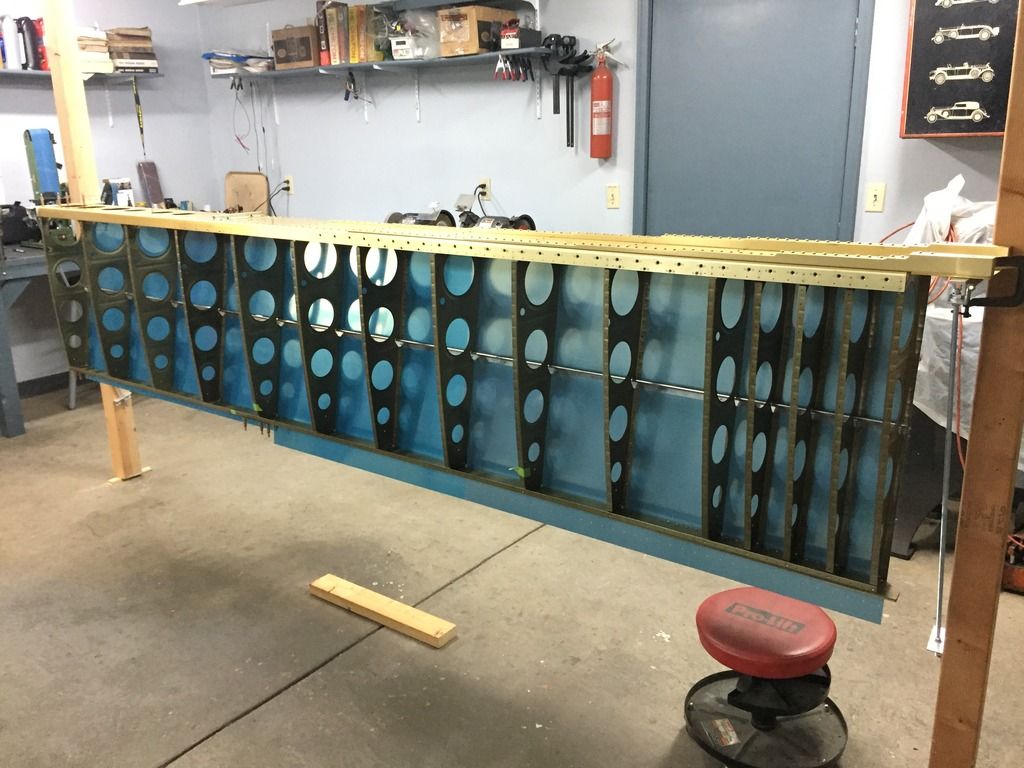
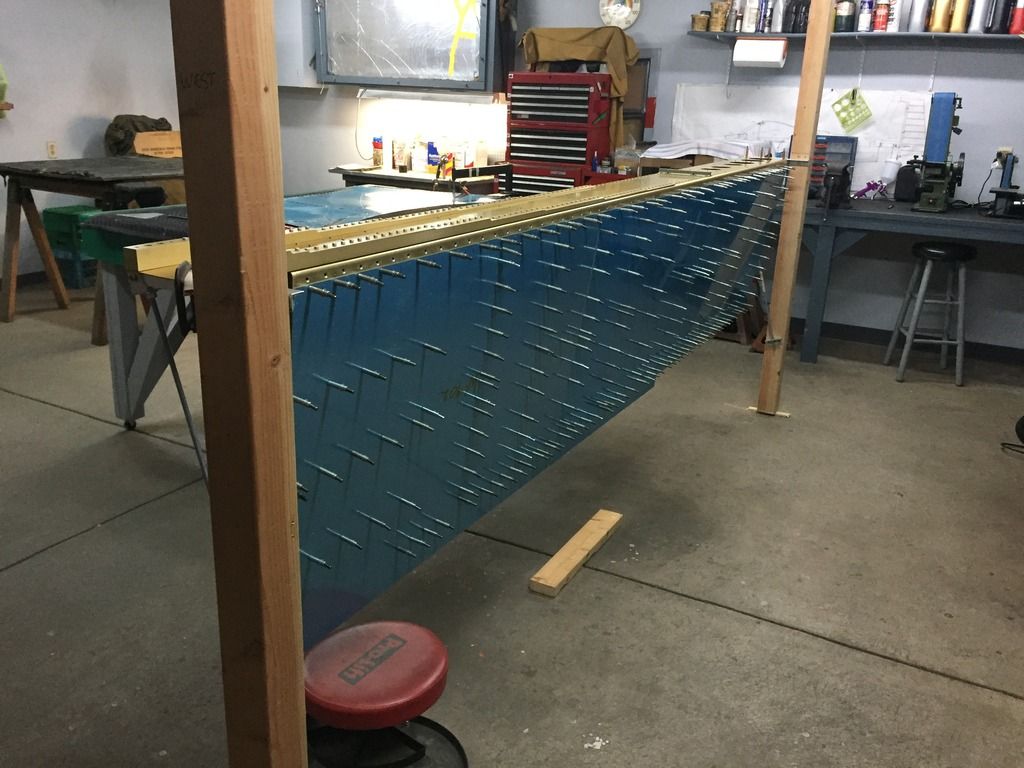
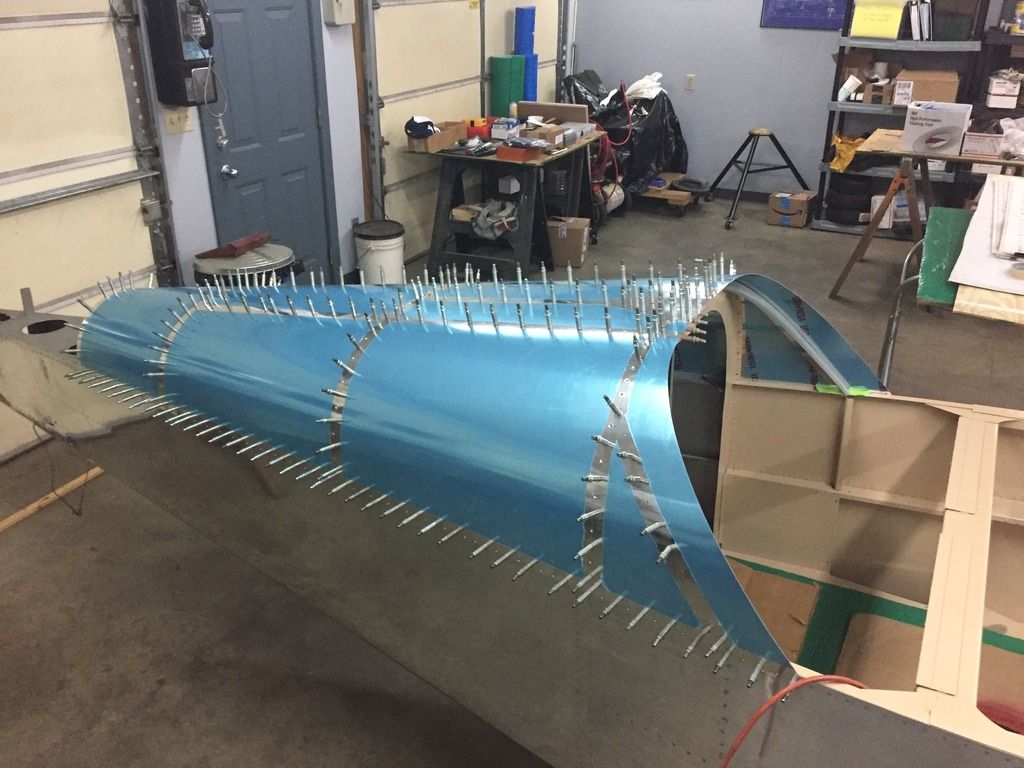
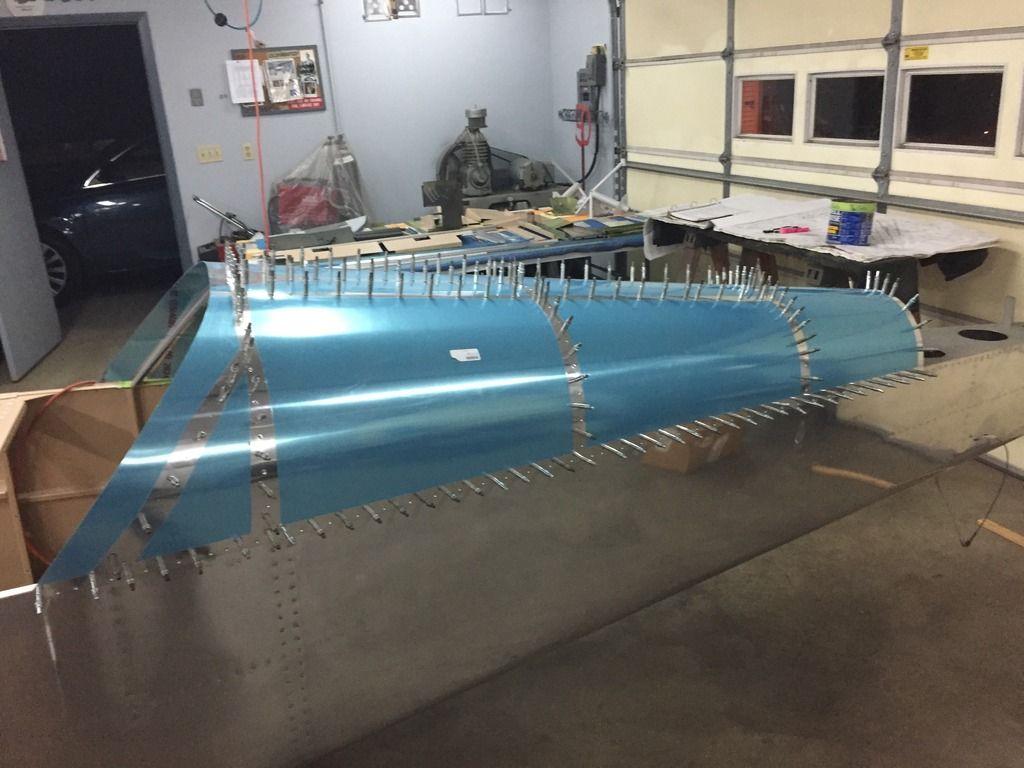
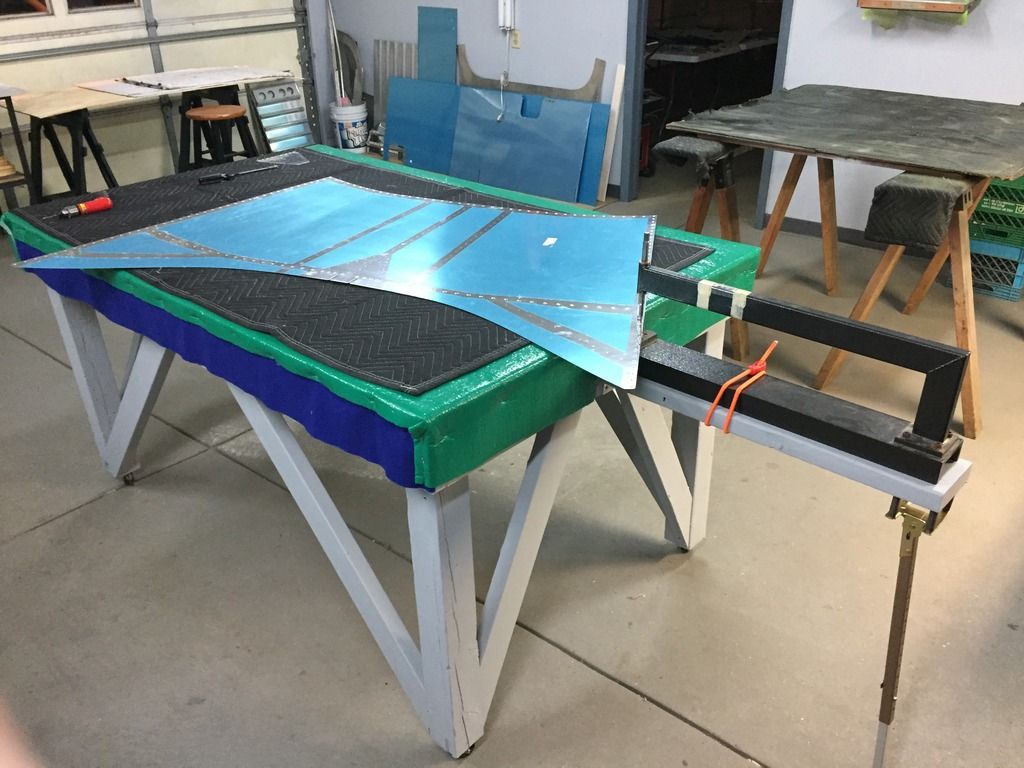
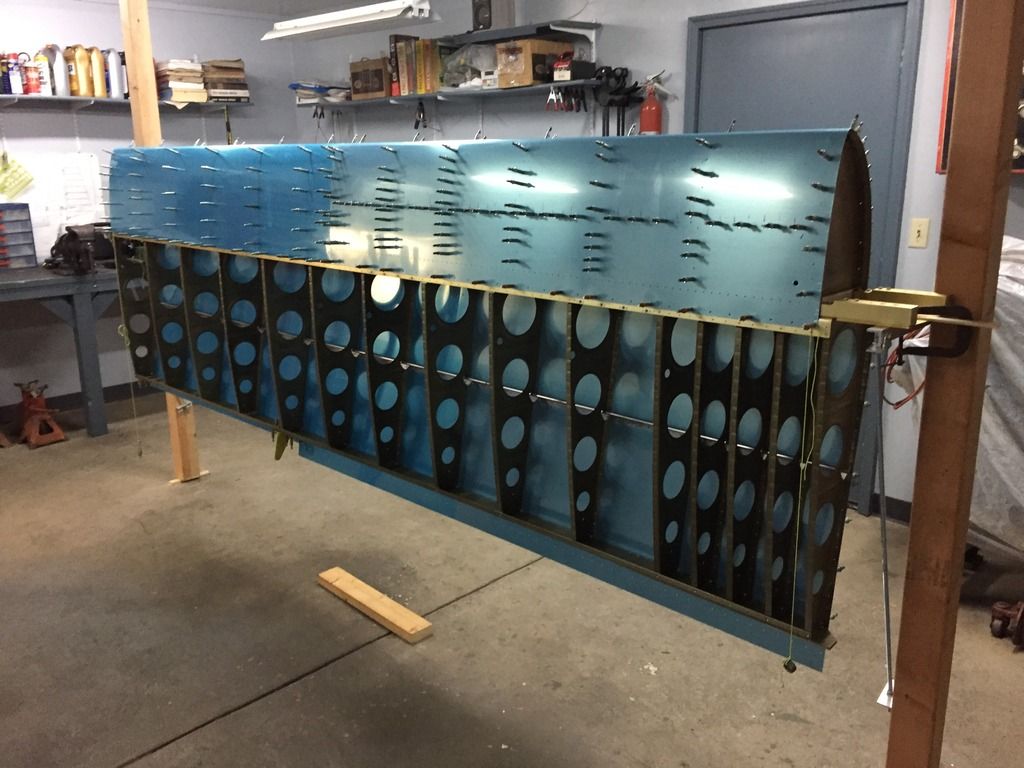
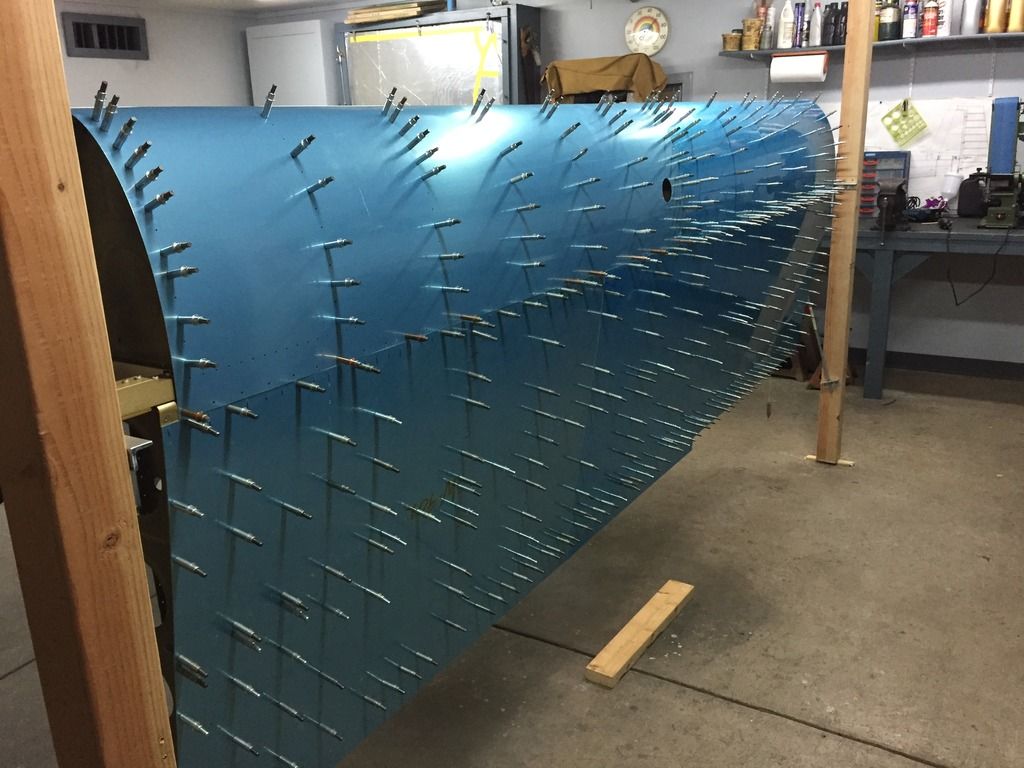
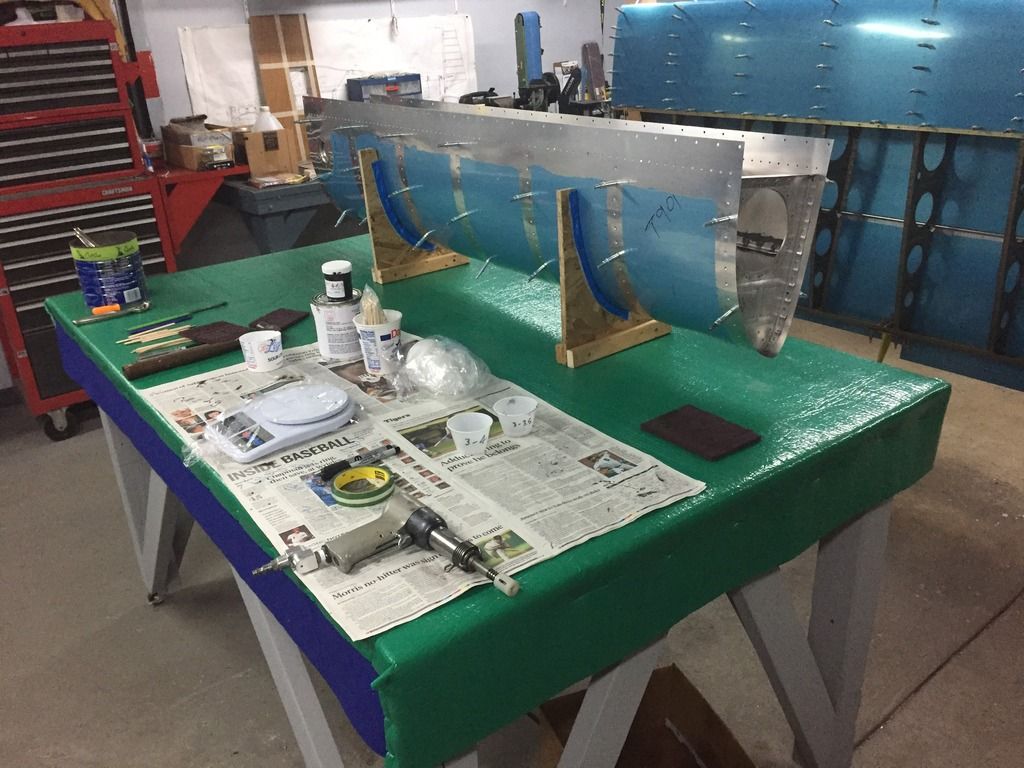
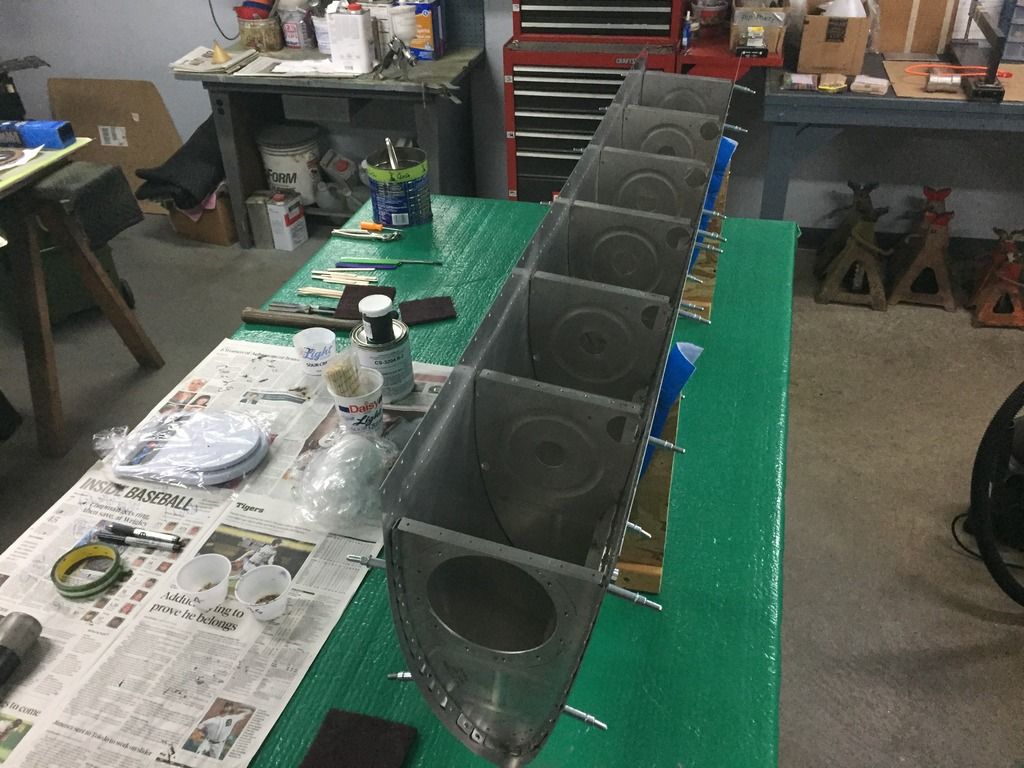
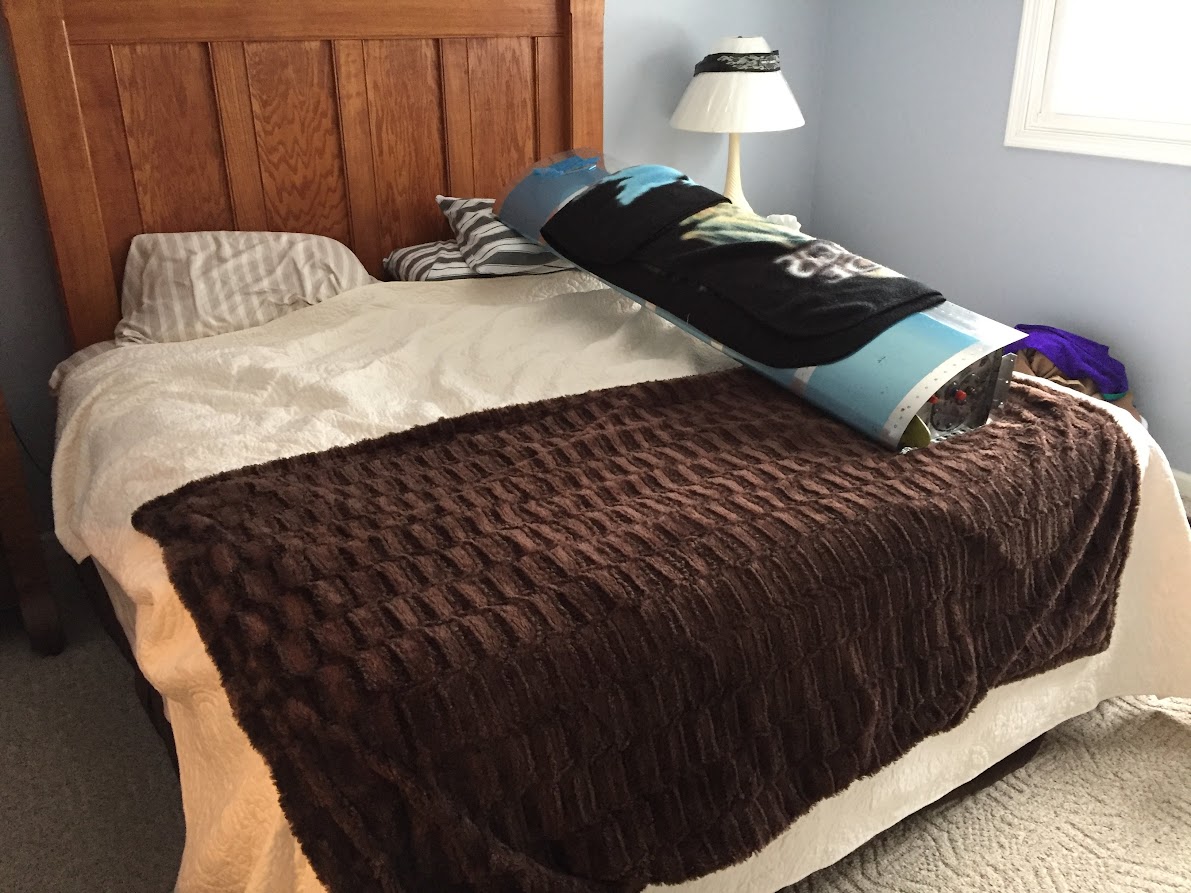
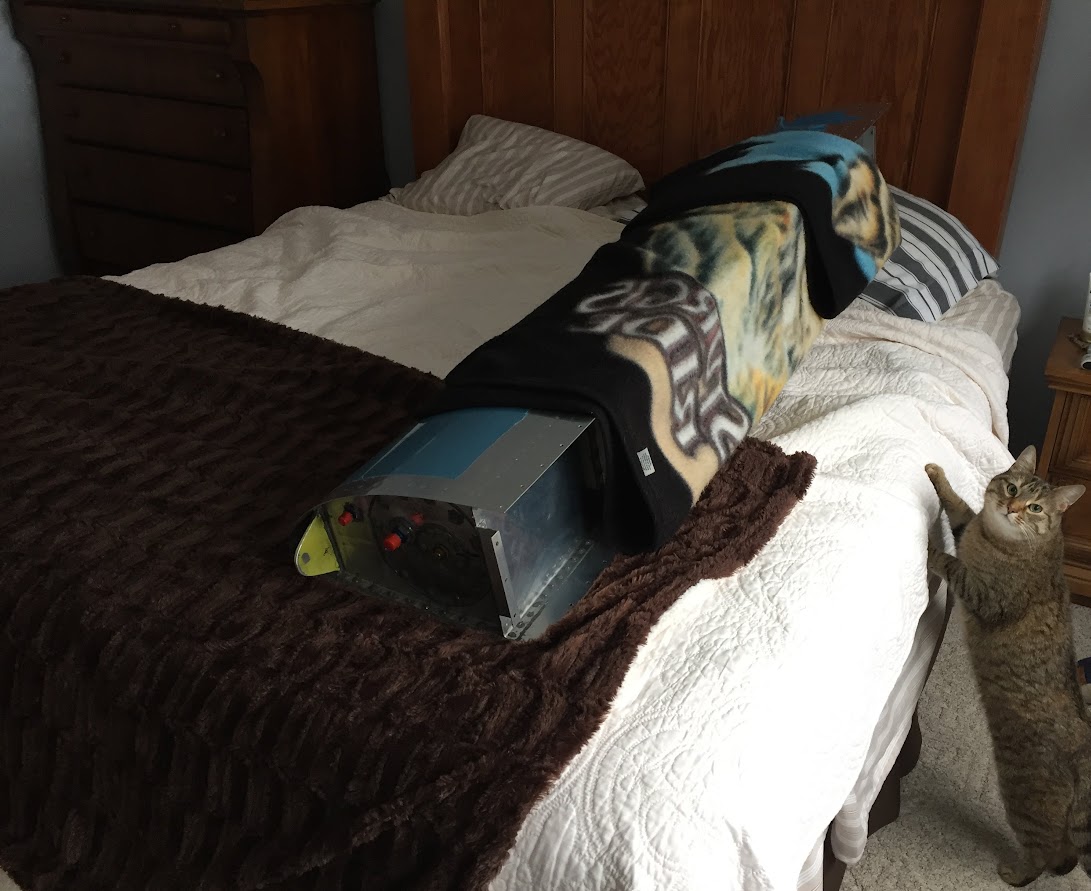
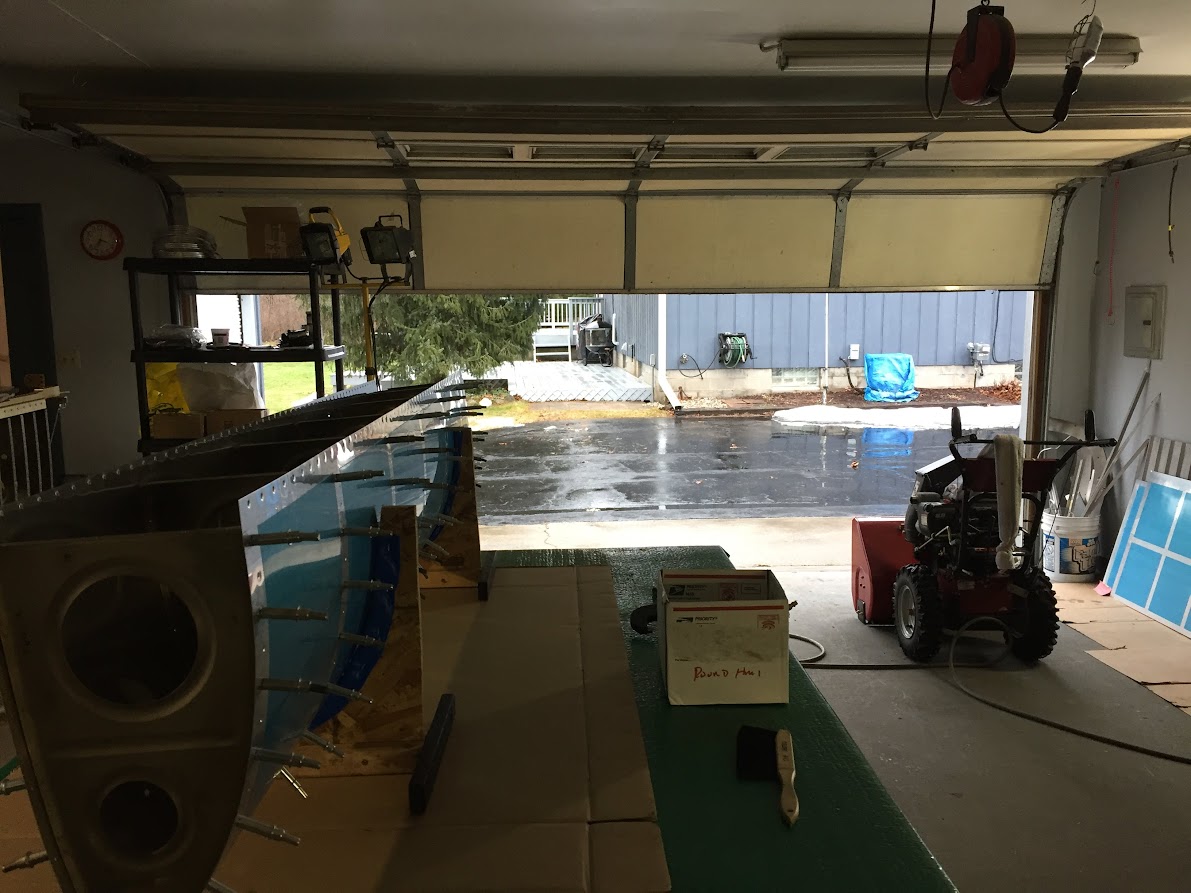
I found this plane not far from me, it was an unfinished kit that another builder began in 2000, the build number is 90072. The picture is the project as I found it, in a Garage about 8 miles from my home.
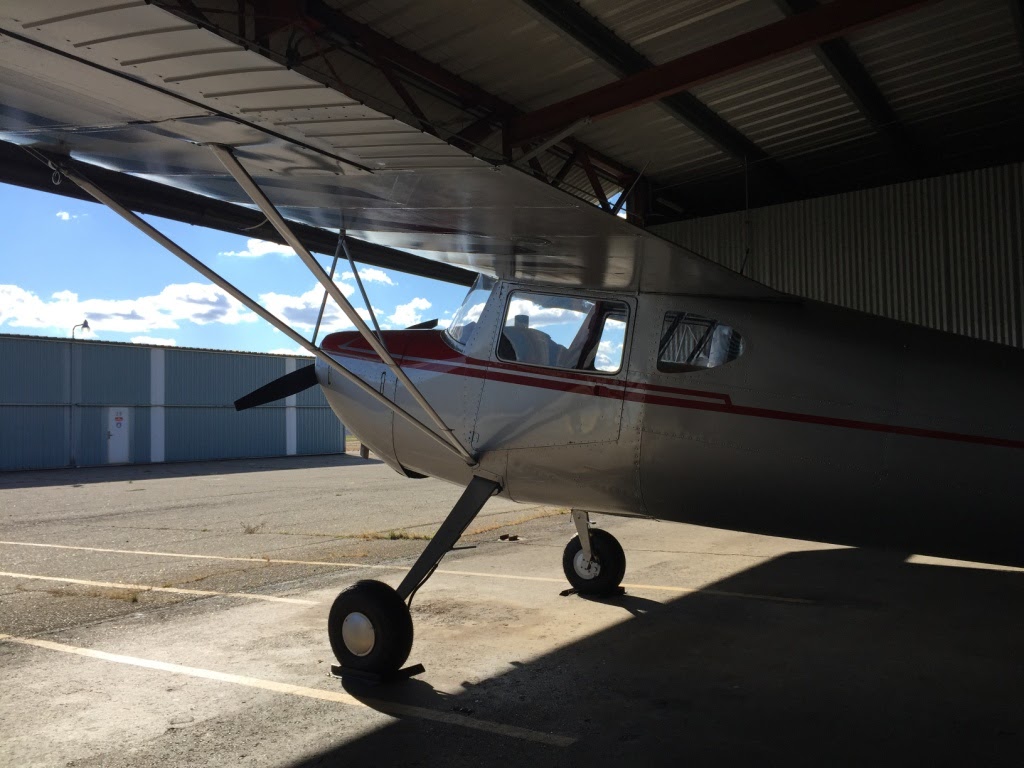
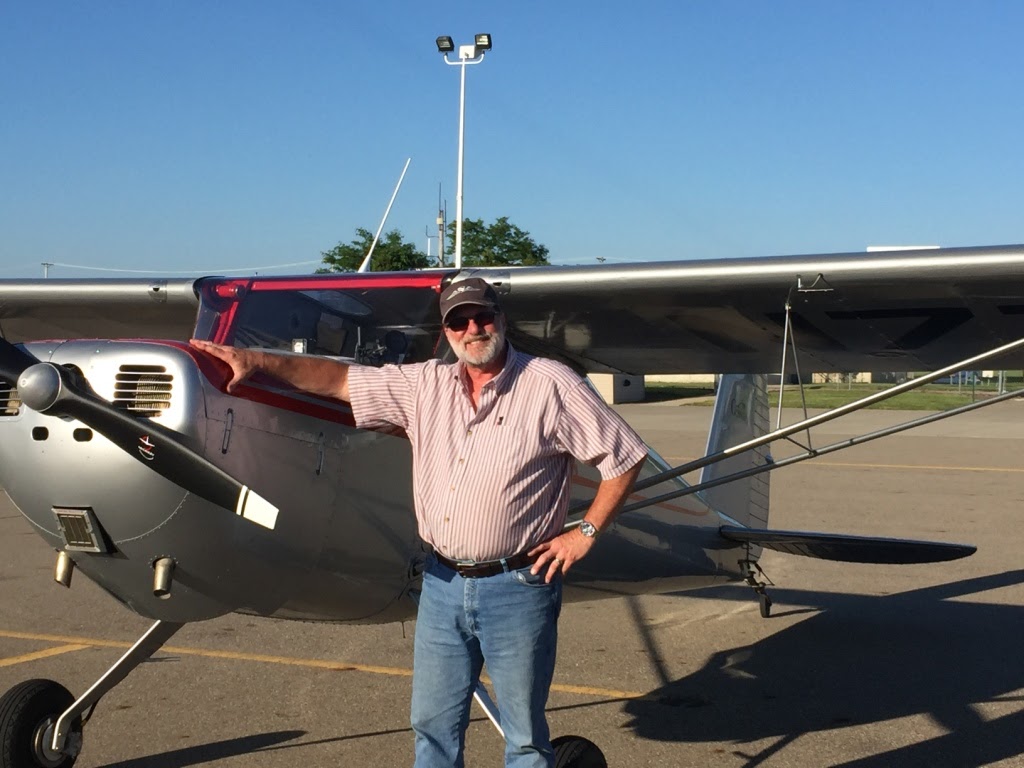
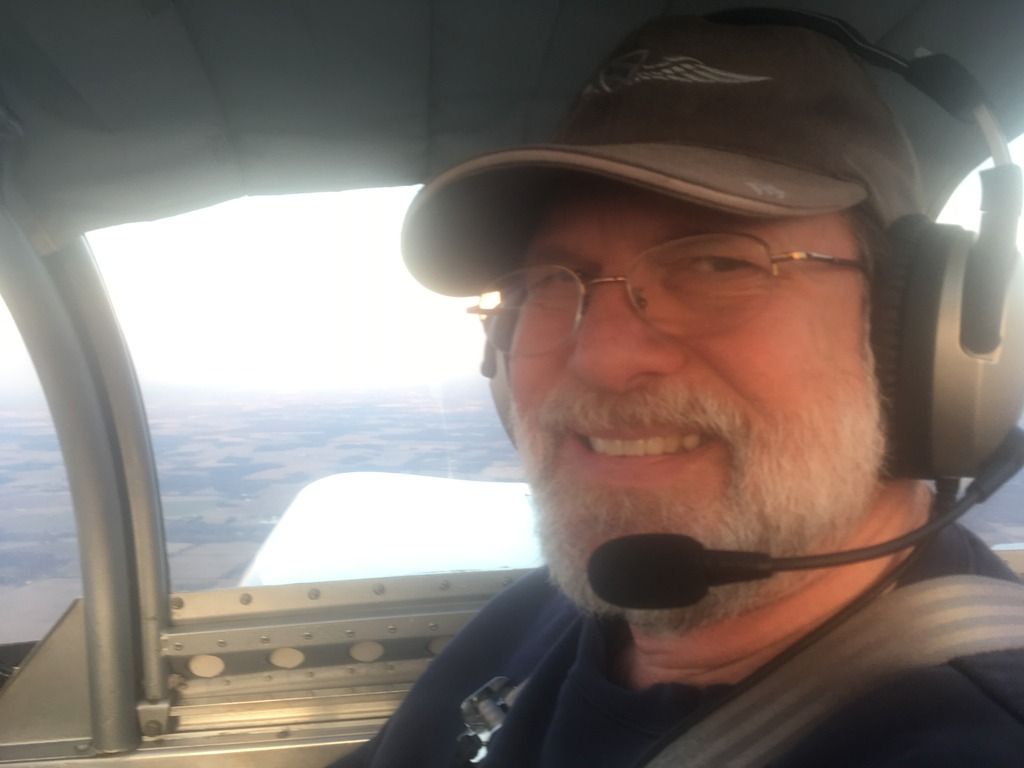
This is my first Van's build and I am excited with the project! I currently fly a 1946 Cessna 120 that I restored over the last 3-1/2 years.
Looking forward to posting updates as we go,
Andy C.
KazooRV-9A
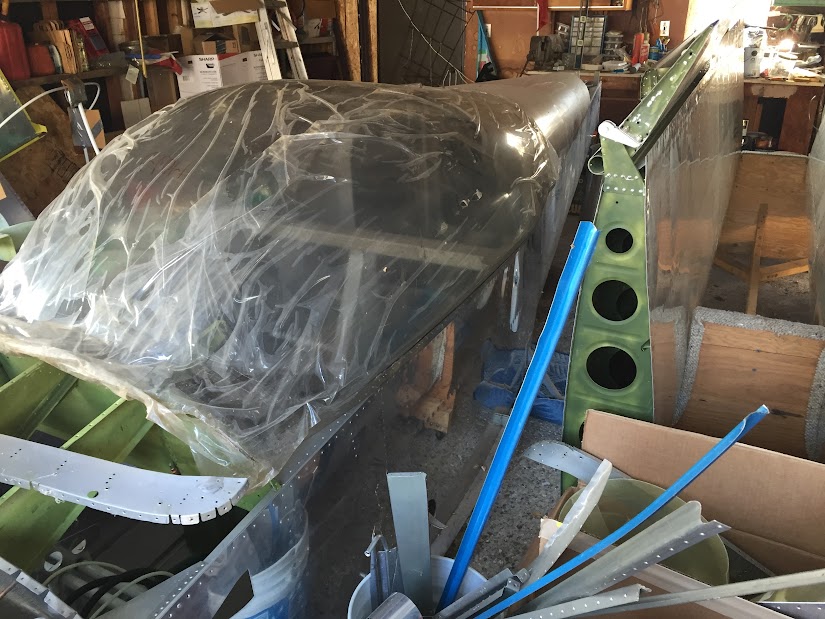
I found this plane not far from me, it was an unfinished kit that another builder began in 2000, the build number is 90072. The picture is the project as I found it, in a Garage about 8 miles from my home.
This is my first Van's build and I am excited with the project! I currently fly a 1946 Cessna 120 that I restored over the last 3-1/2 years.
Looking forward to posting updates as we go,
Andy C.
KazooRV-9A