What's new
Van's Air Force

Don't miss anything! Register now for full access to the definitive RV support community.

Paolo's RV-8 in Palo Alto [N679PG]

Presmini

Active Member
Hey All,
I'm excited to get going on my RV-8 project. I've been flying my whole life and have my Commercial license with a CFI rating. Building a plane has been a bucket list item for me for many years and last year I finally pulled the trigger. You can read a bit more about my story here if you are interested.

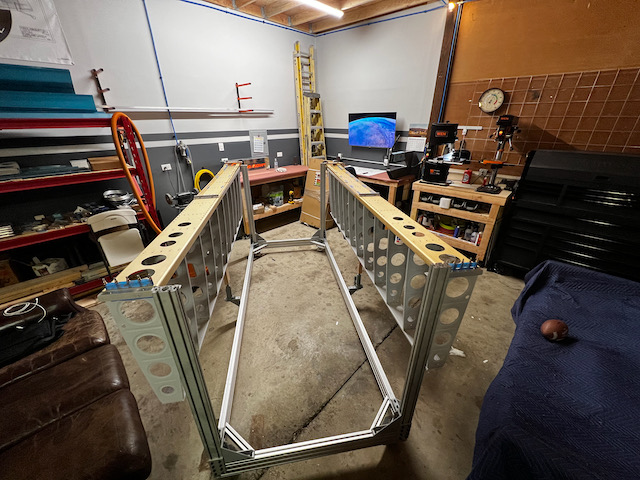
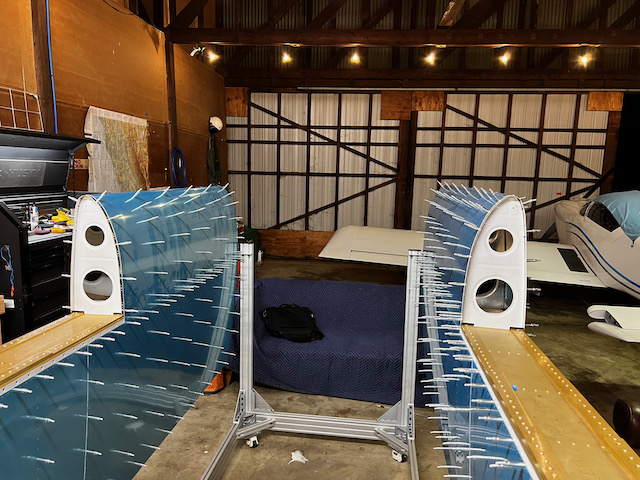
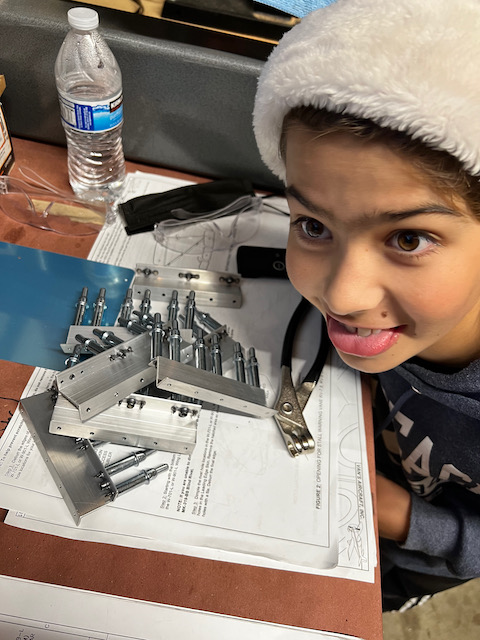
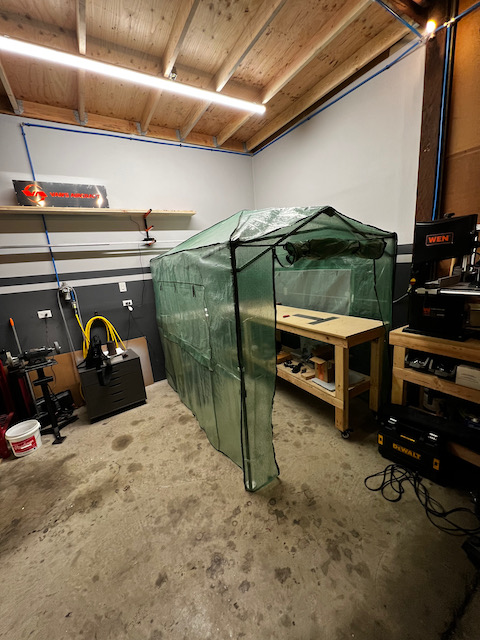
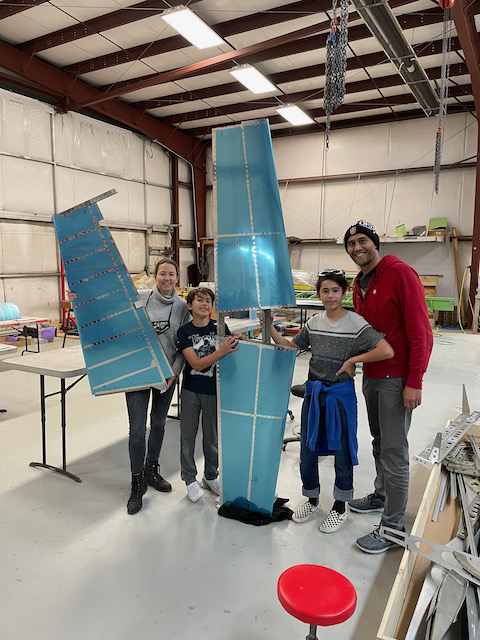
I completed my Empennage kit back in March through the Synergy Air program up in Eugene Oregon. It was a great way to get going and learn all the tools and techniques with my family, but the backorder wait for the wing kit that followed was torcher. I spent most of that time setting up my workshop at the local airport (KPAO). Well, I finally got the kit earlier this month, and am finally getting going on the wing. I started a blog that loosely chronicles the progress. Check it out if you want!

http://n679pg.blog

A quick catch up update:

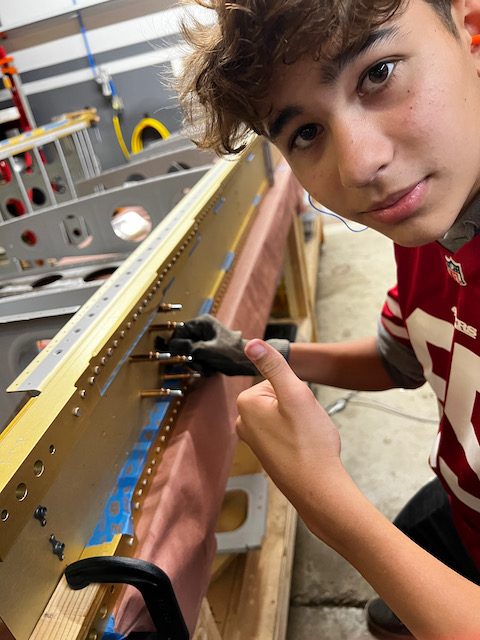
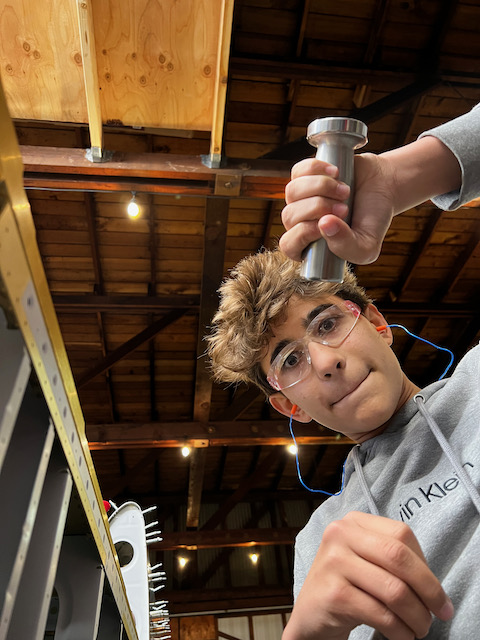
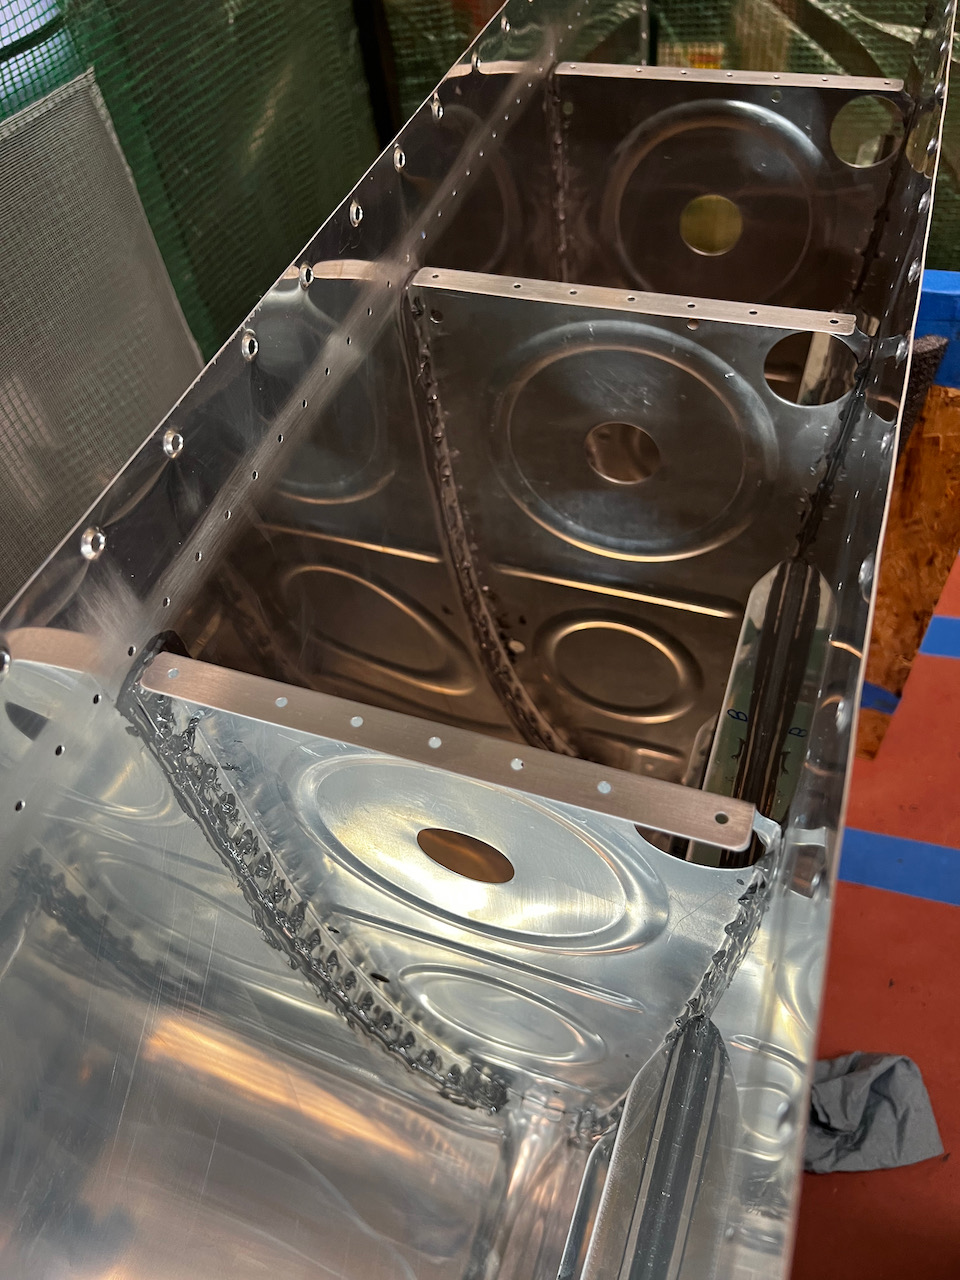
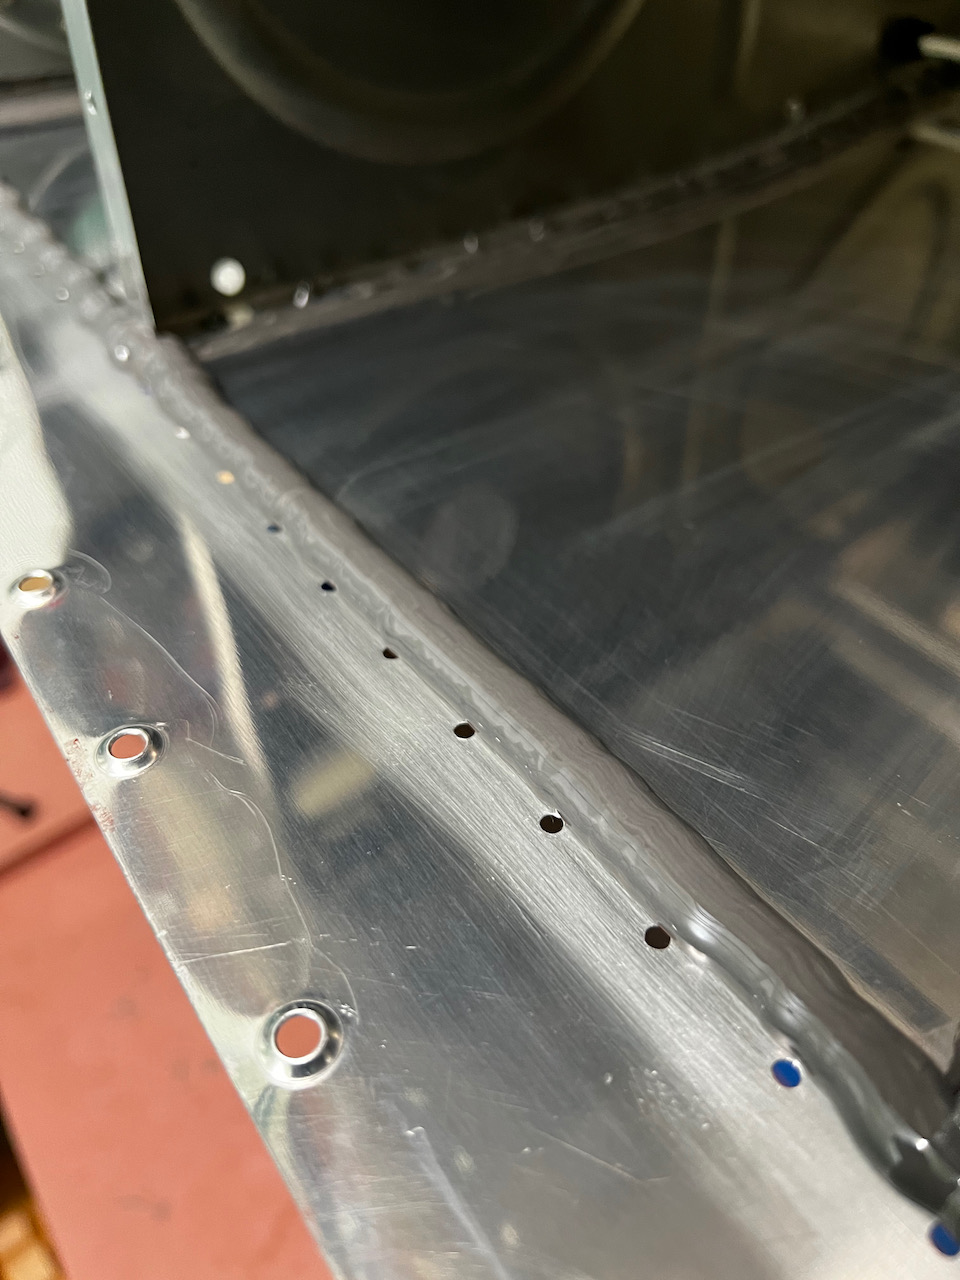
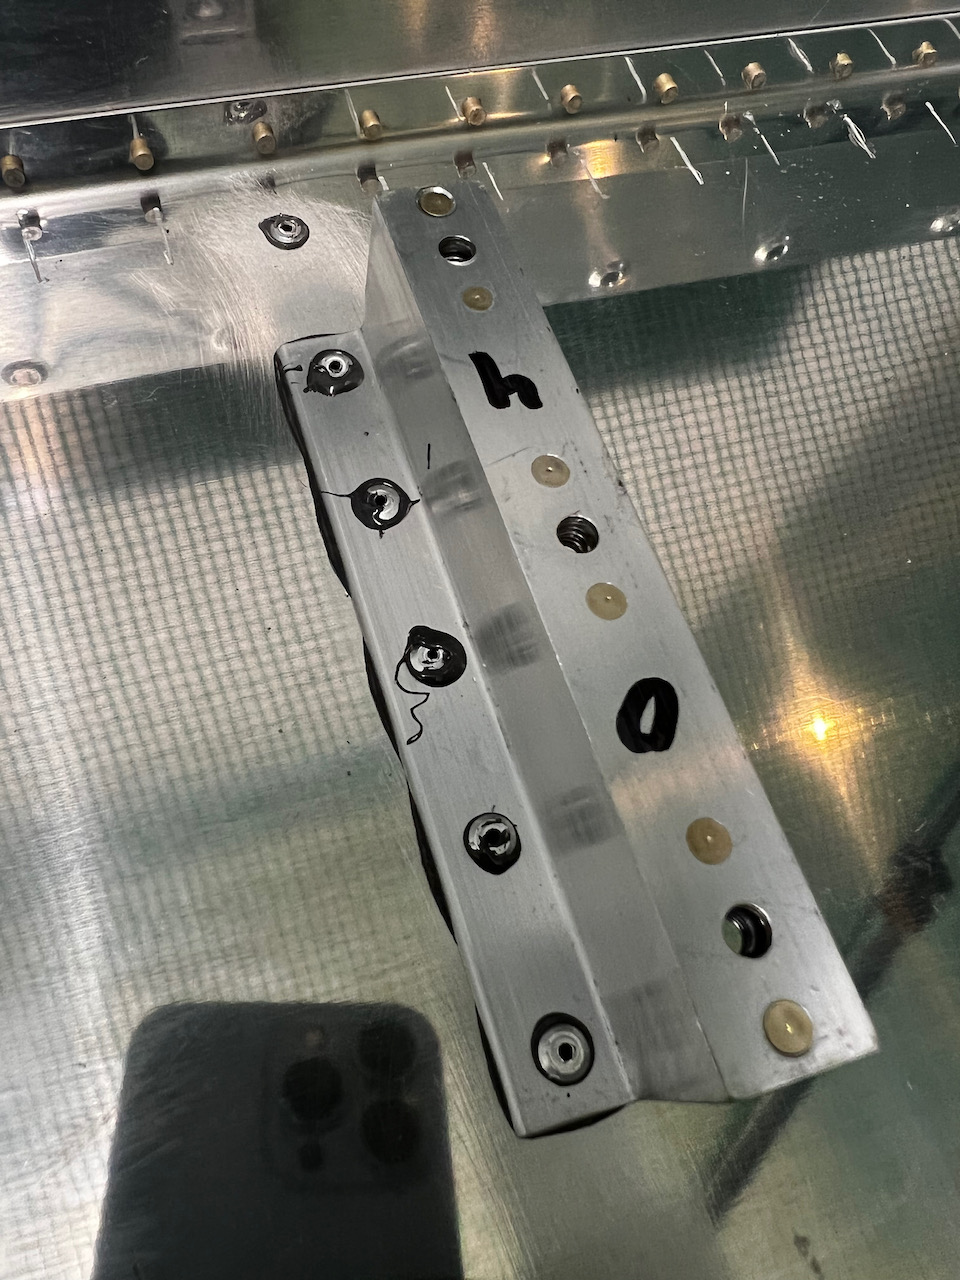
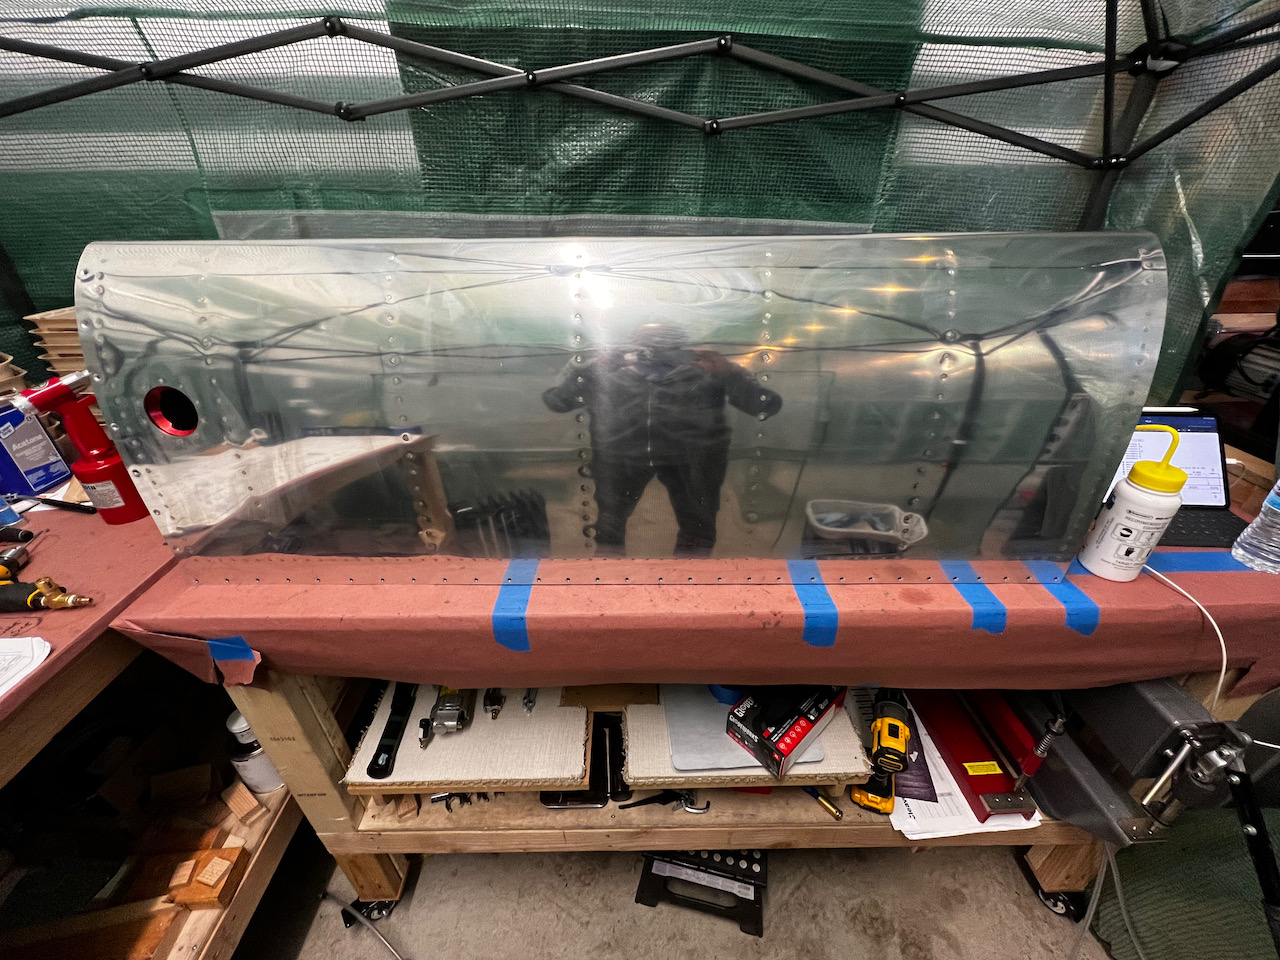
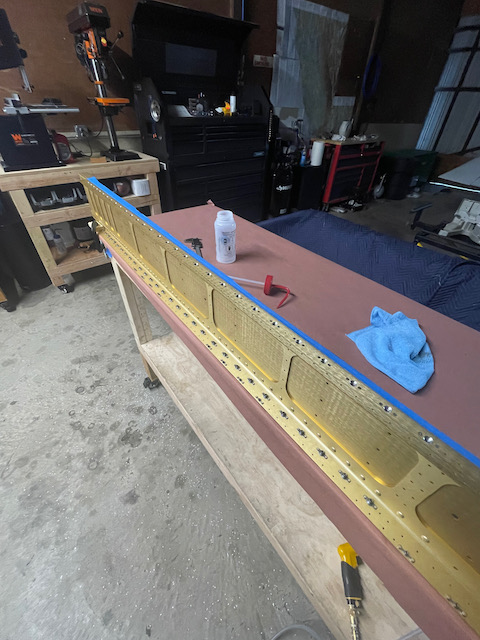
Empennage is mostly done, and I've completed the countersinking required on the main spar. Next up is fabricating the tie downs. Half a step down, a million to go! :D:D:D I'll try to update this thread a few times a month as things progress.

Looking forward to learning from all you noobs and experienced builders alike!

- Paolo

IMG_2307-2.jpeg


IMG_0546-3.jpeg
 
Ciao Paolo, looks like you are off to a great start, and have a wonderful set of helpers! Keep riveting - it's worth it!
 
You are very fortunate indeed to be able to setup your workshop at PAO. That's my fledgling airport; learned to fly there in the '80s with Bud Main's Palo Alto Flying club and got my tailwheel endorsement at West Valley Flying Club. The waiting list for a tie-down or hangar back then was 10+ years. Haven't flown there since 1999; miss that airport. I intend to return within the next two years in my finished RV-8; love to visit your project then, if possible. I subscribed to your build log.
 
Last edited:
Ciao Mickey! You’re blog has been an inspiration to me and I’m looking forward to reading more and more of it as I work my way through the steps! Nice to e-meet you.

Wow Martin! I’m guessing I was sitting on the bench as a kid back then watching you land. I grew up in the area and can remember my first flights back in 93. I taught at West Valley for 3 years, and also got my tailwheel endorsement there (CFI Martin Michaud by chance?). The airport has changed so much since then but the waiting list is still long! I’m fortunate to know so many folks that I was able to sneak a corner of a friends hangar. It’s one of the original 12 hangars! I checked out your YouTube videos (subscribed!) and I look forward to following your progress. Any time you are in the area, come on by! We can swap KPAO and RV-8 stories. Good luck with you finish work.
 
Last edited:
Welcome! Looks like you're off to an awesome start. I built most of my RV7A project in Palo Alto -- recently moved it to Redwood City. If you ever need a hand or a tool give me a shout!

-Andrew
 
Welcome! Looks like you're off to an awesome start. I built most of my RV7A project in Palo Alto -- recently moved it to Redwood City. If you ever need a hand or a tool give me a shout!

-Andrew

Thanks Andrew. I may take you up on that.

- Paolo
 
First Priming session done

Making slow but sure progress. Primed rear spar and tie-down assemblies. Lots of detail on the blog post, but here are some highlight photos. Next up is Rear Spar assembly and installing the tie-downs.

--------------------------------------------

Paint booth worked out great!

IMG_2568.jpeg


First time dawning the Bunny Suit

IMG_2576.jpeg


I was happy with the end results for a first attempt.

IMG_2578.jpeg
 
Wing Skeleton coming together!

Quick update on the RV-8. After painstaking rib work (flange bending and rib straightening are the worst!), I finally got to see things come together with the first assembly fitting of the wing skeleton. Yes, I had to disassemble after drilling, but was fun to see it start to look like something.

IMG_2754.jpeg


Lots of additional updates in this blog post.

(Subscribe here if you want to get future updates more consistently.)

Next up is drilling out conduit for pitot/aoa system as well as the wing wiring. The plan is to run conduit like this. Any thoughts?

Screen-Shot-2021-10-31-at-9.52.42-PM.png
 
Wing Skeletons on Stands!

Quick Update on my build. (Lots more updates on my blog if you're interested).

I built an overengineered wing stand that is working out great. I finally got the wing skeletons riveted together and they are now ready to get fitted with skins.

I'm so glad I'm through the major rib prepping activities!!

IMG_0152.jpeg


The kids have been actively participating, and I feel so lucky to have a chance to spend time with them doing what I love. I hope they keep it up!

IMG_0134.jpeg


Here is the full post on this milestone in case you want to read some of the details.
 
Last edited:
Wing Skeletons and Fuel Tanks

Hey All,
It's been a while since I've updated here! The Blog has been kept up to date if you want the nitty gritty, but I thought I'd share a quick update here as well. I wrapped up wing skeleton riveting late last year, fitted the skins, tanks (and tank brackets), and leading edges, and have been working on fuel tank prep, and build for nearly a month now.

IMG_0152.jpeg


IMG_0384.jpeg


The kids have been a ton of help, and we are enjoying the time spent together.

IMG_0402.jpeg


IMG_0413.jpeg


I am in the home stretch applying the proseal, with cap and drain flanges, stiffeners, and most of the intermediate ribs complete. Based on the forums, I thought it would be a total nightmare, but I've found I don't mind it as much as I thought. (Talk to me again when I close up the baffles...crossing fingers!).

IMG_0992.jpeg


Because I'm working out of a super old hangar, the temperature control for proseal was going to be an issue. I got around the problem with a portable greenhouse that I could manage with a space heater.

IMG_0675.jpeg


So far I've got 7 out of the 10 intermediate ribs installed. I'm planning on getting the rest done this long weekend. So far so good (although there are a couple rivets where my gun slightly dented the skin...it's not horrible, but with the right light you can see it).

I'm looking forward to (and nervous about) the leak tests coming up. I'm planning on doing a test with actual fuel before closing up the baffle. Any advice on this?

If you want updates every time I post, subscribe to my blog here.

Otherwise, until next update, Happy Building!
 
@KevinPereira, not sure why your message isn't showing up in the thread but regarding your ask of what I used to build my wing jig, it's 8020 aluminum extrusion. There are a few blog posts about the build linked below. I absolutely love the stand, but I wouldn't recommend building it with that unless you have a friend with a lot of extra extrusion, or you have a lot of extra dollars to spend. It's SUPER expensive stuff, but I got lucky with free supply.

Happy Building!

Wing Stand Build #1

Wing Stand Build #2: Building the Base

Wing Stand Build #3: Caster Mounting

Wing Stand Build #4: Spar Towers

Wing Stand Build #5: Spar Shelf
 
Thanks, I read your blog and ended up finding out. And yes, I did look up prices and figured it was not for me lol Really amazing though!

@KevinPereira, not sure why your message isn't showing up in the thread but regarding your ask of what I used to build my wing jig, it's 8020 aluminum extrusion. There are a few blog posts about the build linked below. I absolutely love the stand, but I wouldn't recommend building it with that unless you have a friend with a lot of extra extrusion, or you have a lot of extra dollars to spend. It's SUPER expensive stuff, but I got lucky with free supply.

Happy Building!

Wing Stand Build #1

Wing Stand Build #2: Building the Base

Wing Stand Build #3: Caster Mounting

Wing Stand Build #4: Spar Towers

Wing Stand Build #5: Spar Shelf
 
Left tank rear baffle sealed up!

this weekend I sealed up the rear baffle of the left tank. Using the pneumatic sealant applicator was a complete luxury, but I highly recommend it for those not trying to stay on a budget. We'll see how it actually turns out next weekend when I do the pressure test. I'm gonna close up the access port tomorrow. What's the current consensus on using the cork gasket or not?

Full lengthy post is here but below are some pictures otherwise.

This applicator is the best! I bought the knockoff from Aircraft Spruce and it worked great.
IMG_1169.jpeg


Bead is nice and clean using the applicator, but I think it was a little larger. I made it a bit smaller on the bottom side (the more critical side for fuel path)
IMG_1173.jpeg


Nice bead after rivetting it all together:
IMG_1175.jpeg


Brackets on and rivetted:
IMG_1191.jpeg


And the final product!
IMG_1196.jpeg
 
Gasket

Don’t use the cork gasket
Just pro seal.
Don’t over tighten the screws as it can squeeze out the sealant
Good luck!
 
Thanks Jim! That's the route I ended up going this evening. I'll post soon about it, but looks like it went well. Pressure test this saturday!

Thanks for the tip!
 
I'd put a dab of proseal on those pop rivets if I were you. Cover up the "pull hole".

Thanks for the tip Stu! (btw, I watch all your videos..really enjoy the content!)

My understanding is that those rivets are special and have no "through hole" for a leak path. AD-41H and AD-42N. Is that incorrect? or is there something that happens over time that causes these to fail?

Thanks again!

Paolo
 
ahh

You are correct about the AD41H rivets. Older kits call for LP4-3 which is different.

You should be fine :)
 
Back
Top