
Van's Air Force
You are using an out of date browser. It may not display this or other websites correctly.
You should upgrade or use an alternative browser.
You should upgrade or use an alternative browser.
Dealing with Prints
- Thread starter ccfordjr1
- Start date

David Paule
Well Known Member
I had mine copied to a smaller size that fits nicely, flat, on the workbench. They are now 18" high and about 2/3 size.
The originals are safely tucked away. If I need a full-size drawing, I dig them out.
The shop made me a PDF of them too, this was before Van's offered that.
Dave
P.S. You can iron them to get them flat. Haven't done that in a few decades but it used to work well. Don't remember the setting, think maybe cotton but I could be wrong - try it.
Norman CYYJ
Well Known Member
I held them up with large paper clips and hung them on the garage door. Easy to walk up to and read.
TX7A
Well Known Member
what I did
Joe
Sounds like you need to get them un-rolled & flat. I hung my prints up so they remained flat. There are more elegant ways, but I took two wood
1X2's (or similar) that were about 6" longer than the width of the print. I 'sandwiched' the prints between the 1X2's on the left end of the print with about 3" extending past each end, and used two spring clamps to hold them all together. I had 2 large hooks on the wall that the extra part of the wood 1X2's rested in.
That's what I did & it worked for me with not too much of a fuss. Usually, if I needed a single print for an extended period of time, I'd relieve the pressure on the clamp & remove it from the rest. Also had a board on the wall I could clamp it to. Worked nicely.
Sam
mculver
Well Known Member
I cut out a piece of cardboard the same size as the prints, then used these binder clips to hold the entire stack on the cardboard (2-3 clips along each of the 4 edges). In addition the clip in along the top edge (in the middle) fit over a screw head on the wall to hang them up for easy viewing.
Added advantage was that over time the entire stack of prints became flat.
Added advantage was that over time the entire stack of prints became flat.
I used the big spring clamps like these

Clamp one on each end and then hang them from the wall with wire hook or a nail.
wirejock
Well Known Member
Prints
I use the huge clips too but mine lay flat on the stack of crates. I bought a poster frame and retasked the clear part to keep them clean. It also makes a great page marker. I always know what page I need. To keep them from curling, I unroll any sheets I have turned over at the end of the session. Pretty soon, the whole shop will get reorganized. Wings are almost done, jigs will come out and crates will get moved. I am hoping to set them up vertical to clear floor space.
I use the huge clips too but mine lay flat on the stack of crates. I bought a poster frame and retasked the clear part to keep them clean. It also makes a great page marker. I always know what page I need. To keep them from curling, I unroll any sheets I have turned over at the end of the session. Pretty soon, the whole shop will get reorganized. Wings are almost done, jigs will come out and crates will get moved. I am hoping to set them up vertical to clear floor space.
Aero_Octaveus
Well Known Member
Fold them!
Finally a topic I know something about!
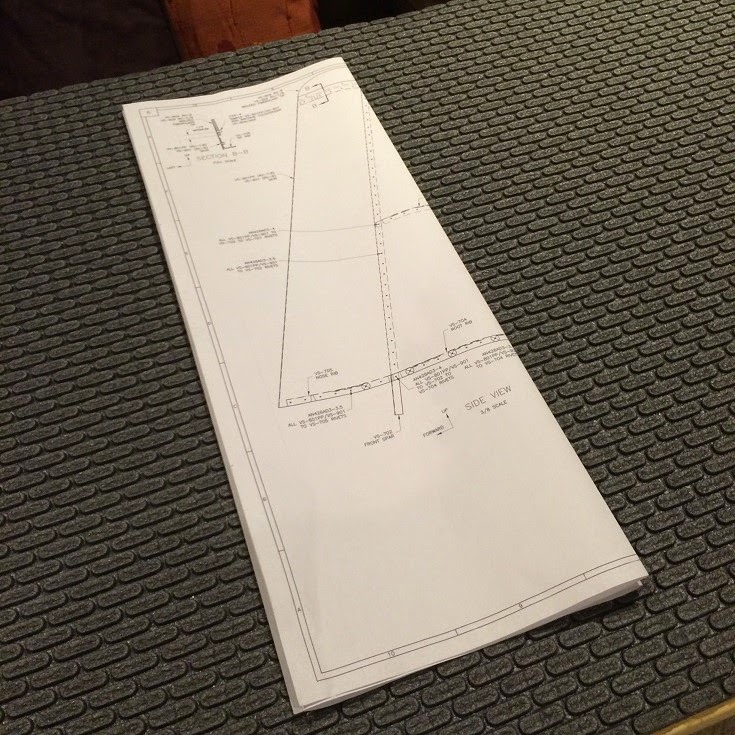
One option is to fold them. A 24"x36" print will fold to just over 8 1/2"x11". Here is the best way to do it.
1. Fold the plans in half so that the printing is folded in on each other (The crease is vertical).
2. Then fold the part back on itself so that the printing is showing. (Again crease is vertical)

3. Then fold in half again (So crease is horizontal).
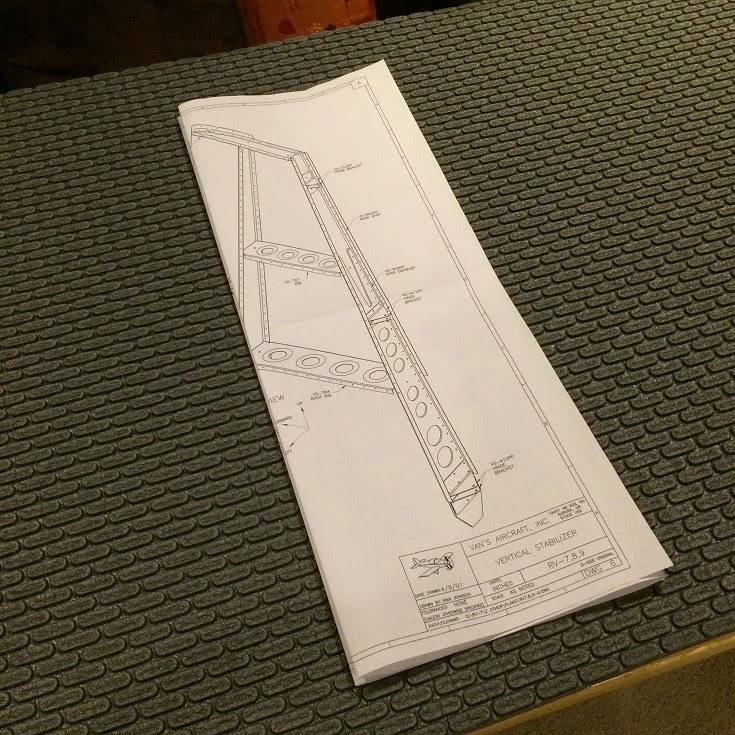
The print will face out so that you can read the print number.
This works great on paper that always wants to roll up!!! You can stack up your drawings and store them. You can unfold them when you want to use them
Finally a topic I know something about!
One option is to fold them. A 24"x36" print will fold to just over 8 1/2"x11". Here is the best way to do it.
1. Fold the plans in half so that the printing is folded in on each other (The crease is vertical).
2. Then fold the part back on itself so that the printing is showing. (Again crease is vertical)
3. Then fold in half again (So crease is horizontal).
The print will face out so that you can read the print number.
This works great on paper that always wants to roll up!!! You can stack up your drawings and store them. You can unfold them when you want to use them
Last edited:
mculver
Well Known Member
In the background, you can see my clips on cardboard setup. Sorry; however this is the cleanest shot that i have...
http://rv9-photos.s3.amazonaws.com/IMG_2450.jpg
http://rv9-photos.s3.amazonaws.com/IMG_2450.jpg
BillL
Well Known Member
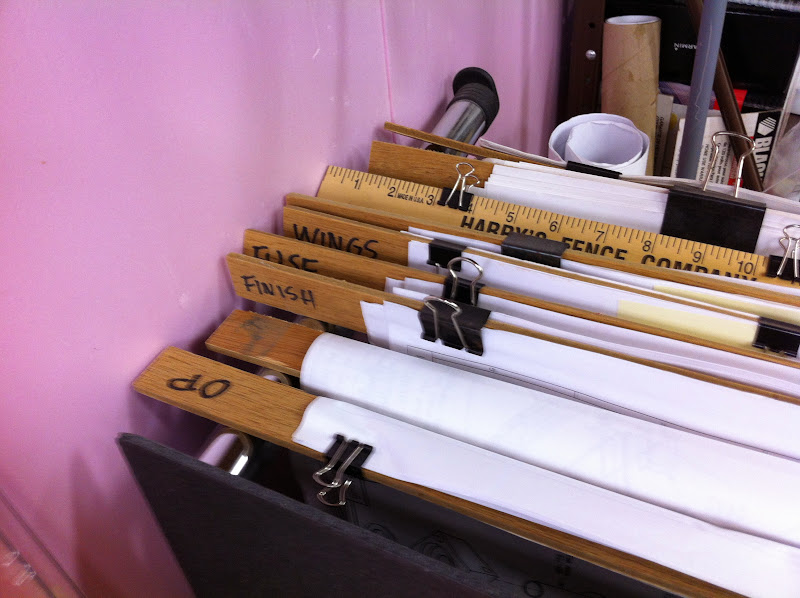
I hung mine up. I took some wood strips about the size of a yard stick, used the binder clips to fasten the drawings to the strip, balancing some on each side. Then wrote the group on the end of the stick and hung them in a retasked clothes rack on wheels. I made parallel bars on the ends and hung the drawings on that rack. The number blocks are on the non clipped end so you can thumb through and find the one desired.
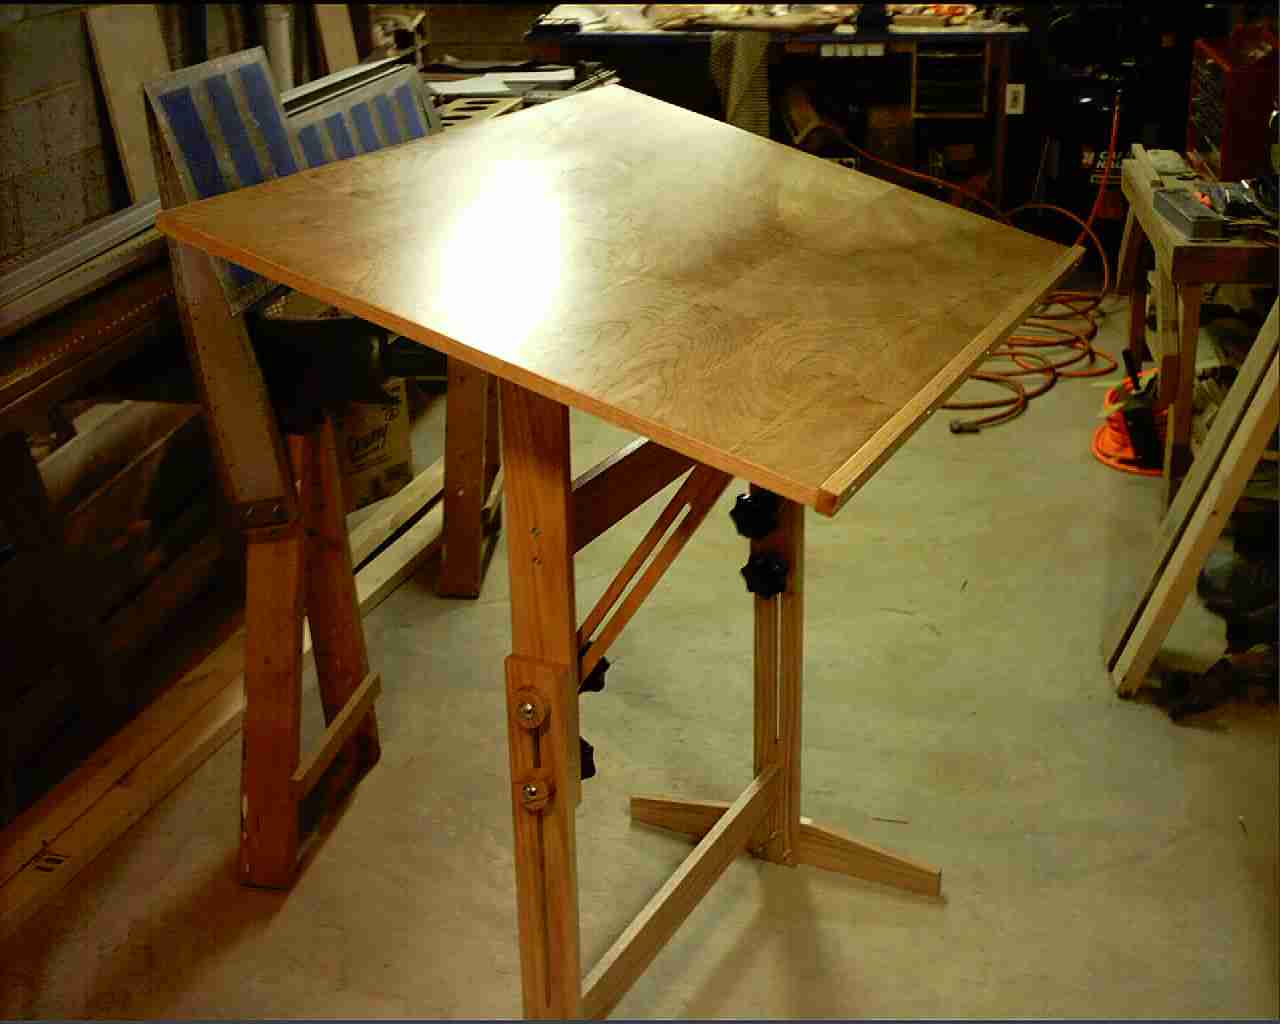
A drawing table is then the way to lay them out.
A drawing table is then the way to lay them out.
Last edited:
rzbill
Well Known Member
Finally a topic I know something about!
One option is to fold them.
Nice "old school". Convenient and a disappearing art because of CAD and electronic storage. I folded mine.
I bought a bunch of large-ish clips, screwed them to the wall such that I could put a page (or several) in with each corner clipped. 4 plans pages could then be displayed on the wall of the garage at any time, which was usually more than enough. Out of the way, avoided having to lay them out on the workbench while working on things, easy to walk up to and read, and no fussing with constantly "getting out" the pages for whatever I was working on at that time.
Prints
Don't roll your drawings tight and they won't take much of a set. Additionally, roll your drawings with the printed side out. This all but eliminate the drawings wanting to roll back up when in use since they are trying to roll back up against the table.
As for folded drawings, I don't recommend it. You will fight the creases when using the drawings. In my world there is nothing worse than being handed a drawing that has been folded. If you just need a quick dimension it isn't a big deal. If you need to spend some serious quality time with the document, or a set of documents, it is a pain in the behind.

