I'm blown away by the number of replies within 12 hours of my (first-ever) question. What a great community!!! I'm so grateful for the suggestions.
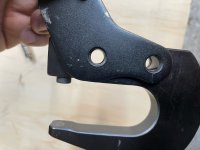
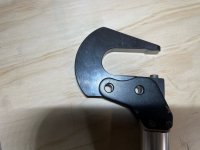
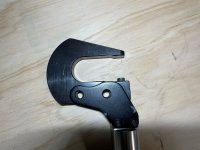
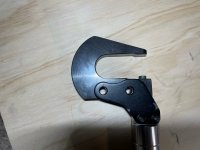
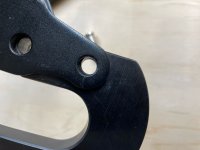
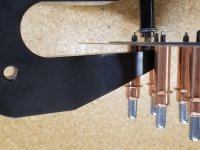
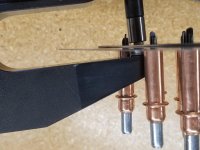
Using the long ram with the short die and a couple of washers, there's enough travel to clamp the material, but the rivet DOES NOT get squeezed properly (see pictures). Switching to the long die, the rivet IS squeezed properly (see picture (of my poor riveting skill)).
However, when I use the long ram with the long die, the rivet is longer than the gap between dies, so I have to start with the short die and then change to the long die.
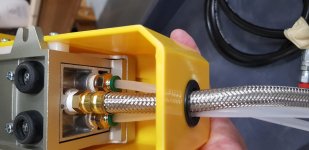
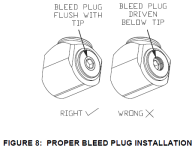
Also, I've put a ton of Teflon tape on, but the bleed plug keeps backing itself out.
This can't be right, so... I'm going to try to bleed it again.
I should mention that I'm testing with rivets slightly too long, just to see the worst case.
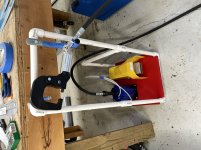
Two days covered in transmission fluid... would love to have this resolved.


")