Follow up on how I did my fairing
Hey all-
My removable fairing came out perfect & wanted to share with my process with ya'll if it's ever usefull for someone down the road wanting a removable rudder fairing.
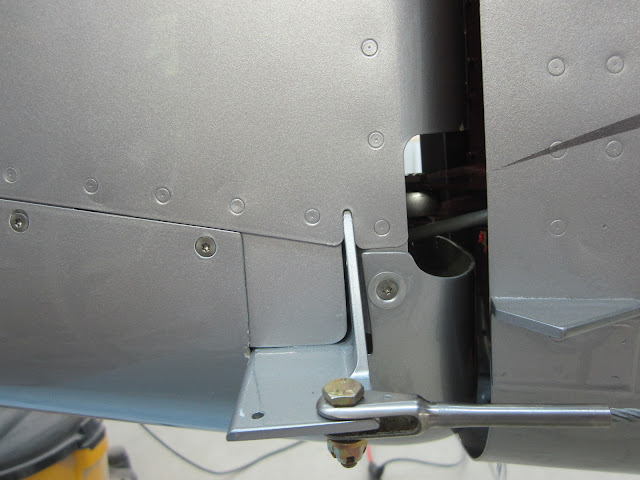
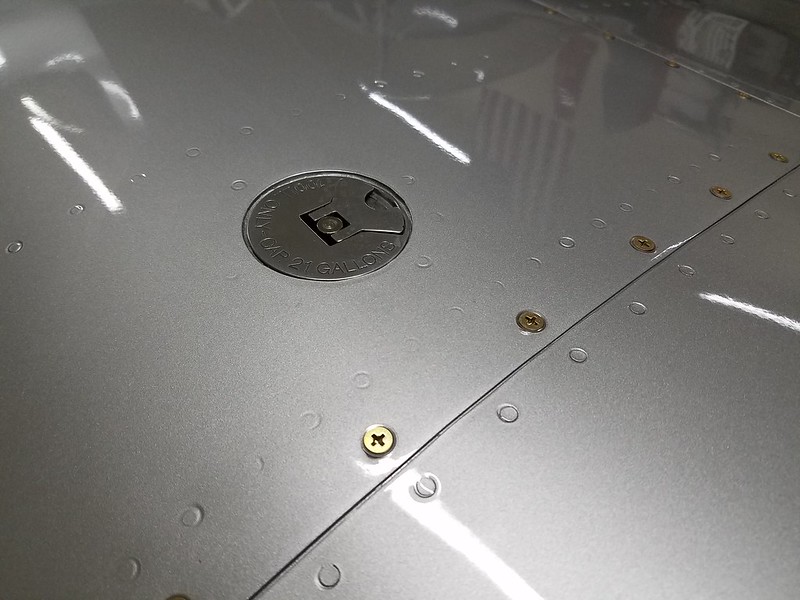
1. I elected to go with #6 SS screws and CS SS washers on a 2.5 inch spacing. a total of 14 screws. # 8 scews / washers in this application simply don't leave a decent edge distance. Plus the washers overlap the aluminum. As a former - out of practice old-school A&P, I did NOT drill the most forward area which would entail drilling through the side of the main rudder spar and/or the control horn bracing. Thats a "no-no" in my book, as the forces on that area are insane during spin recovery ect. I only used the intended attach strips & used a heat gun to form the frontal to a nice tight fit.
2. After final triming / filing / sanding / fitting of the fairing to my liking, then used packing tape to keep the fairing in place while I laid out a center line for the rivet line / screw line (8/32nds)from the aluminum skin. Finally, I used a fan spacer to lay out the 2.5 inch spacing.
3. Then used a center punch to mark the exact location of each hole to drill. dilled these hole to a #40 size hole & clecoed.
4. After ensuring the alignment of the fairing after drilling, I came back through with a #30 bit and replace the corresponding clecos.
5. With the fairing clecoed in place, I counter-sunk the fairing to except the CS tinnerman type washers. Counter sinking while the fairing was in place allowed me to used the "harder" aluminum holes at a templet for my counter sinks. Then followed up inlarging the hole finally to a #27 bit.
6. Then I removed the fairing and used a #6 nut plate jig to drill for the nut plates. This tool is worth it's weight in gold!!! I have them for #6, #8 & #10 nut plates. It took about a minute to drill for all of the nut plates.
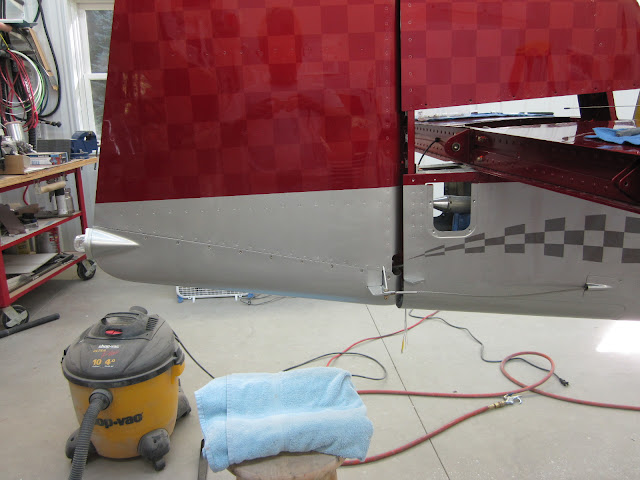
7. Finally, deburred, dimpled and riveted the nut plates in place. When I re-mounted the fairing with the final attach hardware, the alignment was ABSOLUTELY PERFECT. No need for floating nutplates etc.
it sounds like a lot of work but the whole process took about an hour or less.
I hope someone can use this method in the future as I am extremely happy how it all turned out. I'll post pictures in my log later today.
Again guys, Thank you for your input, Without it, I wouldn't have come up with this basterdized method that kind of solved issues others had