I was going to let the last update stand for the end of the tailcone work but thought someone might find some use out of this addendum fiberglass update…
I will totally come clean that when it comes to aluminum metal working, I’m at the bottom of the learning curve. But when it comes to fiberglass, I’ve been working with it for ages… different cloths, e-glass, s-glass, carbon, Kevlar, different resins, additives, micro-balloons, cabosil, cotton flox, vacuum bagging, etc.
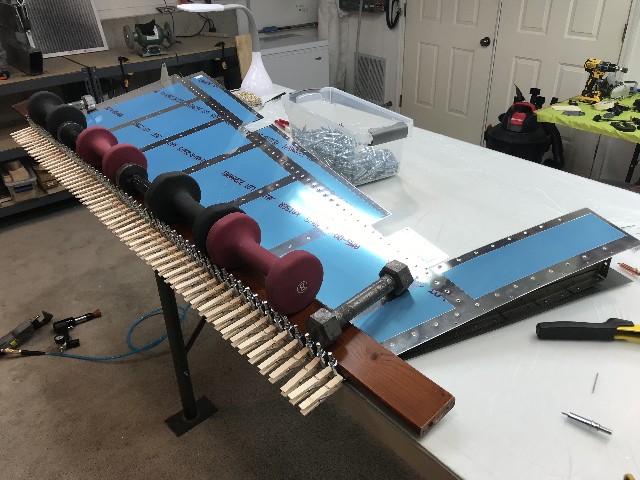
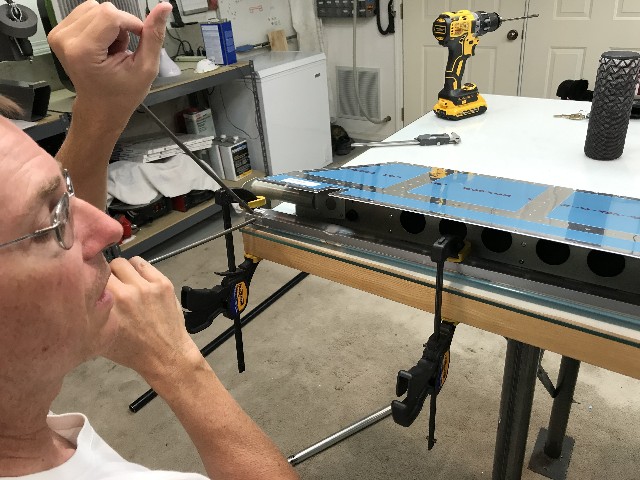
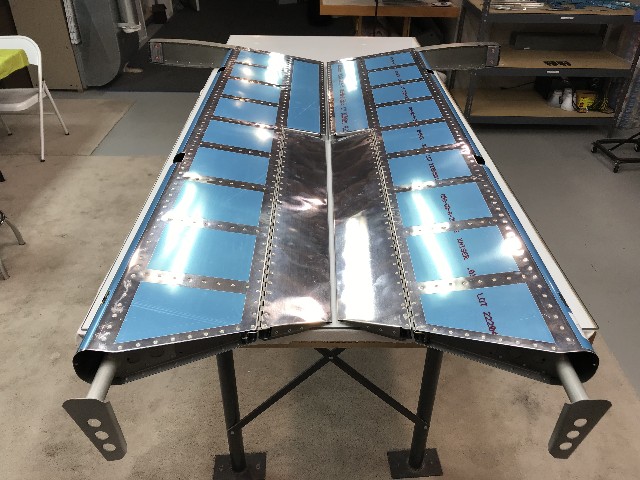
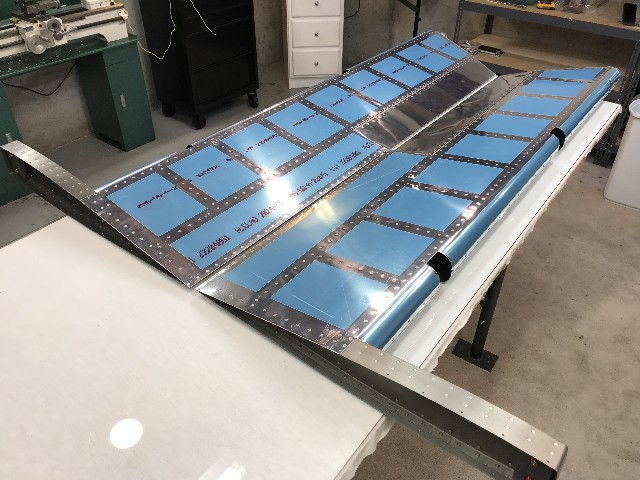
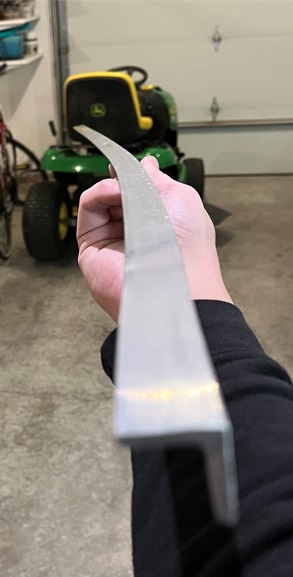
So, after spending the last year being blown away with the incredible accuracy of every prepunched, bent or formed piece of aluminum, I was surprised that the fiberglass wasn’t up to similar standards. Two photos below show how out of shape one of the worst was. I know that shipping or not storing it properly can deform it over time, but still, some of these were quite out of shape. I decided to solve it 3 ways…. First I clamped it for several days in the shape it should be. Then for the worst of it, applied gentle heat while clamped and pushed into the shape it should be. I’ve found you have to be incredibly careful here, but it can help. For example, the HS leading edge fairing pictured below, I applied 150 degrees (the most I would feel comfortable with) for about 5 minutes with a heat gun (monitoring with a temp gun), then let it cool down on its own for the next hour with the clamps still in place. After that process, it retained about 80% of it’s new, proper shape.
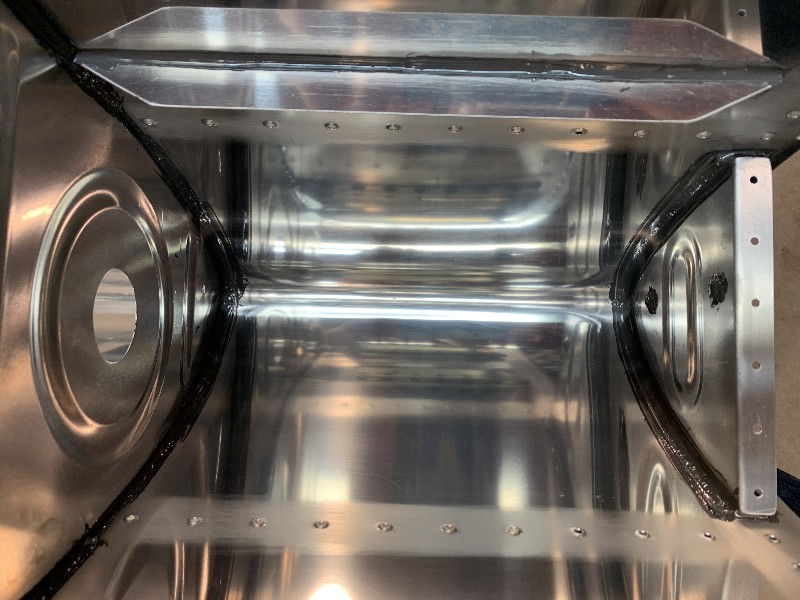
The last step was a divergence from the plans in a minor way. The foam blocks which are to be used only temporarily, I decided to incorporate permanently. First off, when properly shaped, they totally lock in the fairing shape they should hold. As step one, I applied the correct number of layers on the interior, at the same time the blocks were being glued in, providing a chemical bond between the two. Once the resin cured, I could go to the face, and sand the soft foam right back to the edge of the fiberglass. The foam sands like butter and stops when flush with the fiberglass. Then, so that the new face fiberglass would have a good hold, I took a very small Dremel bit, and cut a tiny amount of the foam away next to the original outside fiberglass (about ¼ inch deep by 1/8 inch wide). Basically, I was making the space that for the foothold ‘fillet’ to tie in, in what was just a but joint between the edge and the new face fiberglass I was about to add. The fillet was liberally mixed with micro-balloons so it’s weight would be kept to a minimum, and with it still wet, I laid down the face fiberglass, with an overlayment of three-quarter ounce deck cloth fiberglass, locking it all together chemically. That gives a pinhole free, very smooth surface with which to work on. I weighed the foam blocks I was leaving in, and all 3 totaled up to .70 of an ounce… add in the little extra resin that would not have been there otherwise, and you’re looking at the addition of about an ounce. But, now I could just about stand on them, and I will know they will hold their shape properly in the long run. A final point to the foam, is that it’s been sealed with resin on all sides. Should it come in contact with solvents, fuel or other things that might want to dissolve it, it has some protection. But the empennage should be fairly removed from these.
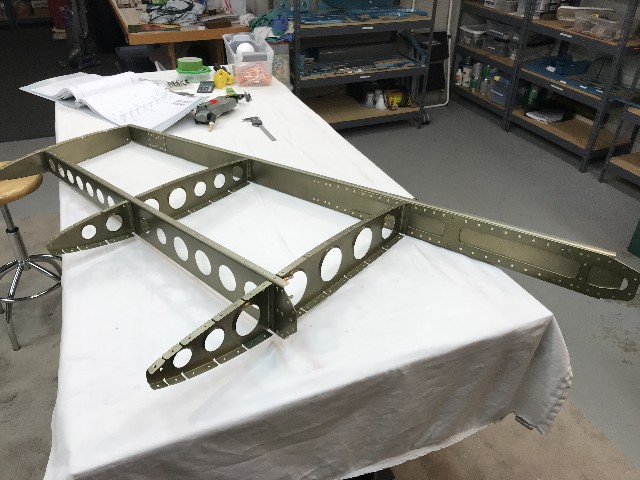
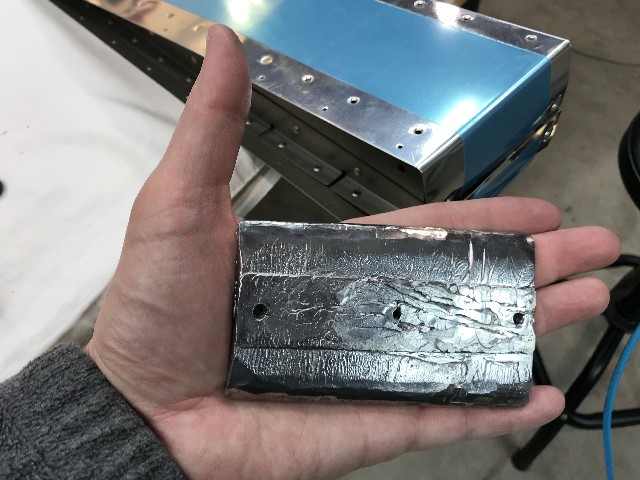
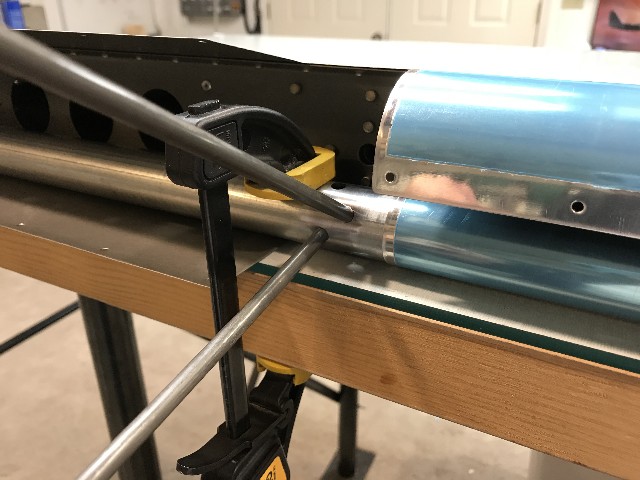
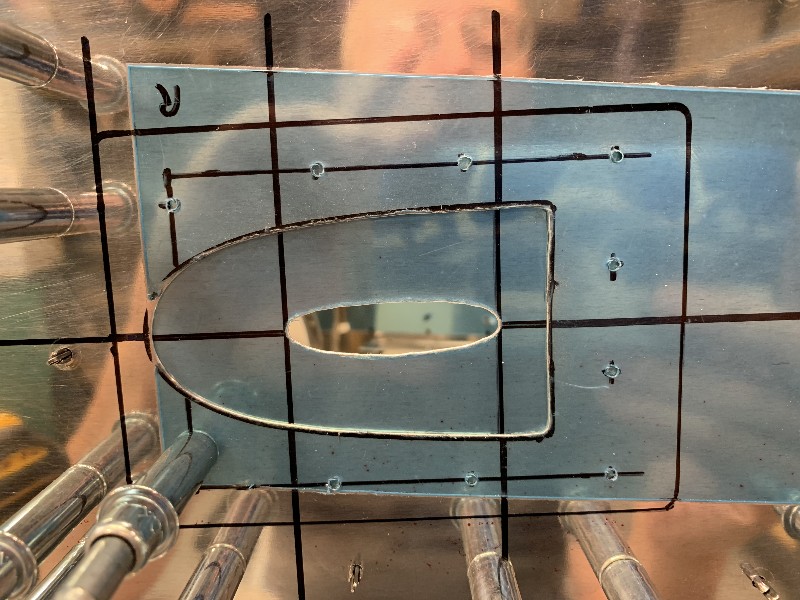
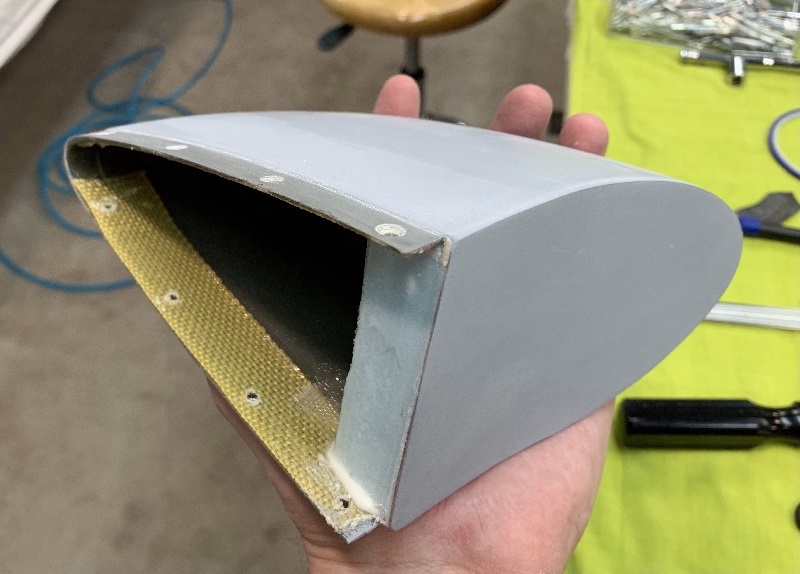
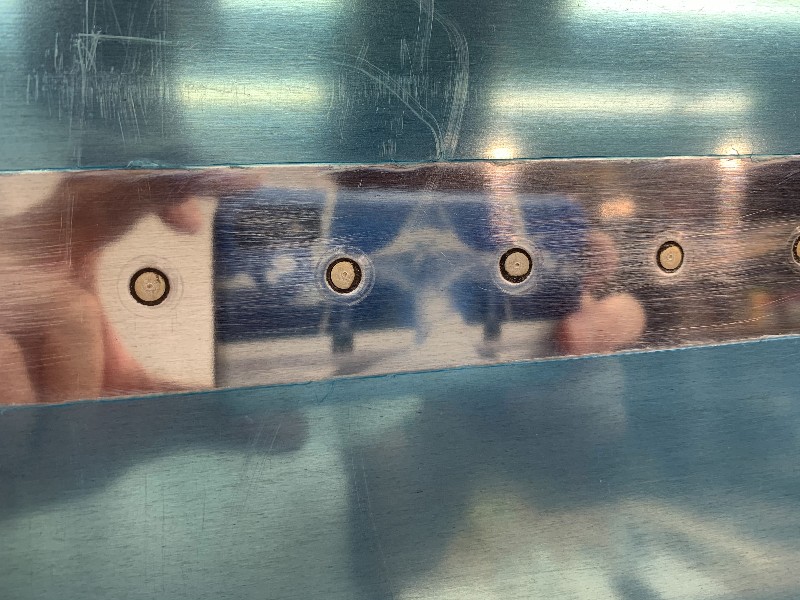
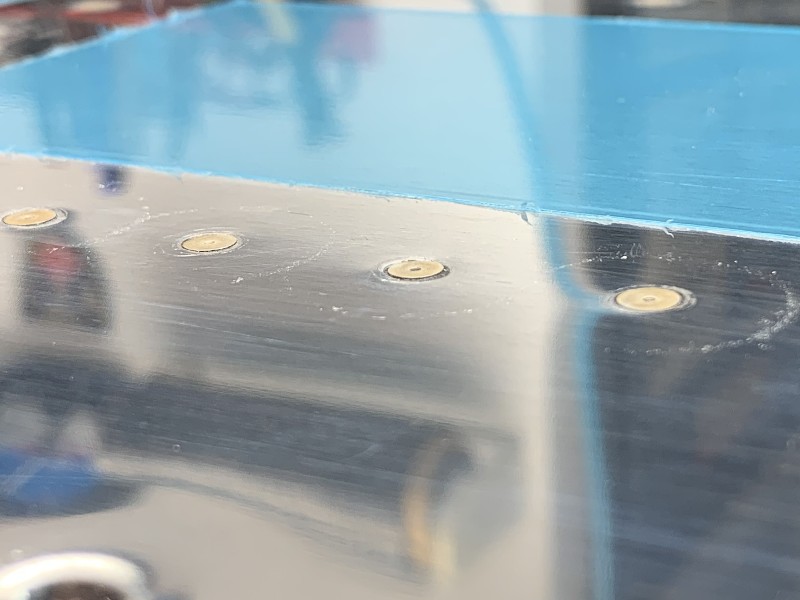
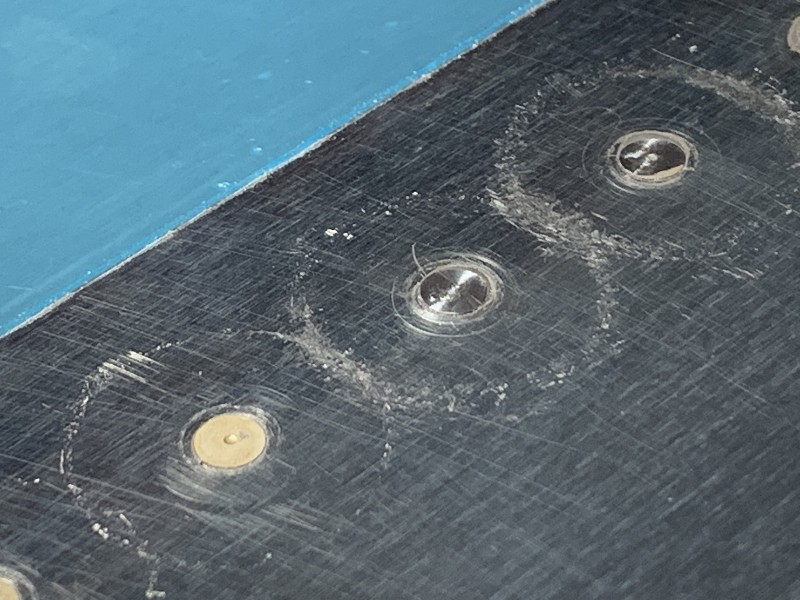
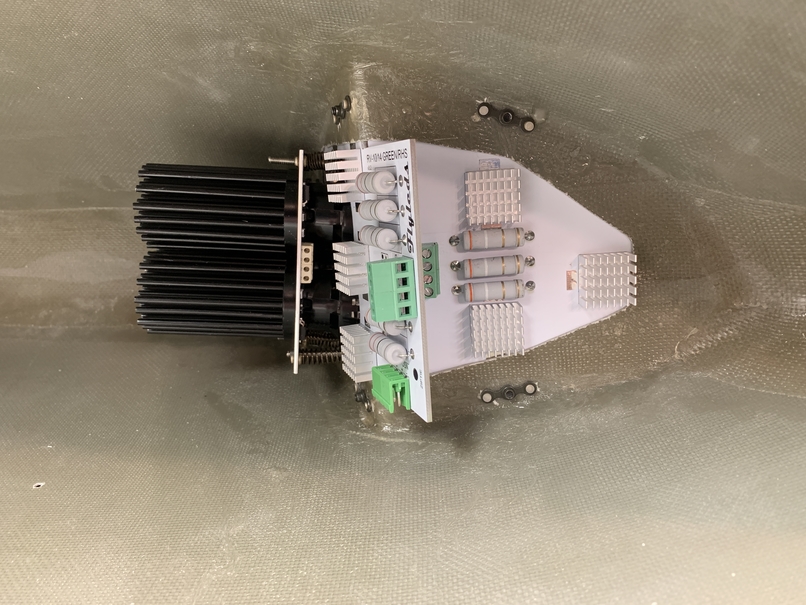
Another modification I did was that I was concerned about the mechanical strength in the long run with the rivet holes, and subsequent countersinks in the edges of the fiberglass. I’ve seen other environments that vibration over time, will slowly fail the fibers, one by one, and either enlarge the hole or propagate a crack to the narrow side. I’m sure it’s fine as is, as people have been having success for years. But for me, for the addition of what was just a couple ounces, I could cross it off the list of things to worry about. Kevlar can be a pain to work with, but there are certain applications that I find it can be useful, specifically where it might be met with physical abuse, such as the backside of a pulled rivet, vibrating. I used a Kevlar 1 inch tape, cut in the proper strip lengths, then laid them out on my glass table top, with plastic down under it. I wet them out, then squeegeed out all the excess on the nice flat surface, keeping weight down to a minimum, and then inserted the wet strips into place. Once cured, it drills fine, and when I was doing the pulled rivets, heard no fibers or other crunchy sounds, that can come from compressing fiberglass.
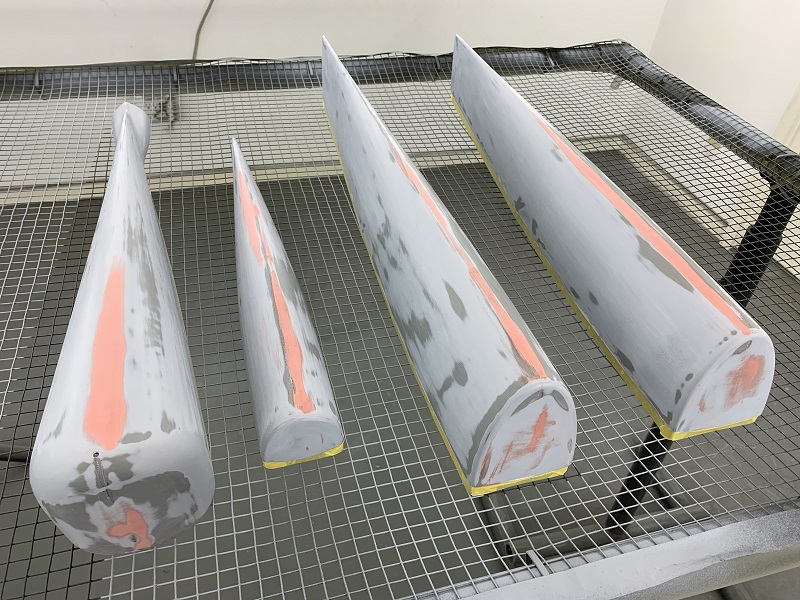
Last bit was just plain body work. There were thicker areas to fill, such as the front of the rudder top cap or the front of the elevator caps, as the shape was not even close. I used epoxy with a very liberal mix of 80% microballoons, and about 20% cabosil, to keep it from running, mixed to about a peanut butter consistency, making it pretty light. It’s pretty good about not developing cracks later if you have to do it thicker unlike other solutions, especially with the cabosil in there. The red ‘bondo’ I use only as a final, feather thin stage, as it is not very light. It sands easy, and when adjacent to harder materials, is great for that final little bit to get a good surface.
I was curious how much weight my extra primer / bondo added, so I weighed one of the elevator tips at the different stages. Bottom line was that it added only .08 of an ounce. The key to keeping the weight in check, is you have to spend the elbow grease and wet-sand most all of it back off. You save the weight, and you get smoother and smoother results in the process.
Take the above with a grain of salt from this new builder. Just sharing my steps, and your mileage might vary, but I thought this might be helpful for some.
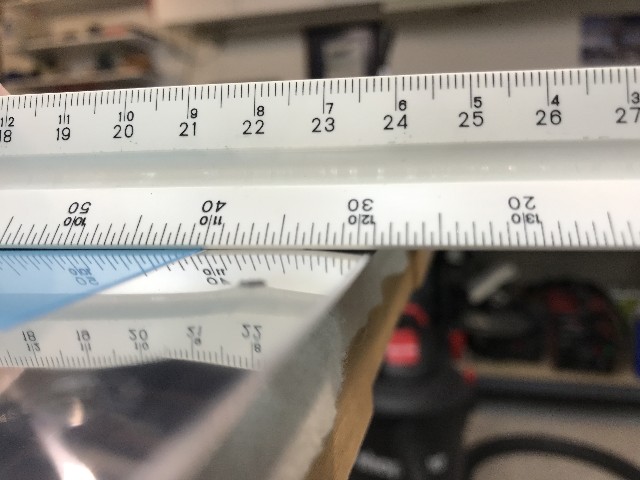
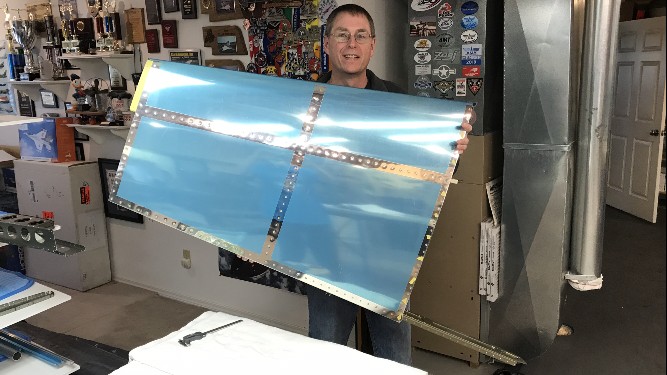
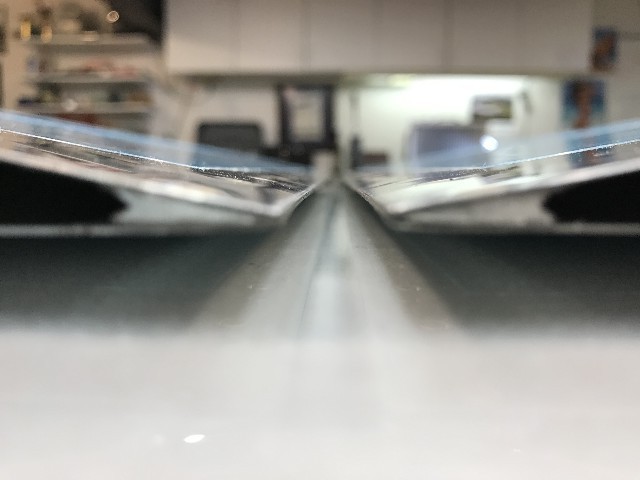
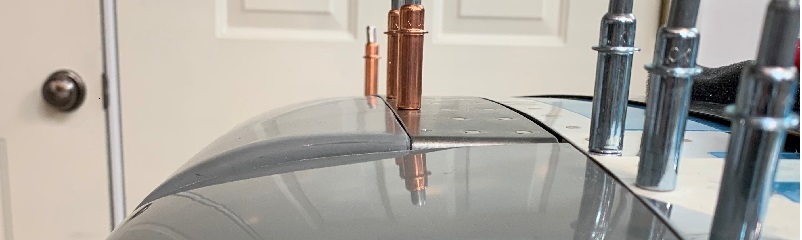
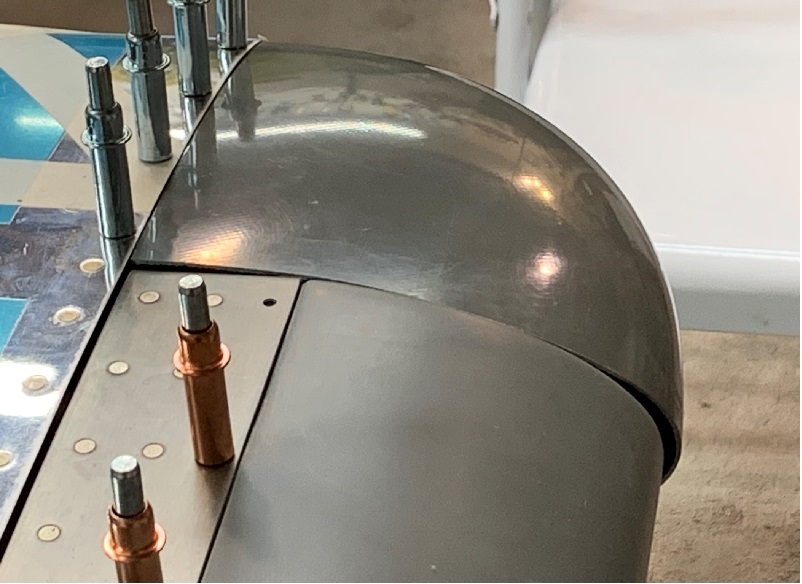
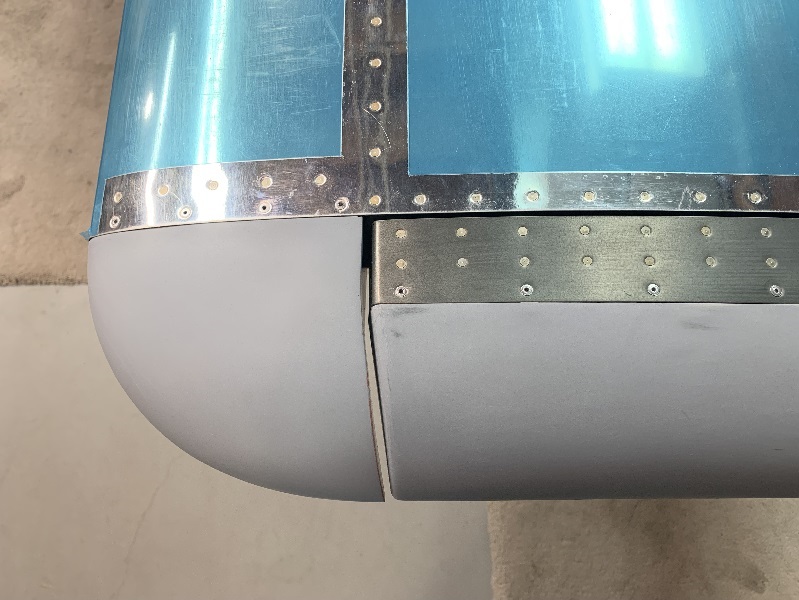
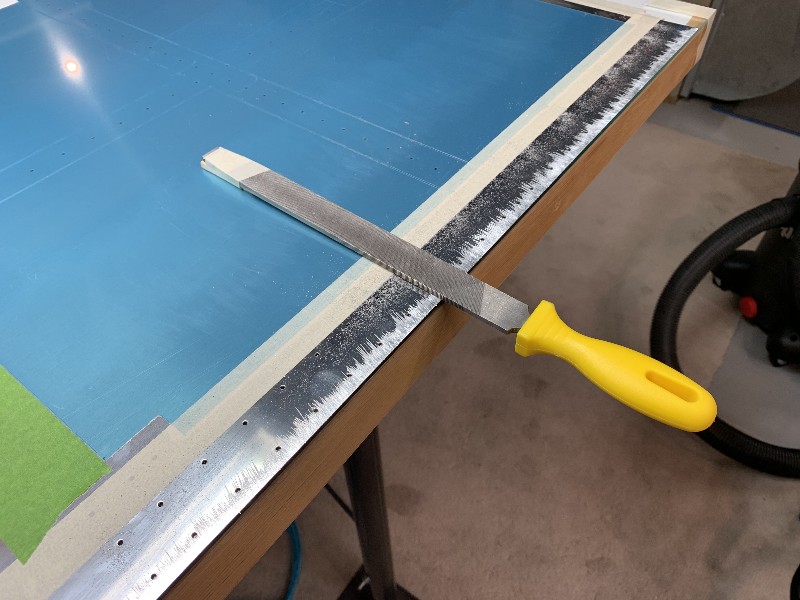
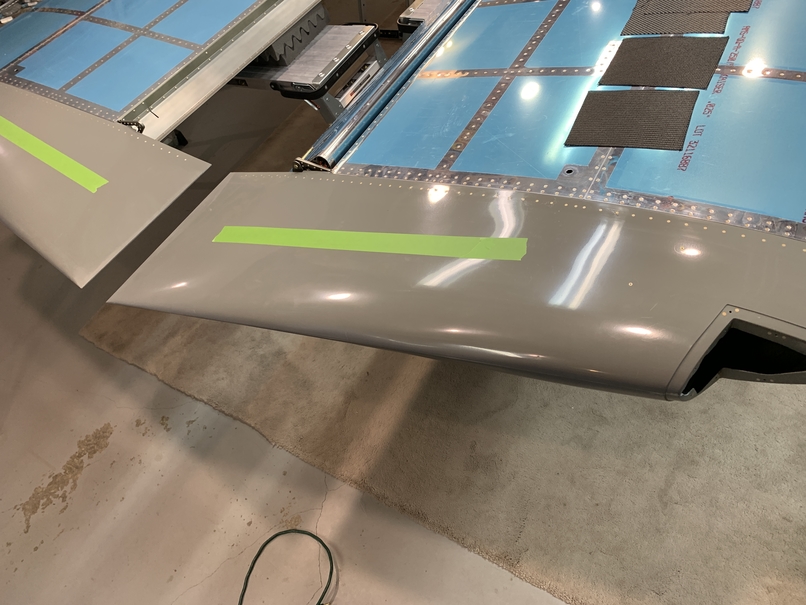
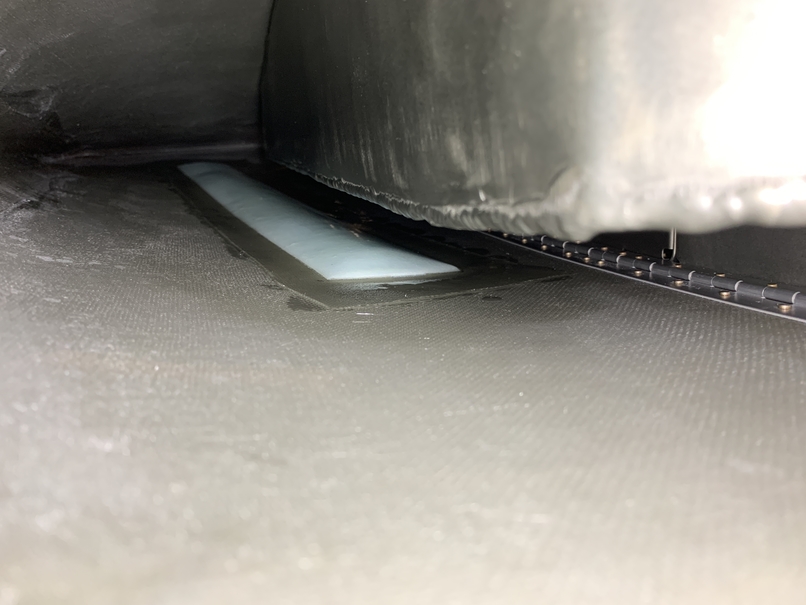
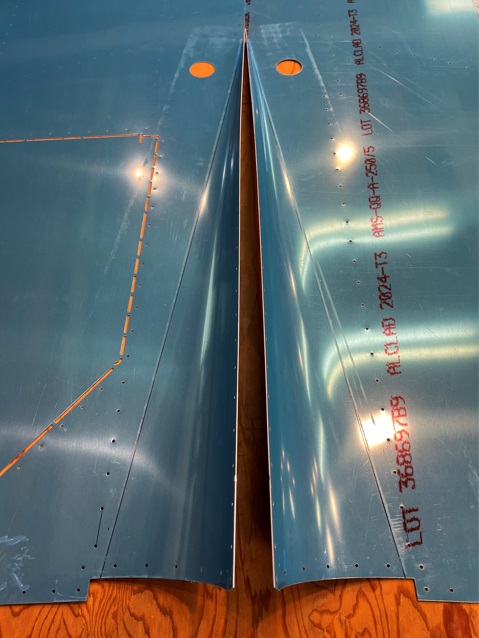
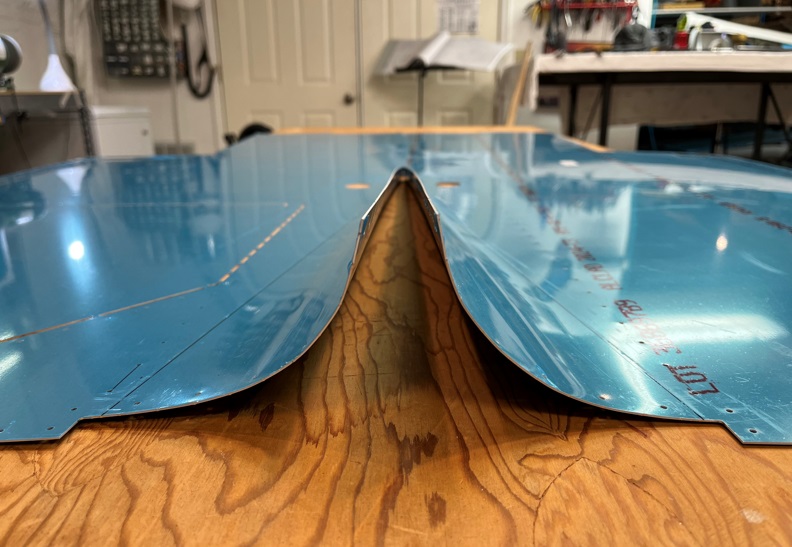
"Out of the box" mismatch of leading edge fairing with elevator.
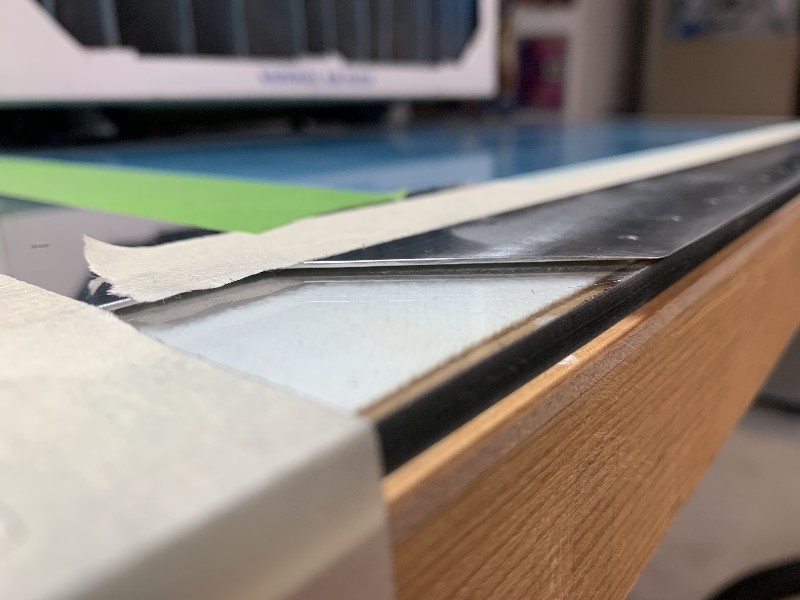
Also too wide...pushing it in and up a bit, helped solve it being too low in the center.
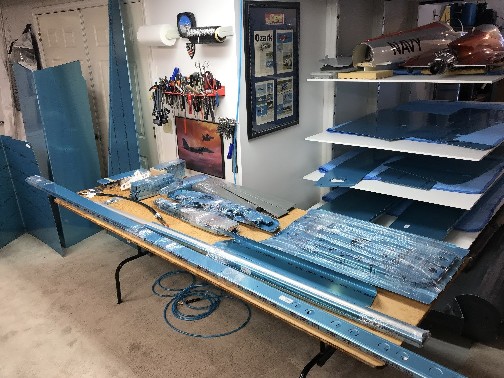
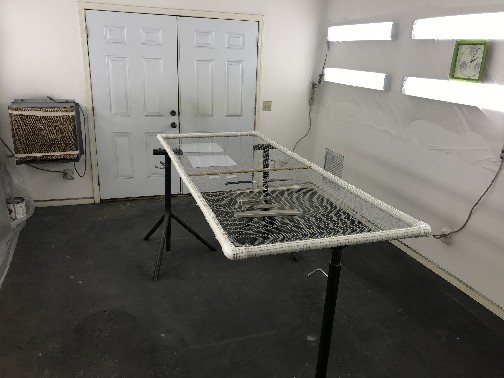
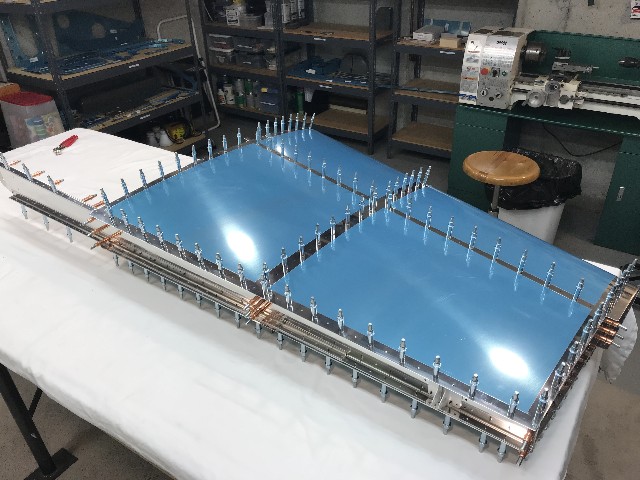
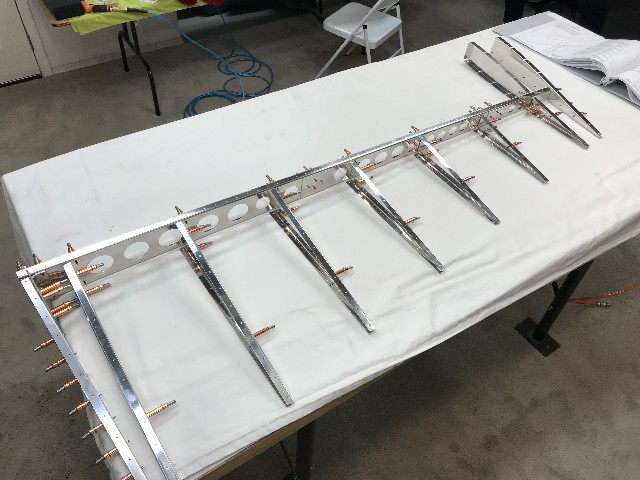
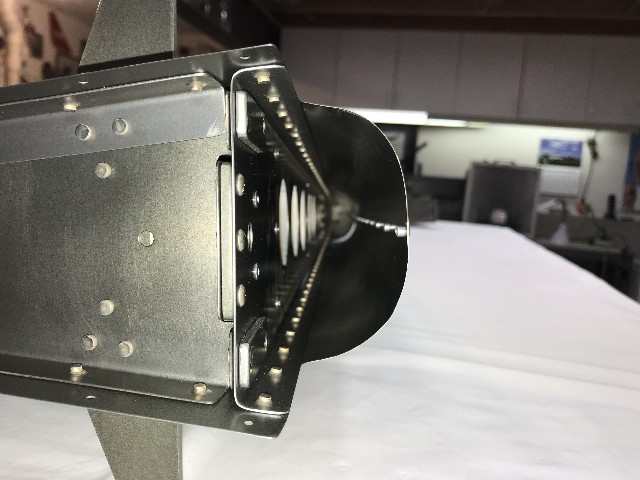
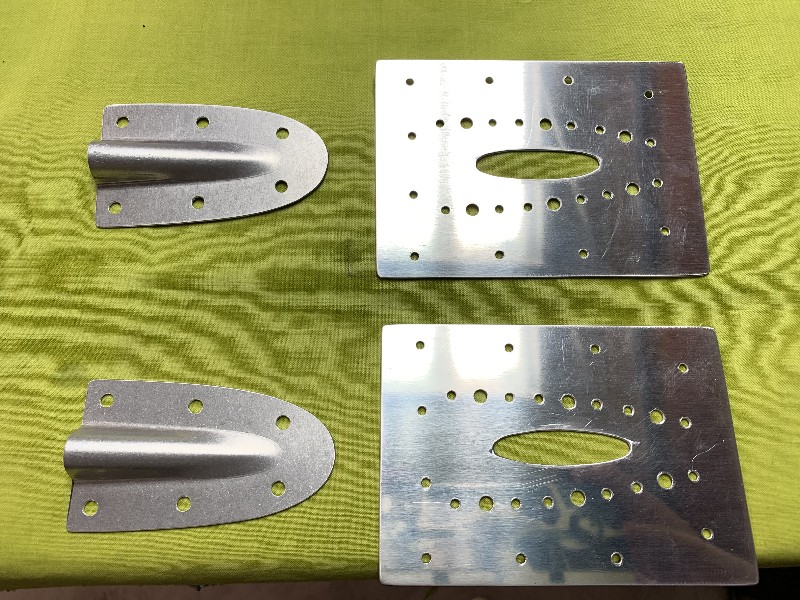
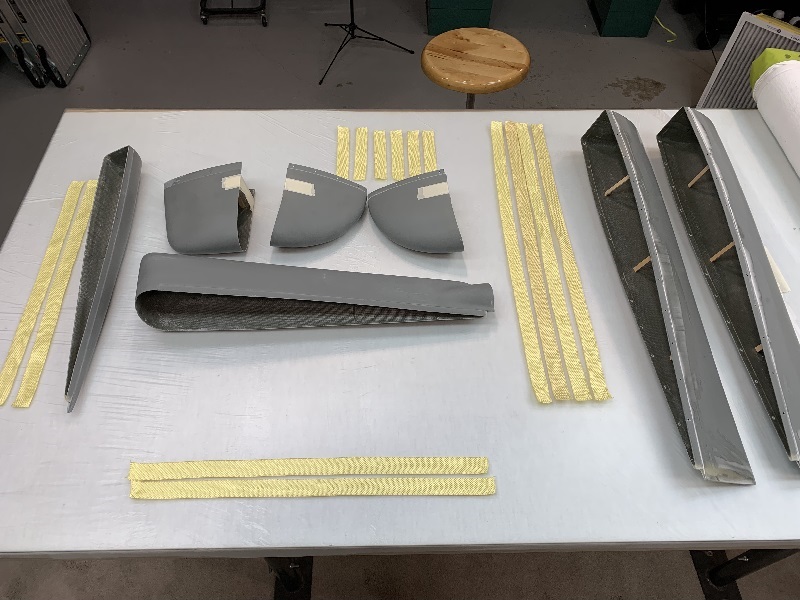
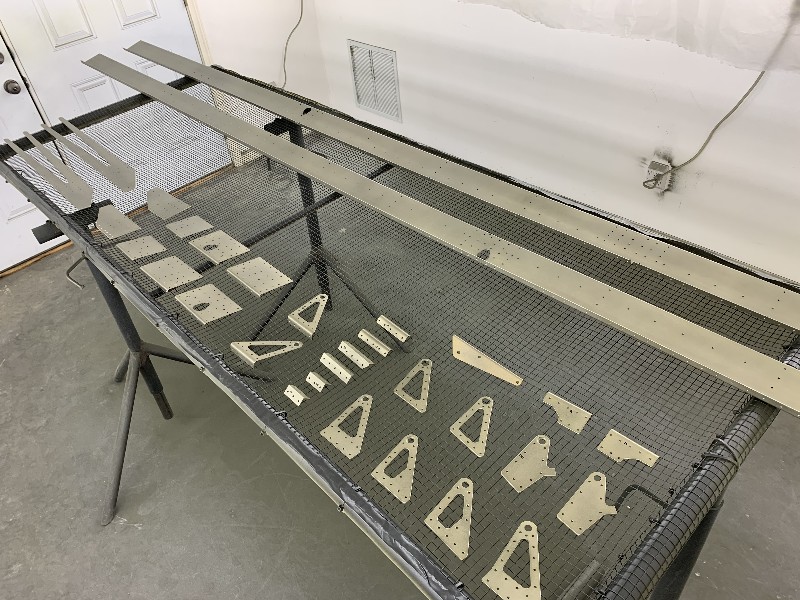
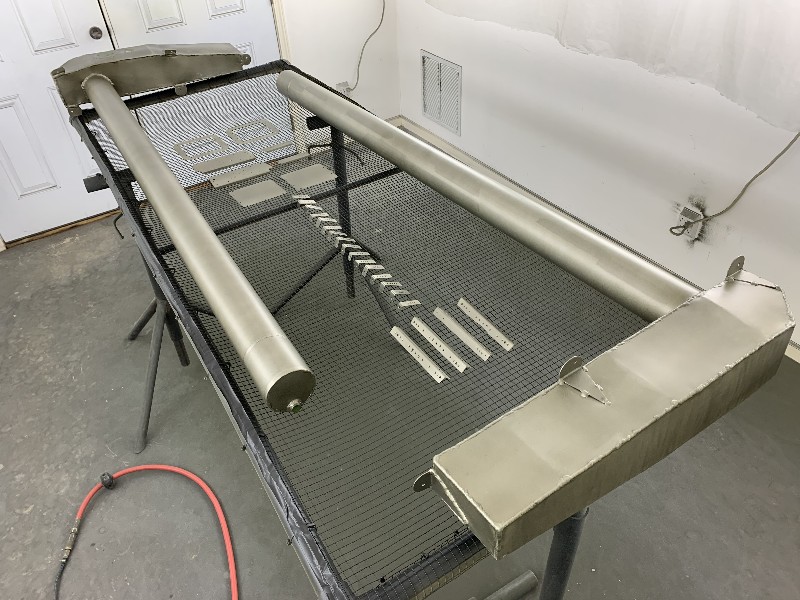
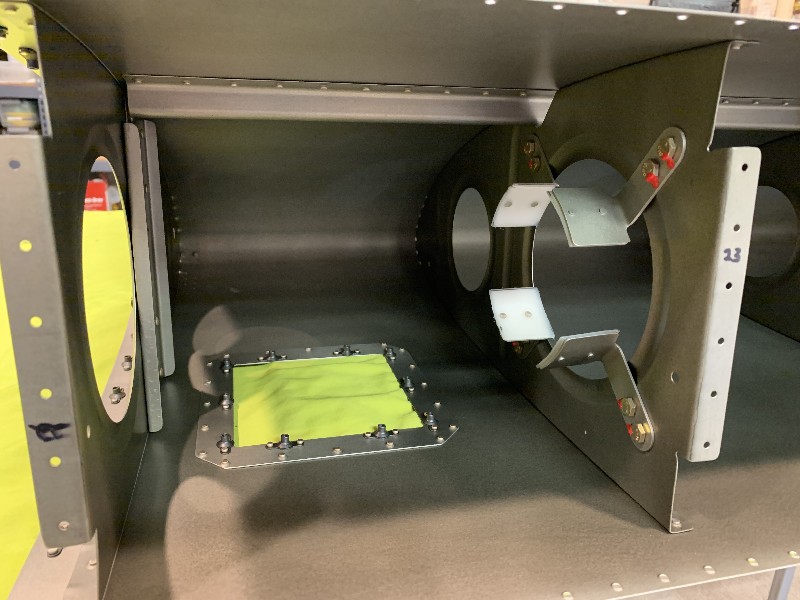
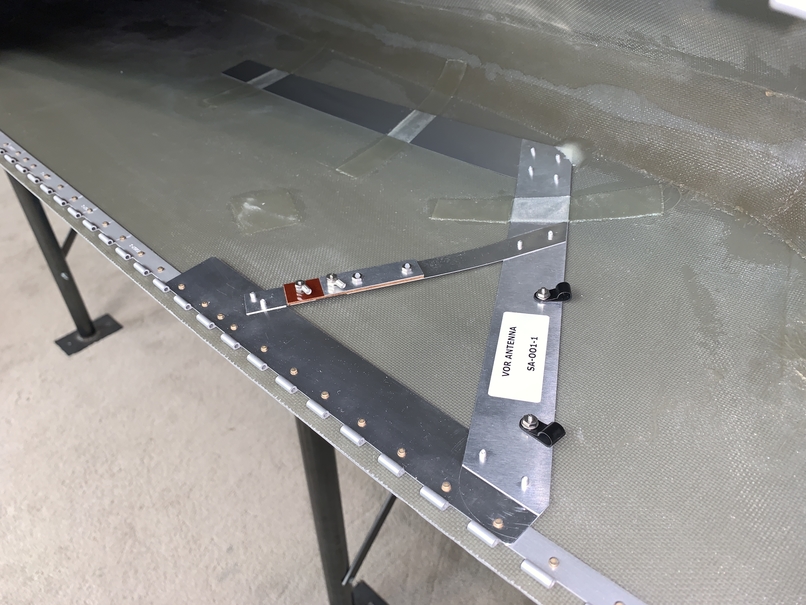
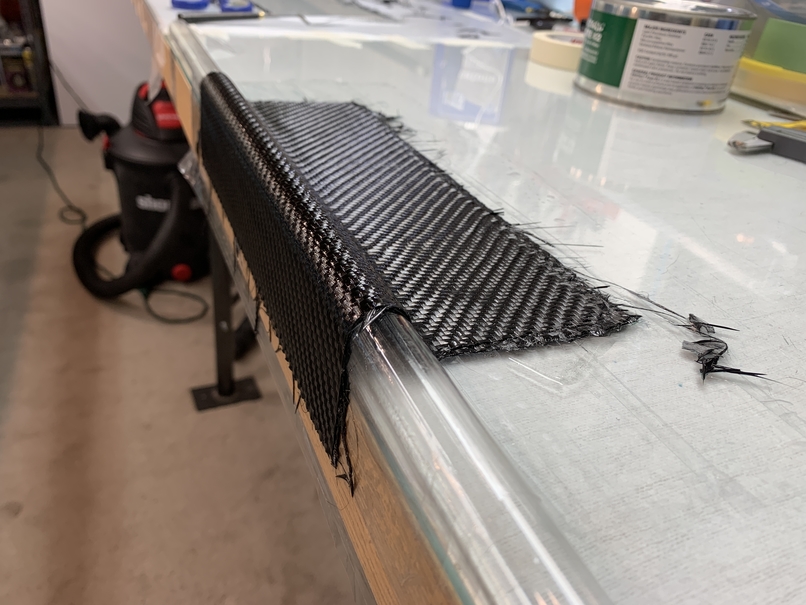
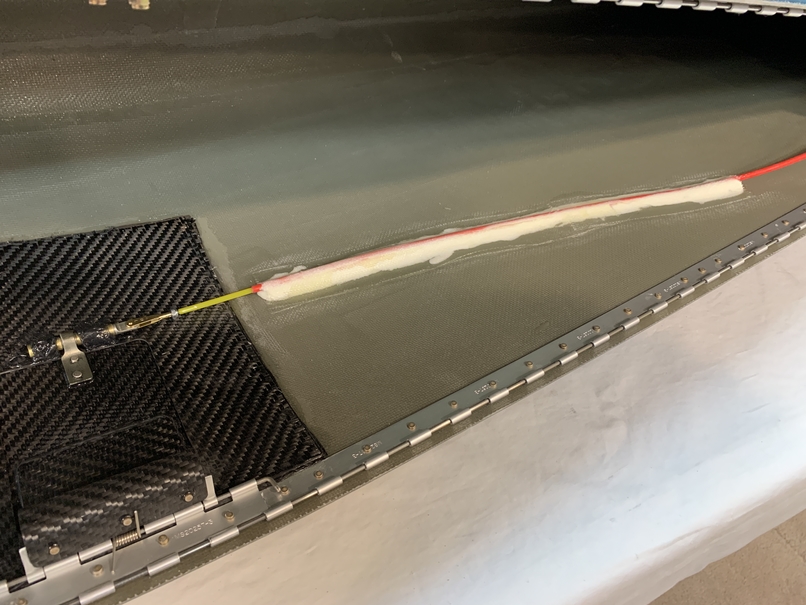
Kevlar reinforcement about to be wetted out here on the table, where all excess resin can be squeegeed out. The sticks visible inside, are just temporary, to help hold the proper shape when off the plane.
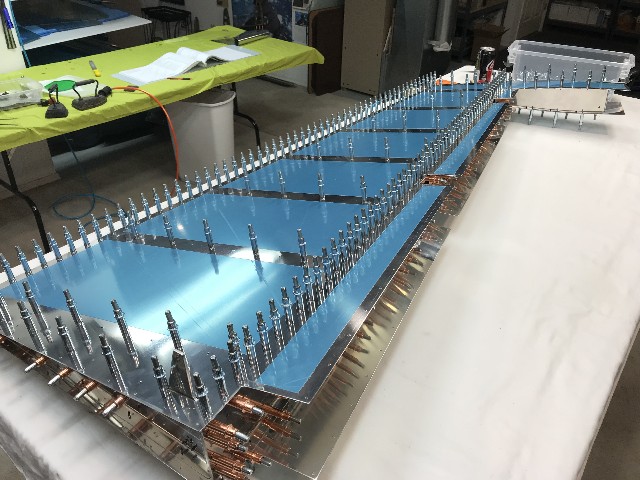
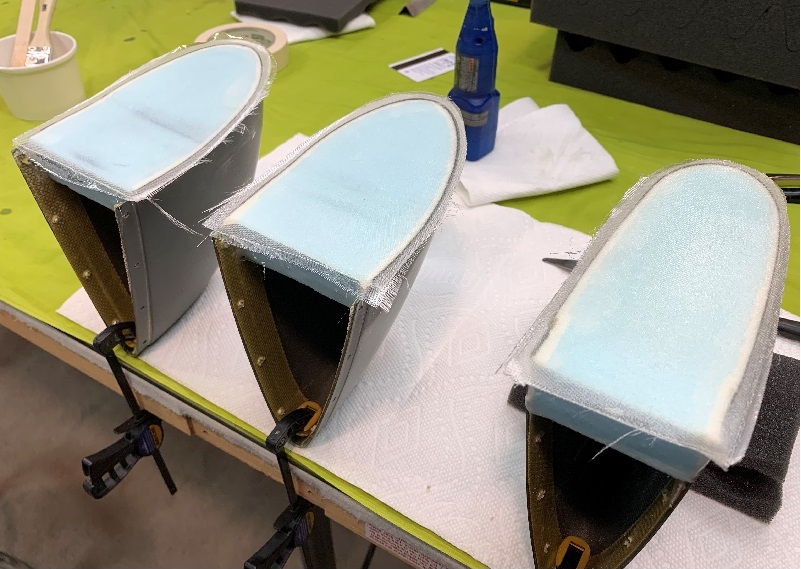
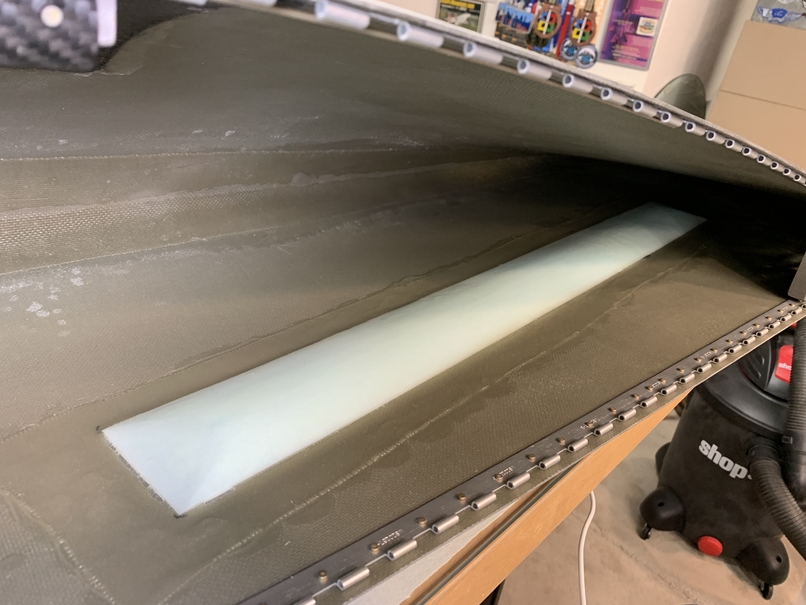
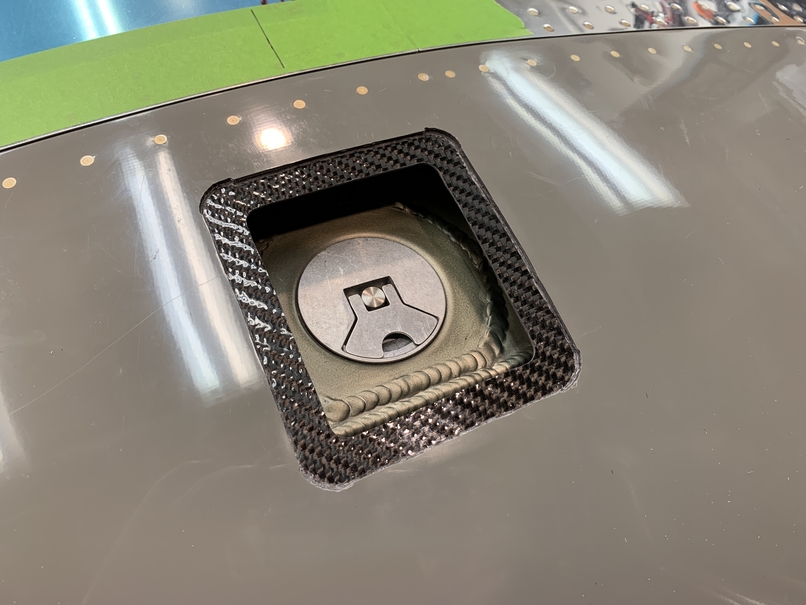
Face fiberglass curing on the foam being left in. Note the white around the perimiter, creating the greater grip 'foot' filet in the foam, and against the original fiberglass. All laid up at same time so chemically bonded as a unit.
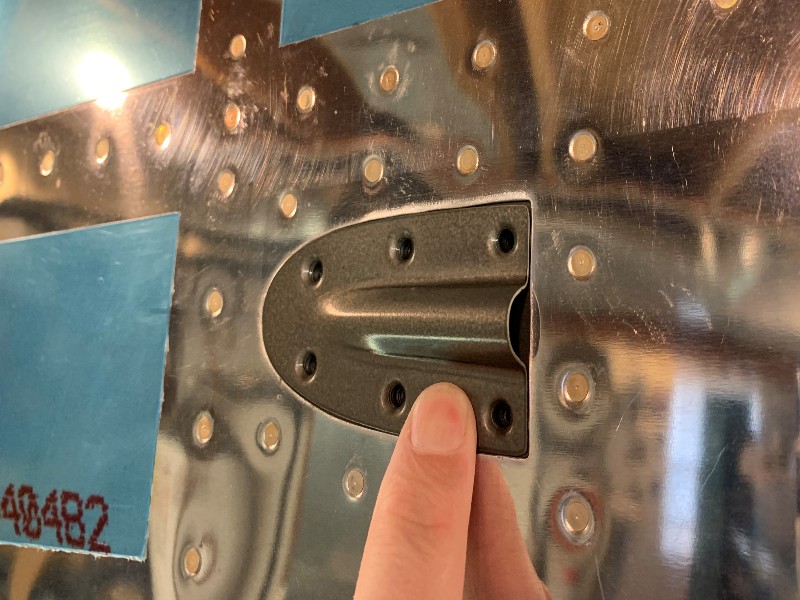
Final result
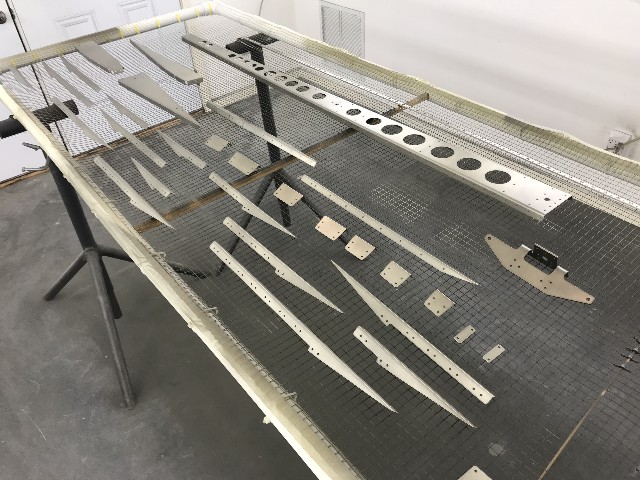
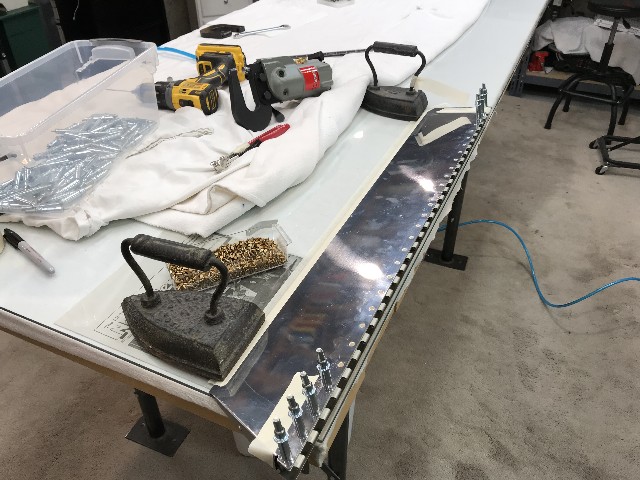
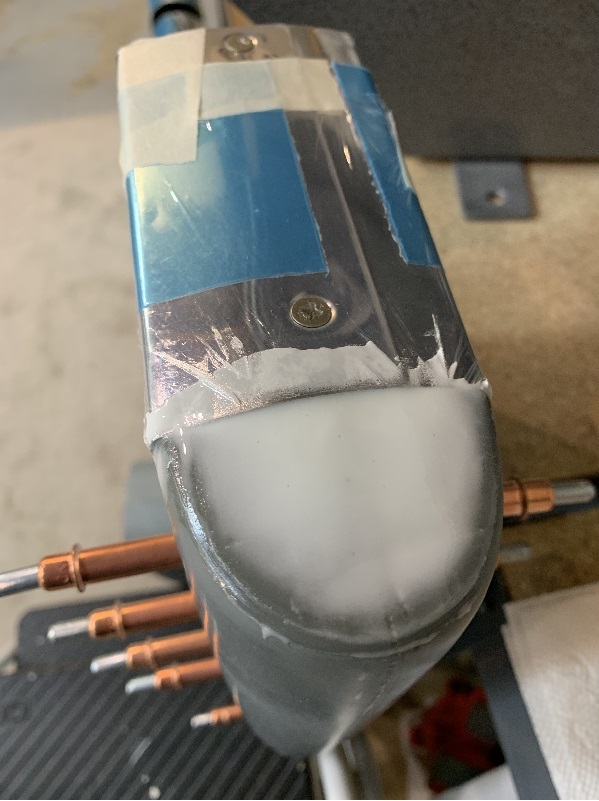
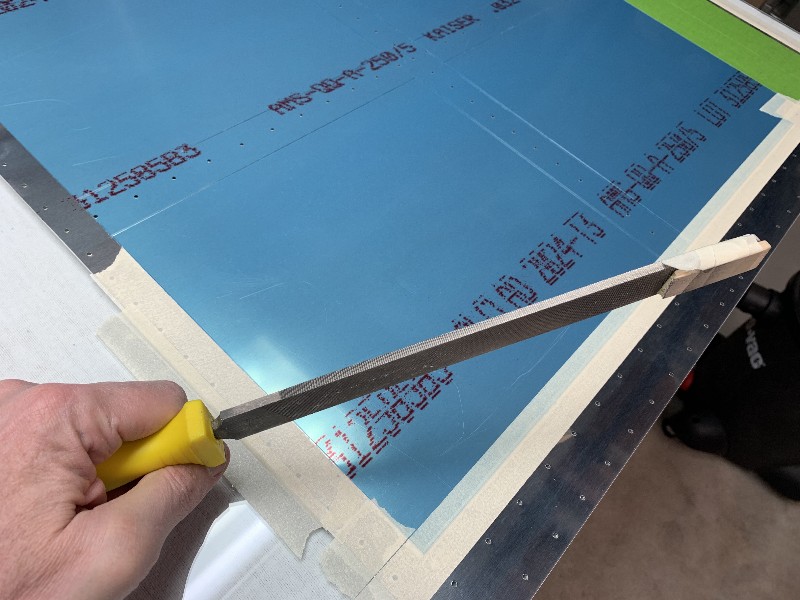
Plastic protecting the metal, and resin/micro/cabosil mix correcting the shape on the front of the original rudder cap.
Although this looks like a lot of primer and filler, what's shown here, has added just a tiny fraction of an ounce, as it's been sanded feather thin.
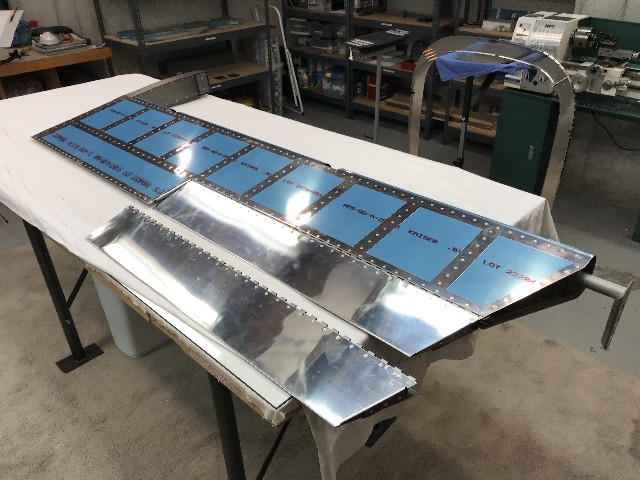
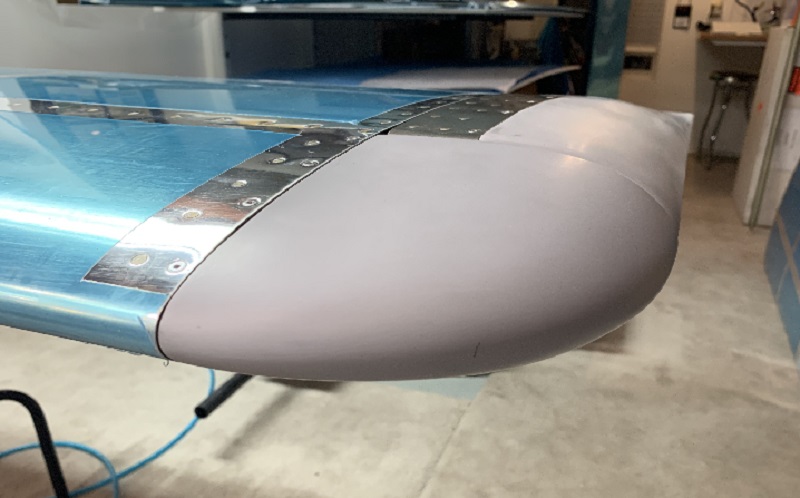
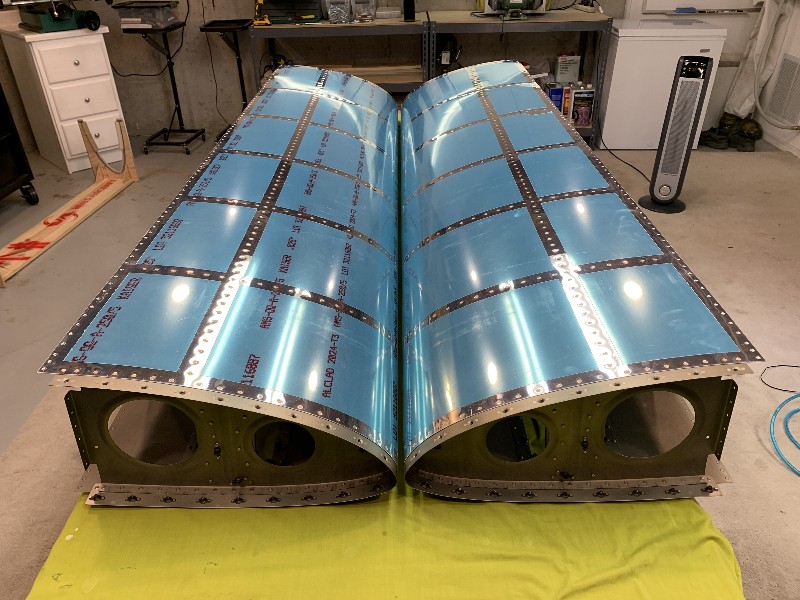
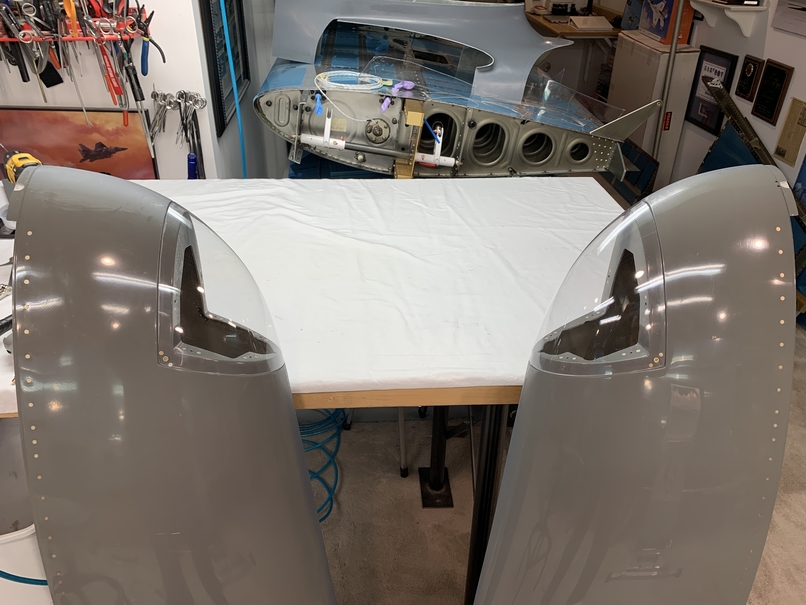
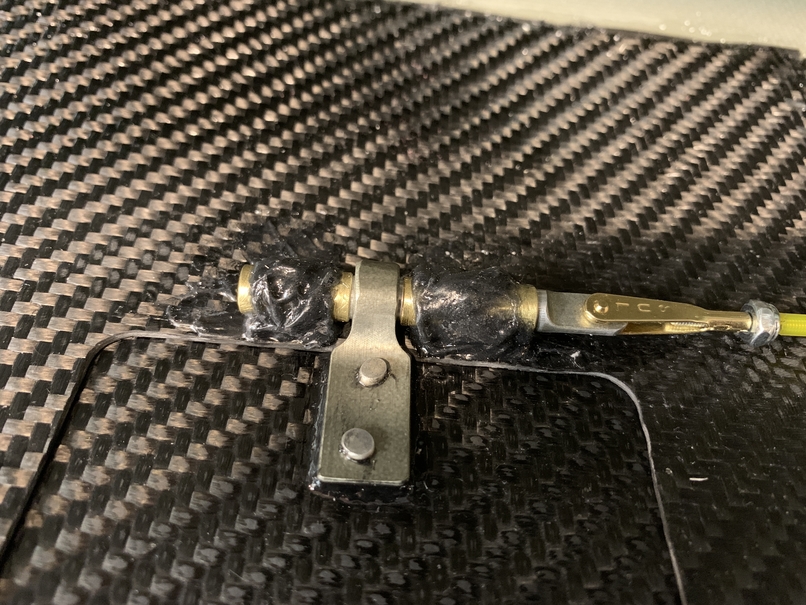
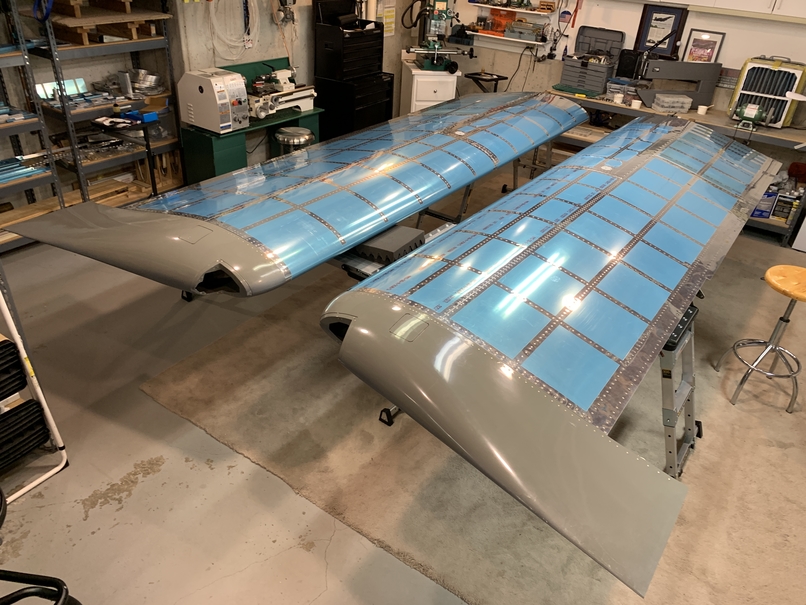
Final results... shapes that match.
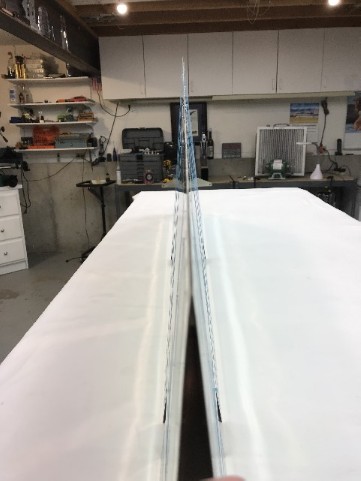
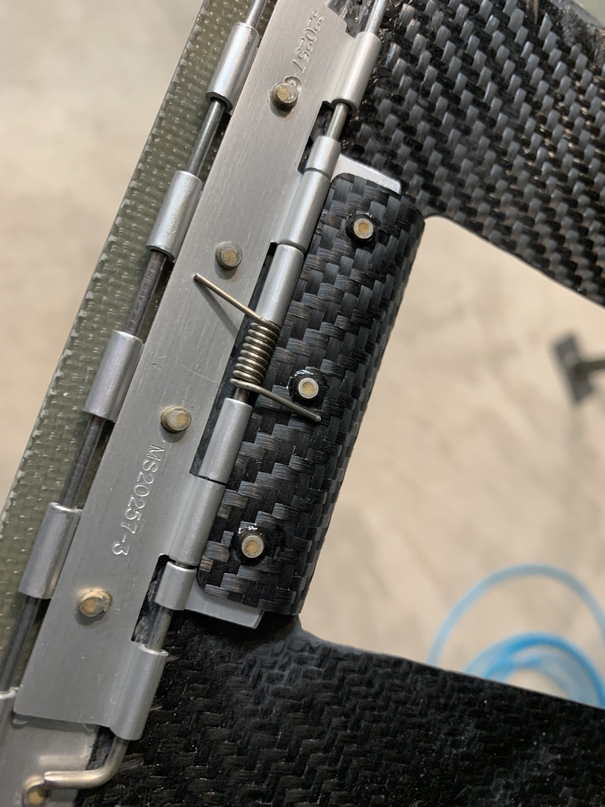
And gaps that match.


")