

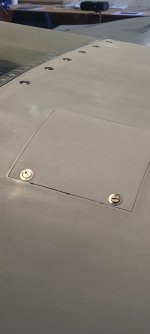
I have a few fiberglass divots/dings to repair prior to painting - oil door edge on the cowl, plus a couple other locations on the plane. The attached pic shows three small divots on the cowl at the bottom edge of the oil door. They're small, but I'd like to fix them.
I'm thinking some epoxy and 406 mixed together to fill these. Or is 407 better for this or something else altogether? These are pretty small 'divots' - maybe 3/16" x 1/16" in size, on the edge. I'm planning to use something to "block" whatever I use from spreading too far, like a piece of aluminum angle with wax clamped to the oil door edge (when the oil door is open) so it doesn't stick where I don't want it.
These are just my thoughts on what and how. I'd really appreciate some advice on this.
Thanks!


")


