Mike F
Active Member
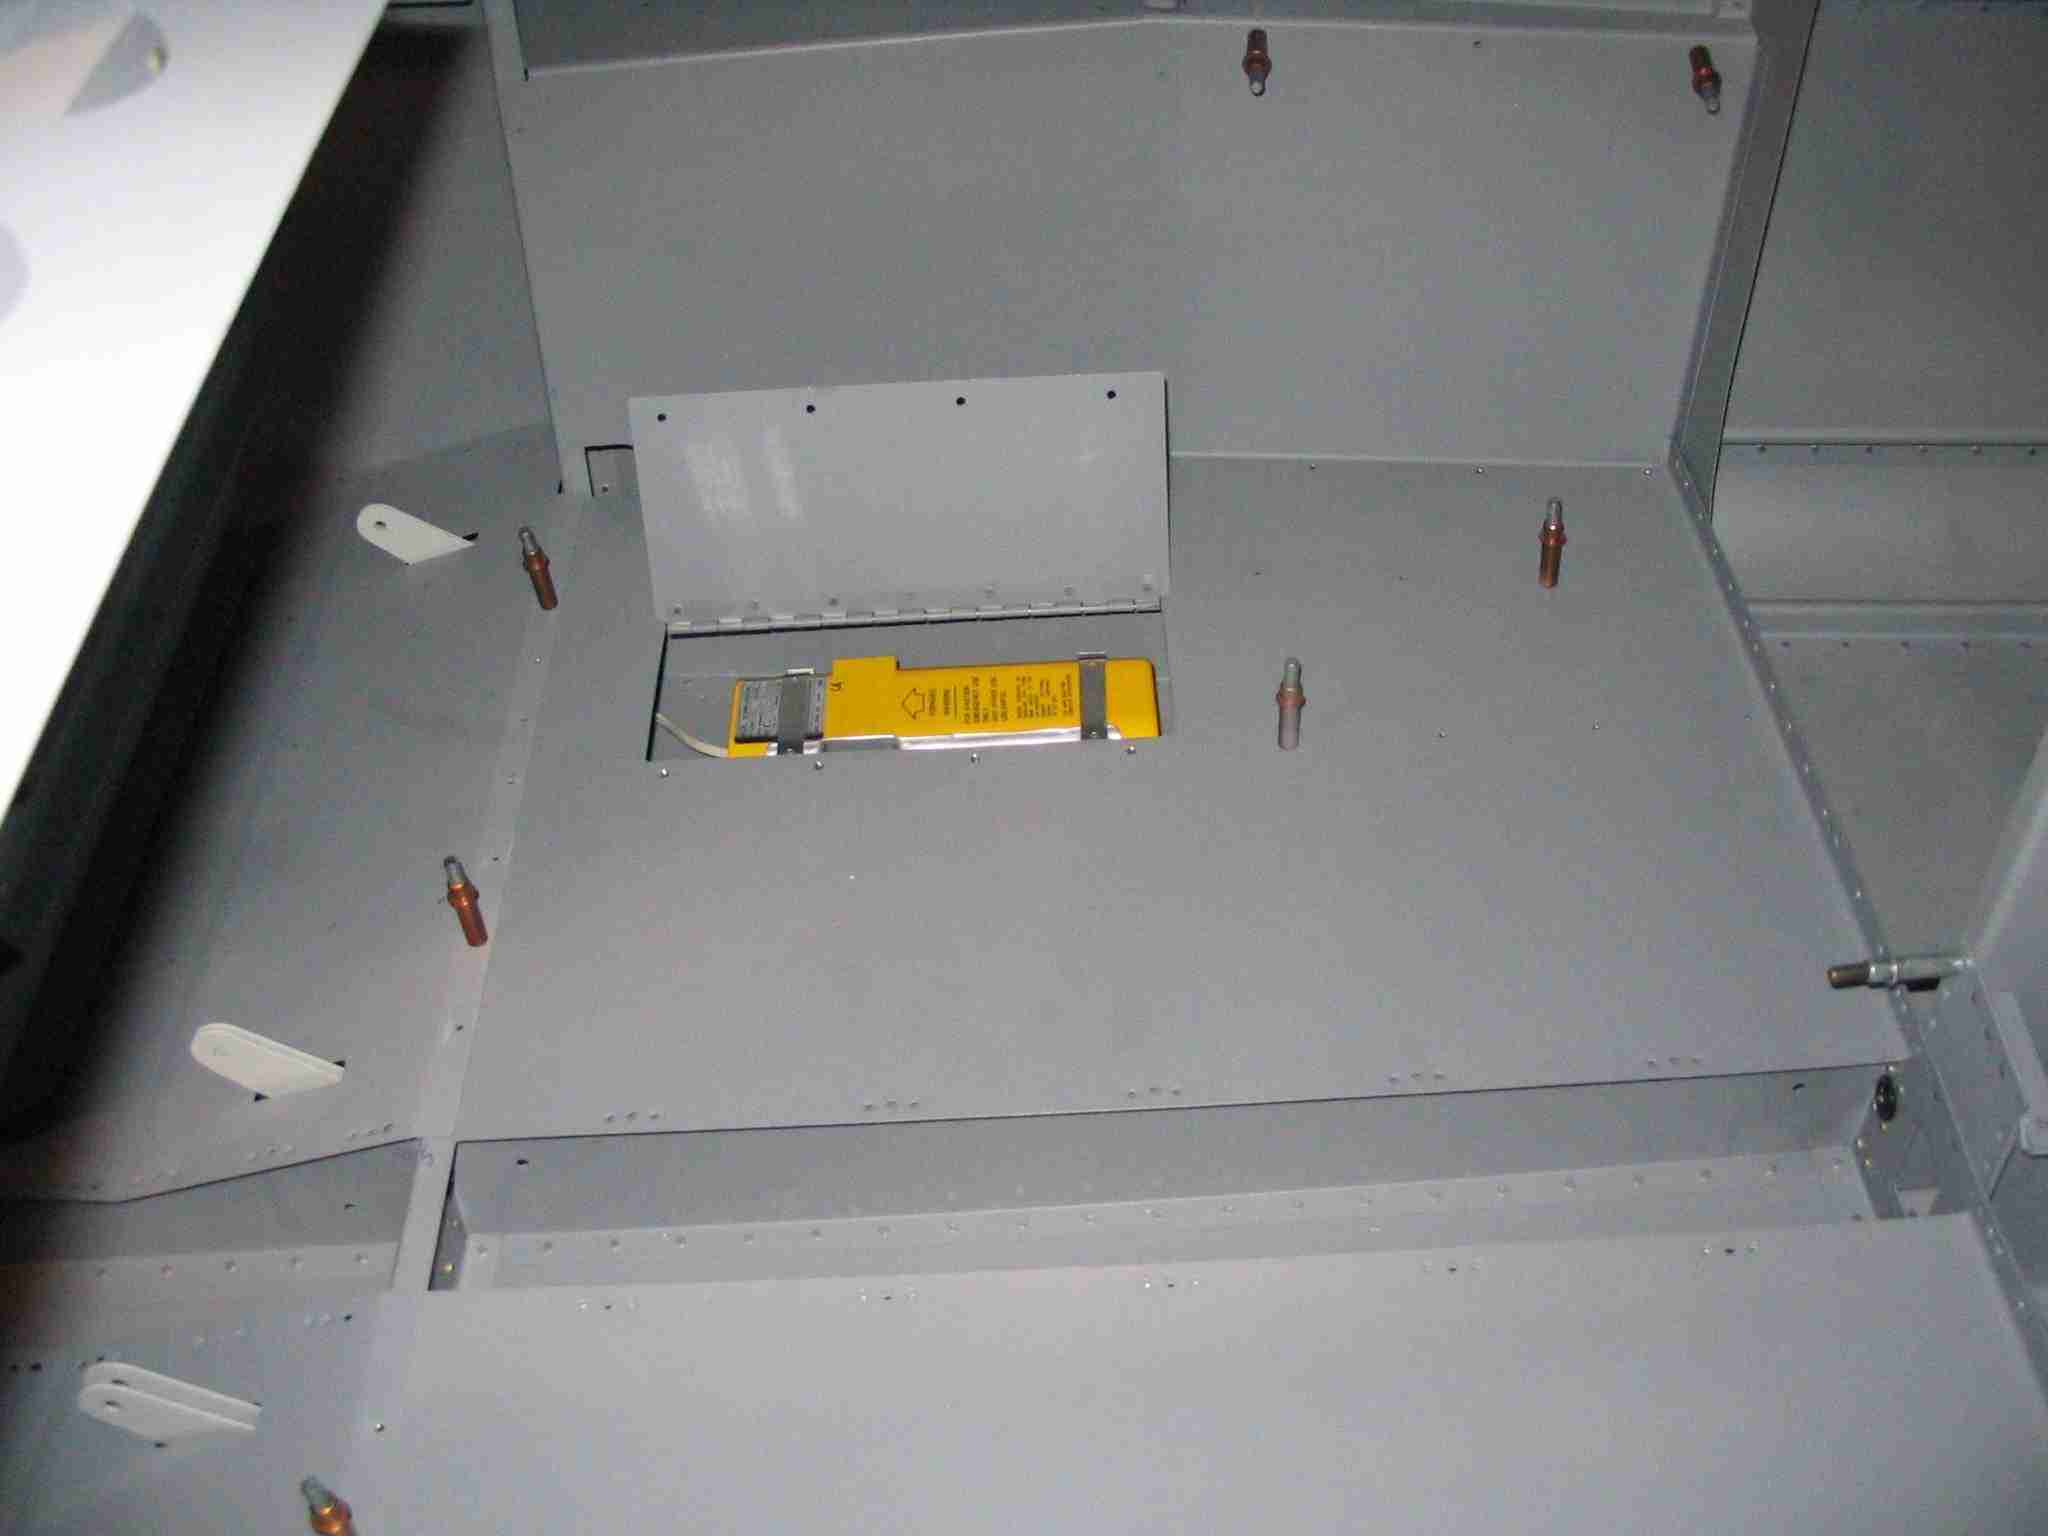
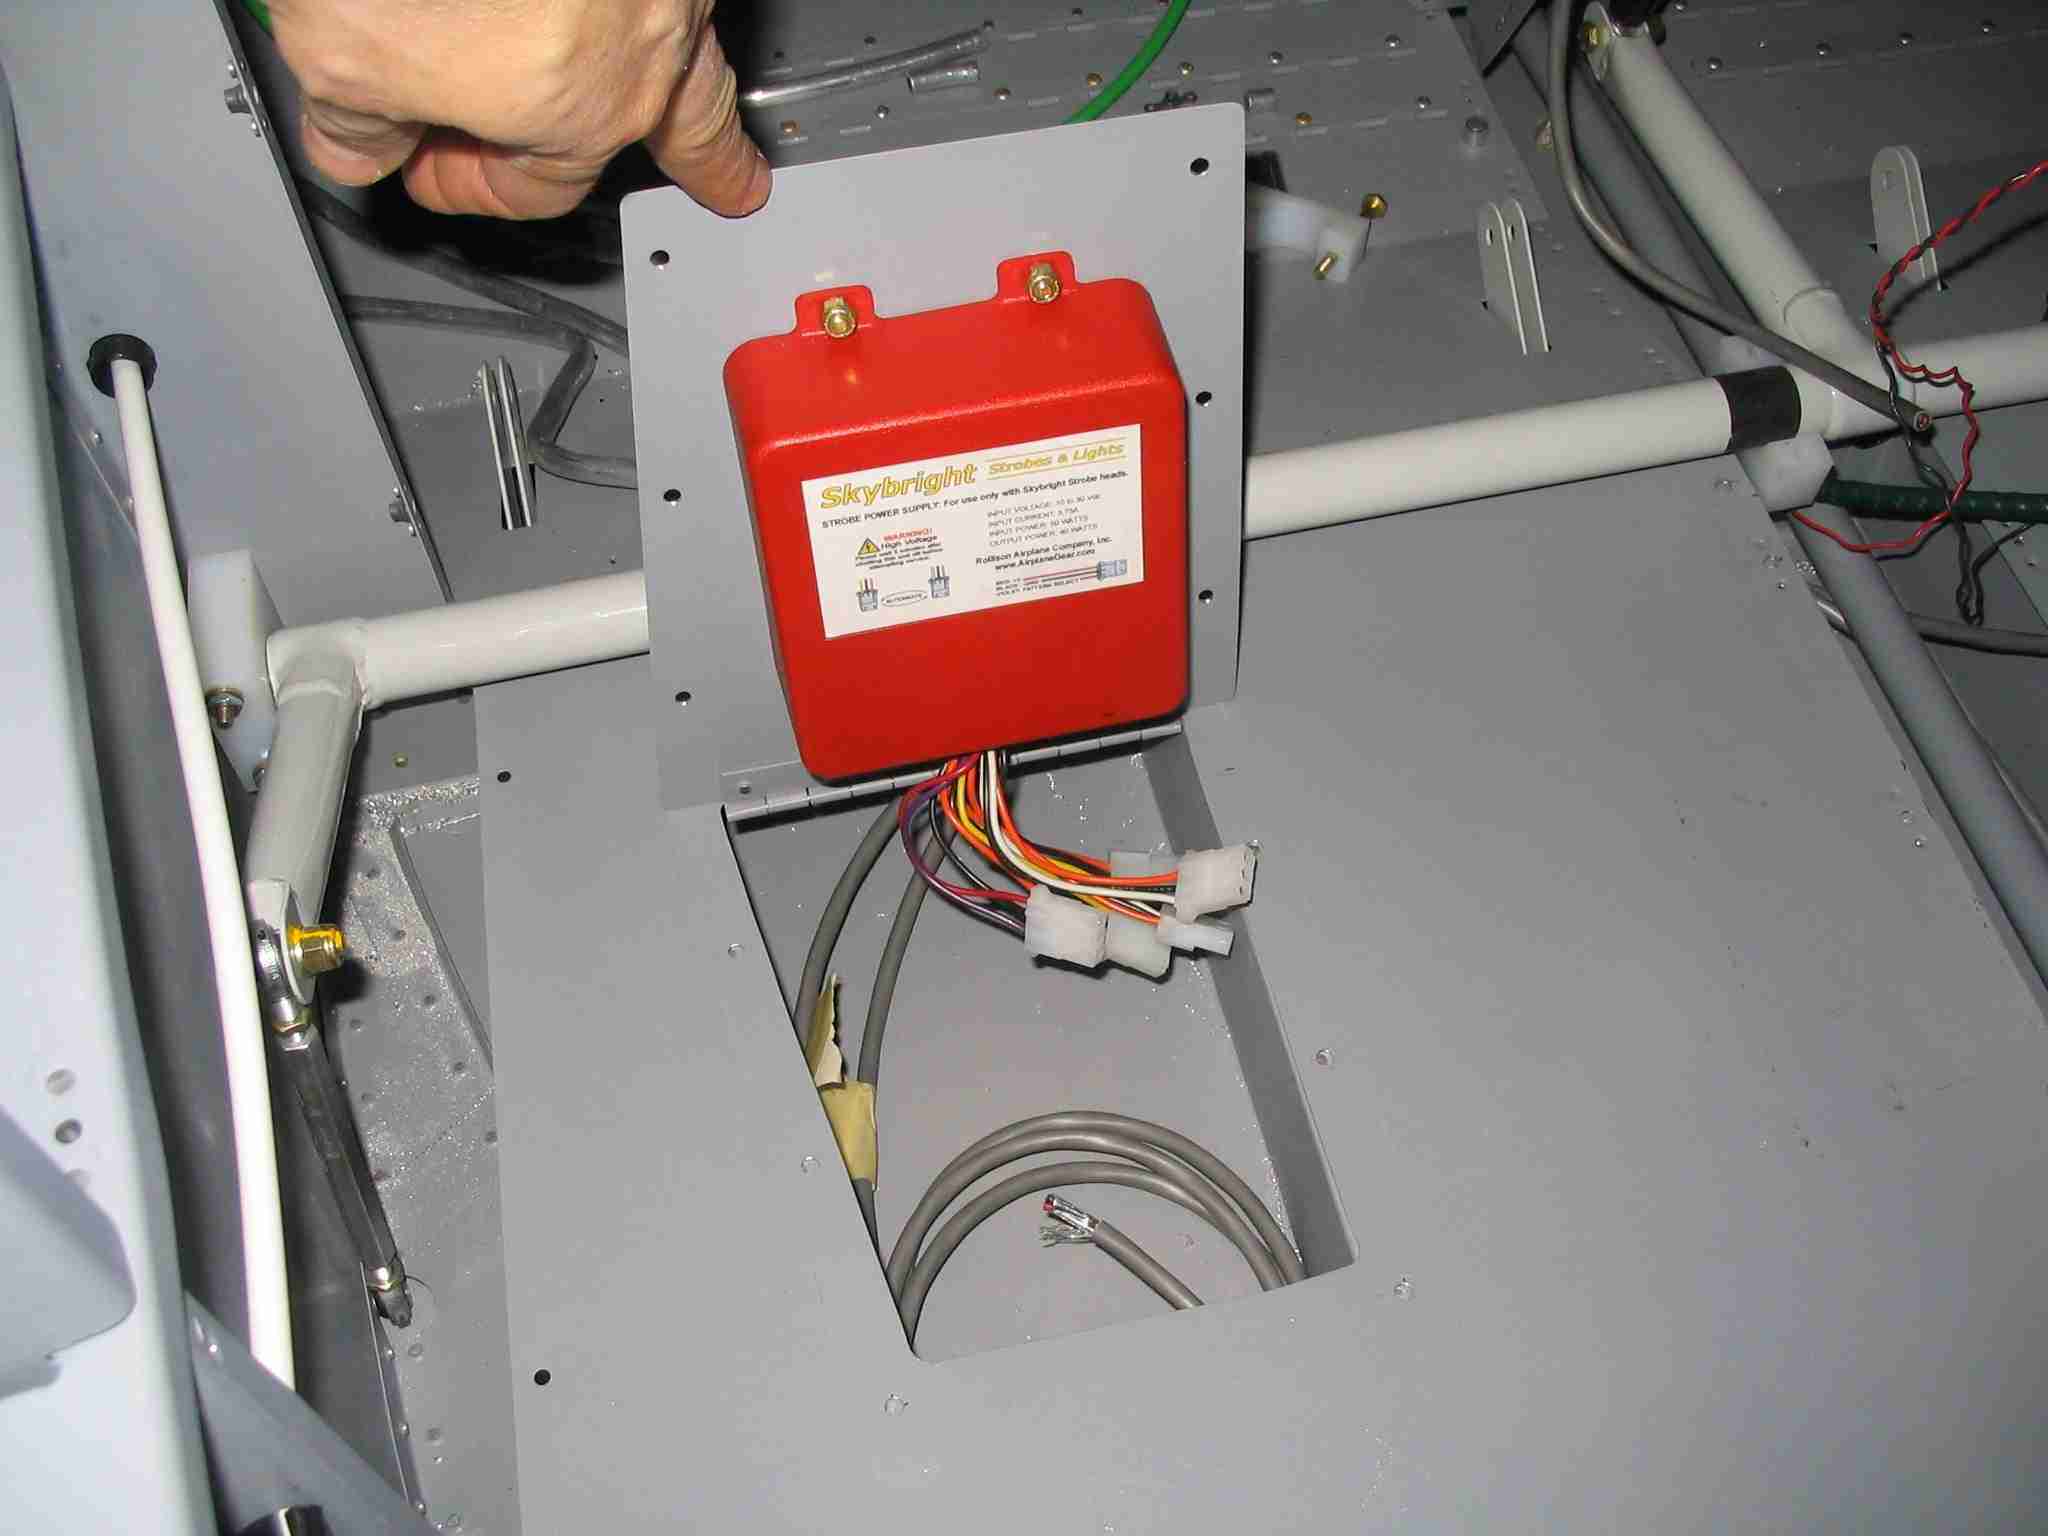
I see Van's is now selling a mounting bracket for the Strobe Power Supply. It also works for the ELT. Has anyone installed this yet? Where does it mount? I was just about to start building a mounting bracket for under the baggage compartment when I saw this.
http://www.vansaircraft.com/cgi-bin/catalog.cgi?ident=1160445364-248-651&browse=new&product=bracket
http://www.vansaircraft.com/cgi-bin/catalog.cgi?ident=1160445364-248-651&browse=new&product=bracket


")