What's new
Van's Air Force

Don't miss anything! Register now for full access to the definitive RV support community.

The Ultimate Deburr Tools For Holes and Edges ?

gmcjetpilot

Well Known Member
I am not a rookie but wonder what others use to deburr.

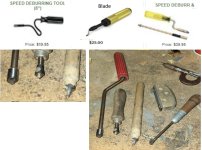
Picture below, looking at what is on line, top L to R seems like technology has not advanced, two handles with bits and one blade style.

Blade Style (middle) I tried 30 yrs ago. I recall I did not like it. May be I had a bad one. Change my mind? Should I give it another try. The other two are not different from what I have now.

Bottom, from LEFT to RIGHT,
The red handle works, bought it over 30 yrs ago, but does not deburr as nice as the countersink bit. It does work. When dealing with clad you need to knock off the secondary burr. Yes?
The curved wood handle has a special deburr bit, cone with hole in side. It is not for small holes but larger holes, thereabout 0.19" Dia. or more
My GO TO is my home made wood dowel with a countersink with 40 pilot. Spin it 2 times with light pressure seems to make the cleanest deburr.

As far as edges that wood handle "V" scrapper on right is the trick solution. The stubby vixen file file with handle is also great for edges. I have a deburring wheel on my bench grinder, it is the greatest thing has lasted decades, but diameter is smaller with wear. Then there are the other alternatives, sandpaper and scotch brite pads.

Any secret weapons?


Deburr Tools.jpg
 
I mainly use Cleveland’s single flute hex bit in a power screwdriver. The others for hard to reach etc, and I use the light wheel on the bench and light 1” wheel on the angle grinder a lot as well.
 
I mainly use Cleveland’s single flute hex bit in a power screwdriver.
Same here.

For lightening holes I use the blade style tool shown in the first post. I use purple Scotch Brite pads for all edges after whatever other tool I use (files, 3M wheel, etc).
 
Thank you for the replies... Good tips and good to ask what others do, as a sanity check or steal good ideas. Ha ha.
I should follow the Sticky and search first rule. After I posted this thread, found this. There is an expensive deburr tool I have not seen before. Not sure it is worth the money but looks interesting.


I started deburring 1000 holes (literally) and it's not bad. One trick with wing skins is leave them in place to deburr one side, Remove and deburr ribs in place. Having part held secure and hole clear (using piloted countersink as deburr tool) makes it easy or easier. I am still doing it by hand, but if I had a small electric screw driver that might save effort/time. However, for me doing it manually have a feel for it and less likely to over do it.
 
Last edited:
I started deburring 1000 holes (literally) and it's not bad.
Good start! You only have 12,000 to go! 🤣 The RV-4 has 13,000 driven rivets! :oops: And nearly all of them needed to be drilled (WAY before the days of pre-punched!), deburred, countersunk and driven. That doesn't account for the cleco it together; take it apart; cleco it together; take it apart; cleco it......... Makes one appreciate what it takes to put a real airplane together!
One trick with wing skins is leave them in place to deburr one side, Remove and deburr ribs in place. Having part held secure and hole clear (using piloted countersink as deburr tool) makes it easy or easier. I am still doing it by hand, but if I had a small electric screw driver that might save effort/time. However, for me doing it manually have a feel for it and less likely to over do it.
As far as a deburring tool, I have one like the red-handled example in the pictures you posted. I still use it and have not gone to anything fancier. I LIKE doing them by hand as I feel I have more control over what the tool is doing. The countersink bit might be overly aggressive but I suppose it depends on how you use it. The hand-held one seems to be better at cleaning the edges as it rotates as you use it; thus the 'crooked' handle. OMHO...........
 
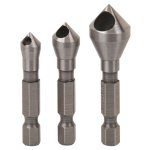
I go to the Harbor Freight aviation aisle:
View attachment 63163
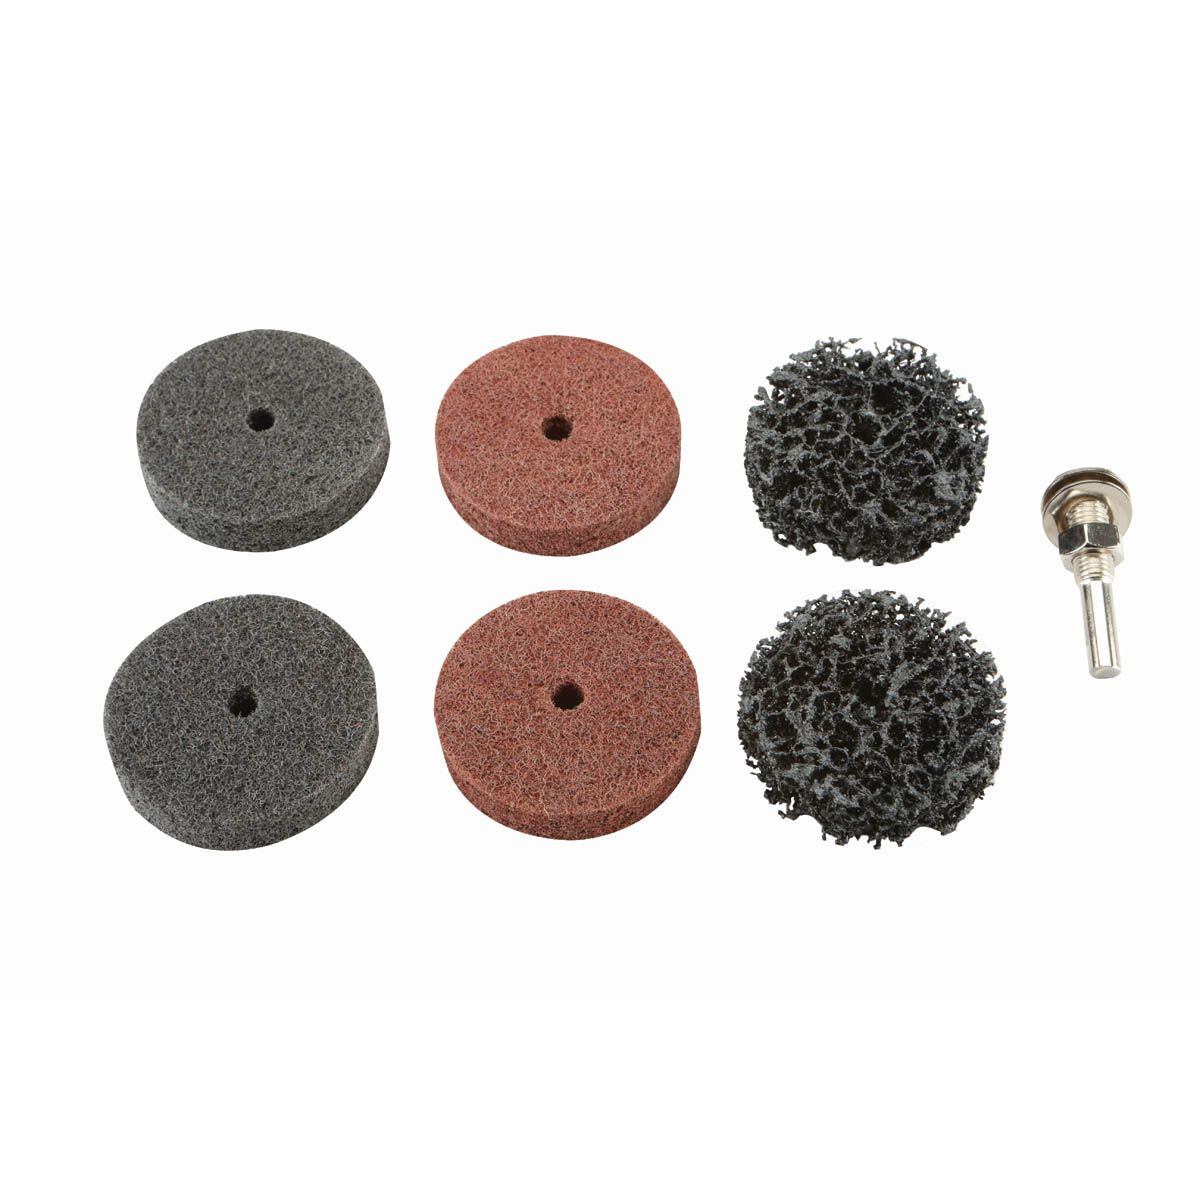
and
View attachment 63162
I'm a hard core long time Harbor Freight customer. I bought the bits today and already put to test. They work well. Small does 3/32 nicely. New favorite. Thanks for tip. I have scotch Brite 3M brand quick release mount round pads. But will pick these HF ones up as well . Cheers
 
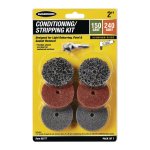
I think I may have mentioned this in another thread, but I've stopped using the countersink bit for deburring 3/32 holes. I now use the HF 2" conditioning wheels. There is nothing wrong with the countersink bits for deburring, I just find the conditioning wheels to be faster. I also think the risk of overdoing a debur is reduced with the wheel. I use a die grinder for spinning the conditioning wheel (not right angle), and run it across the hole two or three times and move on. The gray and maroon wheels both do a good job. I don't use the striping wheels. I wish I could find a source for just the wheels.
 
I mainly use Cleveland’s single flute hex bit in a power screwdriver. The others for hard to reach etc, and I use the light wheel on the bench and light 1” wheel on the angle grinder a lot as well.
Me too! Slip too much using the handle ones and edge scar. Deburr wheel on grinder stand and dremel is the bomb!
 
I think I may have mentioned this in another thread, but I've stopped using the countersink bit for deburring 3/32 holes. I now use the HF 2" conditioning wheels. There is nothing wrong with the countersink bits for deburring, I just find the conditioning wheels to be faster. I also think the risk of overdoing a debur is reduced with the wheel. I use a die grinder for spinning the conditioning wheel (not right angle), and run it across the hole two or three times and move on. The gray and maroon wheels both do a good job. I don't use the striping wheels. I wish I could find a source for just the wheels.
Me as well. Loving the 5/64 HF bit. One thing I like about the 3/32 CS bit is pilot will indicate if I missed drilling to full size (RV-7 punch holes under sized drilled in assembly for you RV10 and RV14 builders).
 
Back
Top