

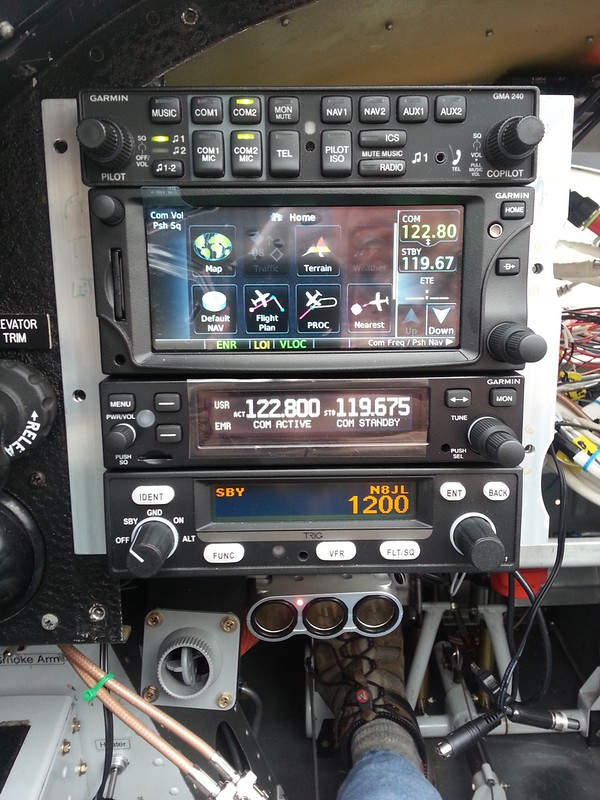
Well, the "Need" to have a WAAS GPS and 2020 compliant panel pushed me over center and I decided to bite the bullet and upgrade all the COM/NAV capabilities in my 8.
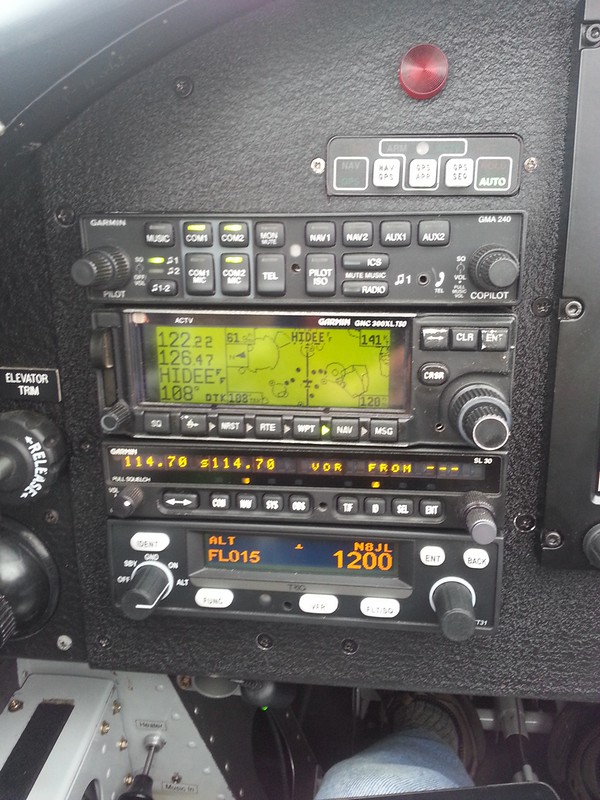
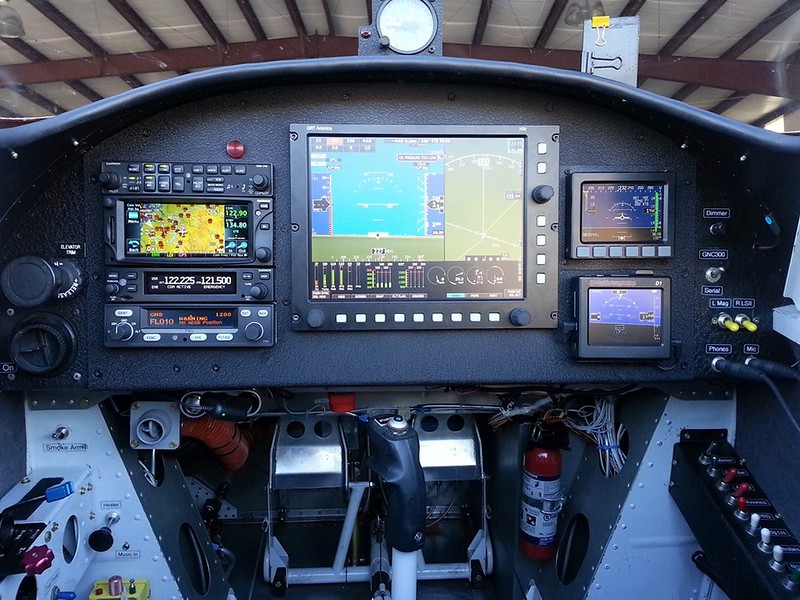
I had a nicely equipped IFR panel that had almost everything but a Certified WAAS GPS. I could do ILS/LOC, VOR and GPS approaches, but not the LPV's that are replacing the old ILS systems. Also, I have ADSB out, but it wasn't compliant since I didn't have a certified WAAS signal to feed my position.
This is what I started out with.
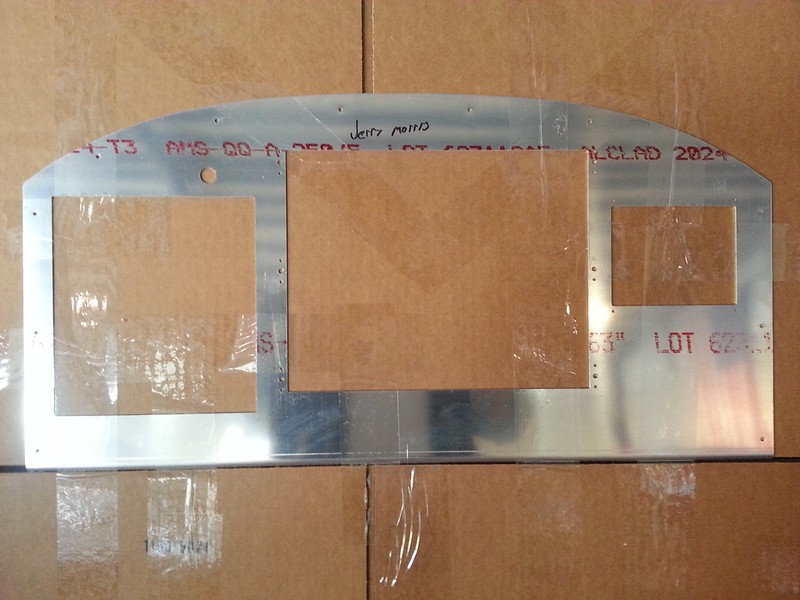
To start the process I got on the horn with Stein and resupplied his .02 cent supply. I also had a panel blank shipped to him so he could have his guys cut it out and I knew if I gave him the proper placement I wanted, the dimensions of the cutouts would be correct. Here's what I got in the box from him.
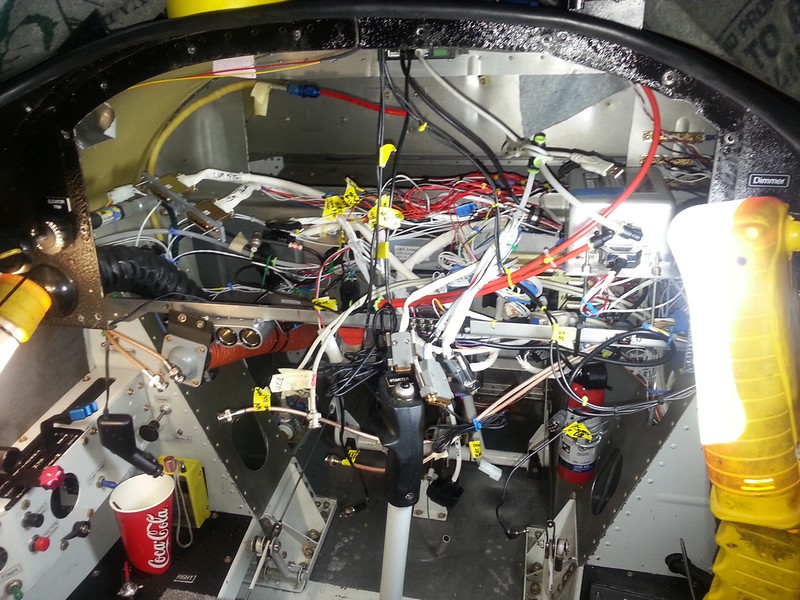
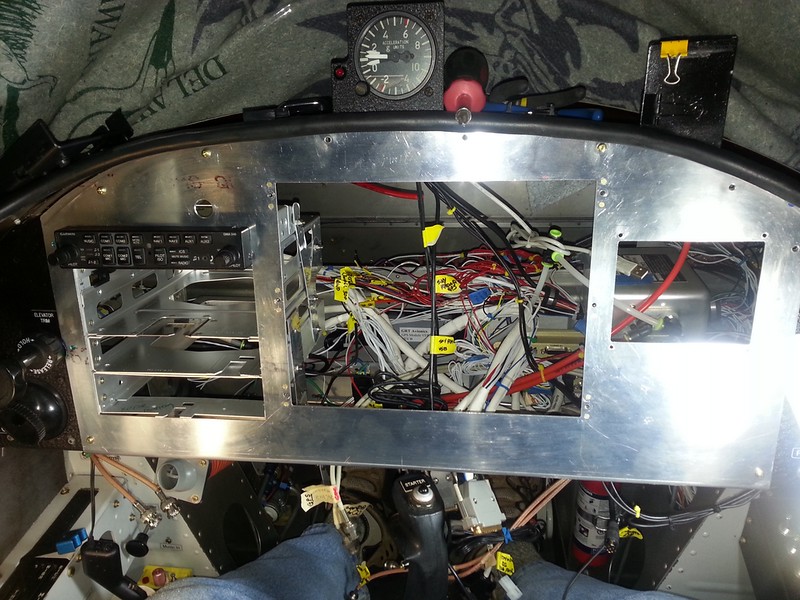
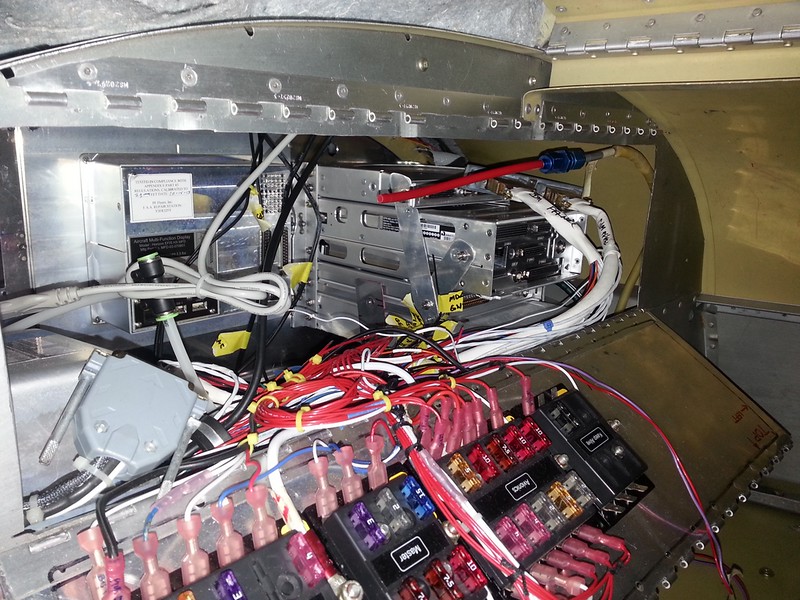
To start the actual project I removed the existing panel and equipment and started tracing wires. I am using the Approach Faststack hub system so mainly I have to change the cables they provided and reattach the power/ground/lighting wires. Still, once I undid all the cable wraps it looked like someone threw a hand grenade into a spaghetti bowl.
After removing Cable ties
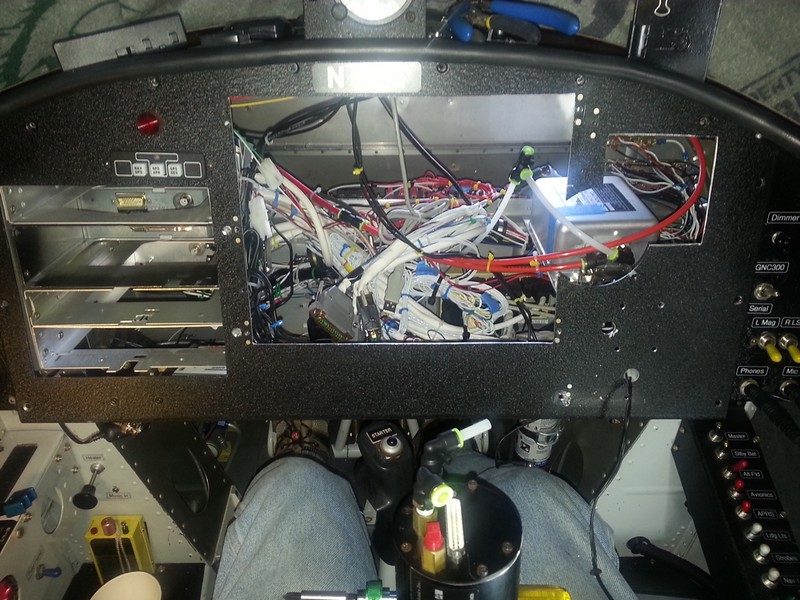
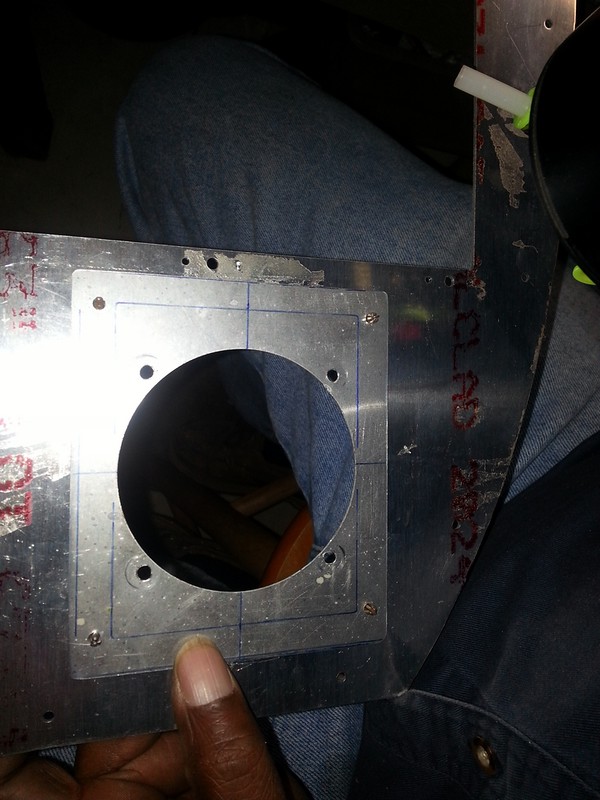
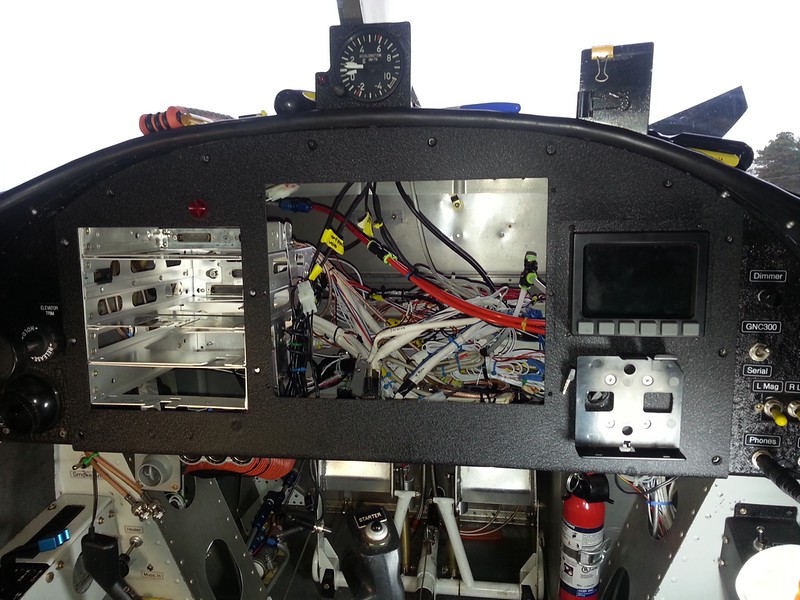
While I was figuring out the wiring situation, James Clark was busy fabricating a plate to put over the hole that was cut out of the panel to accomodate the new GRT Mini B that is forthcoming. I put the venerable Dynon D10A back in this spot until the Mini is shipped towards the end of this year. James made the plate to fit the #4 nutplates required for the mini B so when it comes it'll be easier to install.
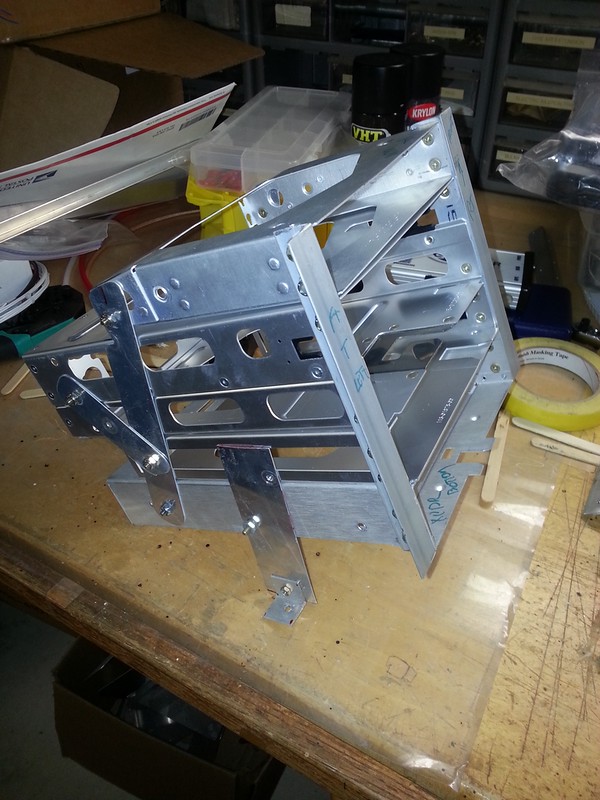
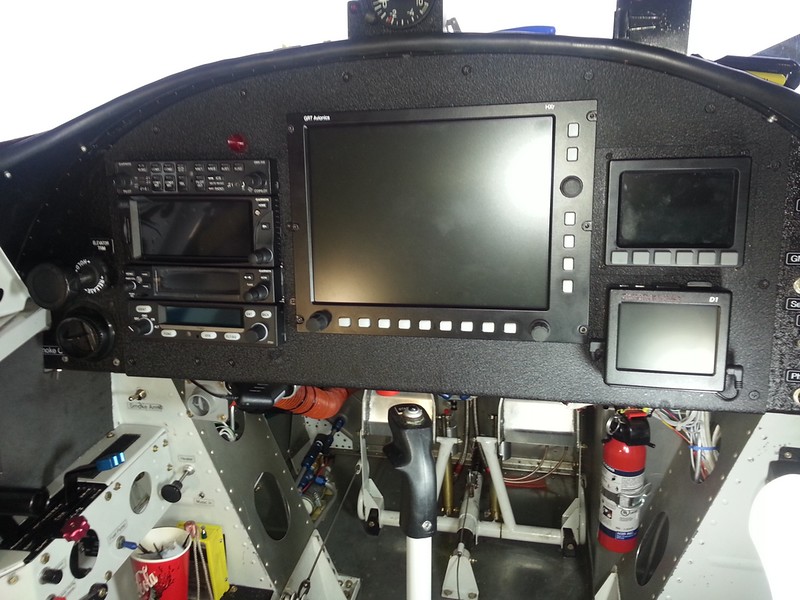
Next I had to rebuild my radio racks to take the old out and put the new in. Once I mocked these up we placed them in the cutout of the new panel and they fit perfectly. Thanks Stein and CAD..
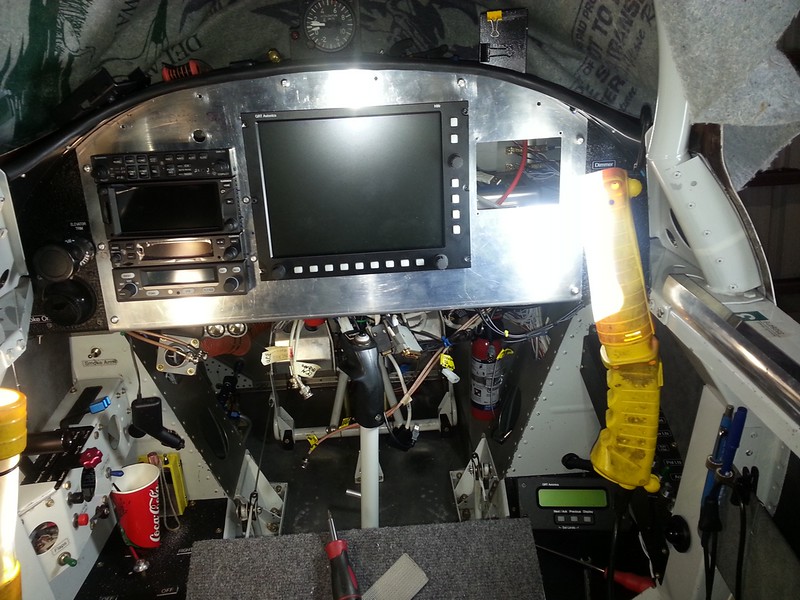
I just had to have a peek at what it was all going to look like, call it a test fit..
Continued in Part 2.
I had a nicely equipped IFR panel that had almost everything but a Certified WAAS GPS. I could do ILS/LOC, VOR and GPS approaches, but not the LPV's that are replacing the old ILS systems. Also, I have ADSB out, but it wasn't compliant since I didn't have a certified WAAS signal to feed my position.
This is what I started out with.
To start the process I got on the horn with Stein and resupplied his .02 cent supply. I also had a panel blank shipped to him so he could have his guys cut it out and I knew if I gave him the proper placement I wanted, the dimensions of the cutouts would be correct. Here's what I got in the box from him.
To start the actual project I removed the existing panel and equipment and started tracing wires. I am using the Approach Faststack hub system so mainly I have to change the cables they provided and reattach the power/ground/lighting wires. Still, once I undid all the cable wraps it looked like someone threw a hand grenade into a spaghetti bowl.
After removing Cable ties
While I was figuring out the wiring situation, James Clark was busy fabricating a plate to put over the hole that was cut out of the panel to accomodate the new GRT Mini B that is forthcoming. I put the venerable Dynon D10A back in this spot until the Mini is shipped towards the end of this year. James made the plate to fit the #4 nutplates required for the mini B so when it comes it'll be easier to install.
Next I had to rebuild my radio racks to take the old out and put the new in. Once I mocked these up we placed them in the cutout of the new panel and they fit perfectly. Thanks Stein and CAD..
I just had to have a peek at what it was all going to look like, call it a test fit..
Continued in Part 2.
 boxes all neatly labeled and stacked. Ugghhhh! Not mine. No sireee. Stop by again when you are near.
")

