Dang that sounds like fun! I spent my day cleaning and resetting my shop. What a pig pen!
Stein is one of my favorite vendors. Seems like every time I call, he answers. Pretty cool.
The Stein panel would be complete, but I suspect other stuff would need to be finished by the builder. Light harnesses, stick harness, trim and AP harnesses, ADAHRS, and FWF.
You might also look at Advanced Flight Systems complete panels. They are similar, but make use of their Advanced Control Module. Basically a VPX. Electronic breakers. It handles all the audio, data and serial as well so it really is plug and play. Builder has to terminate the aformentioned harnesses. My panel is built on the ACM. Either one will save a ton of work.
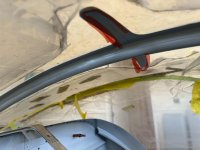
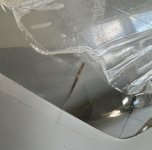
I saw the later post. Canopy is a big hit. You may want to call Vans on the cost. I would consider replacing the weldments too and bonding the new canopy. Check my blog for a Kitplanes article I wrote on Sikaflex bonding the canopy.