What's new
Van's Air Force

Don't miss anything! Register now for full access to the definitive RV support community.

Installed FlyLeds Control Board

JDA_BTR

Well Known Member
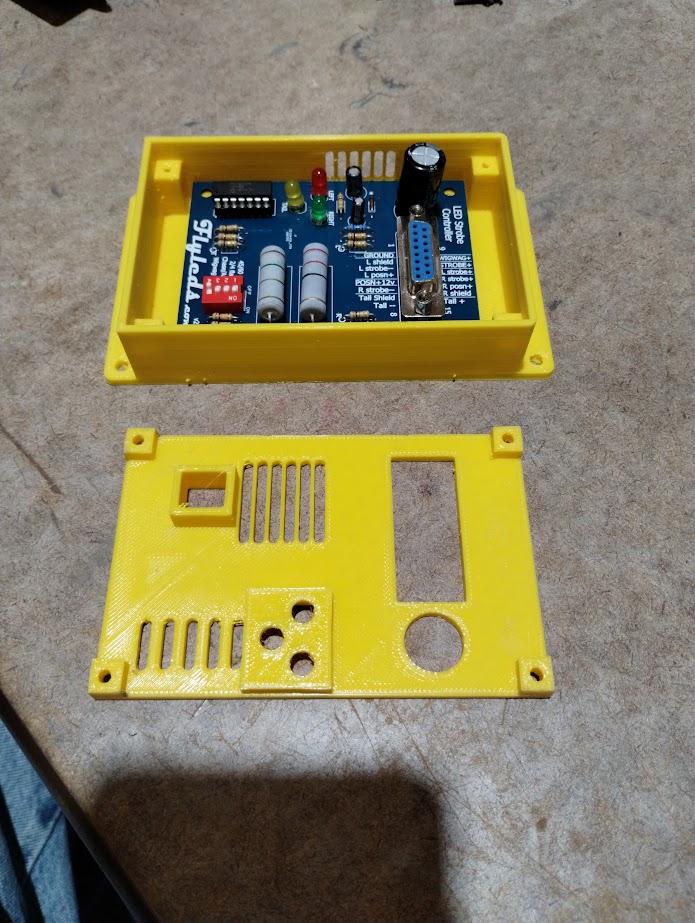
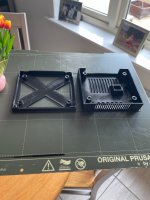
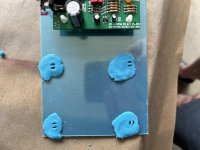
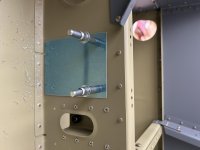
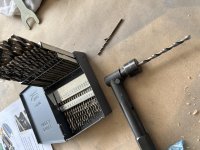
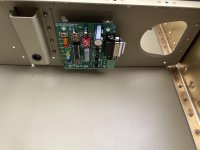
I had decided to install the Flyleds control board in the right foot well forward of the aileron trim bracket. I had already installed the components in the board so I couldn’t just tape it down and drill the holes. So I took some scrap and put some clay on it and made an impression with the mounting spacers. Then I drilled the holes in the jig and took the jig to the airframe. That worked great for locating the holes properly to fit. I made some pictures in case anyone else wants to do it.

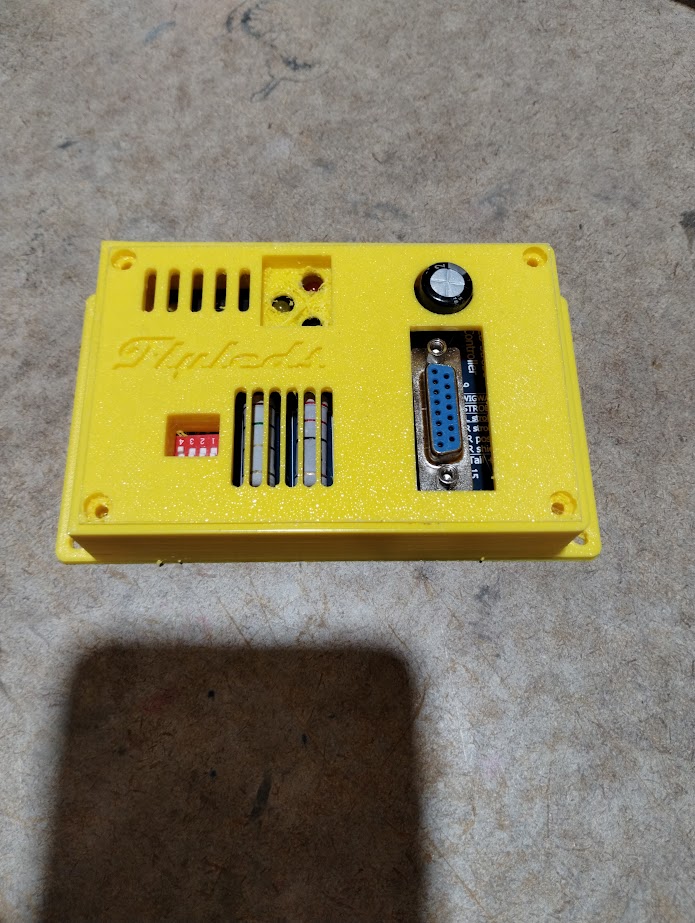
I’m planning to dress the wires from the DB15 connector down thus avoid the pushrod.
 

Attachments

  • 71356775557__47AE2CC2-F94F-4A9C-9EA2-32B09739A8BE.jpg
    71356775557__47AE2CC2-F94F-4A9C-9EA2-32B09739A8BE.jpg
    456.6 KB · Views: 53
  • IMG_5781.jpg
    IMG_5781.jpg
    179.6 KB · Views: 50
  • IMG_5782.jpg
    IMG_5782.jpg
    466.1 KB · Views: 41
  • IMG_5783.jpg
    IMG_5783.jpg
    244.5 KB · Views: 70
Last edited:
I would go one step further and source a “Hobby Box” to mount the board, get some long #6 screws and standoffs to replace the fragile plastic standoffs supplied. I believe someone on the forums makes a 3-d printed hobby box, or you could find others online (Amazon, digikey ect..)
 
If you know someone with a 3D printer there’s a box on the flyleds website made for the purpose.
Or you could have one of the many companies on the internet print one off for you.
 
Box for FlyLEDs board

I've just mounted the FlyLEDs board in my RV-7, and was planning to just use the supplied plastic standoffs without a box. Is a box really necessary given the forward floor will eventually protect the board?
 
I mounted the board in my 9A one bay to the left of the center tunnel. It works fine using the plastic standoffs and is covered by the floor as you said.
 
I’m going without the box. Judging by the many examples of others in similar setups damage or problem risk is low. The standoffs are very sturdy. The hole in the fuselage was drilled to #15 and the stand-off only comes out with deliberate action.

I’m only using the control board for nav and strobe lights. I’ll be bypassing it for landing and flood lights
 
Last edited:
That's what I did and it turned out nice, even with an old printer

[/IMG]
If you know someone with a 3D printer there’s a box on the flyleds website made for the purpose.
Or you could have one of the many companies on the internet print one off for you.

AIL4fc_5SzvmxHBhDiWMs1bMlp19q8RvL3yuAPxKKjJ3BrXizHCE0vy2XOxFkY9cjA0ThhnFDyocICBvb8joTzqj66kx4iJRzwYmuQJPh3YbO9u2LFxqDXJEifPo01lXp7jqHiZpf5WfhHMOxEYC_7bUizIzrg=w695-h923-s-no


AIL4fc9-8k8TE9pdmCLAnosKHXFCrofI52s1kPLVo_kGITXF_EhNHCthCQY7P59FBlAsFN0_J_GB1jYV0x93Y6UIip7BzA-D87WZISCgmMetCZh61kIYjiAhEOHiyGVvzGm3JqJArd7maLfPHBUHb_yU8tOUpw=w695-h923-s-no
 
Last edited:
I've just mounted the FlyLEDs board in my RV-7, and was planning to just use the supplied plastic standoffs without a box. Is a box really necessary given the forward floor will eventually protect the board?

The boxes aren’t required. Just a nice to have to protect the circuit board from dust and debris I think.

It’s a couple of hours print if you have access to a 3D printer.
 

Attachments

  • 70491187651__CBA792DD-5B73-486F-9D63-C0D32DD32AEB.jpeg
    70491187651__CBA792DD-5B73-486F-9D63-C0D32DD32AEB.jpeg
    288.5 KB · Views: 35
Back
Top