Ta Da!
It's been a while since I started work on the elevator tips, so I thought I'd give everyone an update. First, thanks for all the great input that helped guide me through this step. For the benefit of future builders I'll say that I accidentally made the tips removeable but I wasn't trying to do that. I just couldn't figure out how the plans wanted me to close the tips. I should have called the Mother Ship -- a few minutes on the phone would have saved me hours of work in the shop. By the time I finally figured out that I should just bond the tips to the counterweight it was too late as I had already removed enough lead to provide an allowance for fiberglass. Nevertheless, now that I'm on the other side of this modification, I'm happy with the results.
After I finished prepping the counterweight and elevator tips, I decided to set them aside and learn about fibreglass. I watched all the composite Hints for Homebuilders and the Van's RV-14 canopy videos (
https://www.youtube.com/watch?v=EVEEcnNJJys&list=PLsHxidYW7eS2bmEfPh-zuZCXn5TXngVlY) which were really helpful. I decided my first experiments into the world of composite needed to be on something that was disposable, so before attempting the elevator tips I made a fiberglass map case, a cup holder, and caps for the other tips. I learned quite a bit with those training projects.
Project #1, the map case, ended up with a few air bubbles in it that would fail a quality test for a structural component, but for my purposes it was good enough. I used the hairspray release agent method I learned about in HFH, but the mold wouldn't release and I ended up digging the foam mold out. (The shape of the mold likely contributed to it's reluctance to release.) Sadly I had promised izzybear he could have the mold when I was finished, but I doubt he wants it now.
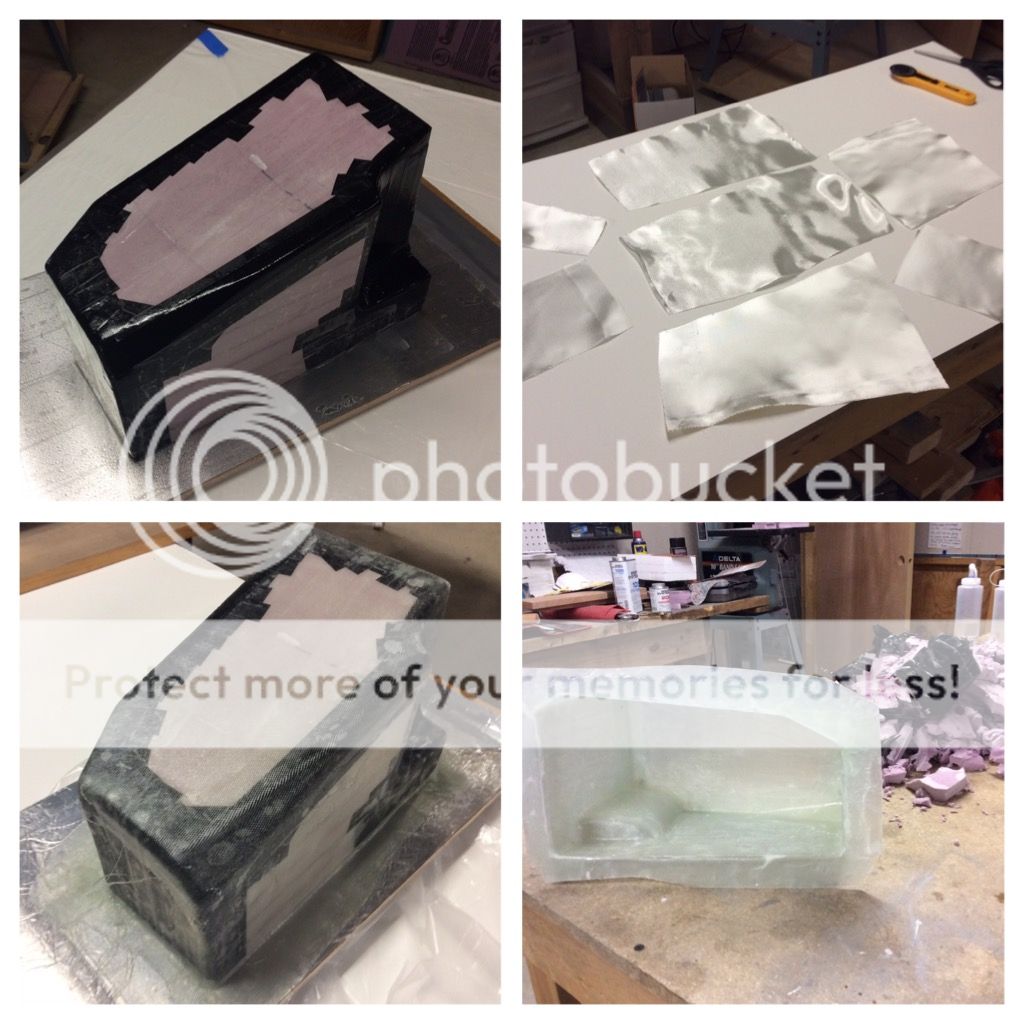
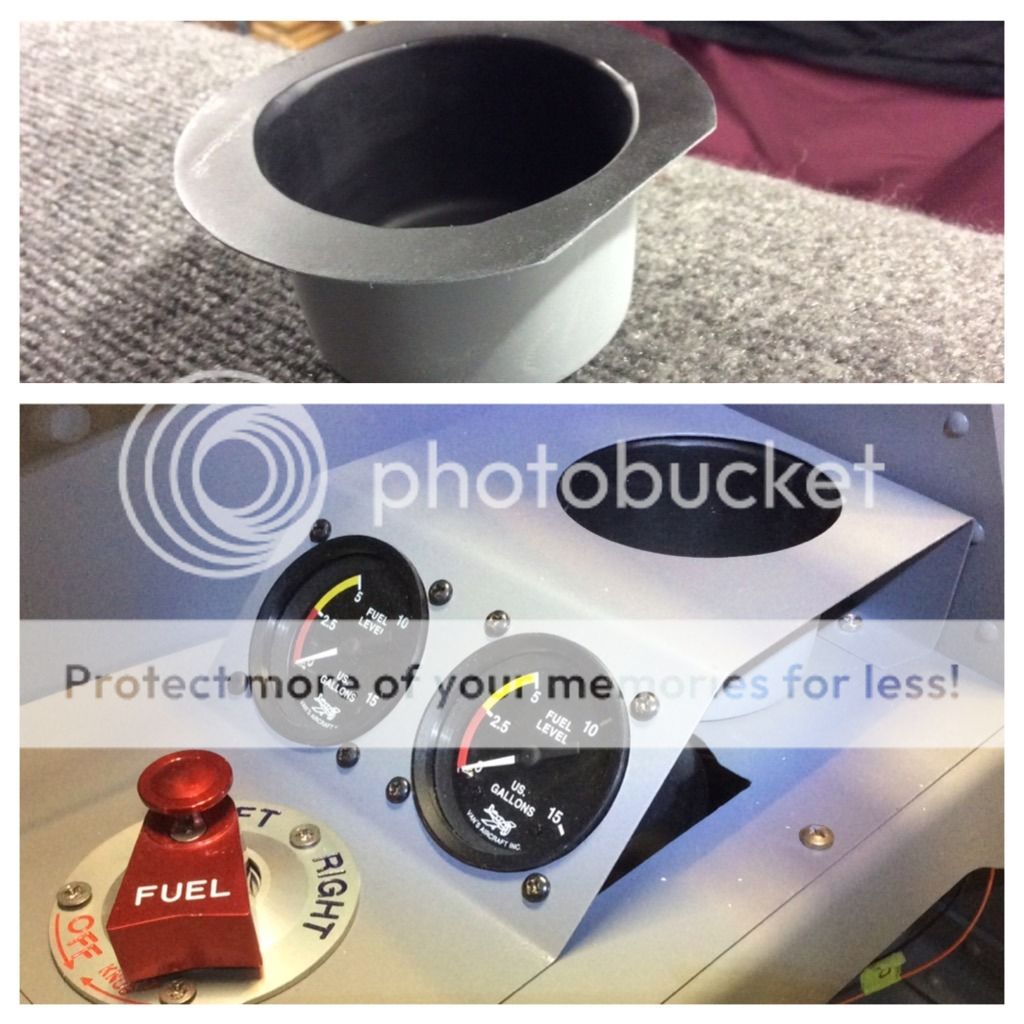
Project #2 was a cup holder for a custom fuel gauge mount / cup holder panel I built. I used the bottom of a wine bottle as the male mold, and covered it with electrical tape to eliminate the punt in the bottom of the bottle. This time I used five coats of Meguiar's Mold Release #8 wax and sprayed PVA on top of that, but the cured fiberglass wouldn't release from the mold and I ended up breaking the bottle to get it all out.
I also spent some time making fiberglass caps for the horizontal/vertical stab tips and enclosing the gap between the elevator and the counterbalance arms.
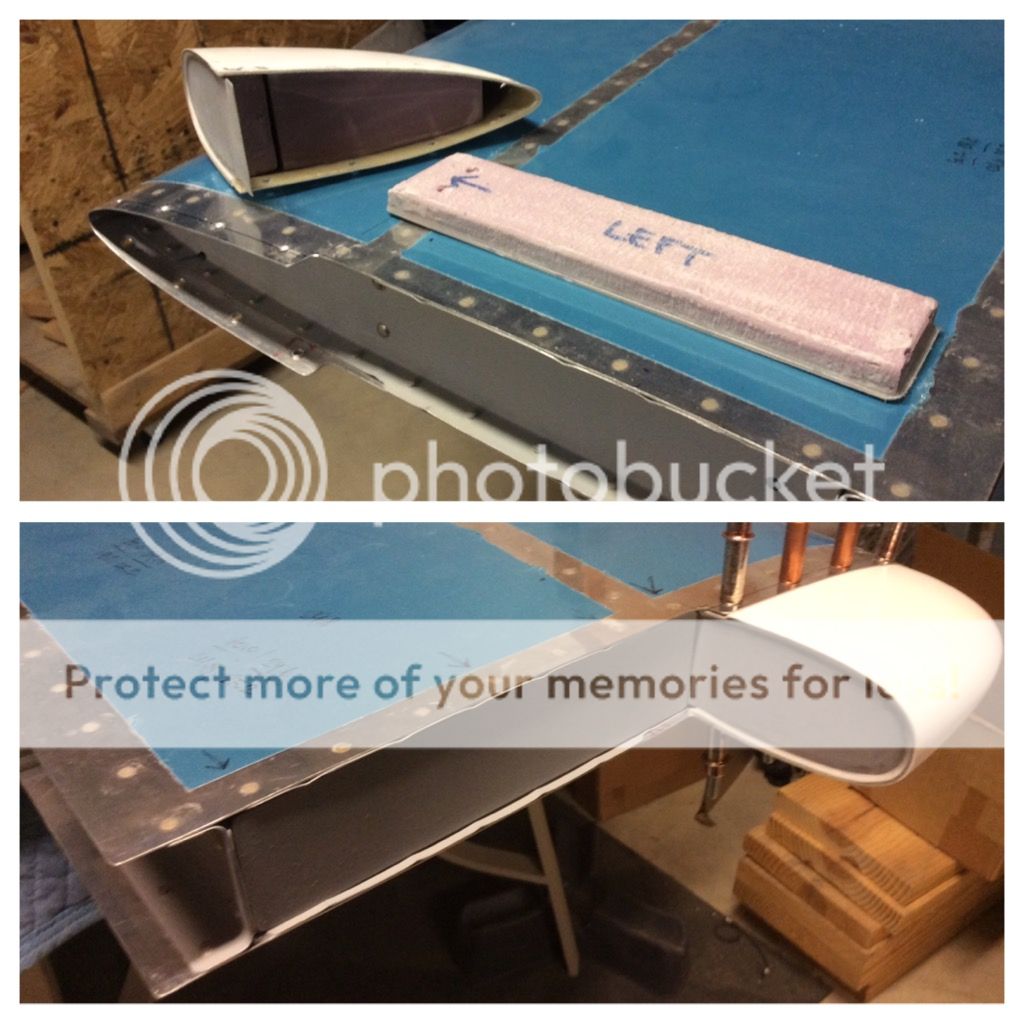
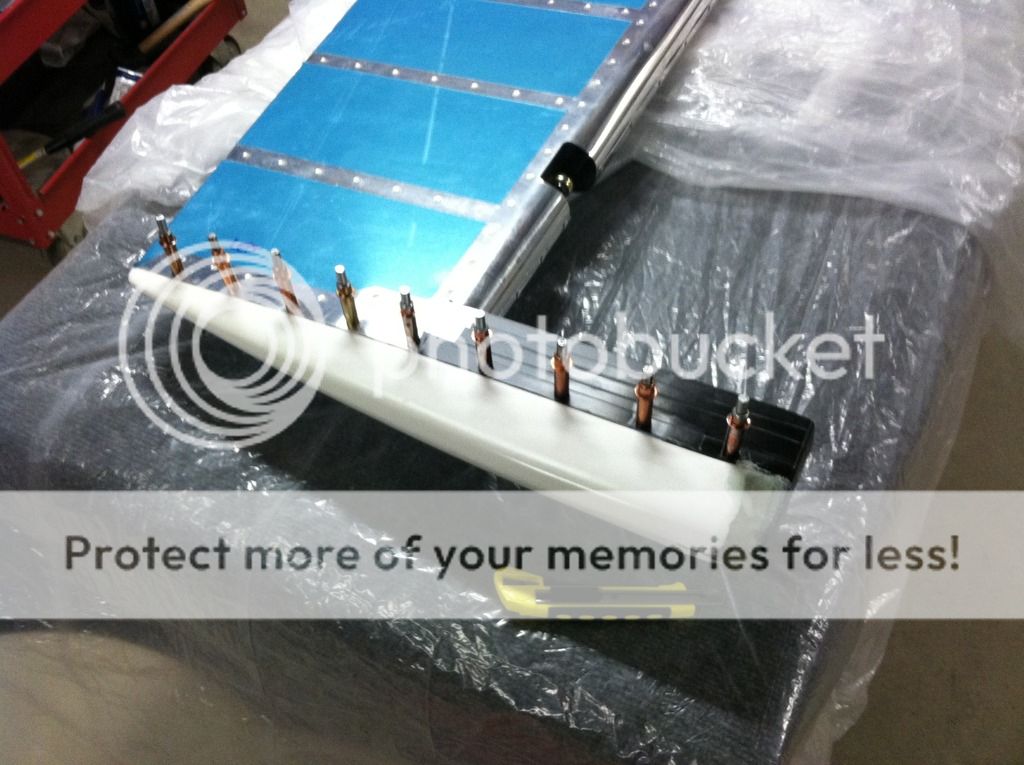
After I finished these projects, I felt ready to attempt the elevator tip. In case the tips wouldn't release from the mold, I decided to get all the hole and tip prep done before laying up the fiberglass (final drilling, countersinking, etc.). Worst case, I could pull off the electrical tape on the Counterbalance Arm and pop rivet the tips in place.
I covered the counterweights and counterbalance arms with electrical tape, seven coats of wax and two coats of PVA, then clecoed the tips in place. (Covering the arms was more of a precaution in case any resin dripped onto that surface.)
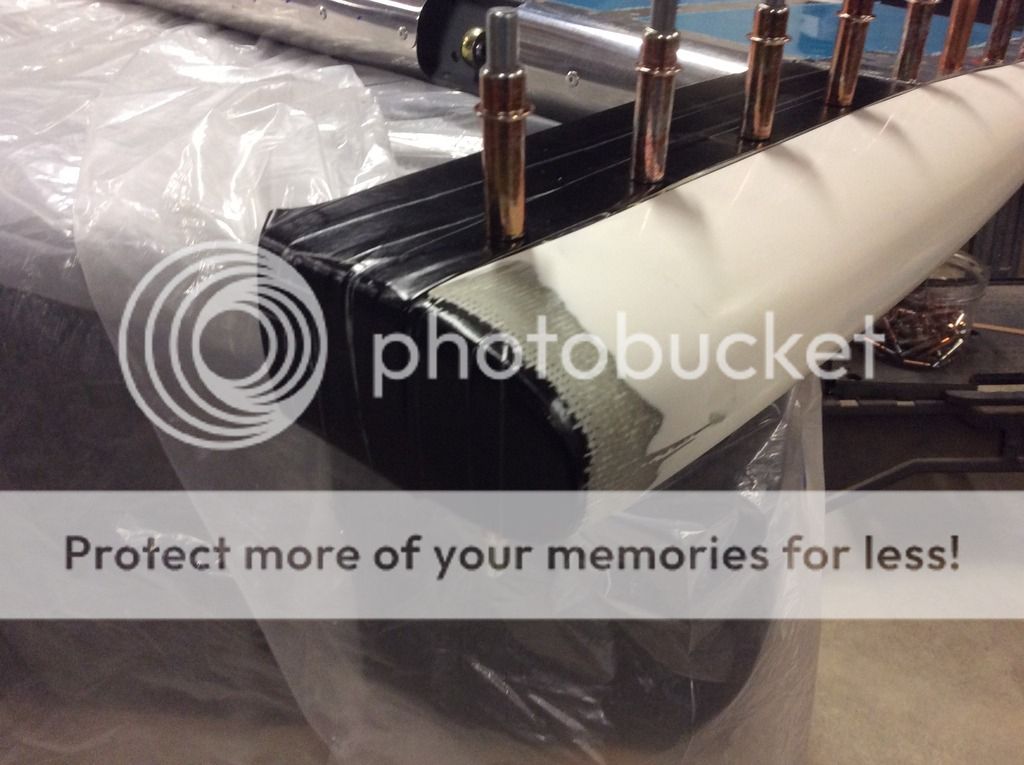
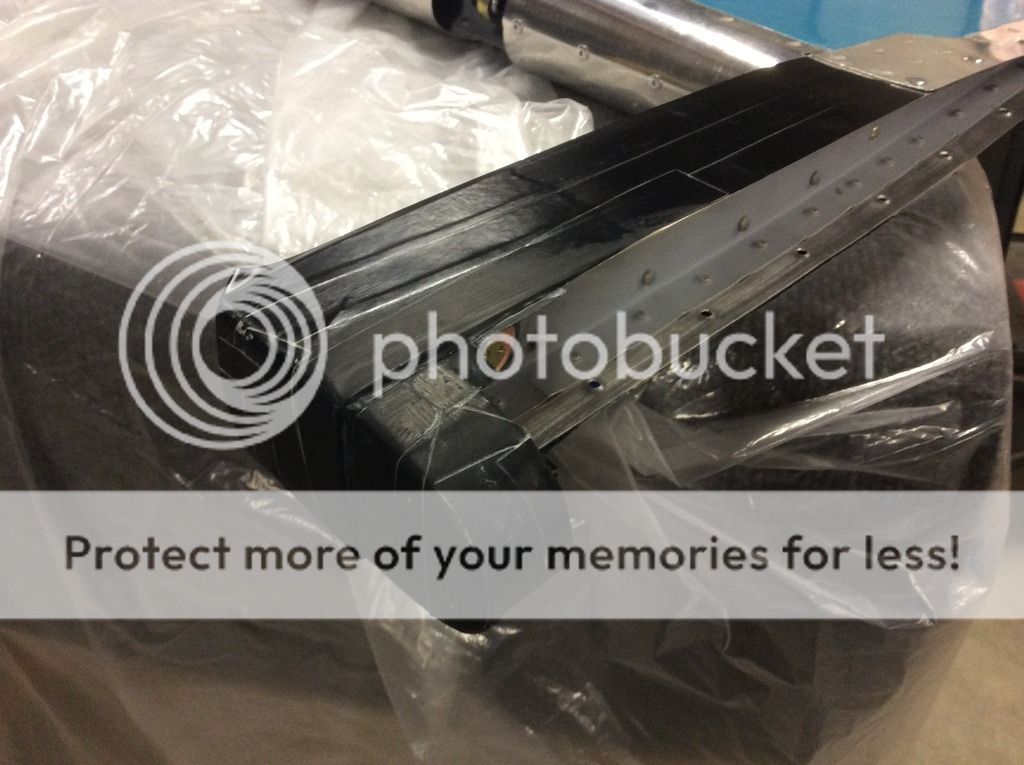
I cut a piece of fabric about half the size of a gallon Ziploc bag, put it inside the bag with epoxy resin and squeegeed it around to saturate the fabric. I then cut strips and triangles directly through the plastic bag like I’d seen on the videos, and laid them up on the tip. I ended up with 2-3 layers of fabric covering the counterweight. I found out that I couldn’t form a straight edge against the counterbalance arm that I was happy with, so the last layer of fabric extended over the taped and waxed counterbalance arm. After curing for about 5 hrs, I trimmed the overhang with a utility knife.
In the morning I removed the clecoes, took a deep breath and pulled outward on the trailing edge of the elevator tip. It popped right off easy as could be.

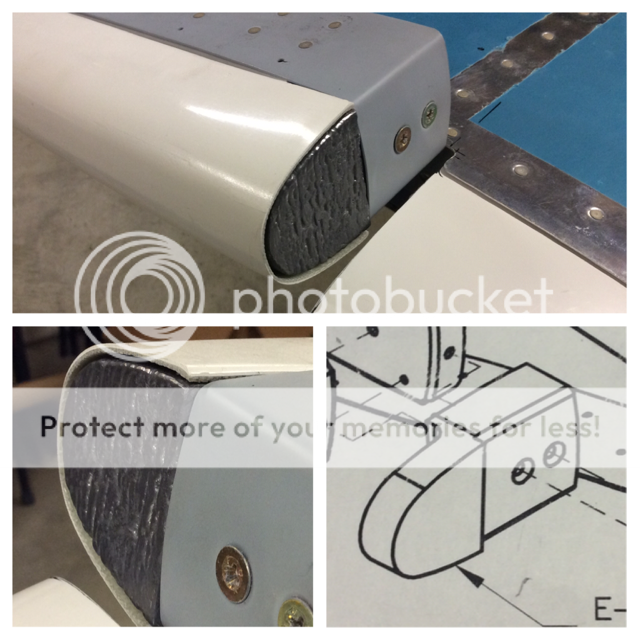
I sanded the tips smooth, added two coats of resin and glass bubbles, with sanding in between.
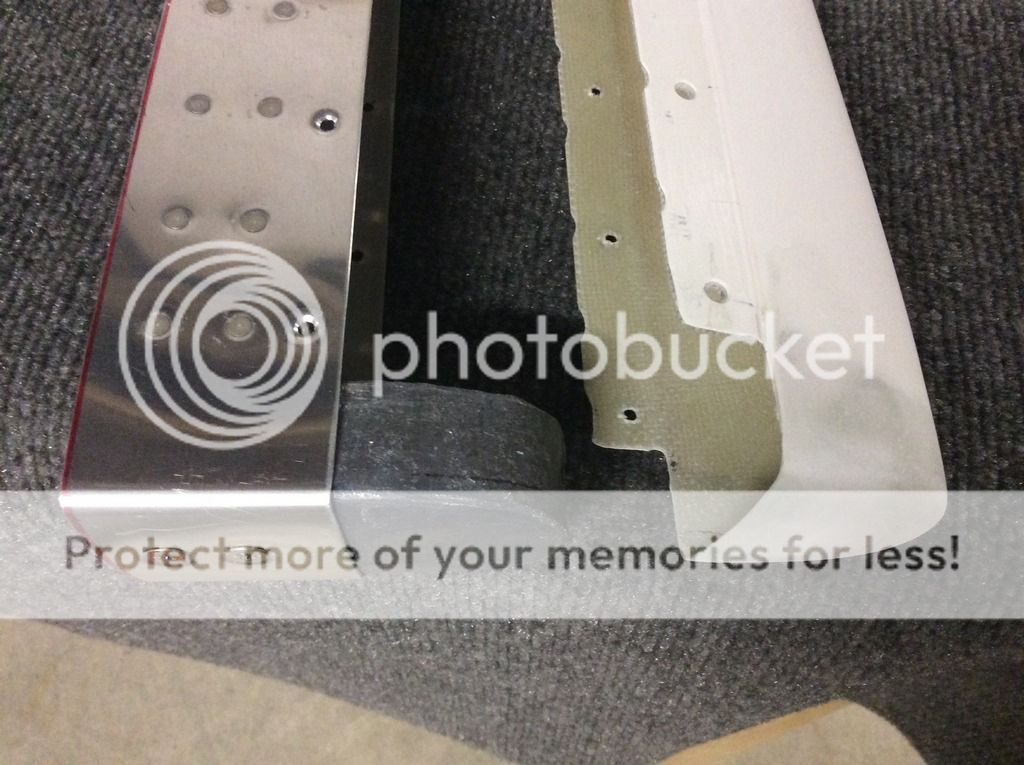
I sprayed the tips with filler primer and sanded them again, repeating the process a couple of times until they were smooth and fit the elevators nicely.
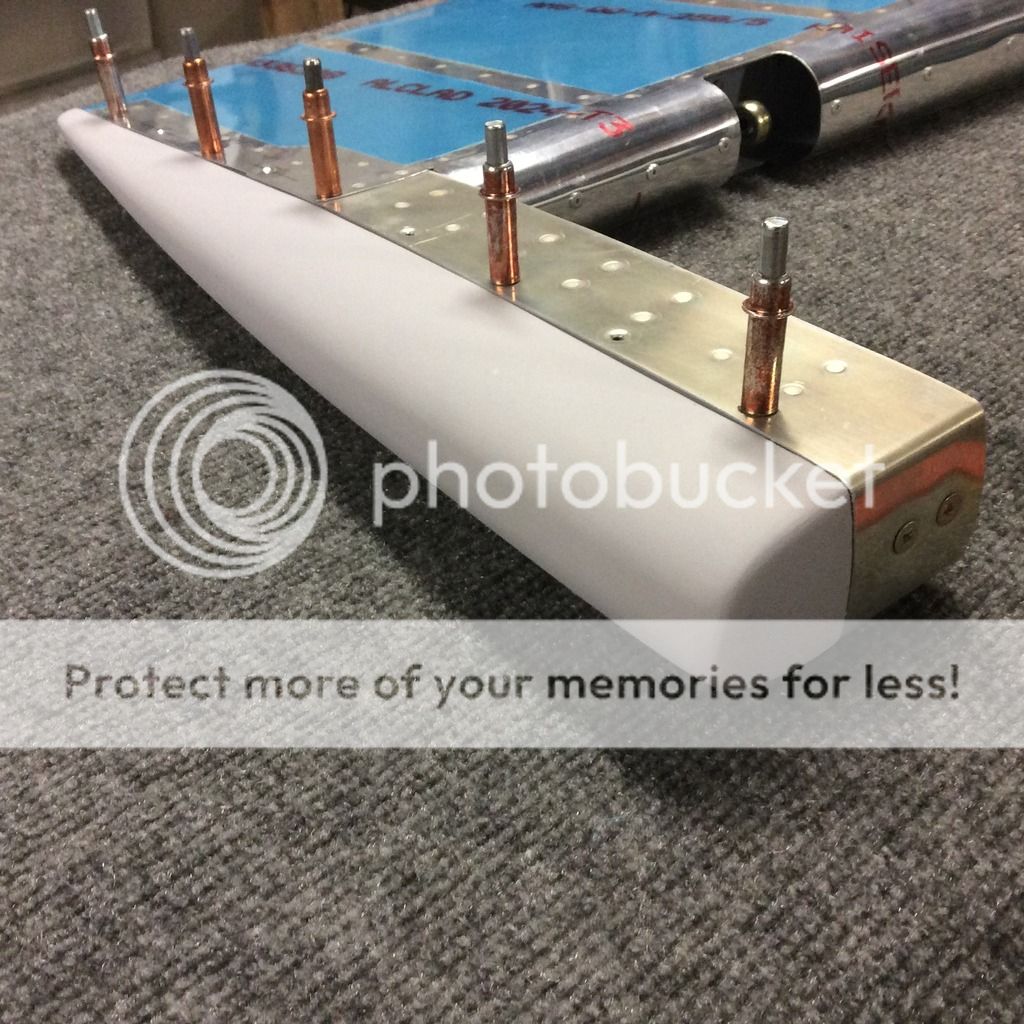
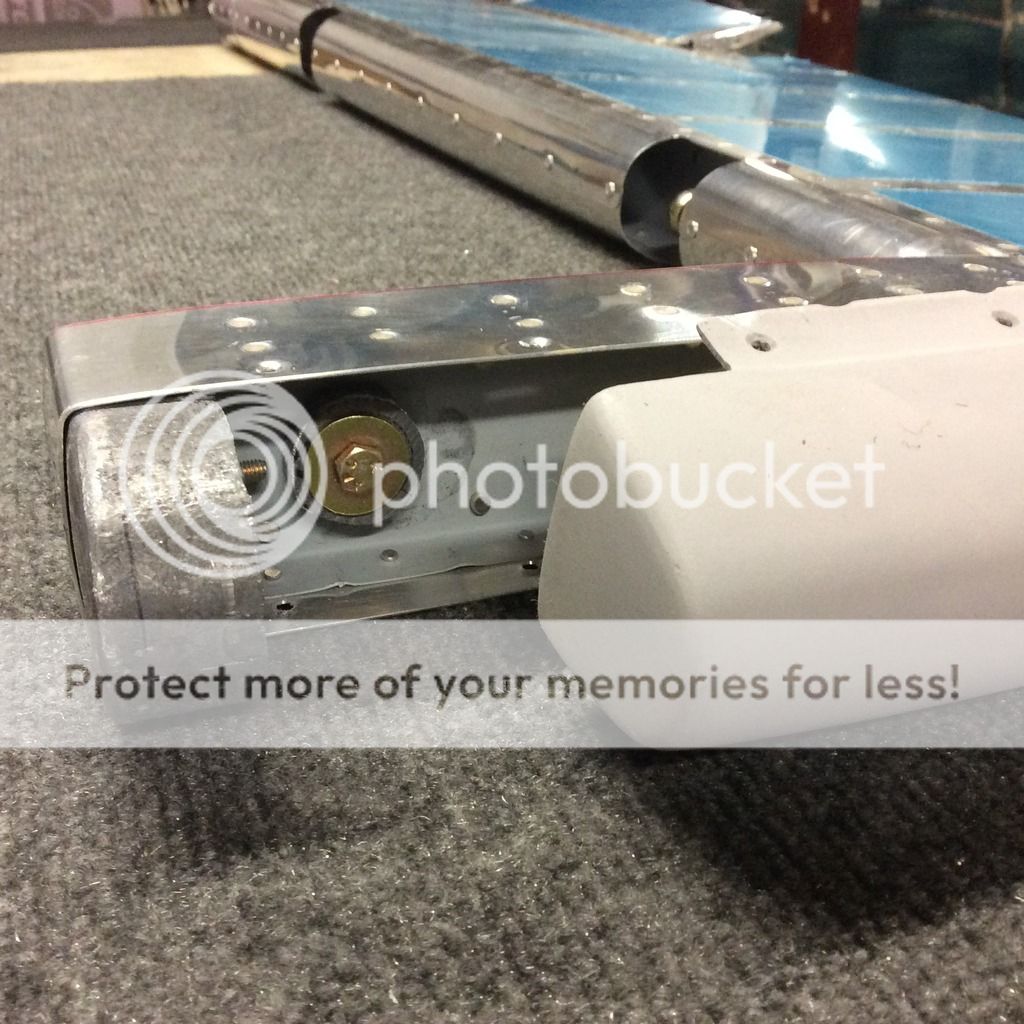
My left elevator needs a little more counterweight, so now that the tips are removable I was able to add a platenut to the inside flange of the counterbalance arm and add some additional weight under the tip. I was going to put this weight on the inboard side, but now that I can get under the tip I don’t have to worry about it backing out and jamming the elevators.
Thanks again to everyone who offered advice to me on this project!


")


