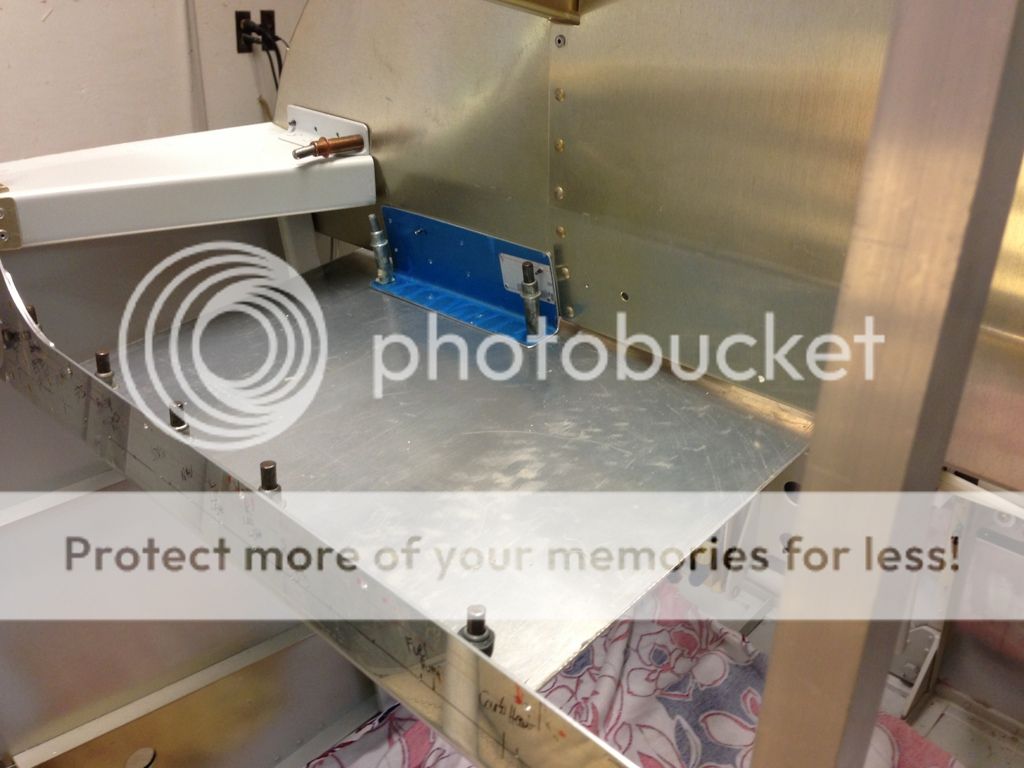
Mounted the GSU73 between the panel and the subpanel on two 3/4" x 1/8" angles that span between the panel support ribs. It is pushed all the way against the subpanel as close as possible. The connectors face the right side of the aircraft.
Depending on where your ribs are and where your GDU's are, there is just enough room to do this because of the connector stick out on the back of the GDU's. Mine just barely fits.
The good thing is that angles mounted to the bottom of those ribs ends up making a platform that is very close to being parallel to the longerons.... My pitch attitude alignment is within 1 degree of level flight at maneuvering speed.
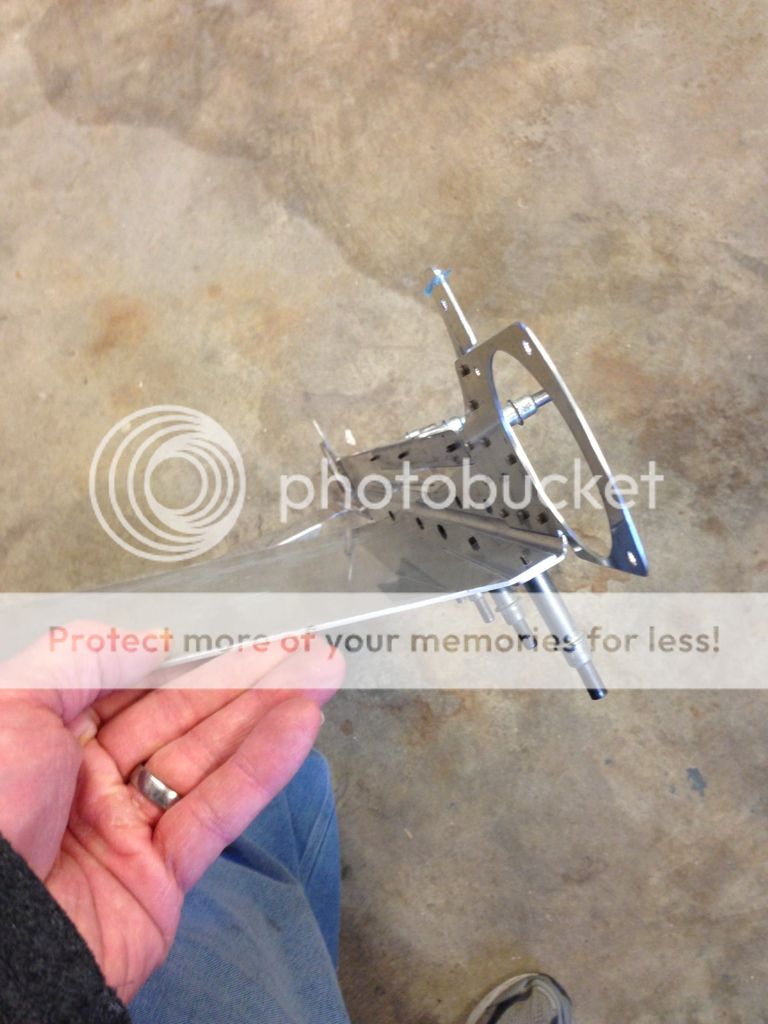
All just theoretical planning from the install manual which of course has changed. I'm doing a slider and made a .063 plate from the bottom of my panel to the bottom of my sub panel. I made it removable and big enough that I could fit it between the screens, or on the far left side. Both positions had connectors toward the center and close to the subpanel. By my guestimateds there isnt enough room behind the screens unless the box is between the screen connectors. I flush riveted .063 angles under the mount holes for support of the unit.
You can see the shelf with the panel removed.
The layout lines for the GSU73 and iPhone level meter app, the longeron was at 11.6 degrees, I extended my front panel down 3/4 of an inch. A stock length panel may be pretty level with the bottom of the subpanel.
You can see the for holes through with angles underneath in the top left.
I know it's huge but I made it before ordering parts and trimming is easier than adding.