What's new
Van's Air Force

Don't miss anything! Register now for full access to the definitive RV support community.

Empennage Fairing removal

Spindrift

Well Known Member
Hi all,

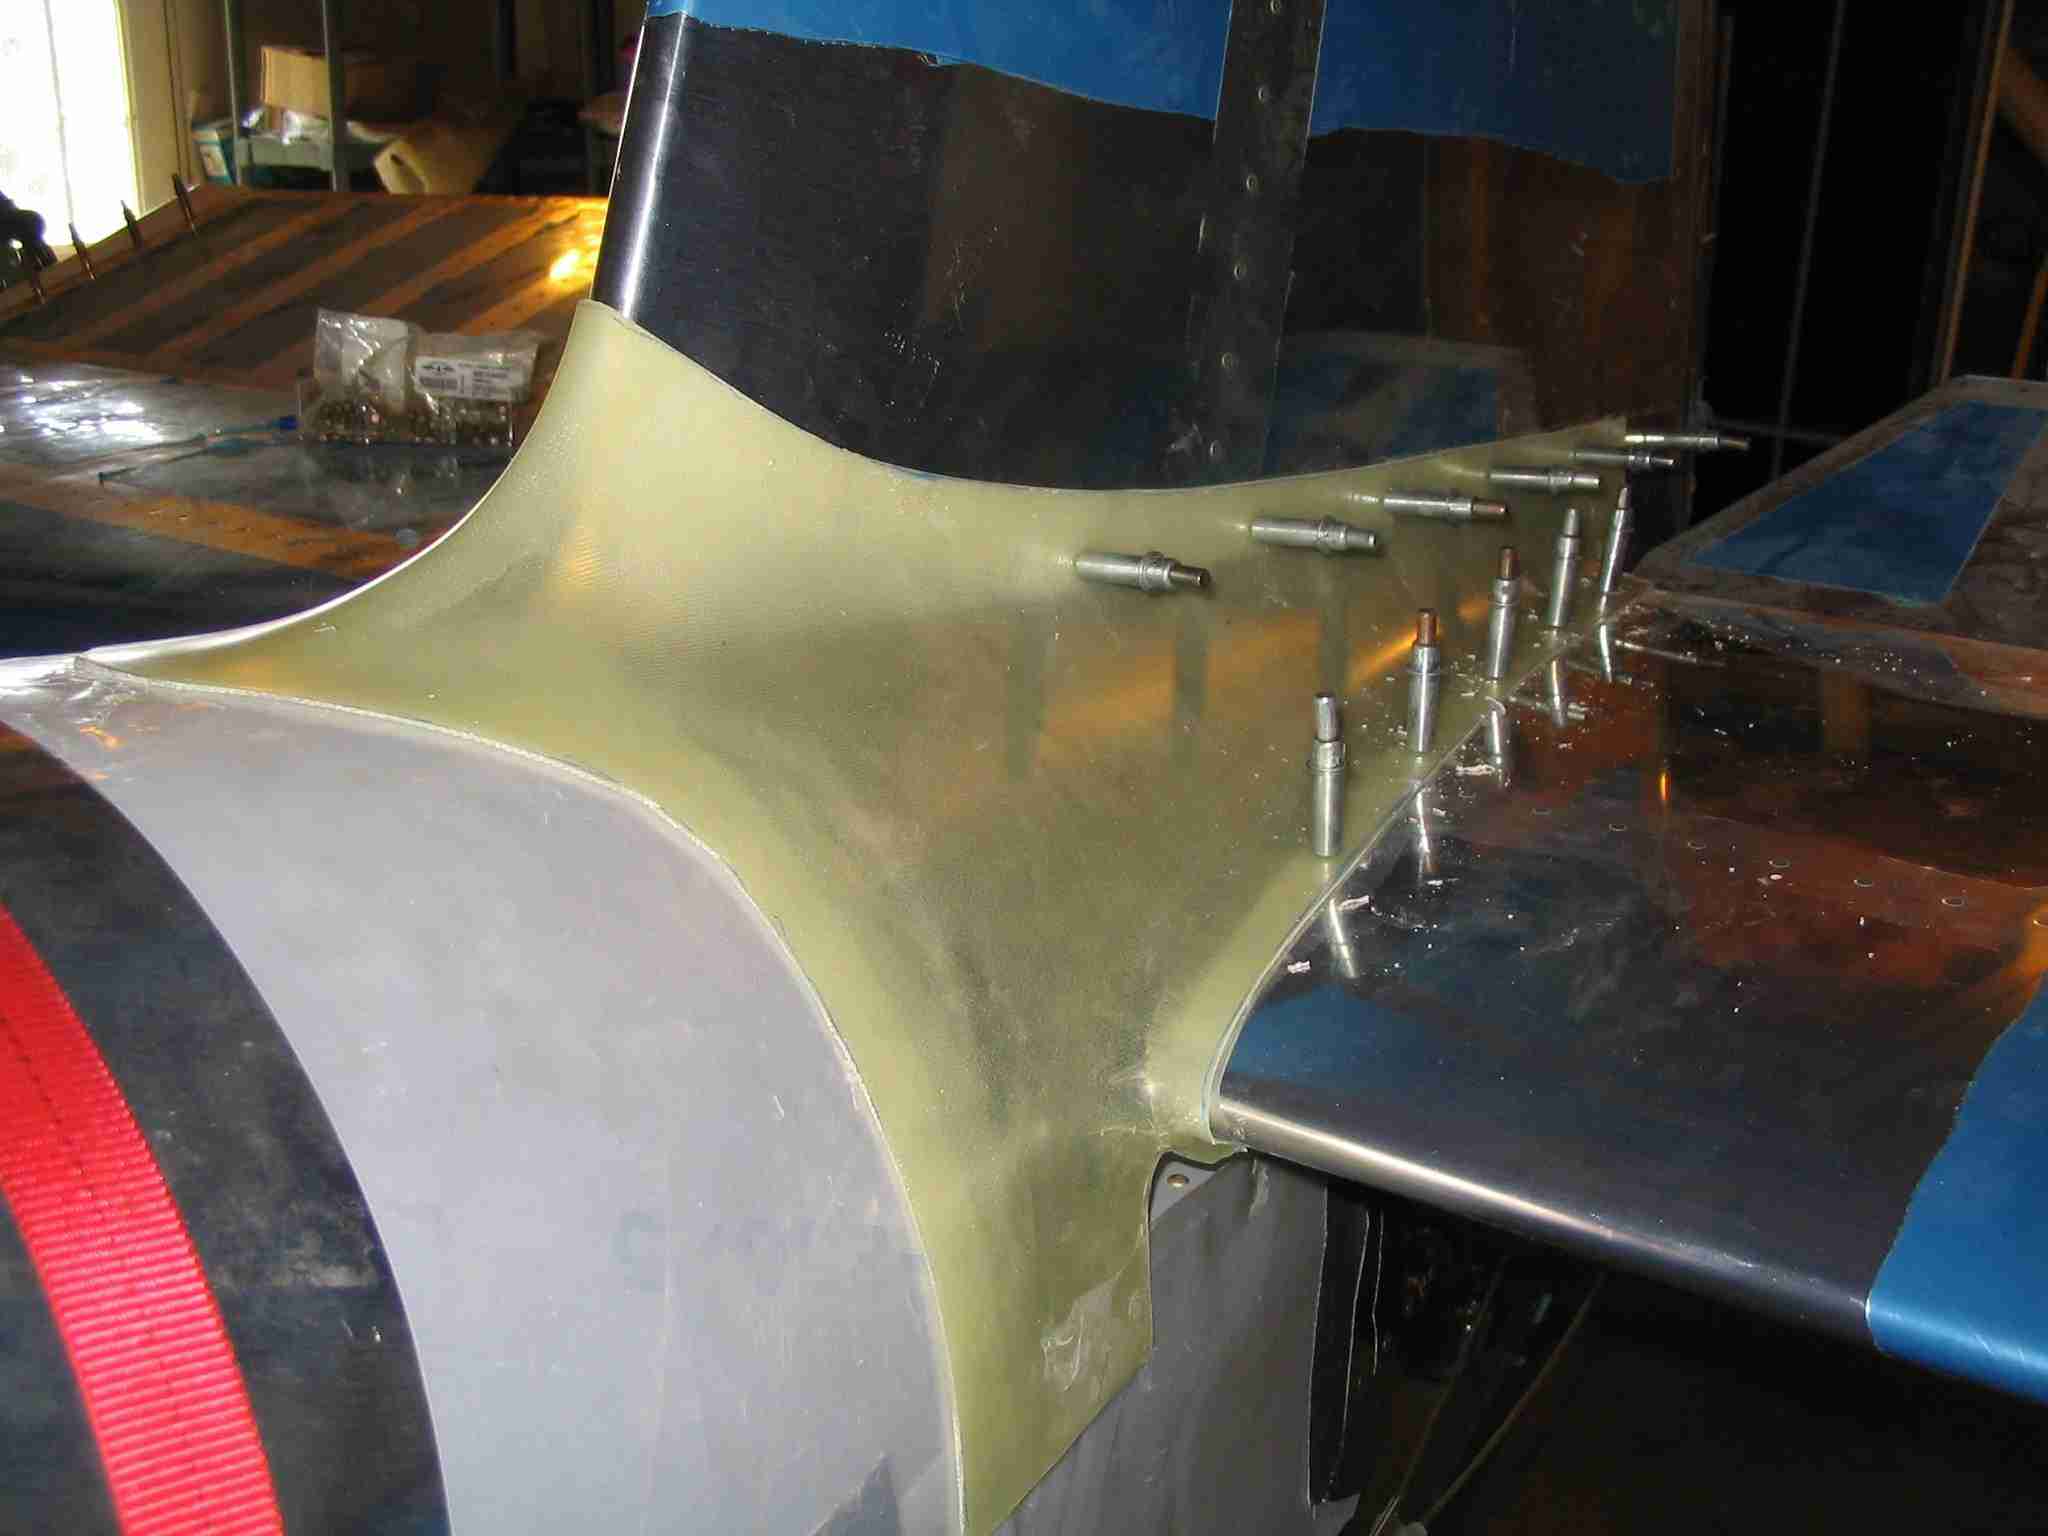
Last night I glassed together the top and bottom pieces of my Fairings Etc. emp fairing, and I found it extremely difficult to then remove the complete fairing without some minor scratches to the aluminum. I can't imagine how it will be removable once the plane is completed and painted without serious cosmetic damage to the paint. I did a search of the forums and didn't see any comments on this issue. Any thoughts on how to remove the fairing without scratching anything? Or should I just make the bottom fairing a separate part as some have done?

Thanks,
 
It's all in the access panel.

Go to this page of my web site and scroll down to the 6/3/06 entry. By modifying that access panel you can trim the aft section of that fairing off, which allows it to slide on and off.

Pictures:
 
Bill,

I don't suppose you created detailed plans with exact measurements for those? What thickness of material did you use?

Thanks,
 
Bill,

I don't suppose you created detailed plans with exact measurements for those? What thickness of material did you use?

Thanks,
Of course not. I saw this on Jeff's RV-7 site and asked Jeff for a tracing. If you send me your address, I'll send you a tracing.

That or you can make your own from some stiff card stock. Start with the inspection panel as a starting point, then trim to fit. Once you have what you want. cut the fairing but make sure it shares the last screw hole with the aluminum part. Thickness is the same as the inspection panel it replaces.
 
Great Idea.

Making a poster board templete should be easy, and tracing it on a small sheet of aluminum and cutting and filling should only take a few hours.

Chris
 
Thanks

After roughing out a shape from some cardboard, I found some aluminum and started cutting. Pretty much got one side made, but I might end up remaking it since I'm not totally happy with the fit. Anyway, thanks for the tip. I'll PM you with my address for a tracing to see if that works better than what I came up with.
 
Bill, Chris, & others:

When Jeff sent me his tracing I made my first one exactly the same size and realized it didn't fit (too small), so I had to make another one. So, when I send you the tracing, the only part that will match exactly is the part that fits in the original inspection panel hole, the rest has to be trimmed to fit.

All the holes were dimpled except the one that is covered by the fairing. On that one, the fairing is countersunk.
 
Thanks Bill. What did you use for the fairing below the HS? Looking at your site, it looks like aluminum. Did you just attach it to the fuse or also the HS?
 
Back
Top